

For most Excel users, the process of copying tables is not a great difficulty. But, not everyone knows some nuances that allow you to make this procedure as efficiently possible for a different type of data and diverse purposes. Let's consider in detail some features of copying data in the Excel program.
Copying to Excele
Copying the table in Excel is the creation of its duplicate. In the very procedure, there are practically no difference depending on where you are going to insert data: to another area of the same sheet, on a new sheet or another book (file). The main difference between copying methods is how you want to copy information: together with formulas or only with the displayed data.Lesson: Copying tables in Mirosoft Word
Method 1: Copy Default
Simple copying by default to Excel involves creating a copy of the table together with all formulas placed in it and formatting.
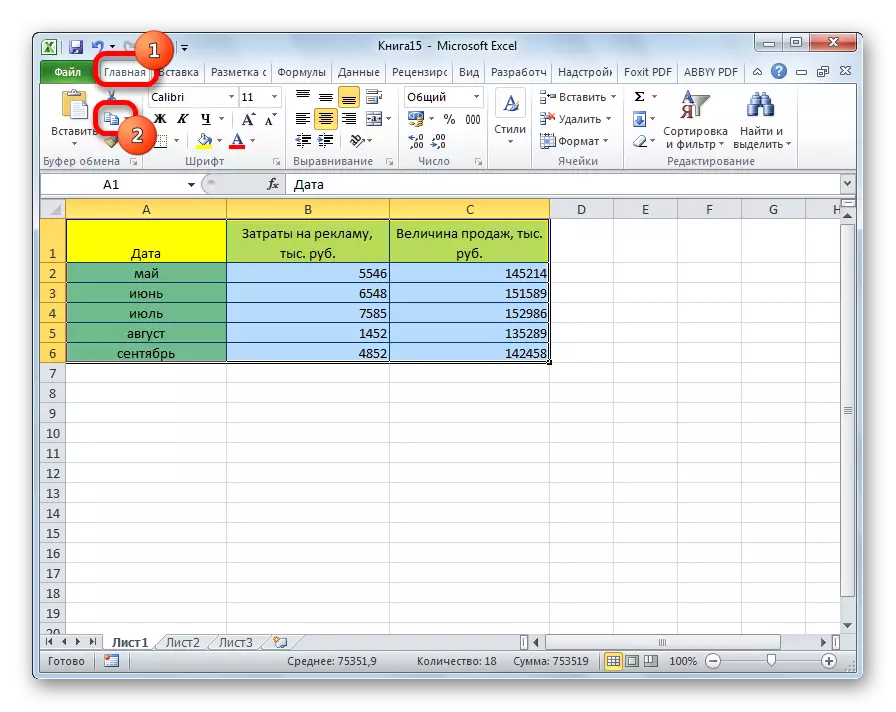
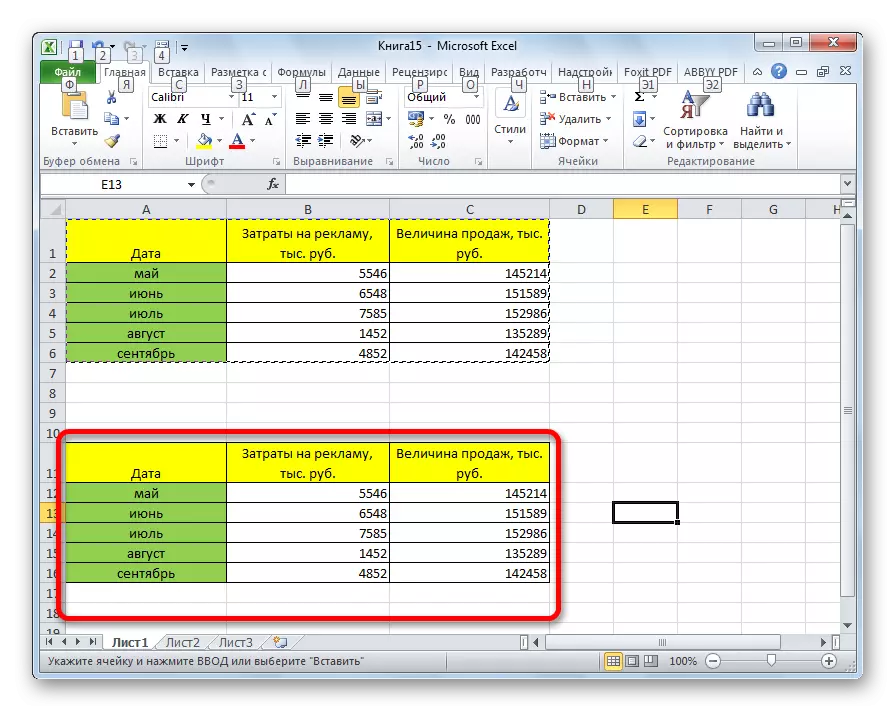
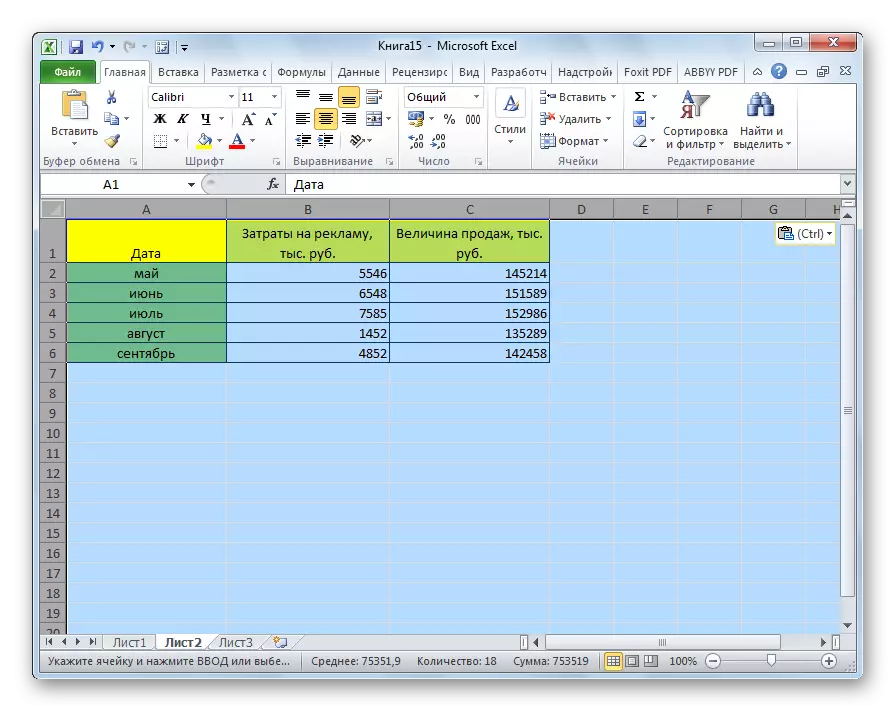
- We highlight the area we want to copy. Click on the allocated area with the right mouse button. The context menu appears. Select it in it "Copy".
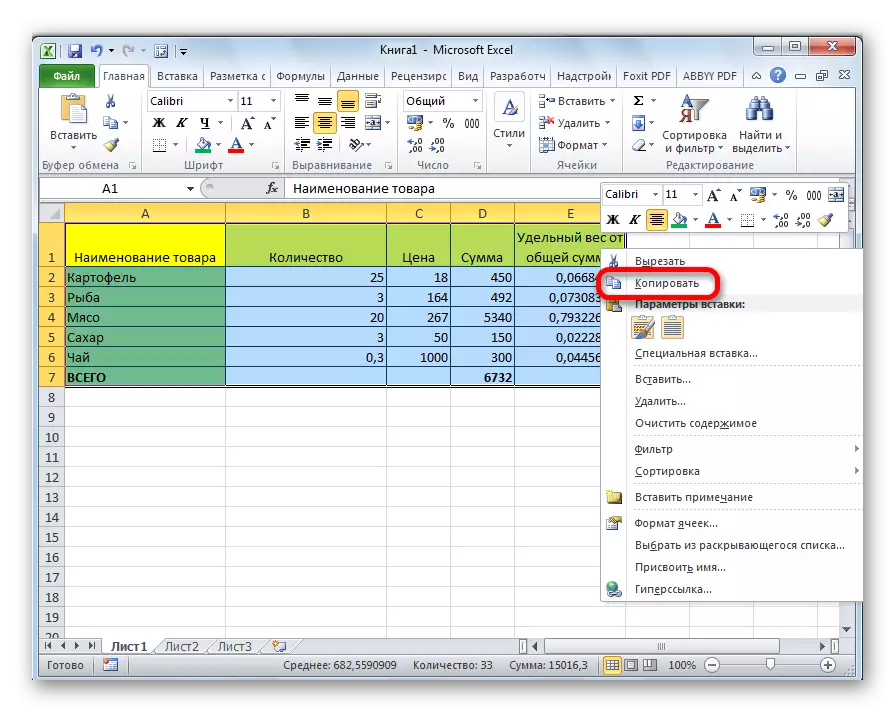
There are alternative options for performing this step. The first of them consists in pressing the keyboard of the Ctrl + C keys after the selection of the area. The second option involves pressing the "Copy" button, which is located on the tape in the "Home" tab in the "Exchange Buffer" toolbu.
- Open the area in which we want to insert data. It can be a new sheet, another Excel file or another area of cells on the same sheet. Click on a cell that should be the upper left cell inserted table. In the context menu in the insert parameters, select "Paste".
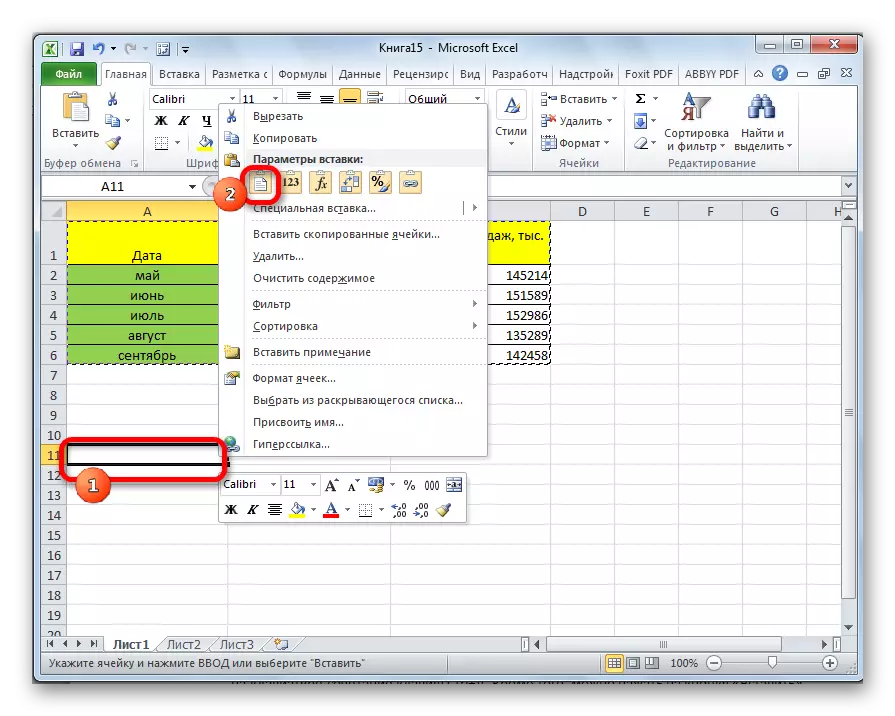
There are also alternative action options. You can highlight the CTRL + V keyboard on the keyboard. In addition, you can click on the "Paste" button, which is located on the left edge of the tape next to the "Copy" button.
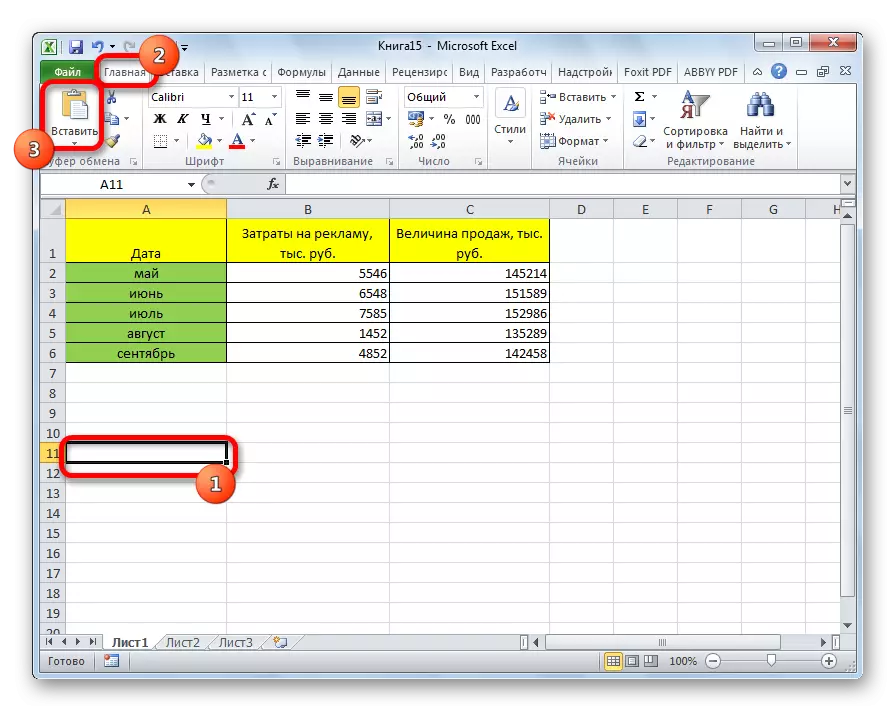
After that, data insertion will be performed while preserving formatting and formulas.
Method 2: Copying values
The second method provides for copying exclusively table values that are displayed on the screen, and not formulas.
- Copy the data in one of the ways described above.
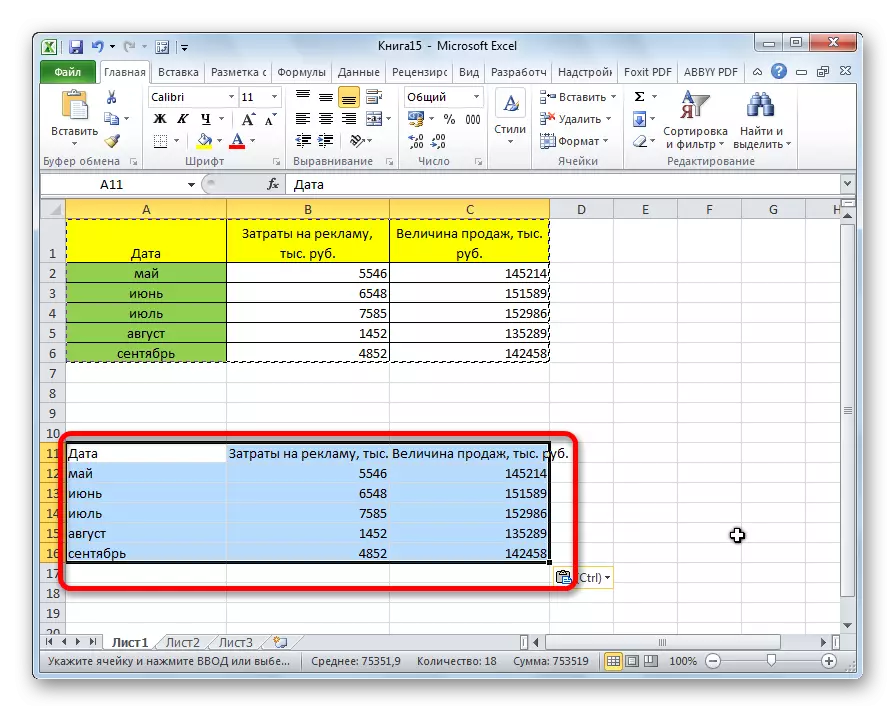
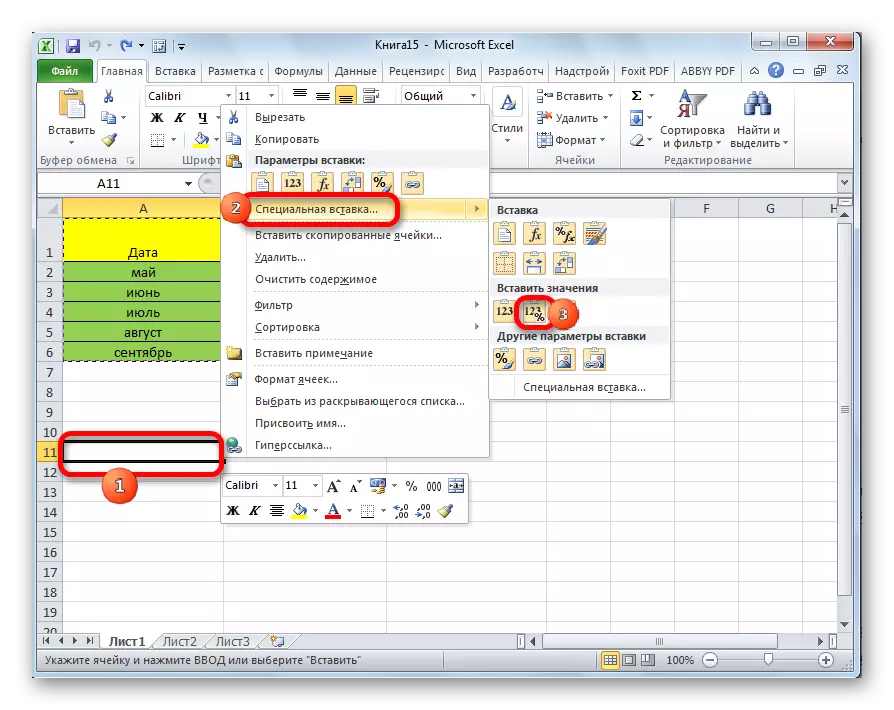
- By clicking the right mouse button in the place where you need to insert data. In the context menu in the insert parameters, select the "Values" item.
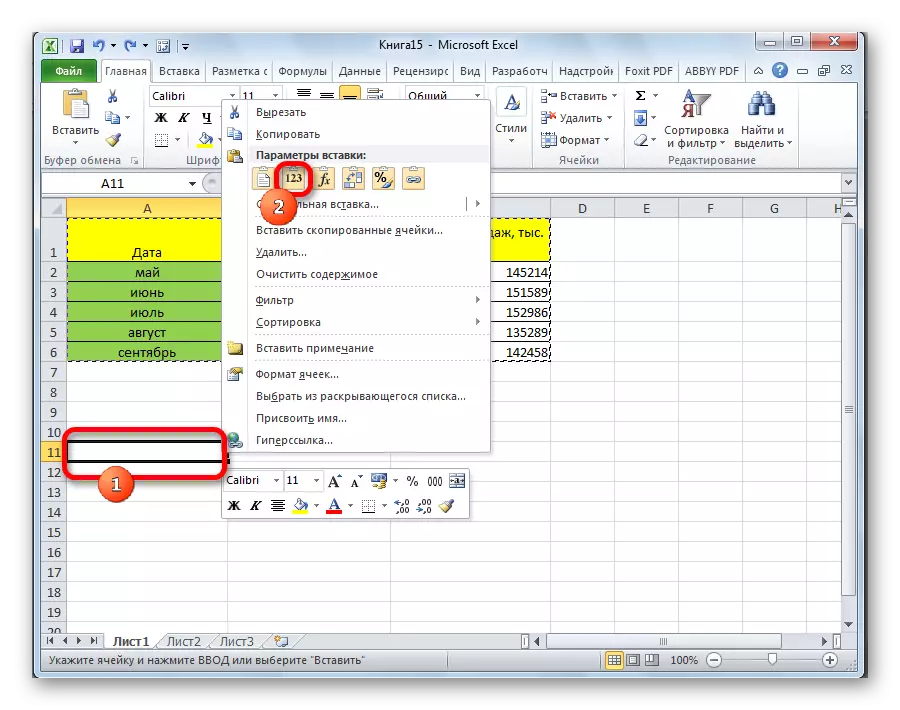
After that, the table will be added to the sheet without preserving formatting and formulas. That is, only the data displayed on the screen will be copied.
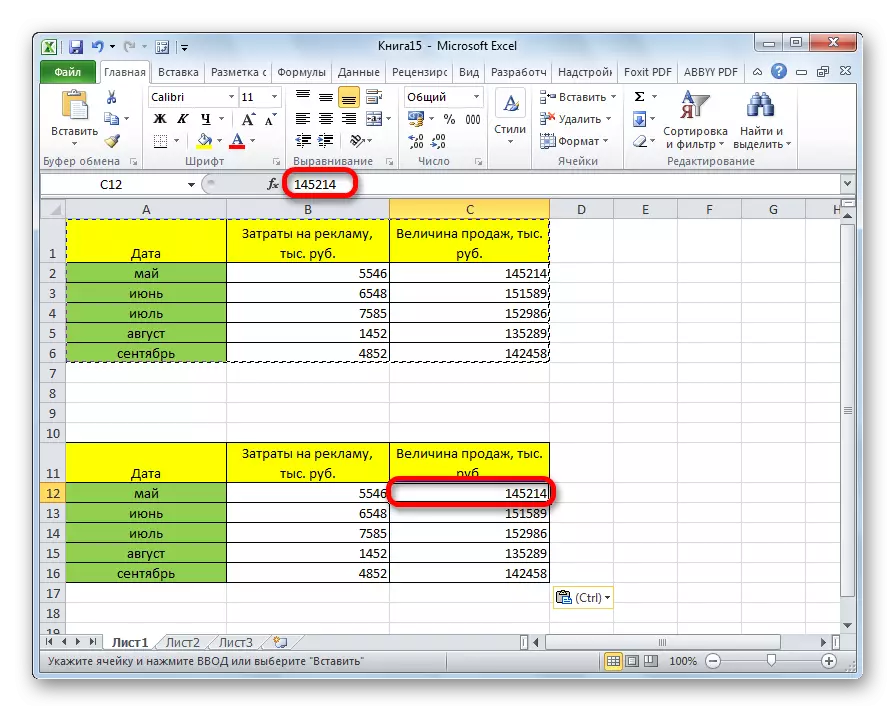
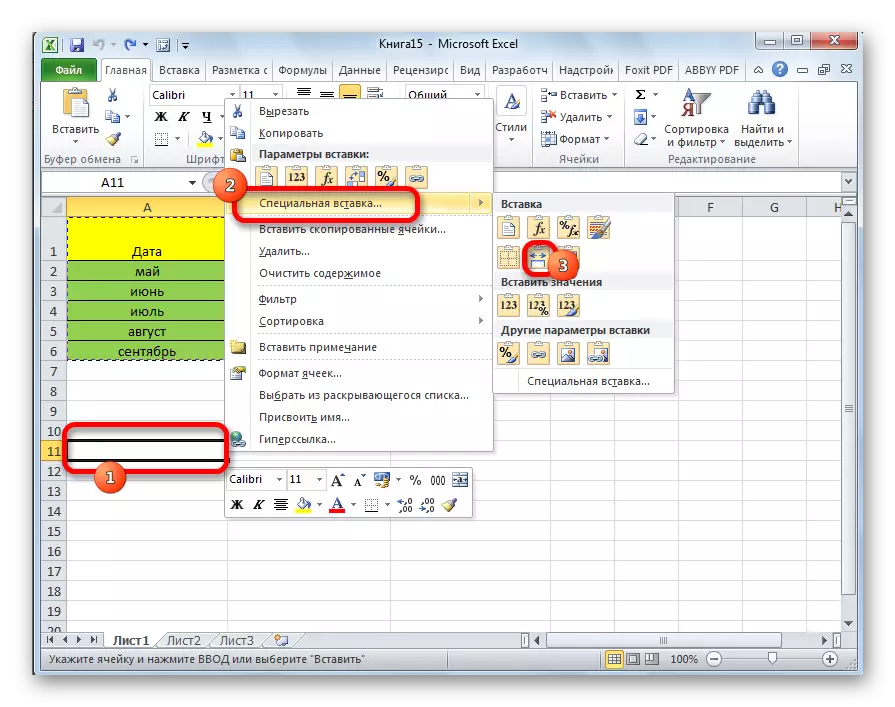
If you want to copy the values, but at the same time save the original formatting, then you need to go to the menu item "Special Insert" during insertion. There, in the "Insert values" block, you need to select "Values and Original Formatting".

After that, the table will be presented in the initial form, but only instead of the formulas of the cell will fill the constant values.
If you want to make this operation only with the preservation of the formatting of the numbers, and not the entire table, then in a special insert you need to select the item "Values and the formats of numbers".
Method 3: Create a copy while saving columns width
But, unfortunately, even the use of source formatting does not allow you to make a copy of the table with the initial column width. That is, quite often there are cases when the data is not placed in cells after inserting. But in Excel, it is possible to maintain the original column width using certain actions.
- Copy the table by any of the usual ways.
- In a place where you need to insert data, call the context menu. We consistently go through the items "Special Insert" and "Save the width of the column of the original."
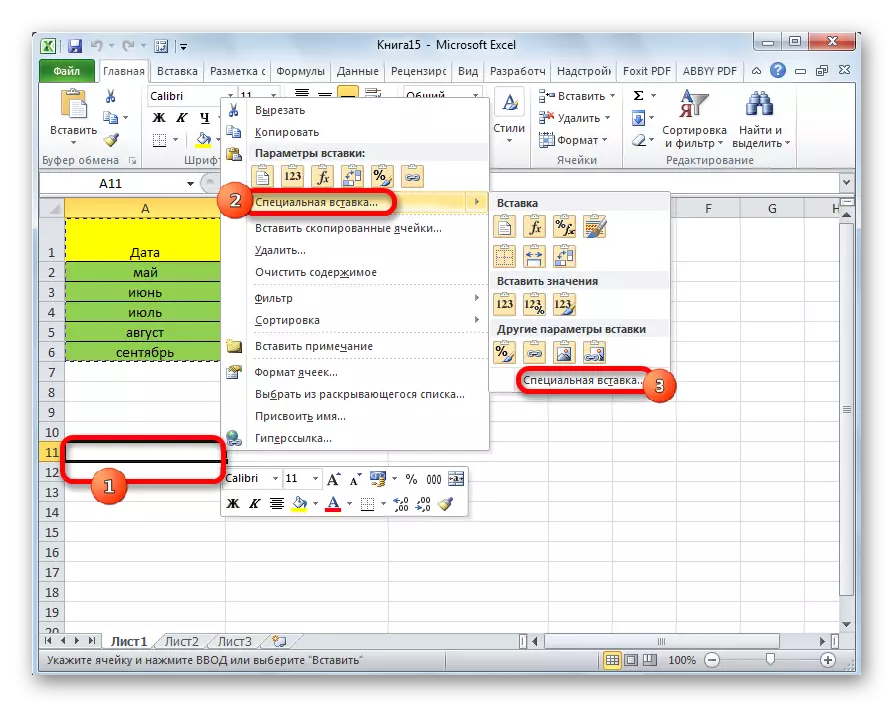
You can enroll in another way. From the context menu twice go to the item with the same name "Special insertion ...".
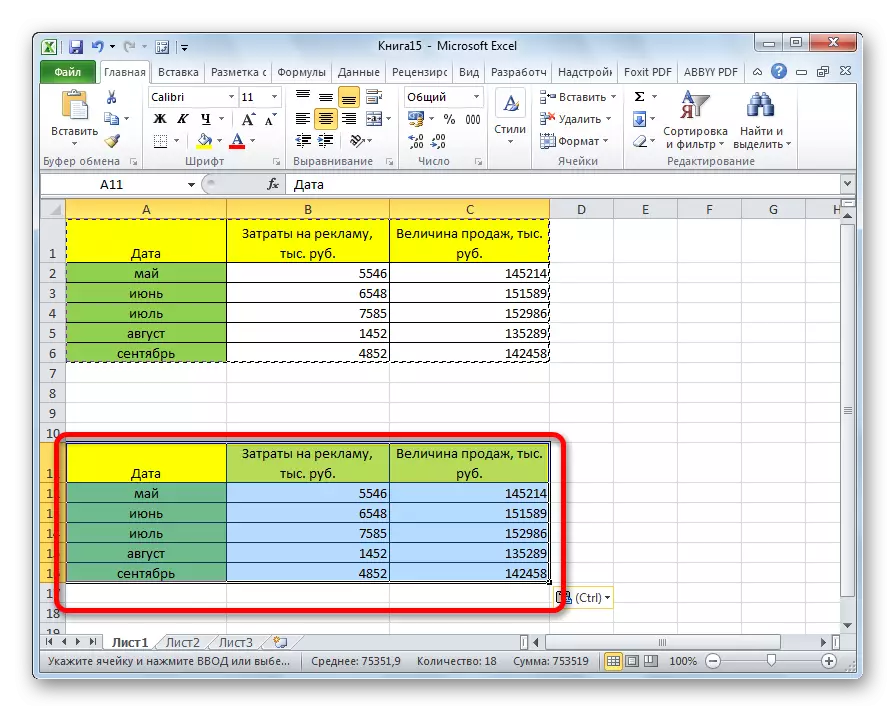
The window opens. In the "Insert" toolbar, we rearrange the switch to the position "column width". Click on the "OK" button.

Whatever the path you selected from the two options listed above, in any case, the copying table will have the same column width as the source.
Method 4: Insert as an image
There are cases when the table needs to be inserted not in the usual format, but as an image. This task is also solved using a special insert.
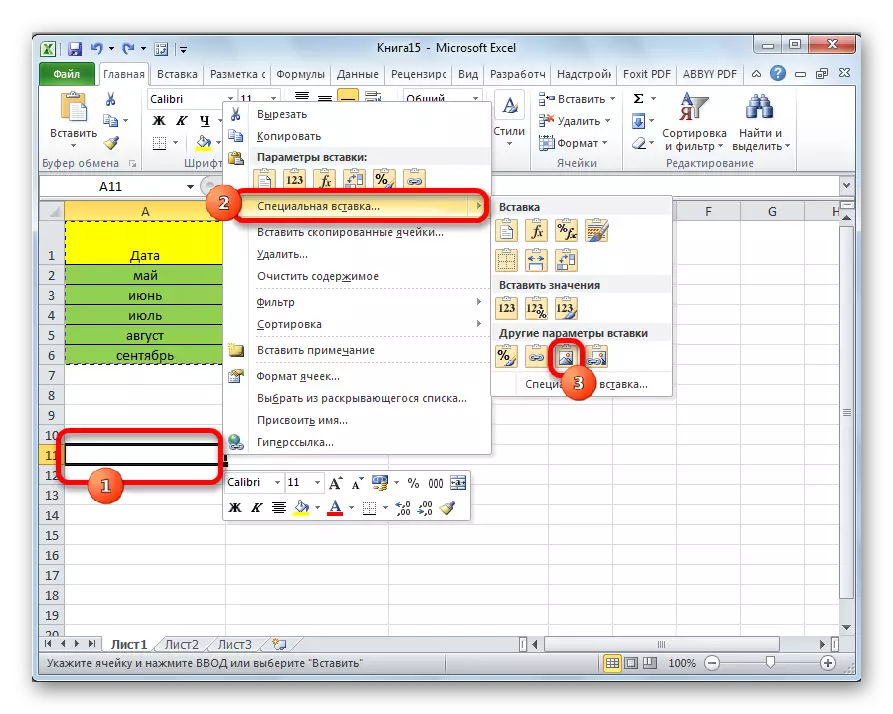
- Perform copying the desired range.
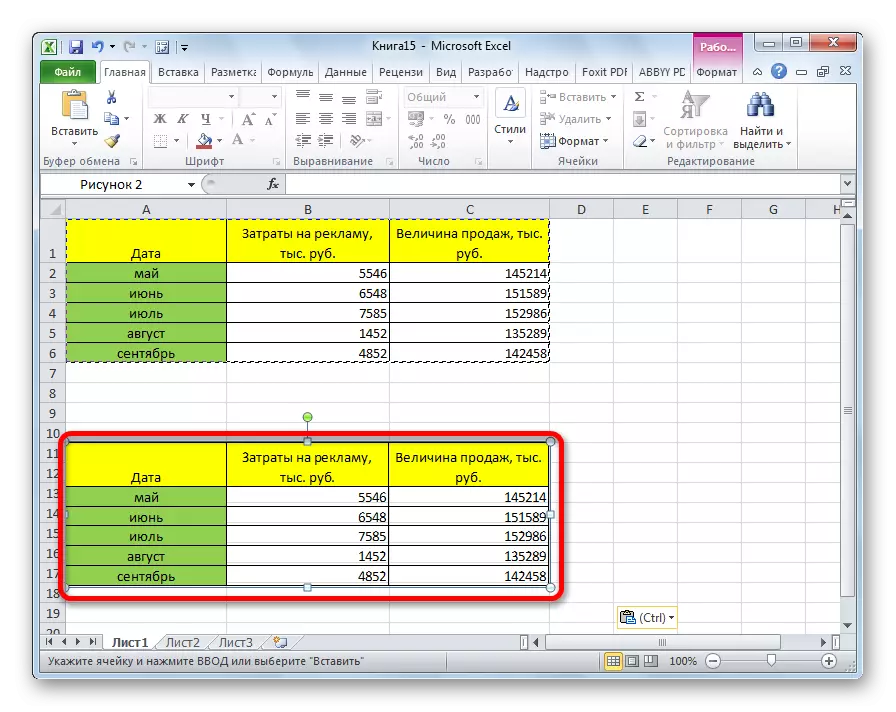
- Select a place to insert and call the context menu. Go to the item "Special Insert". In the "Other Insert Settings" block, select the "Figure" item.
After that, the data will be inserted on a sheet as an image. Naturally, it will be impossible to edit such a table.
Method 5: Copying Sheet
If you want to copy the entire table on another sheet, but at the same time save it an absolutely identical source, then in this case, it is best to copy the entire sheet. In this case, it is important to determine that you really want to transfer everything that is on the source sheet, otherwise this method will not fit.
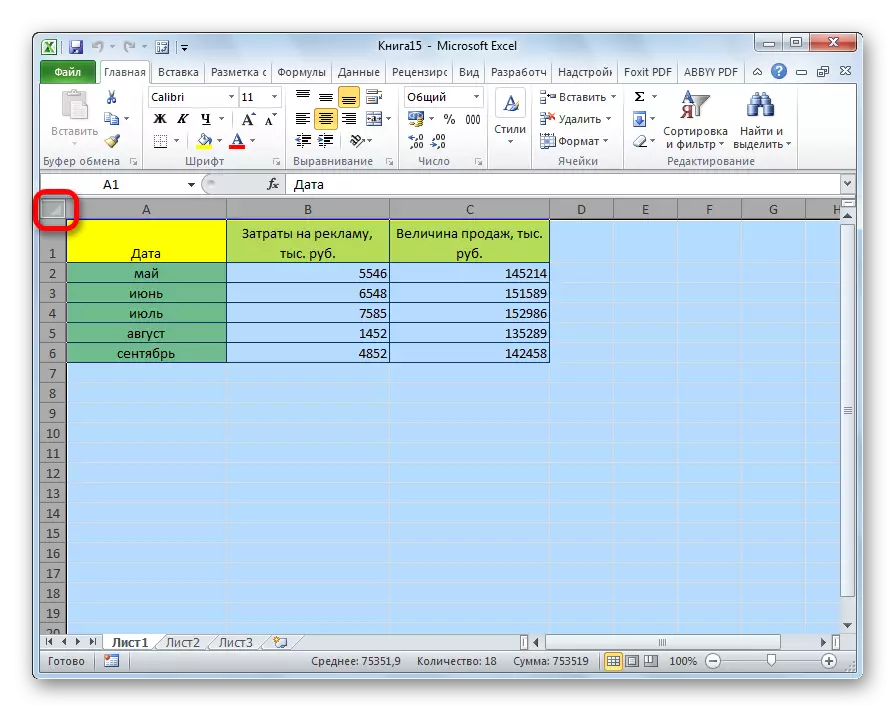
- To manually manually allocate all the cells of the sheet, and this would take a large amount of time, click on the rectangle located between the horizontal and vertical coordinate panel. After that, the entire sheet will be highlighted. To copy the contents, type Ctrl + C combination on the keyboard.
- To insert the data, open a new sheet or a new book (file). Similarly, click on the rectangle placed on the intersection of the panels. In order to insert the data, type the Ctrl + V button combination.
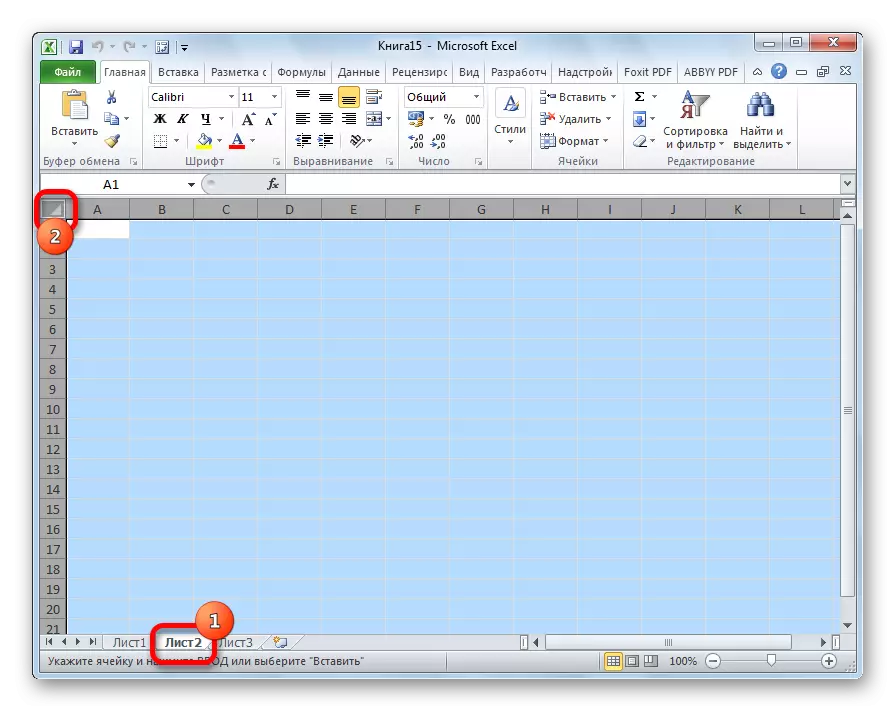
As you can see, after performing these actions, we managed to copy the sheet together with the table and the rest of its contents. It turned out to be saved not only the initial formatting, but also the size of the cells.
The EXEL table editor has extensive toolkit to copy tables exactly as the user is required. Unfortunately, not everyone knows about the nuances of working with a special insertion and other copy tools that allow you to significantly expand the possibilities for data transfer, as well as automate the user's actions.