

Rain ... Photographing in the rain - the lesson is not pleasant. Moreover, in order to capture the rain on the photo, the rain will have to be danced with a tambourine, but even in this case, the result may be unacceptable.
Output one - add the appropriate effect on the finished snapshot. Today, experiment with Filters Photoshop "Add Noise" and "Blur in Movement".
Imitation rain
For the lesson, such images were selected:
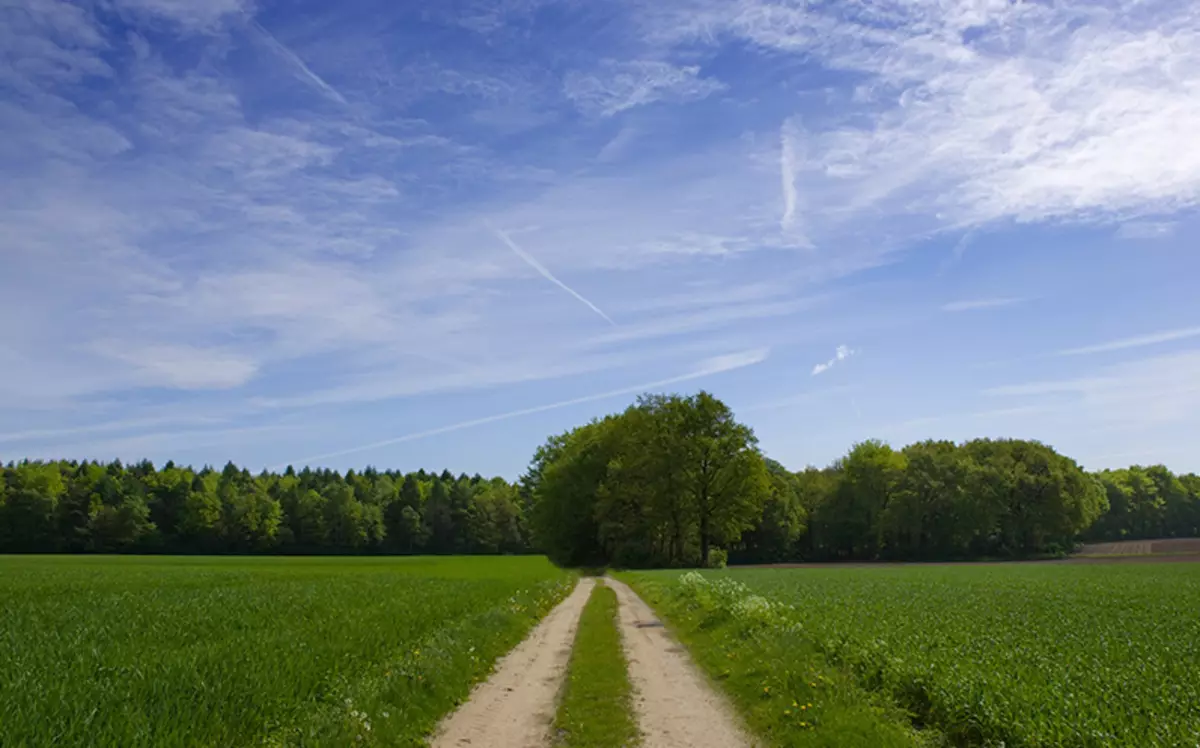
- Landscape that we will edit.
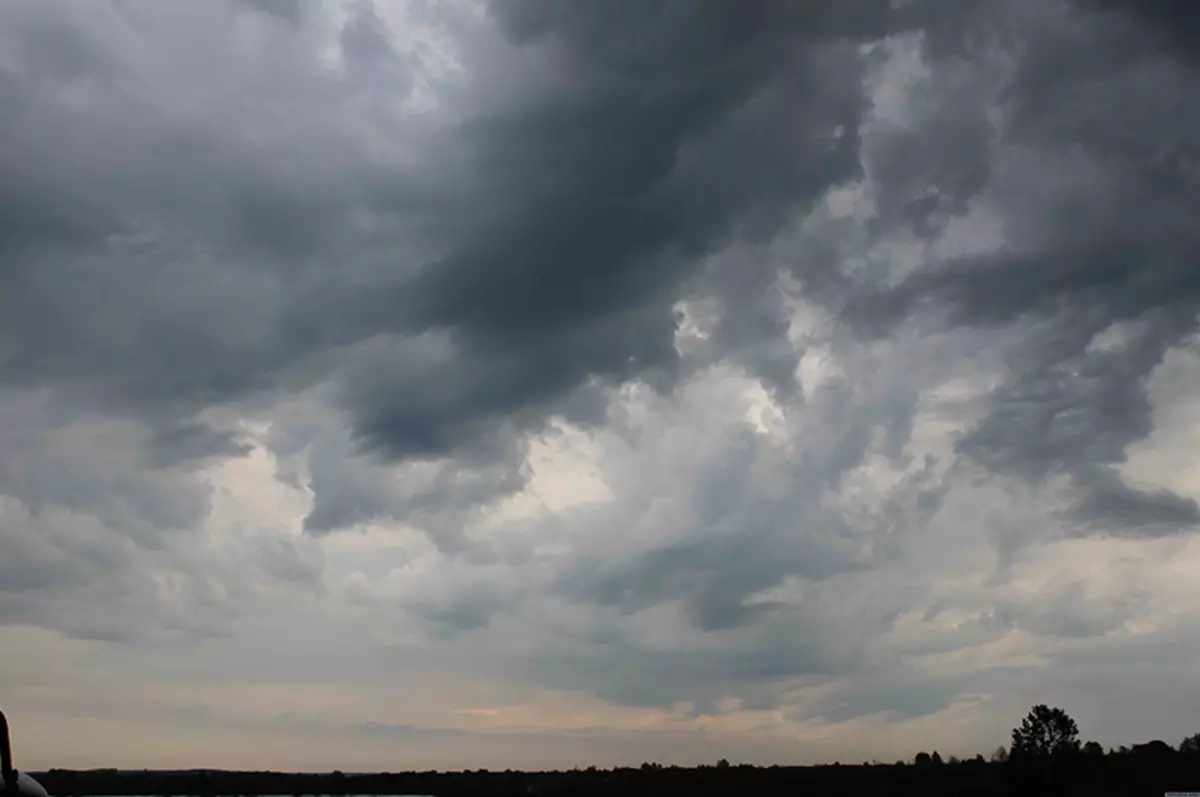
- Picture with clouds.
Replacing sky
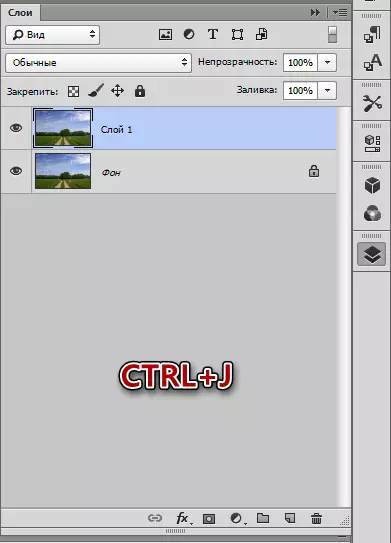
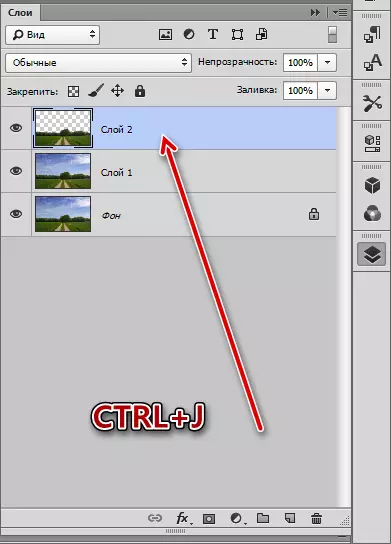
- Open the first picture in Photoshop and create a copy (Ctrl + J).
- Then select "Fast allocation" on the toolbar.

- Combate the forest and field.

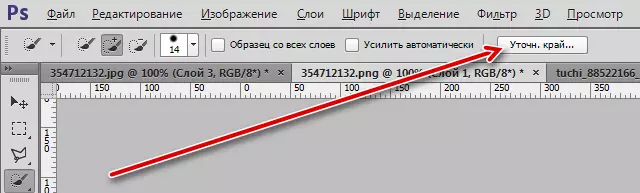
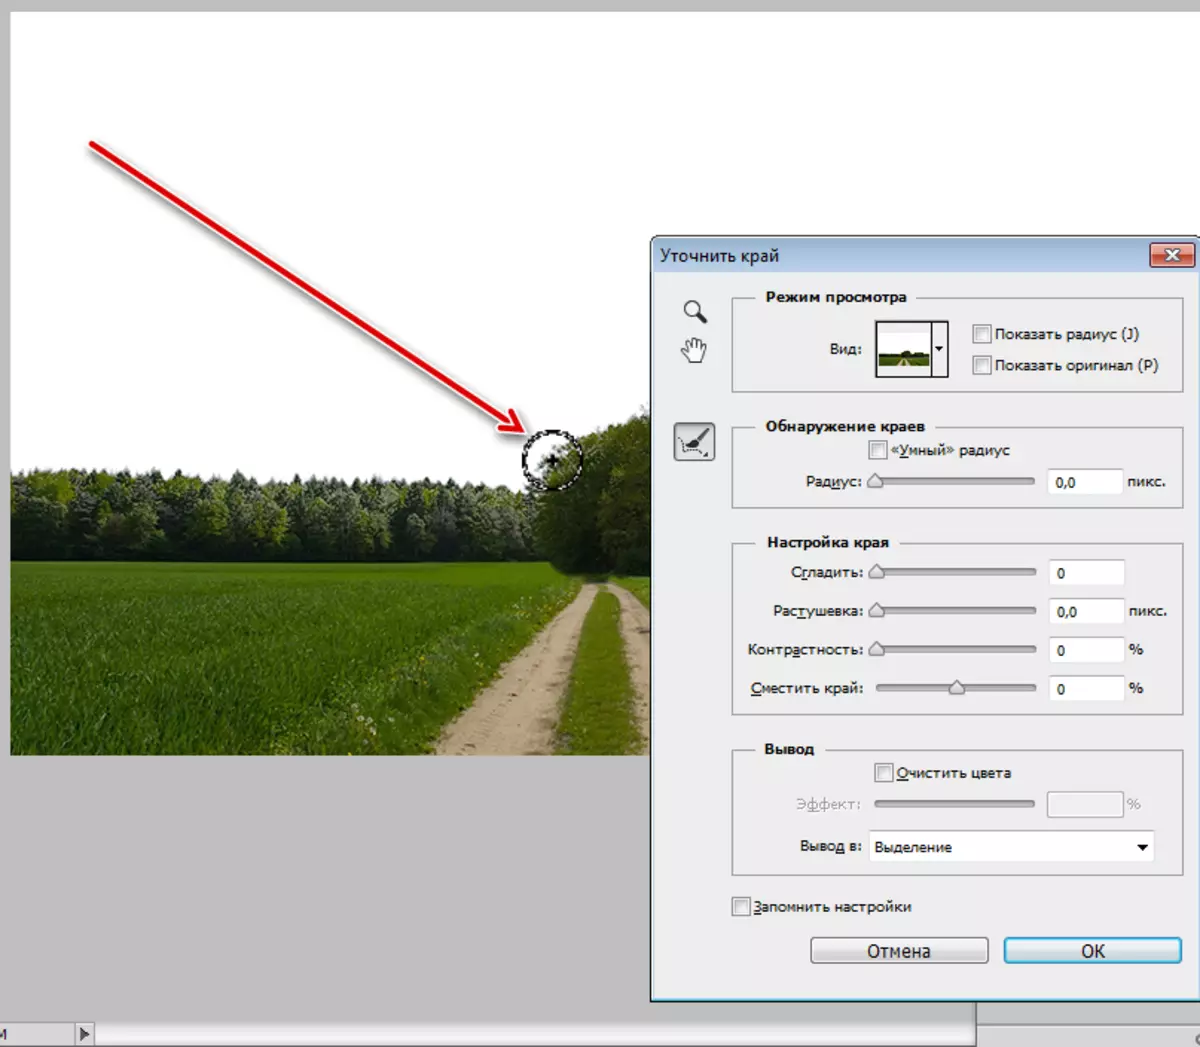
- For more accurate selection of trees tops, click on the "Specify the Edge" button on the top panel.
- In the function window, no settings do not touch, but simply pass the tool along the border of the forest and the sky several times. We choose the output "in the selection" and click OK.
- Now we click the Ctrl + J key combination, copying the selected area to the new layer.
- The next step is the image room with clouds to our document. We find it and drag it into the photoshop window. Clouds must be under the layer with a carved forest.
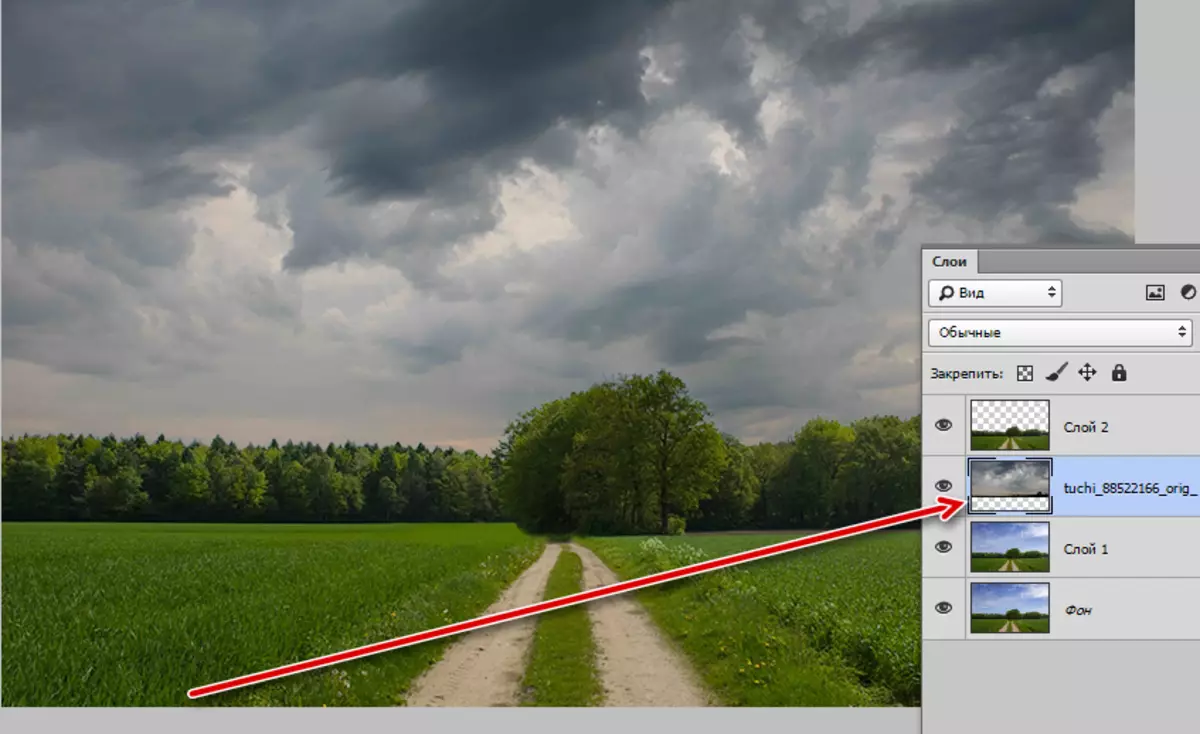
We replaced the sky, preparation is complete.
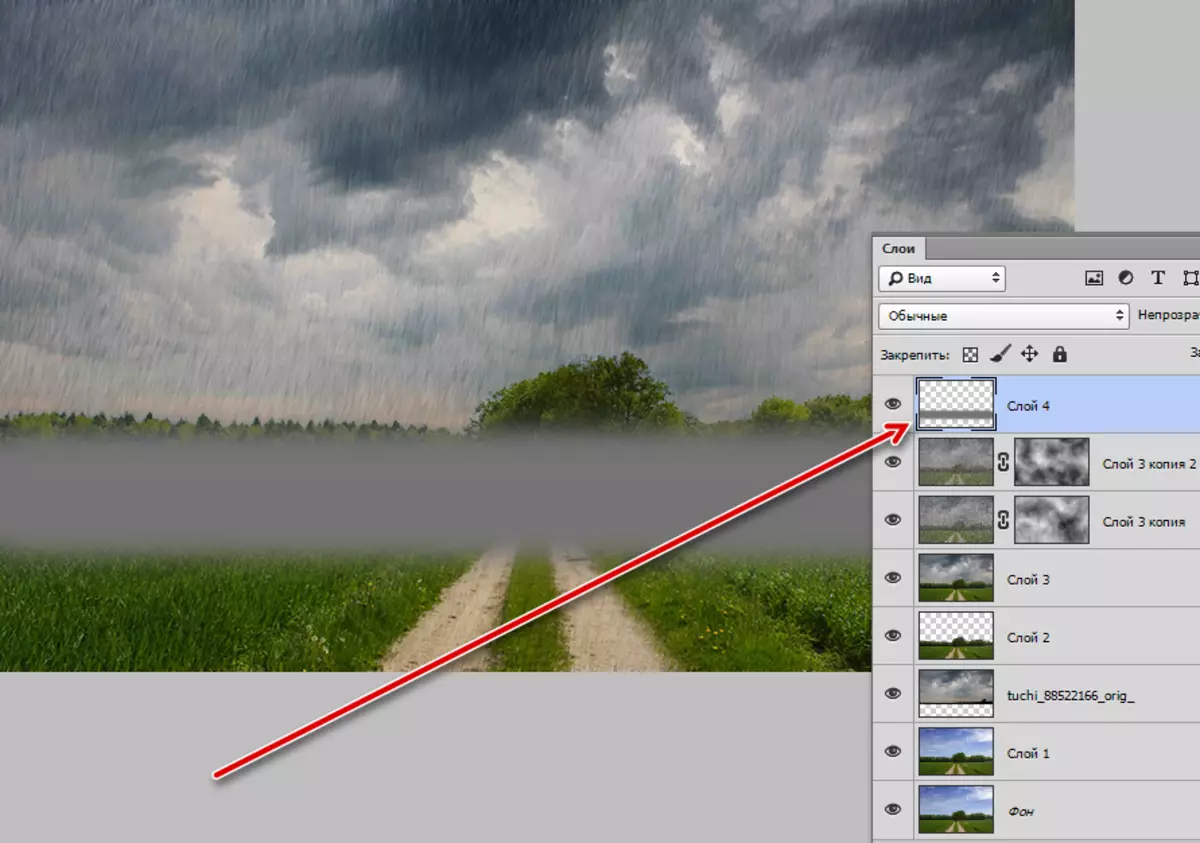
Create jets of rain
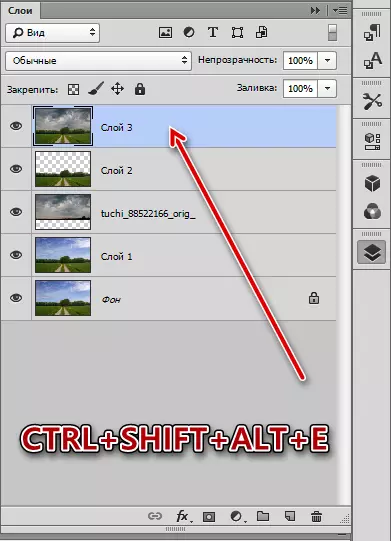
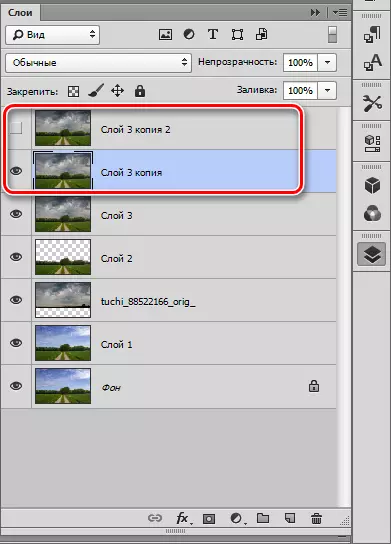
- Go to the top layer and create a print with a CTRL + SHIFT + ALT + E key combination.
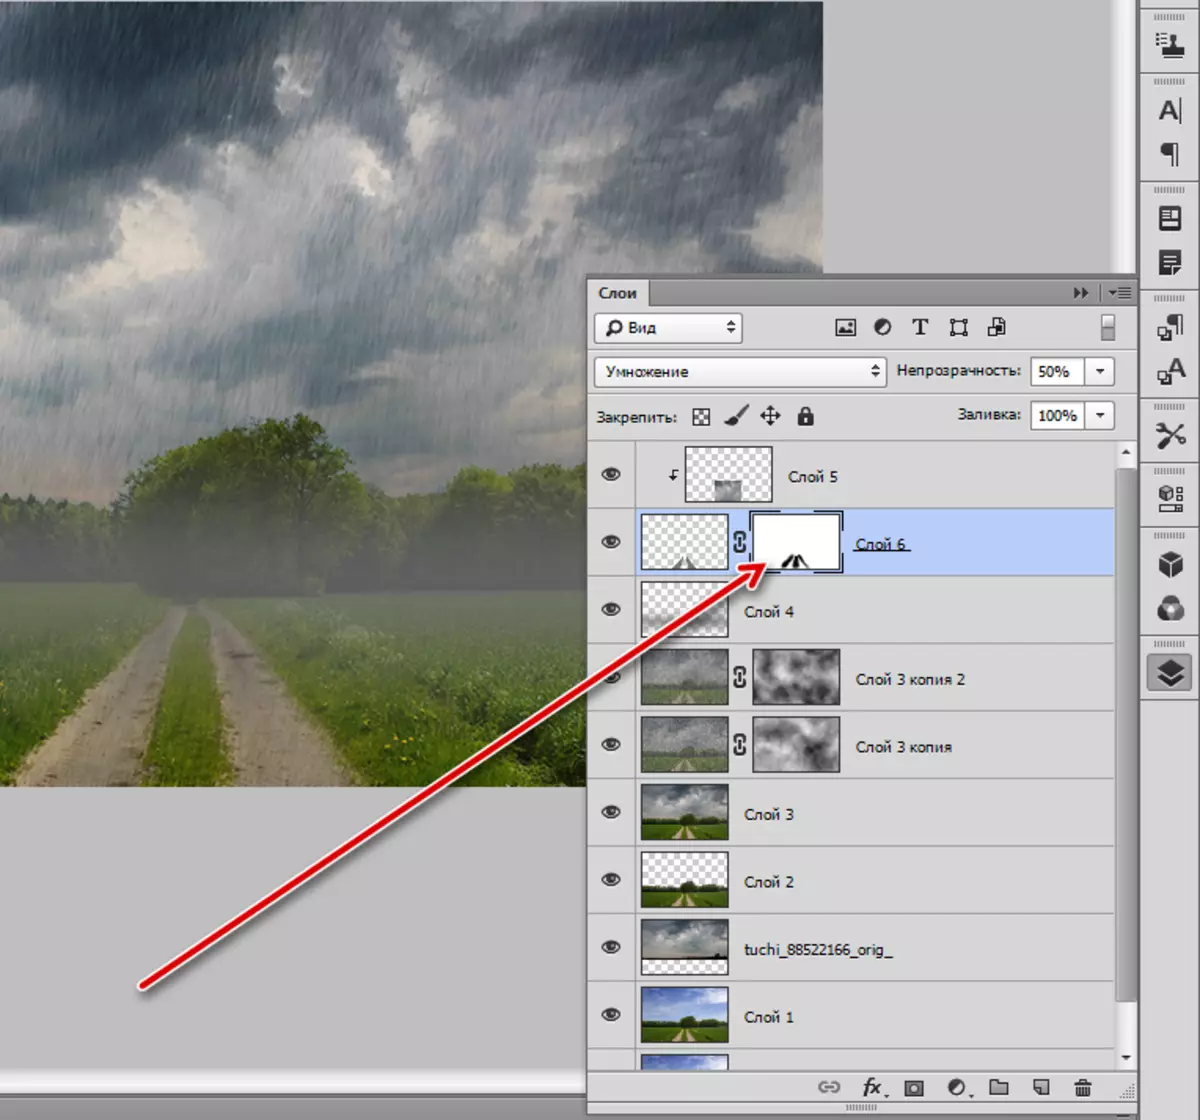
- Create two copies of the print, go to the first copy, and with the top remove visibility.
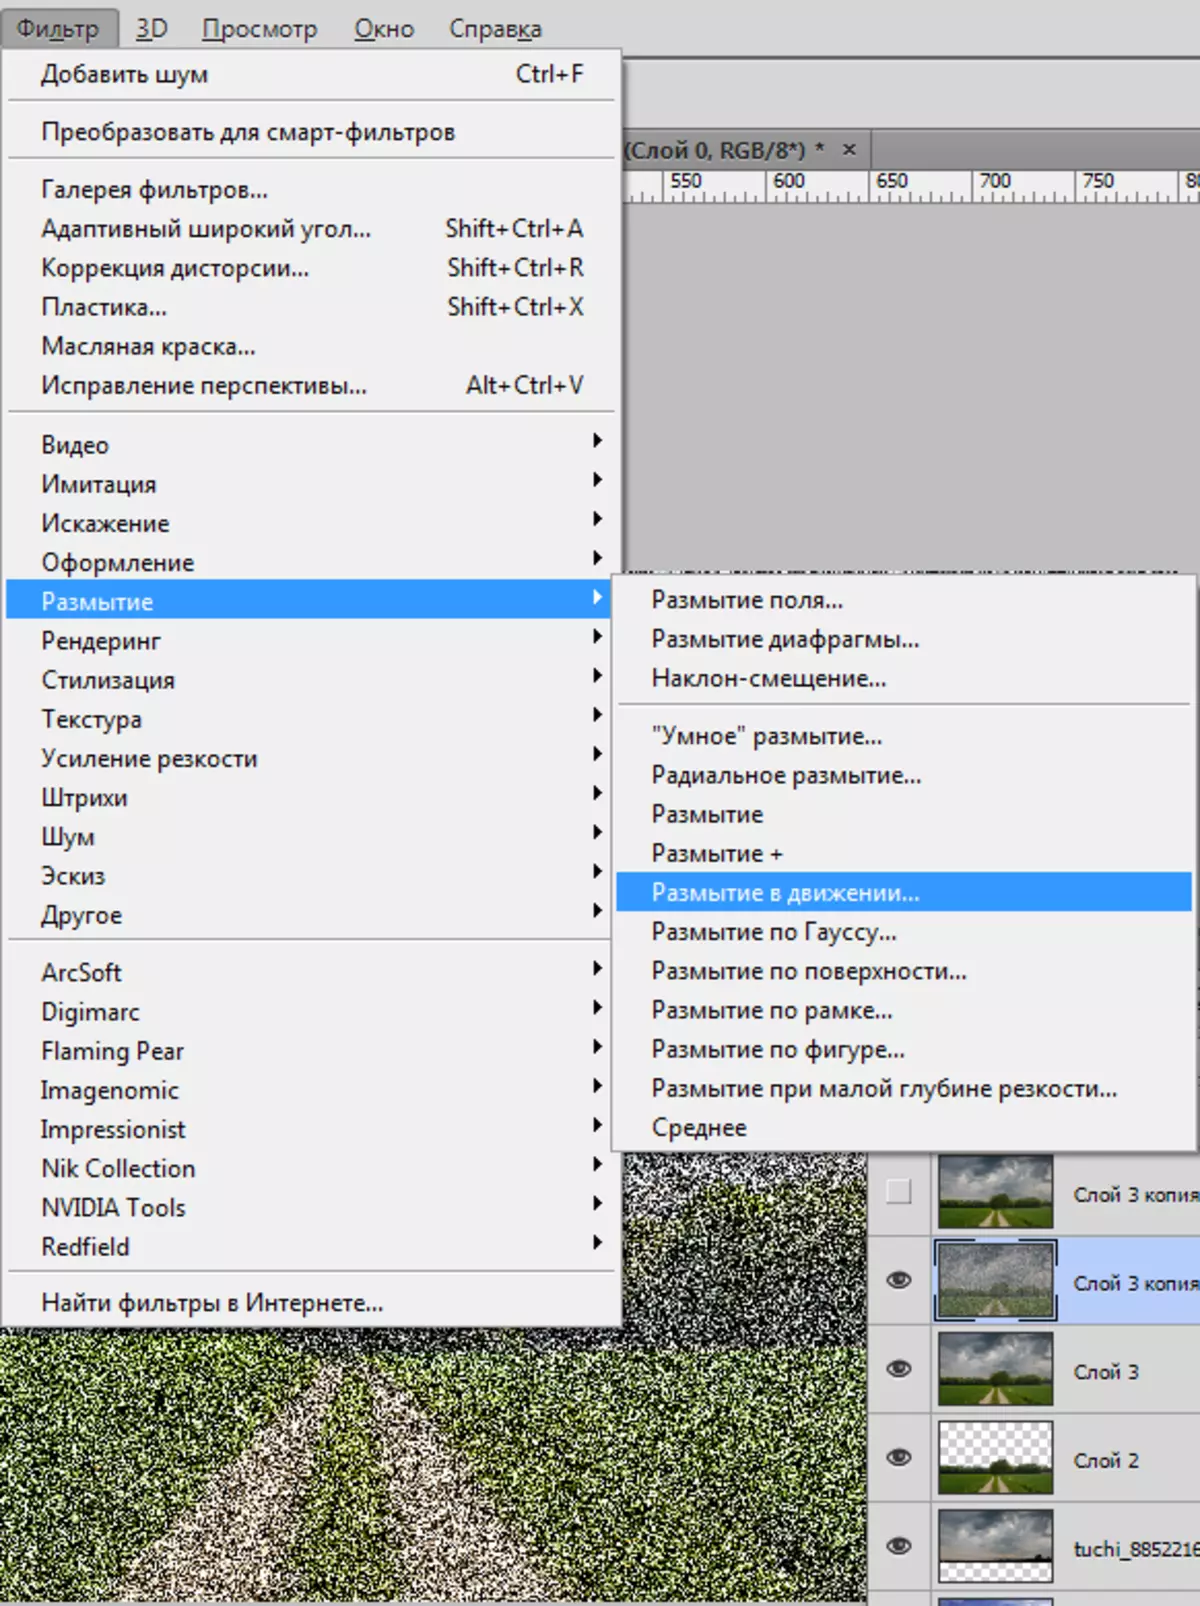
- We go to the "Filter-Shum - Add Noise" menu.

- The grain size should be quite large. We look at the screenshot.

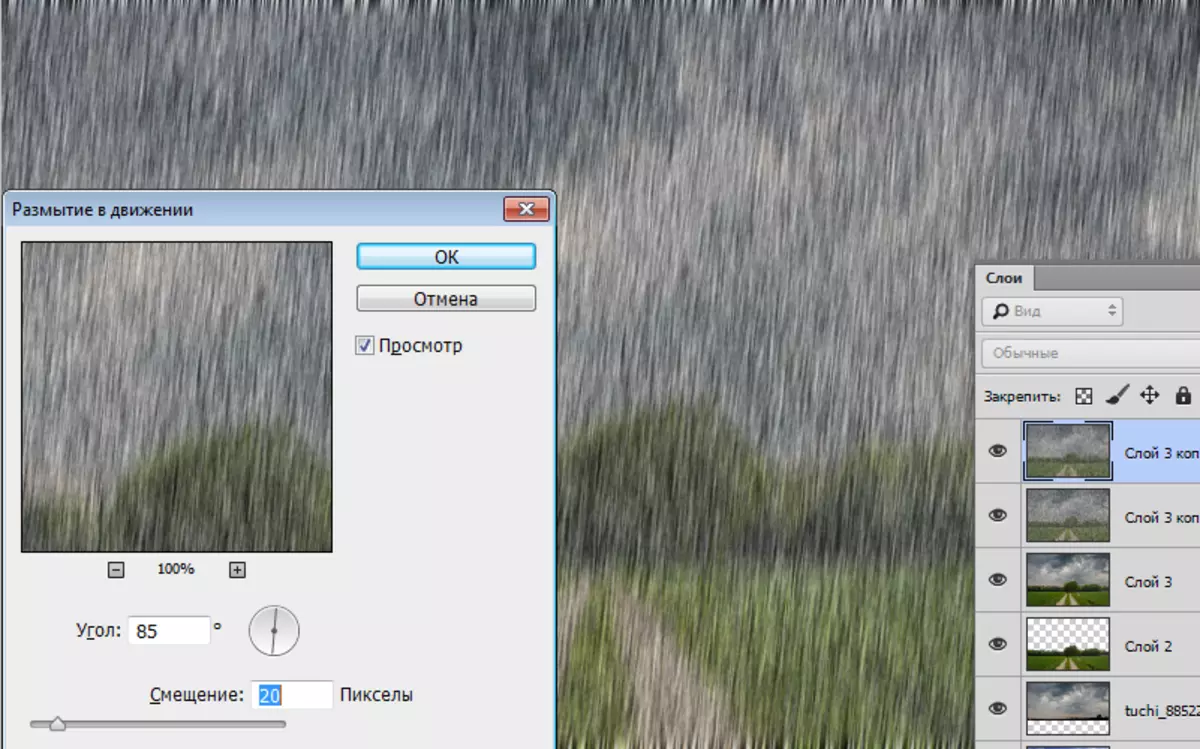
- Then go to the "Filter - Blur" menu and choose "Blur in motion".
In the filter settings, set an angle value of 70 degrees, offset 10 pixels.

- Click OK, go to the top layer and include visibility. Apply the "Add Noise" filter again and go to "blur in motion." Angle this time exhibit 85%, offset - 20.
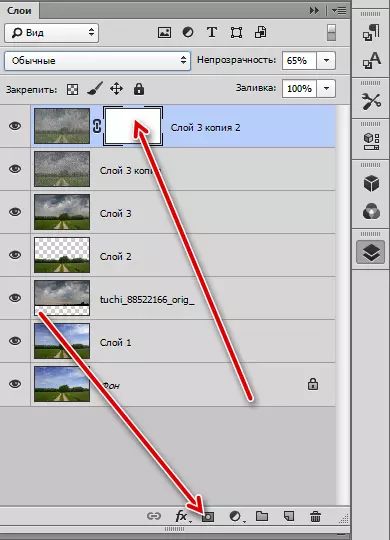
- Next, create a mask for the top layer.
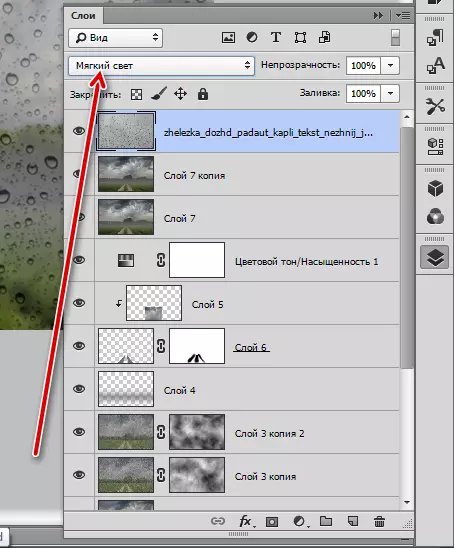
- Go to the "Filter - Render - Clouds" menu. No need to set up, everything happens in automatic mode.
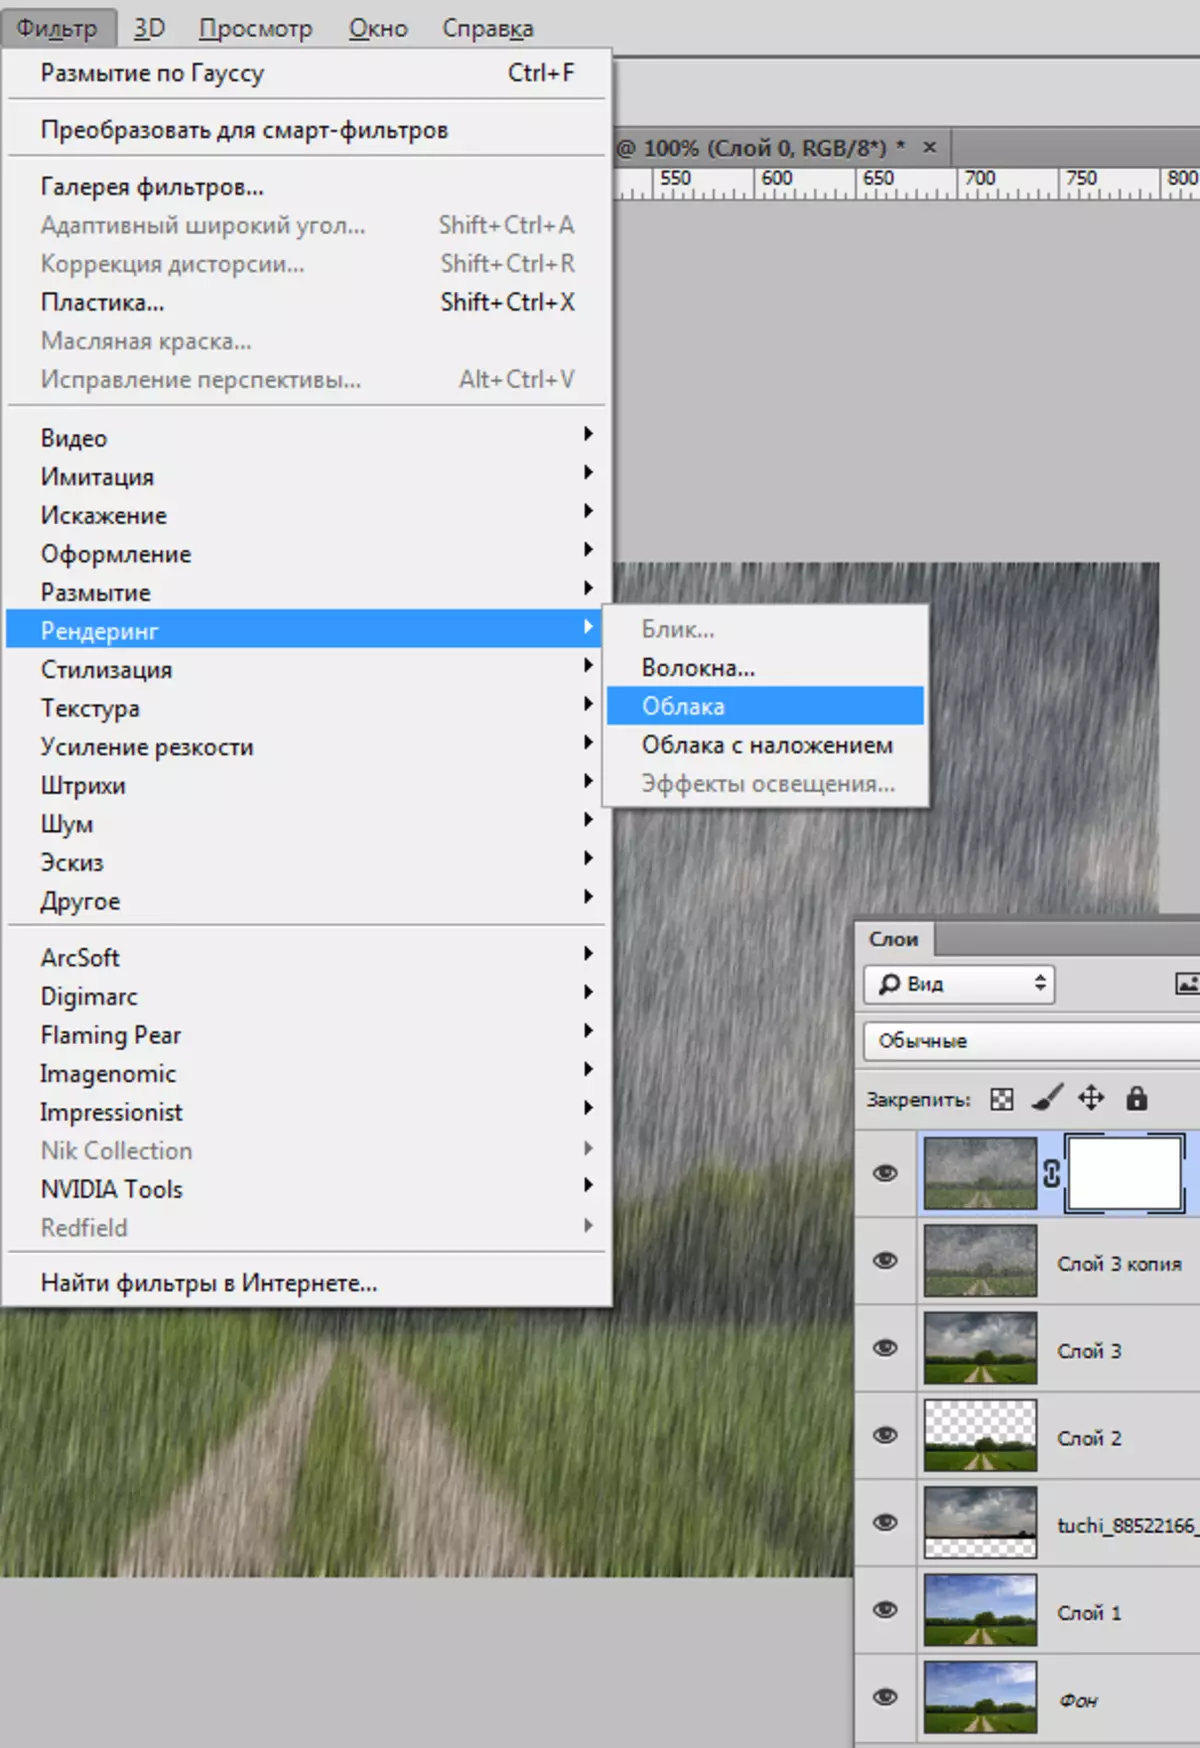
The filter will fill the mask here in this way:
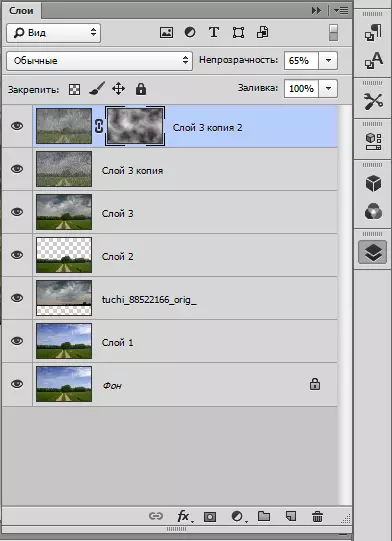
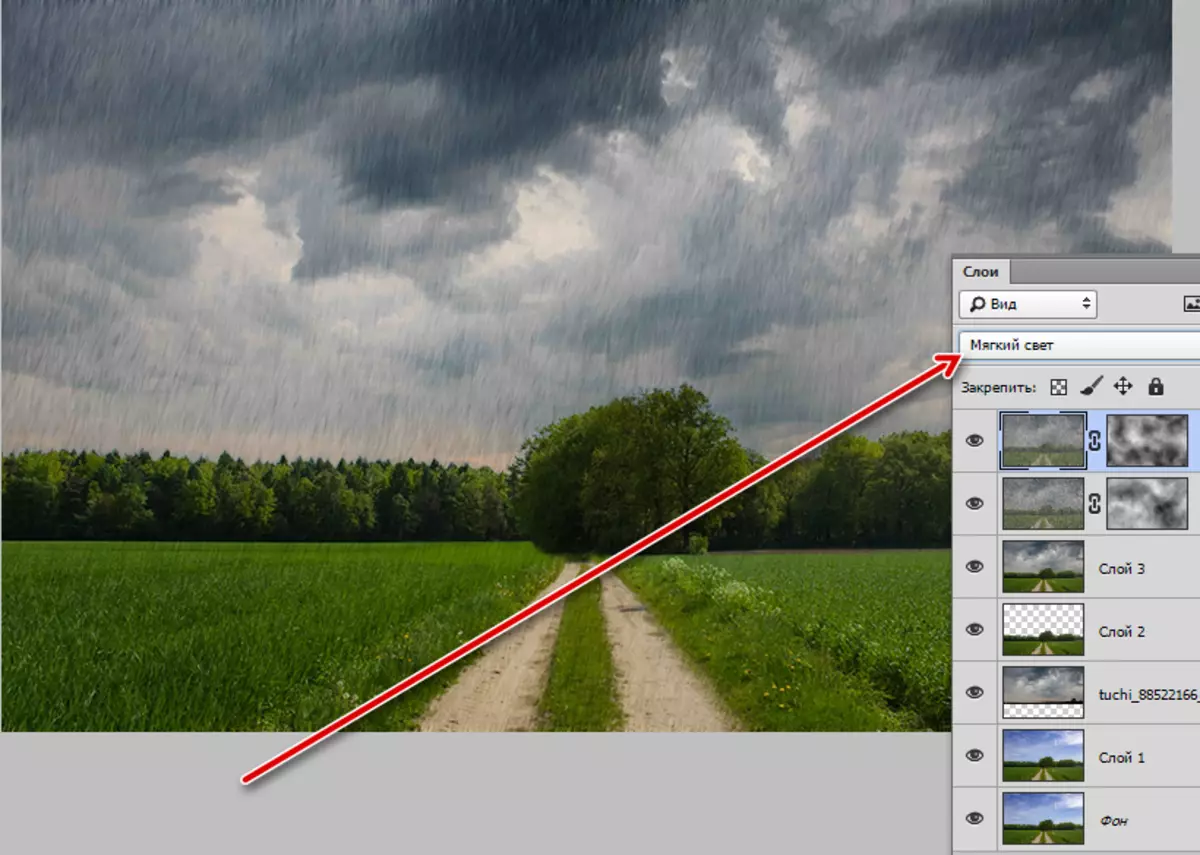
- These actions must be repeated on the second layer. After completion, you need to change the overlay mode for each layer to the "soft light".
Create fog
As you know, the humidity is strongly risted during the rain, and fog is formed.
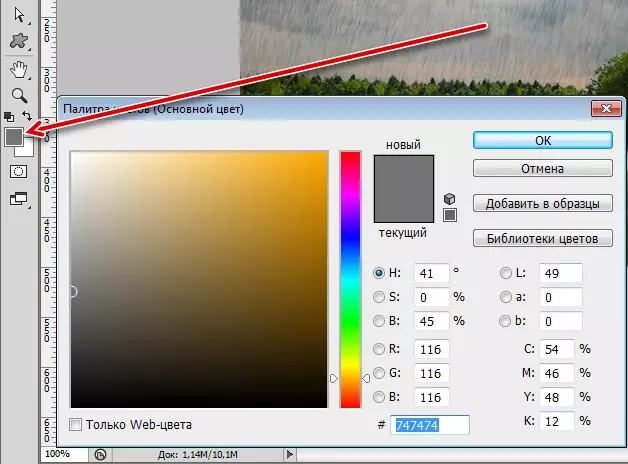
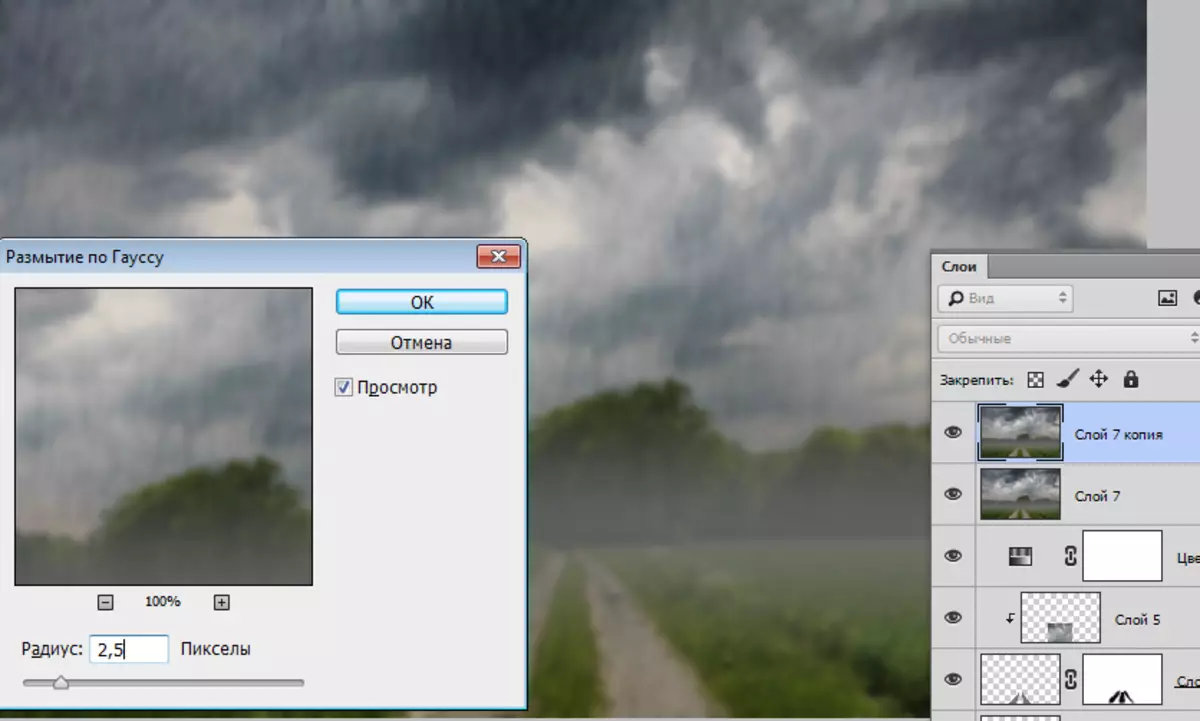
- Create a new layer,
Take a brush and set up color (gray).
- On the created layer we carry out a fatty strip.
- We go to the menu "Filter - Blur - Blur in Gauss".

Radius value exhibit "on the eye". The result should be the transparency of the entire strip.

Wet road
Next, we work with the road, because we have rain, and it should be wet.
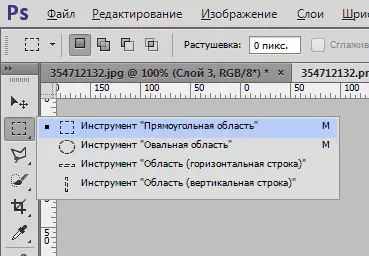
- Take the tool "Rectangular region",
Go to layer 3 and highlight a piece of the sky.
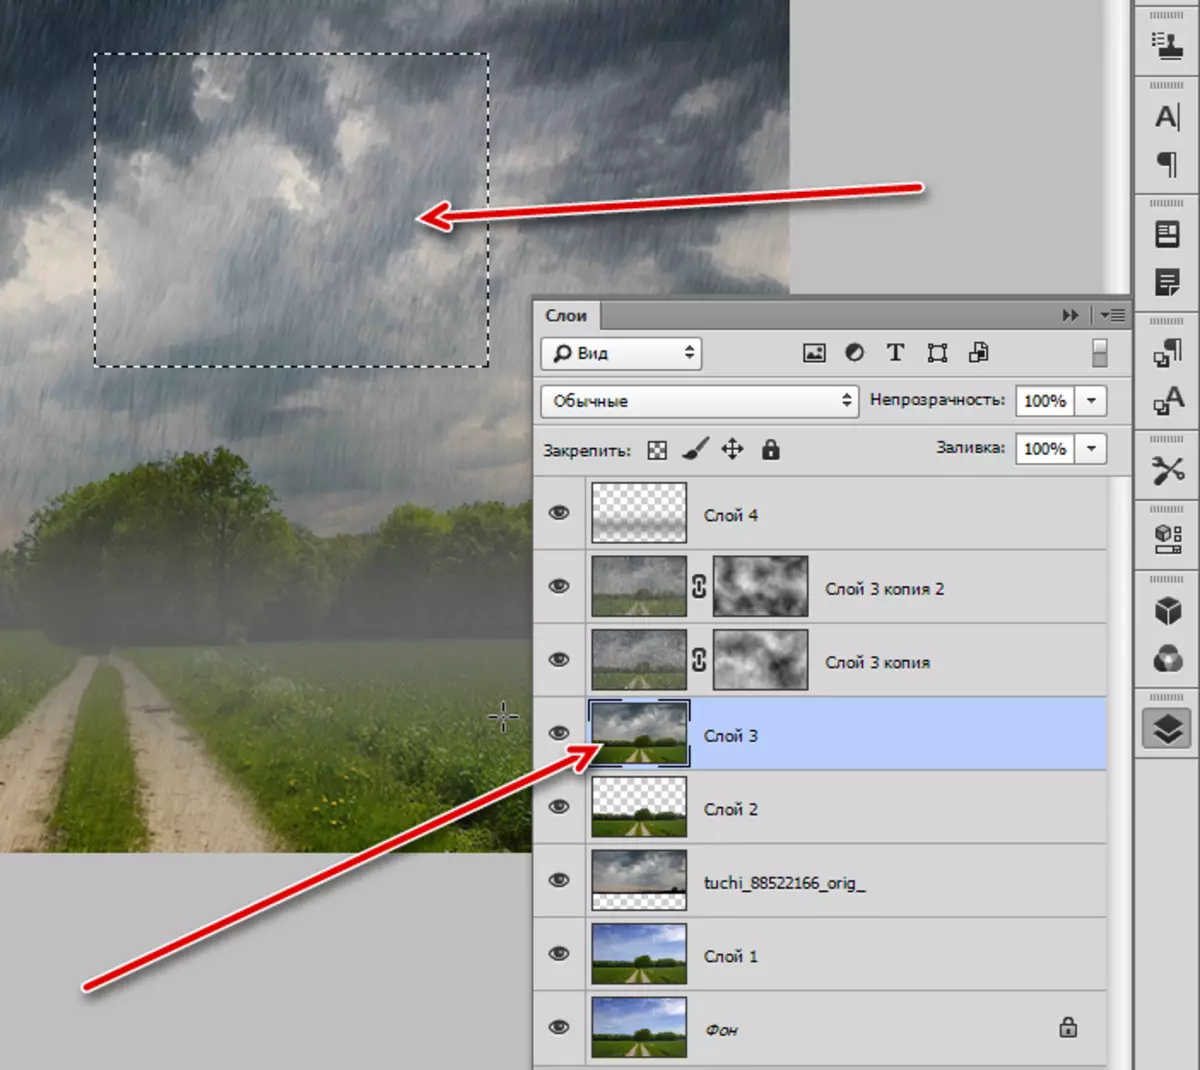
Then press Ctrl + J, copying the plot to the new layer, and put it at the very top of the palette.
- Next you need to highlight the road. Create a new layer, choose "straight Lasso".

- We allocate both gauge at once.
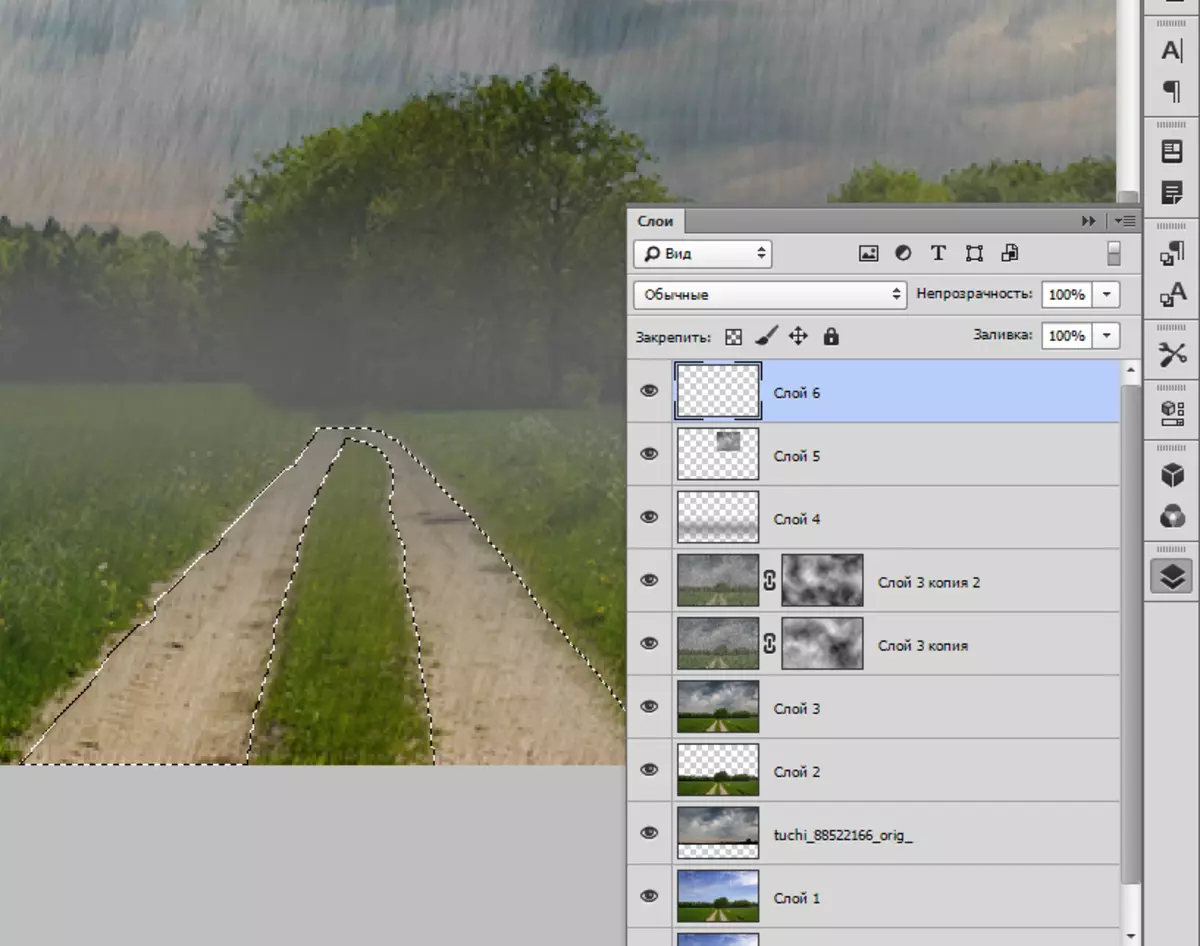
- We take a brush and paint the selected area in any color. Selection by removing the Ctrl + D keys.
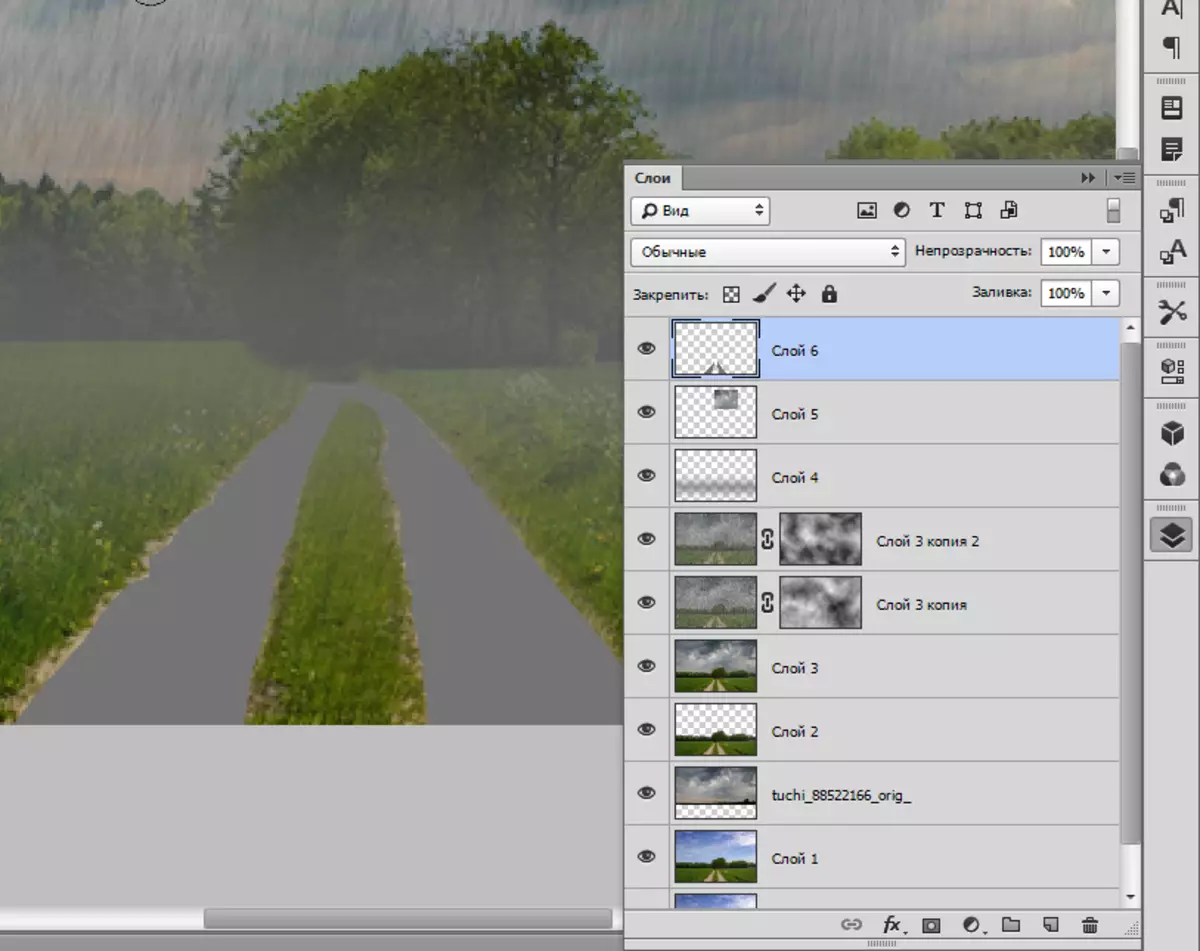
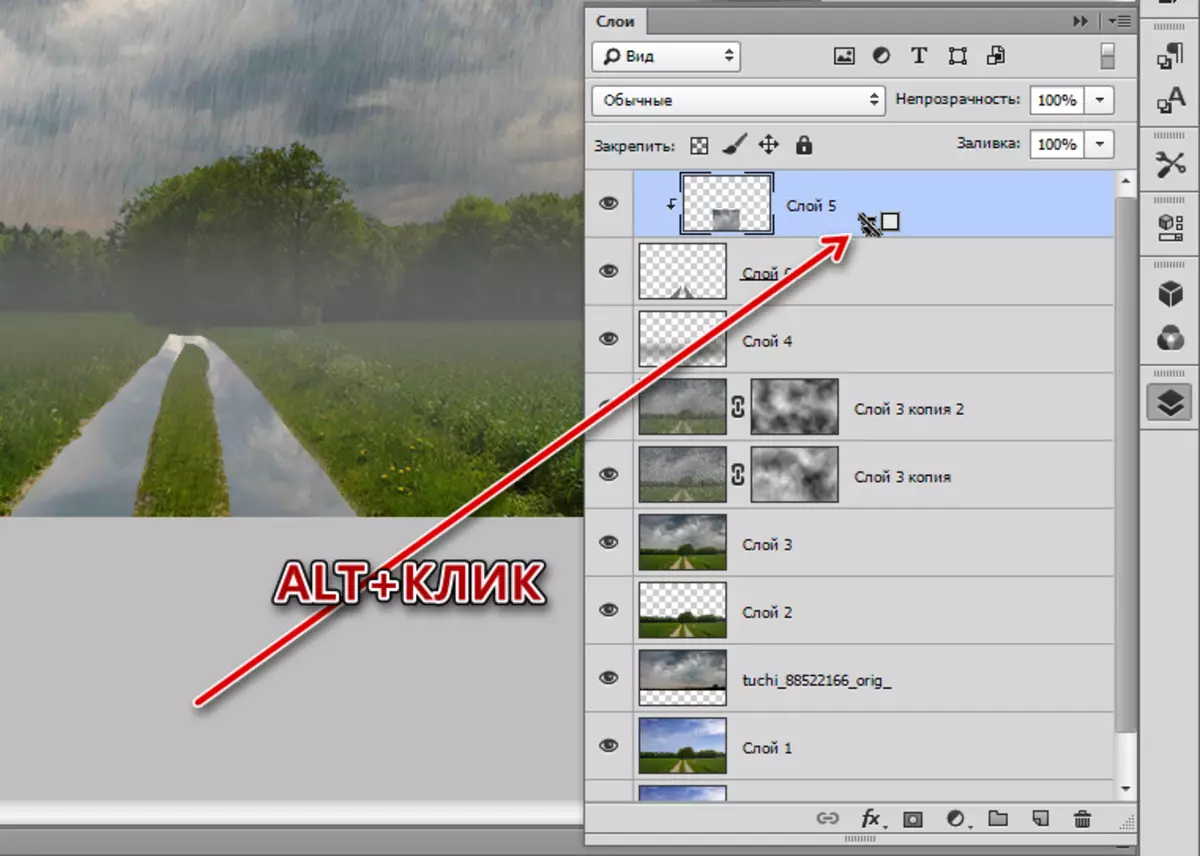
- Move this layer under the layer with the sky site and put the site on the road. Then clamp Alt and click on the border of the layer, creating a clipping mask.
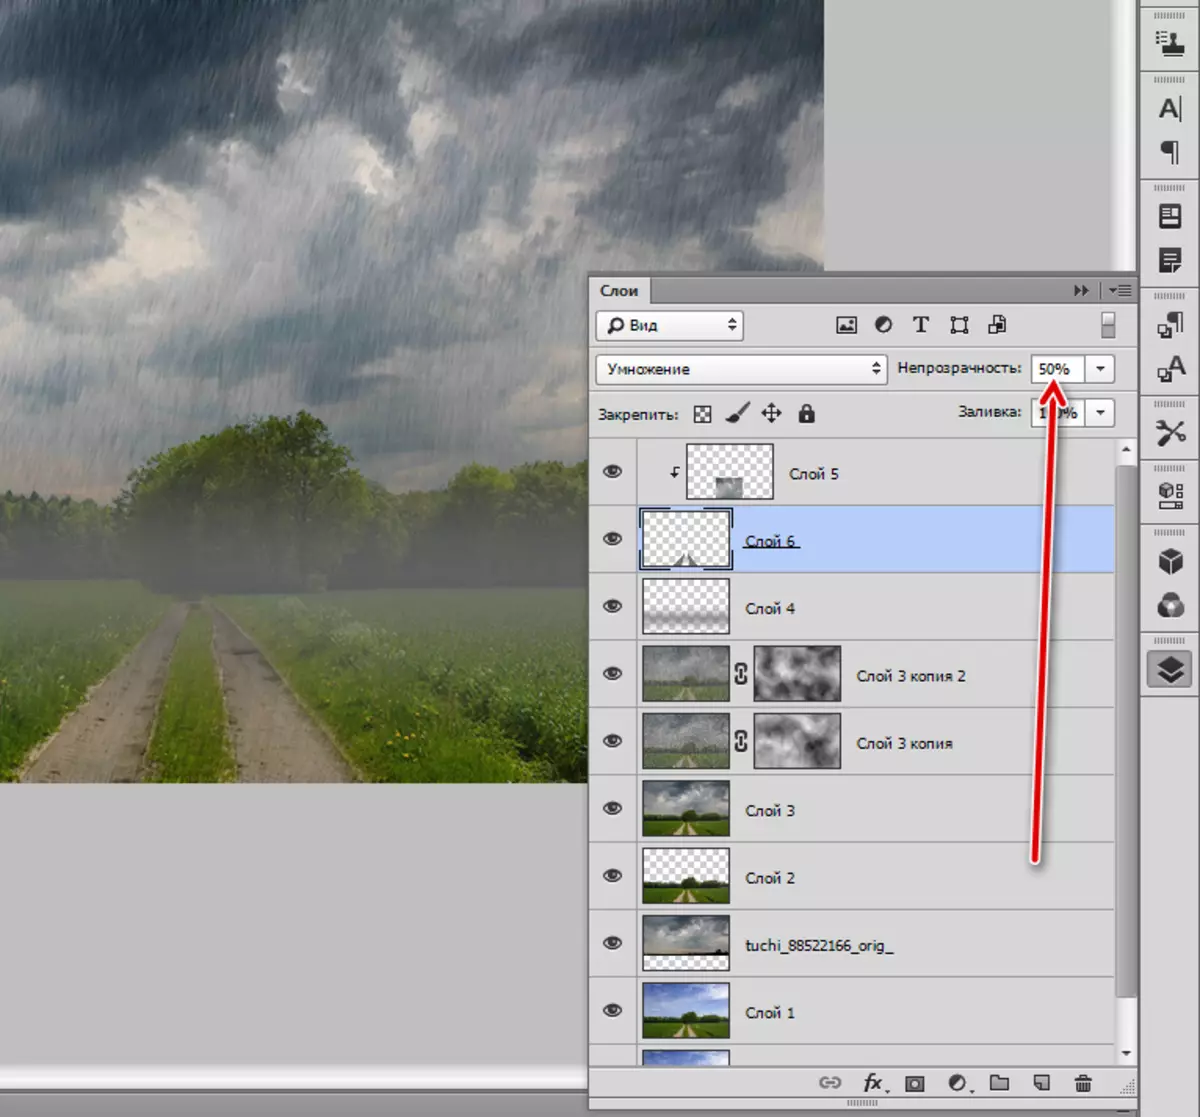
- Next, go to the layer with the road and reduce its opacity to 50%.
- To smooth out sharp boundaries, we create a mask for this layer, take a black brush with opacity 20 - 30%.

- We take place along the road contour.
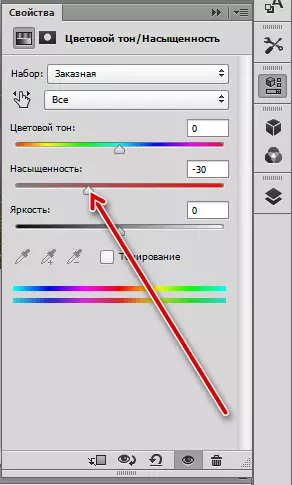
Reducing colors saturation
The next step is to reduce the overall saturation of colors in the photo, as the paint rain is a little blinking.
- We use the correction layer "Color Tone / Saturation".
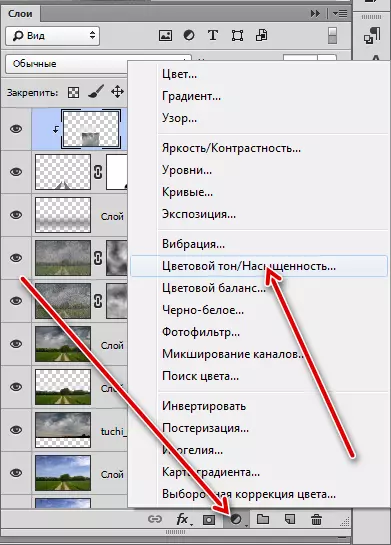
- Move the appropriate slider to the left.
Finishing treatment
It remains to create the illusion of the stamped glass and add drops of rain. Textures with drops in a wide range are presented on the network.
- Create a layer imprint (Ctrl + SHIFT + ALT + E), and then another copy (Ctrl + J). Blind up the top copy of Gauss.
- We put the texture with drops at the very top of the palette and change the imposition mode on the "soft light".
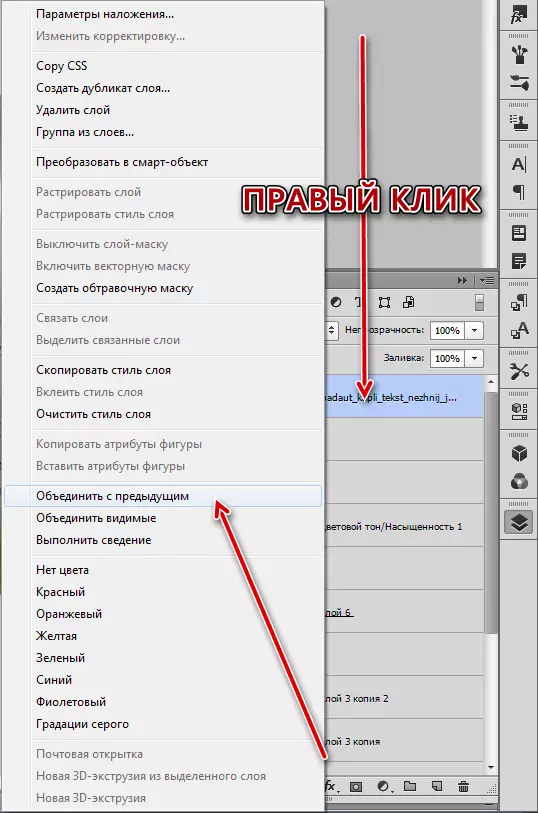
- We combine the top layer with the previous one.
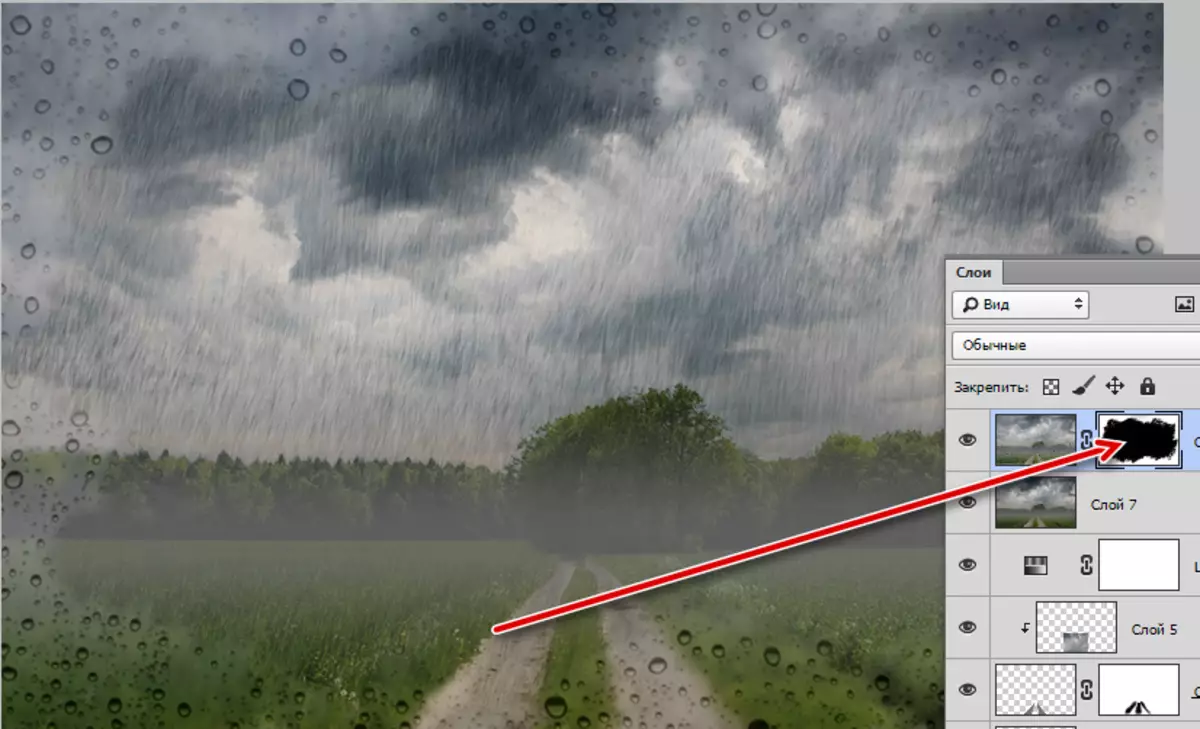
- Create a mask for the combined layer (white), we take a black brush and erase part of the layer.
- Let's see what we did.
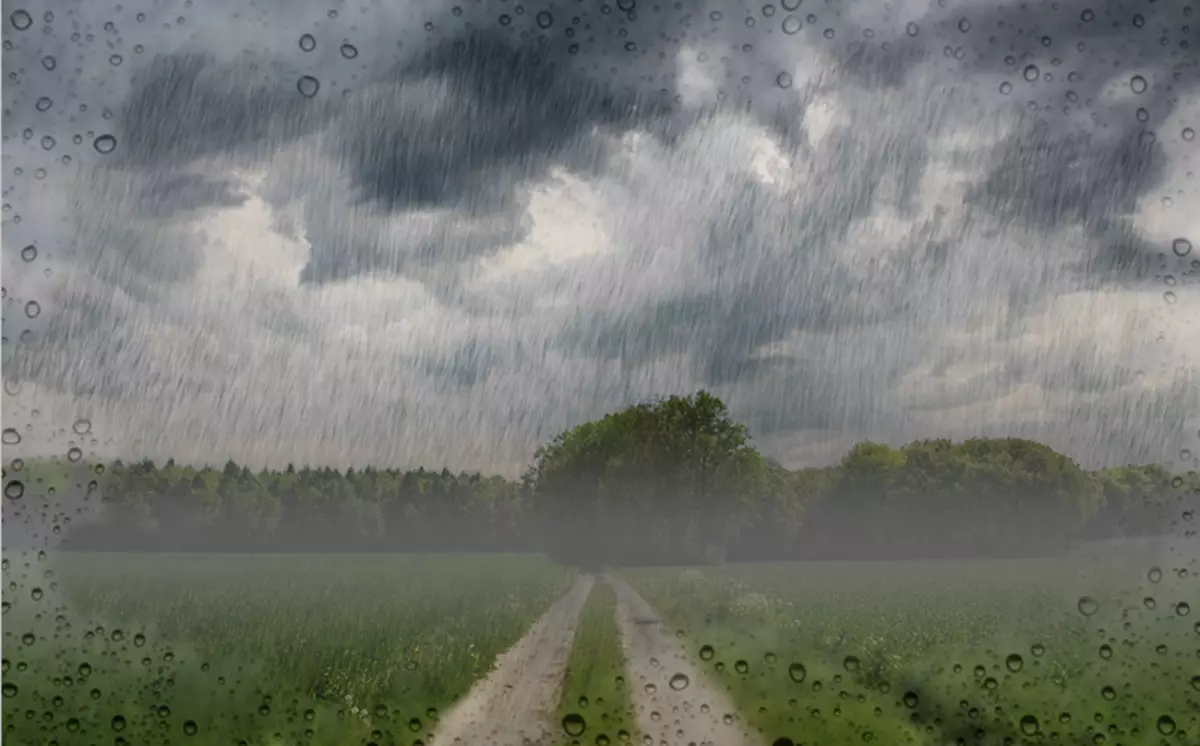
If it seems to you that the rain jets are too pronounced, then the opacity of the corresponding layers can be reduced.
On this lesson is over. Applying the techniques that were described today, you can imitate rain almost on any pictures.