

Creating reflection of objects from various surfaces is one of the most complex tasks in image processing, but if you own photoshop at least at the average level, it will not be a problem.
This lesson will devote to the creation of reflections of the object on the water. To achieve the desired result, we use the "Glass" filter and create a user texture for it.
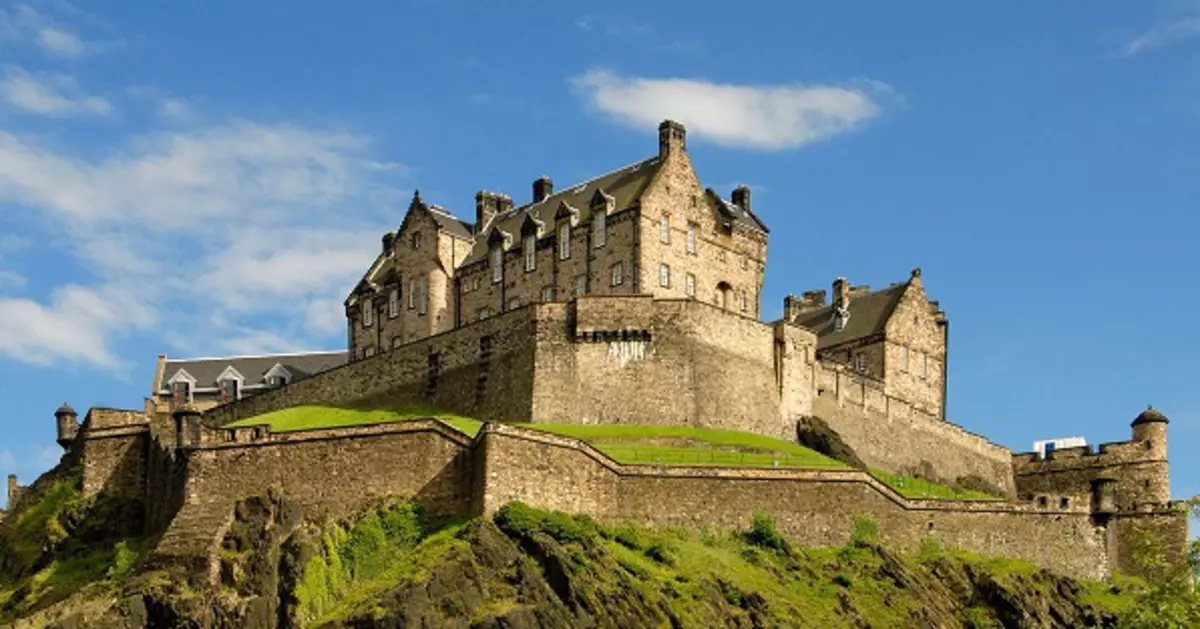
Imitation of reflection in water
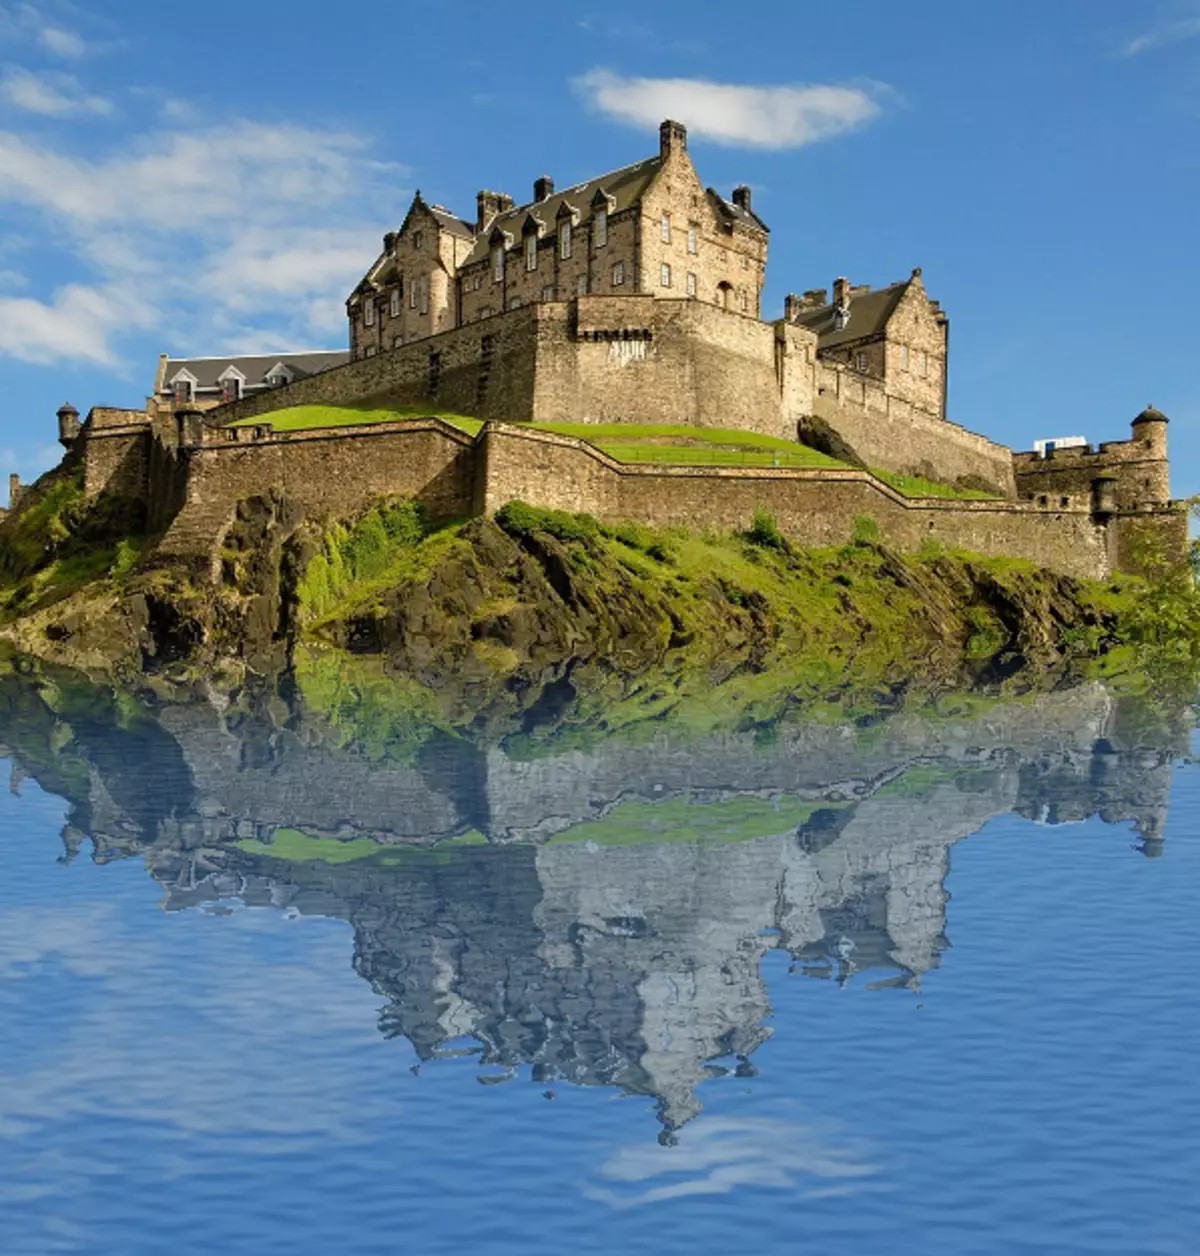
An image that we will process:
Preparation
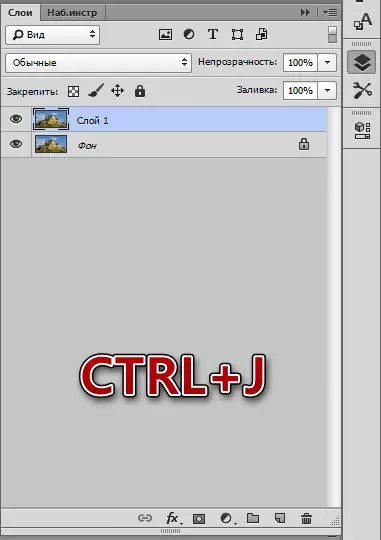
- First of all, you need to create a copy of the background layer.
- In order to create a reflection, we need to prepare space for it. We go to the "Image" menu and click on the "Canvas size" item.
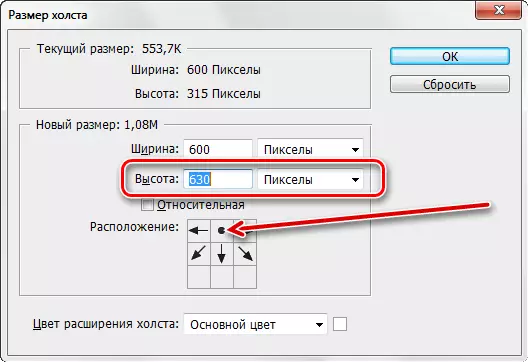
In the settings twice, we increase the height and change the location by clicking on the central arrow in the upper row.
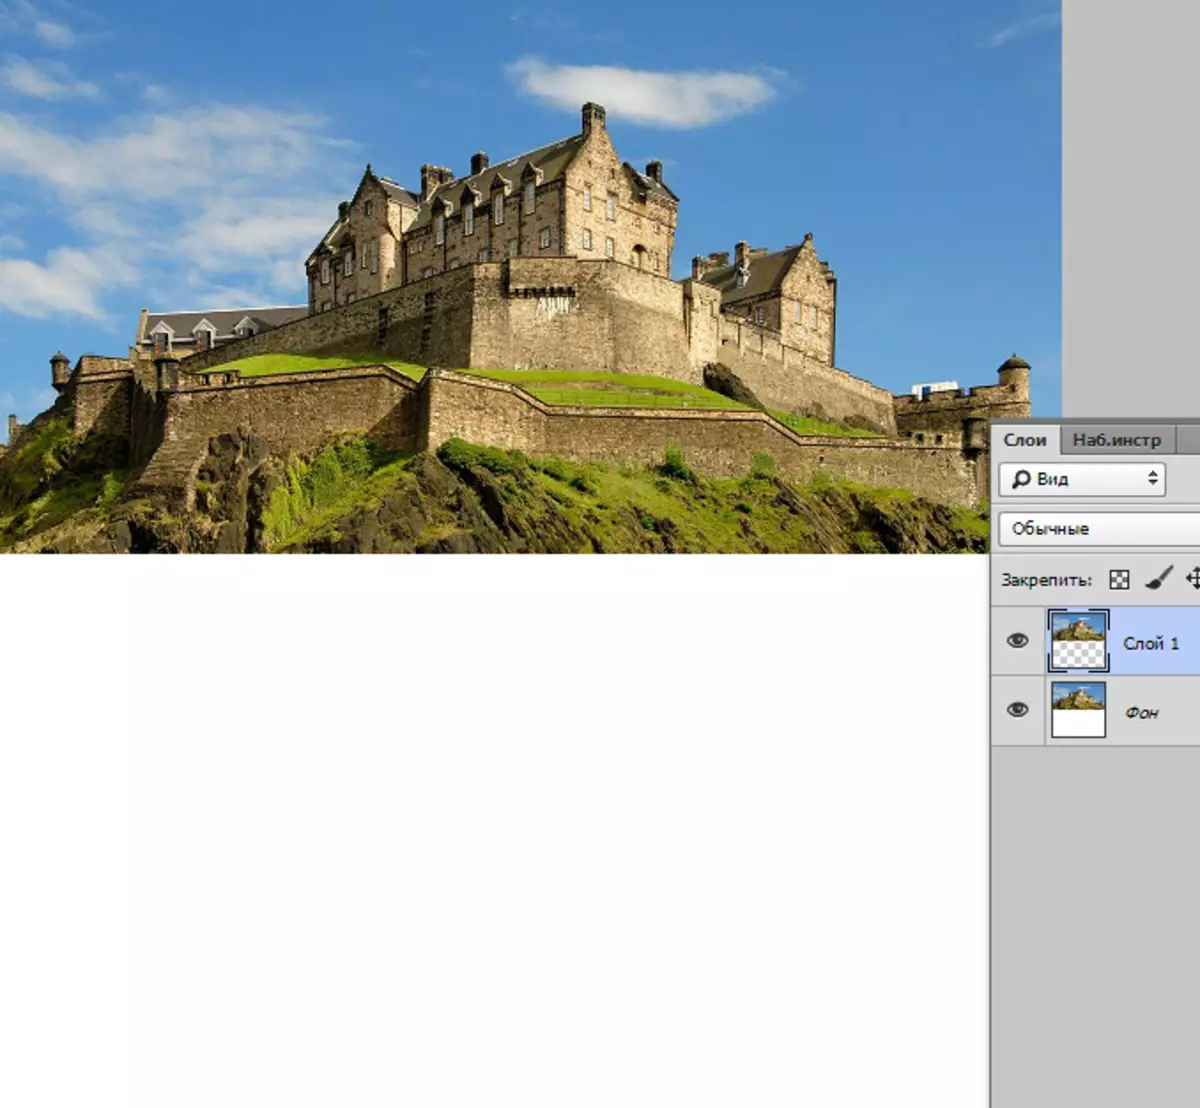
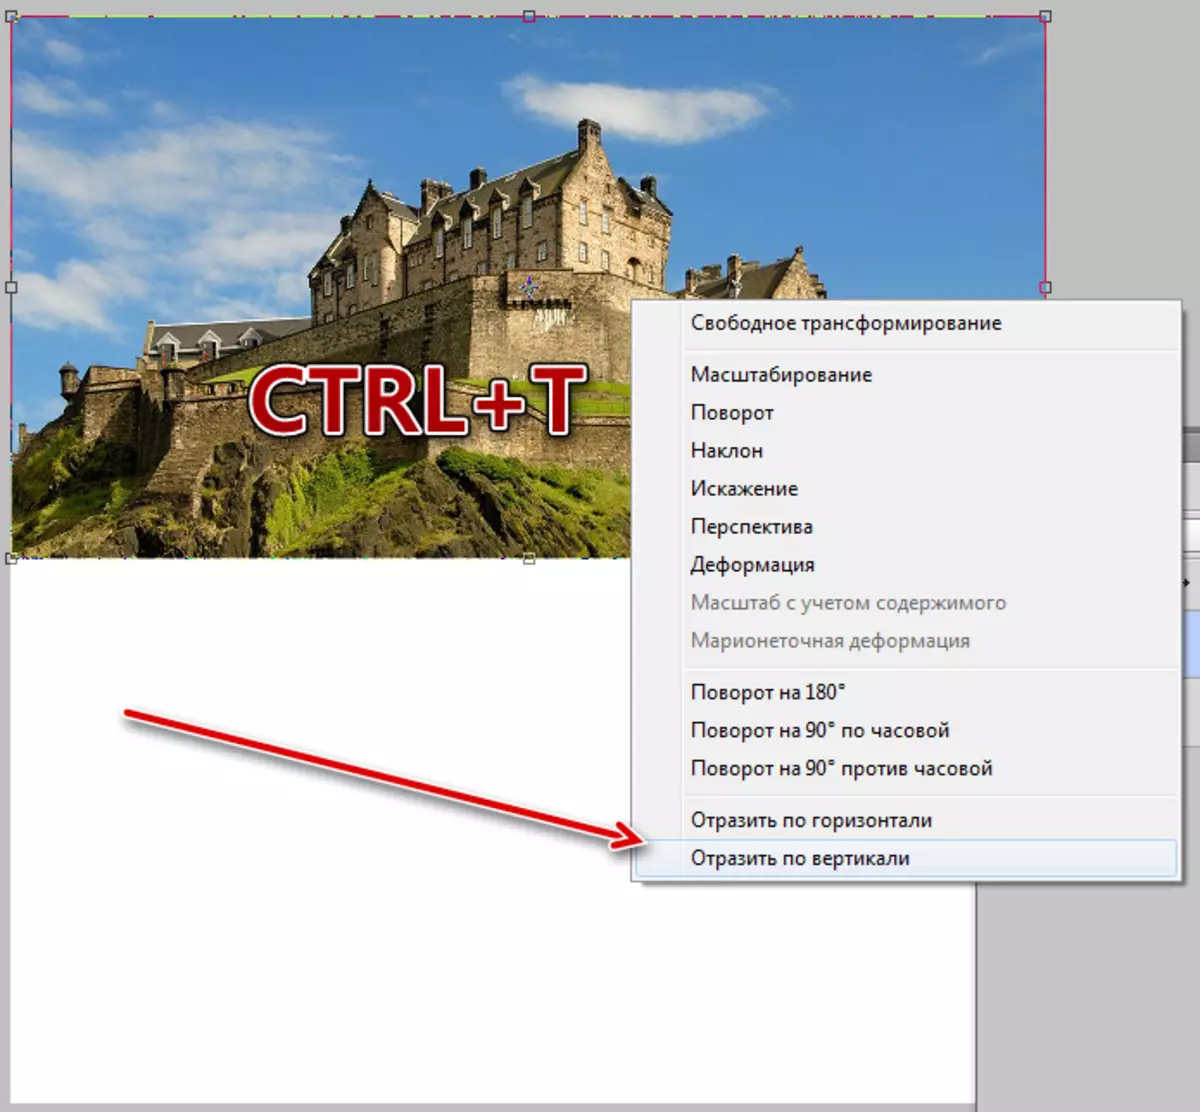
- Next, turn our image (top layer). We use the hot keys Ctrl + T, clicking the right mouse button inside the frame and select "Reflect vertical".
- After reflection, we move the layer for free space (down).
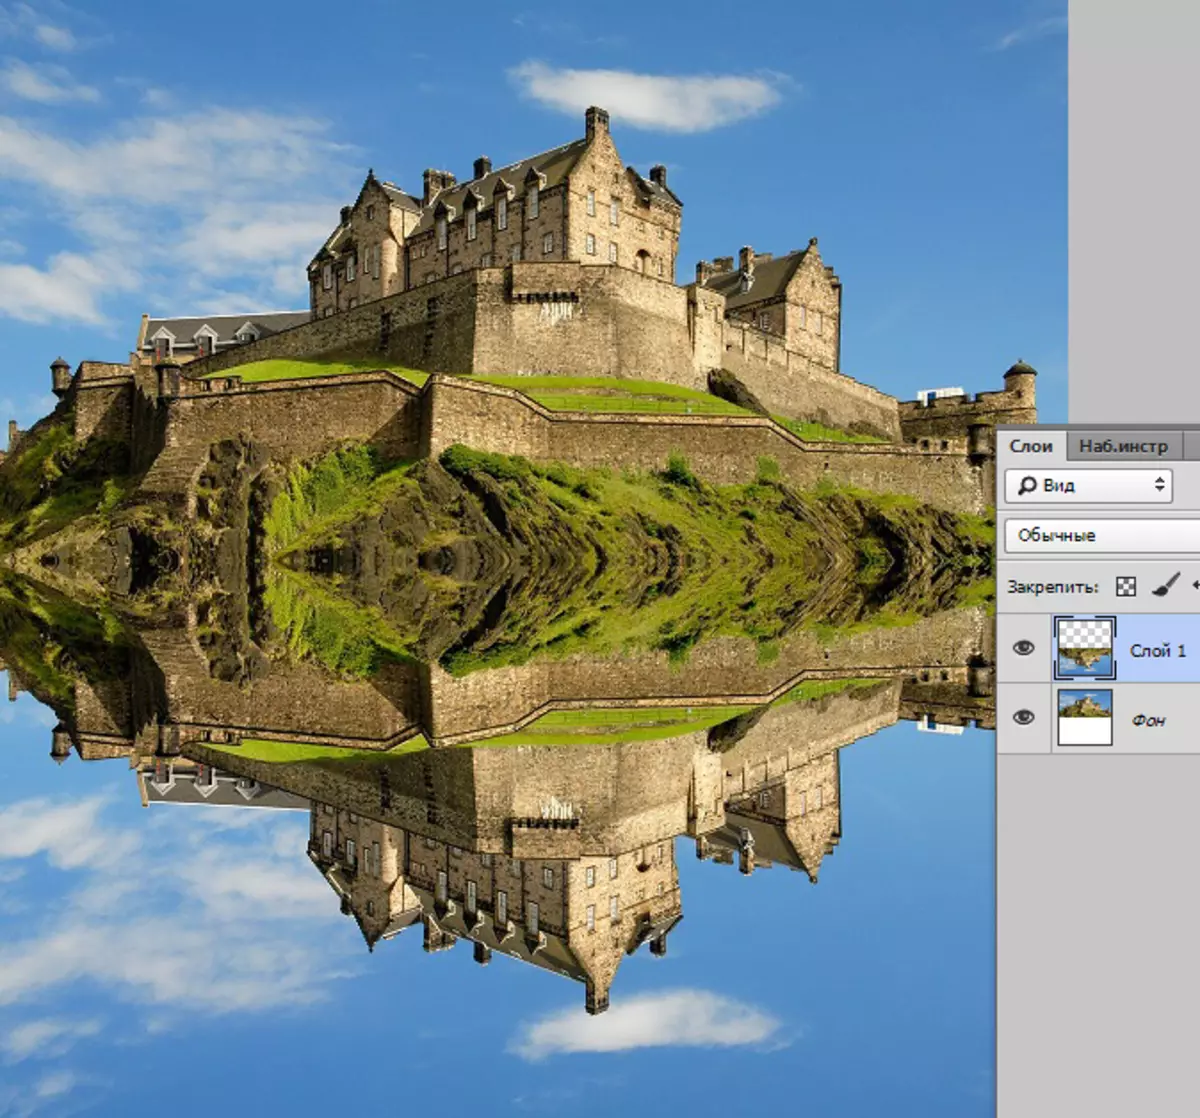
We performed the preparatory work, then we will deal with the texture.
Creating texture
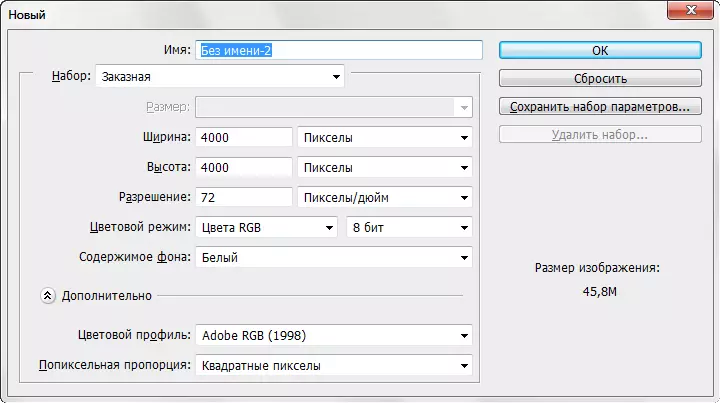
- Create a new document of large size with equal sides (square).
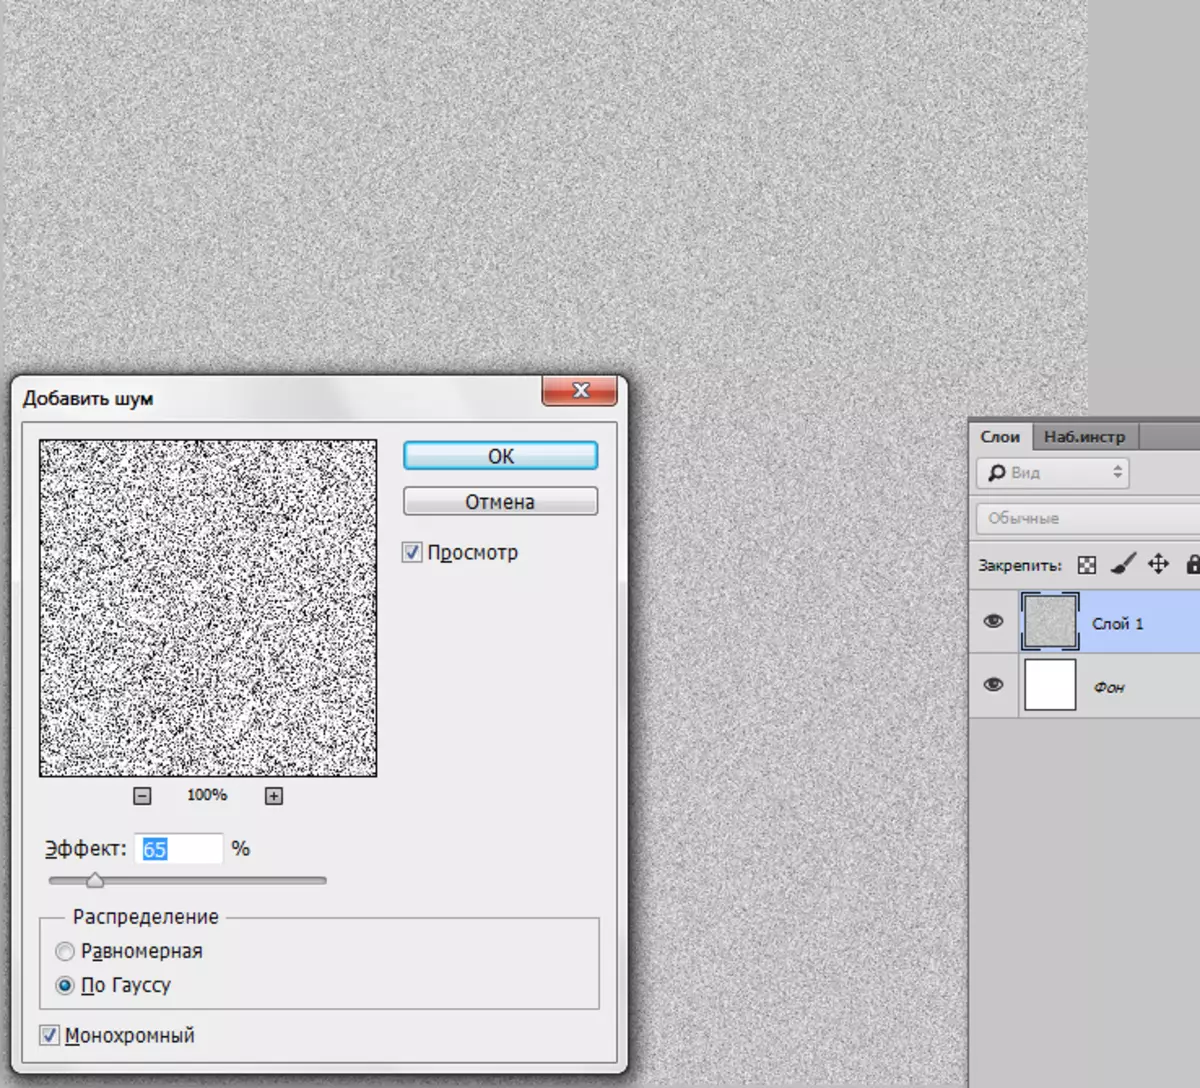
- Create a copy of the background layer and apply the "Add noise" filter to it, which is located in the "Filter - Noise" menu.

Effect value exhibit at 65%
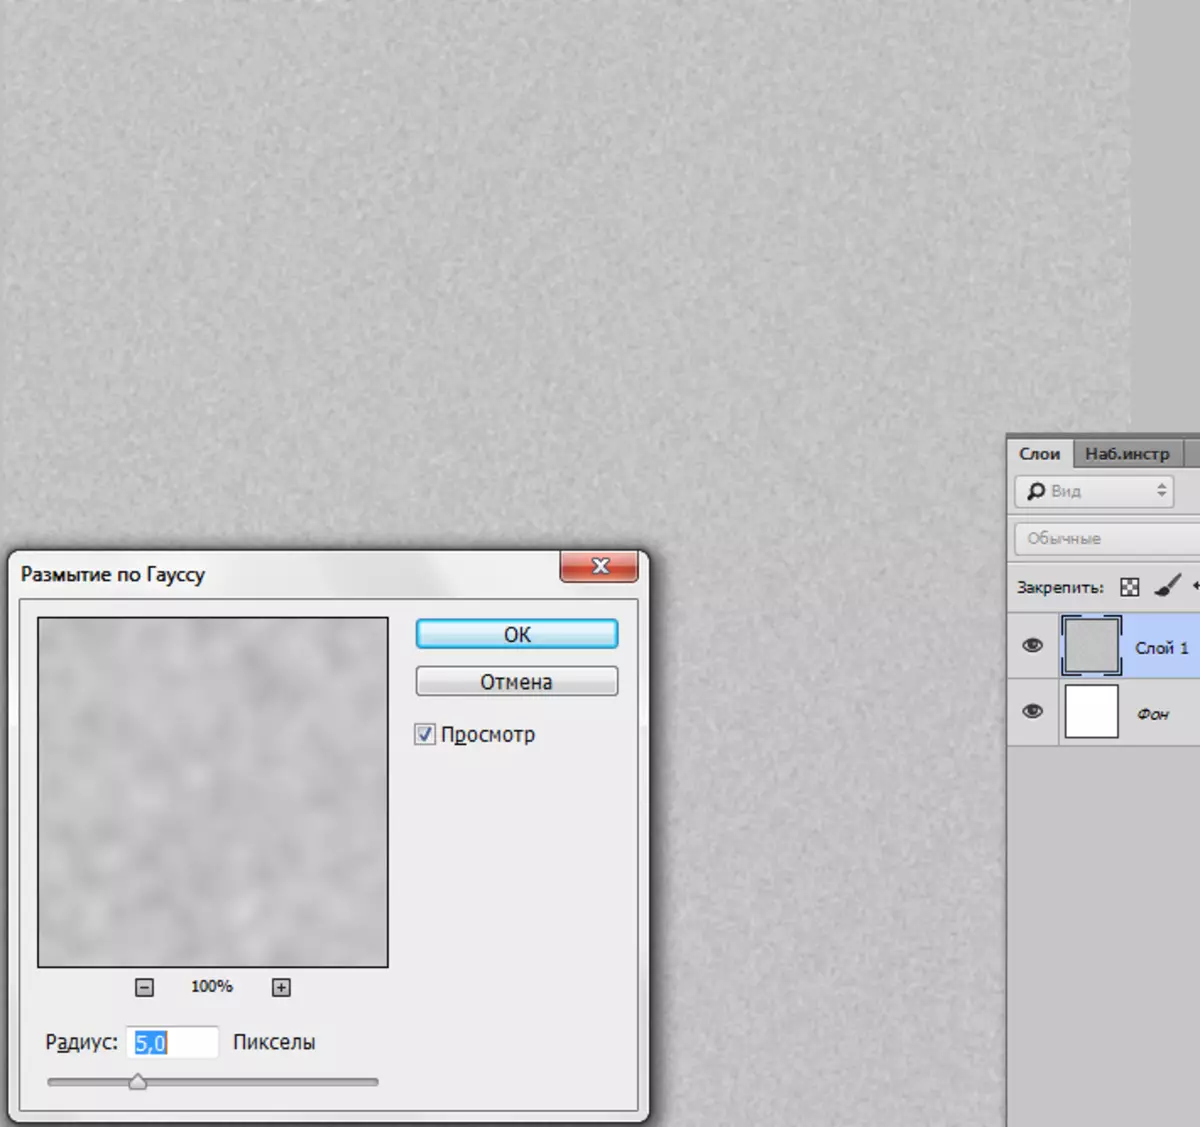
- Then you need to blur in Gauss. The tool can be found in the "Filter - Blur" menu.
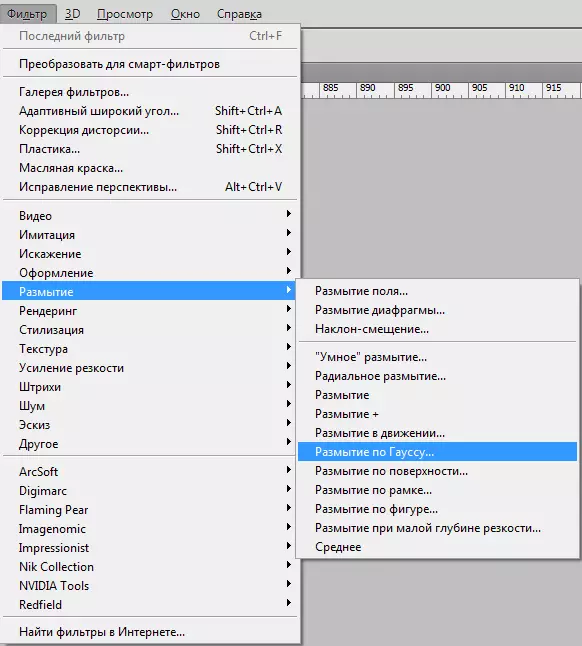
Radius exhibit 5%.
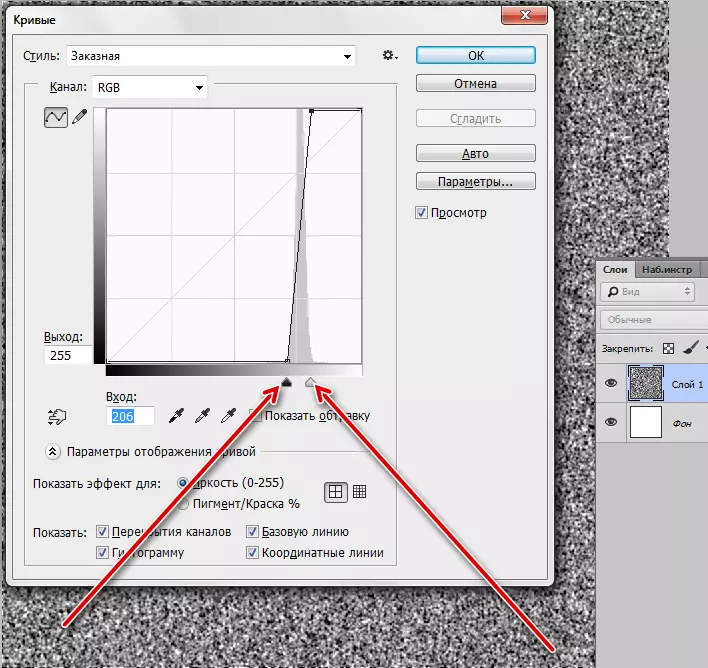
- Weighing the contrast of the layer with the texture. Press the Ctrl + M key combination, causing curves, and customize as indicated on the screenshot. Actually, just move the sliders.
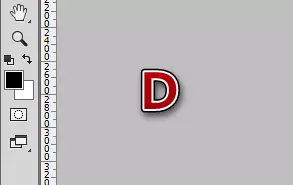
- The next step is very important. We need to lose colors to default (main - black, background - white). This is done by pressing the D key.
- Now we go to the "Filter - Sketch - Relief" menu.
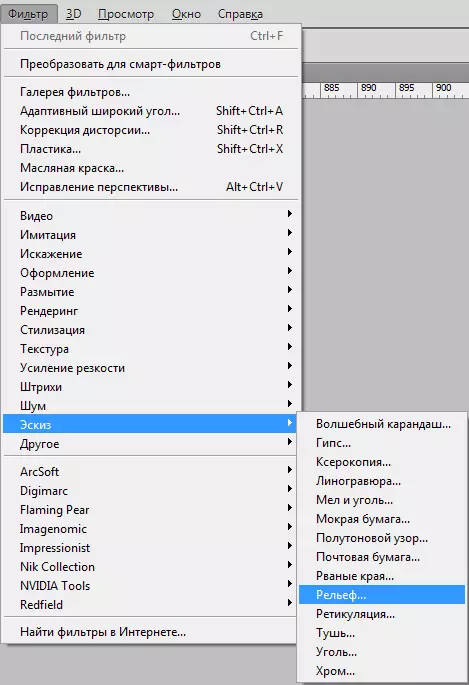
The value of the detail and offset is set to 2, the light is from below.

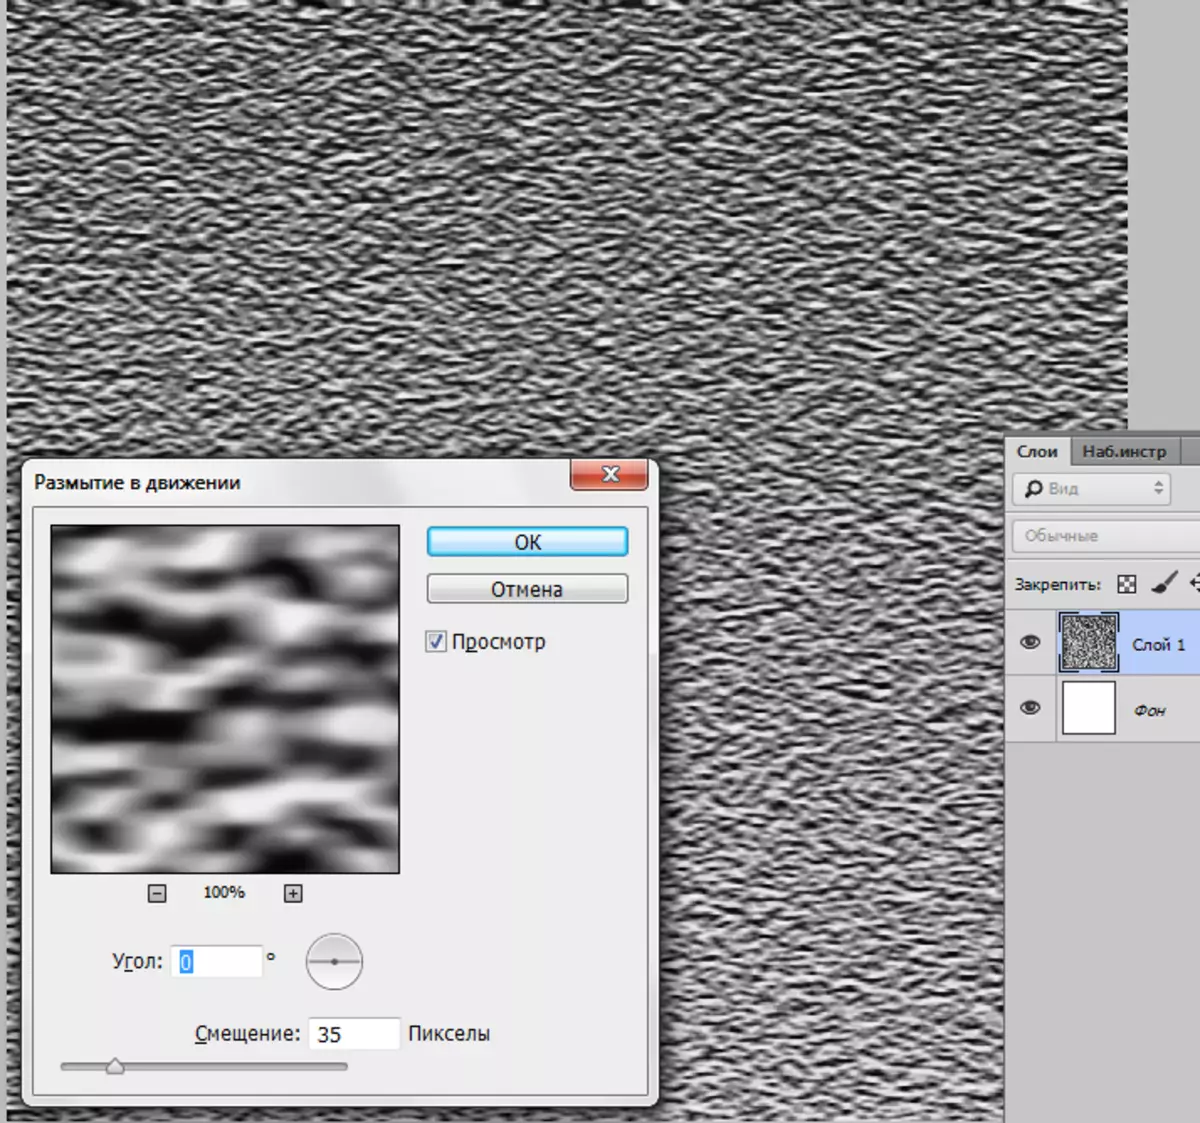
- Apply another filter - "The filter is blur - blur in motion."
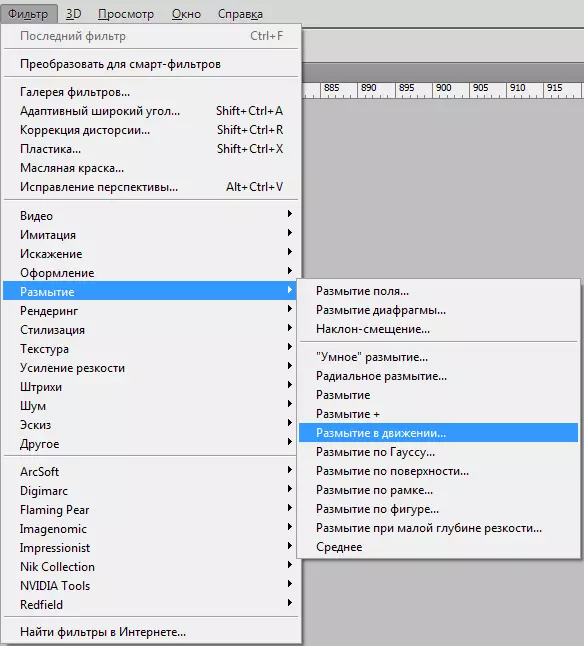
The offset should be 35 pixels, angle - 0 degrees.
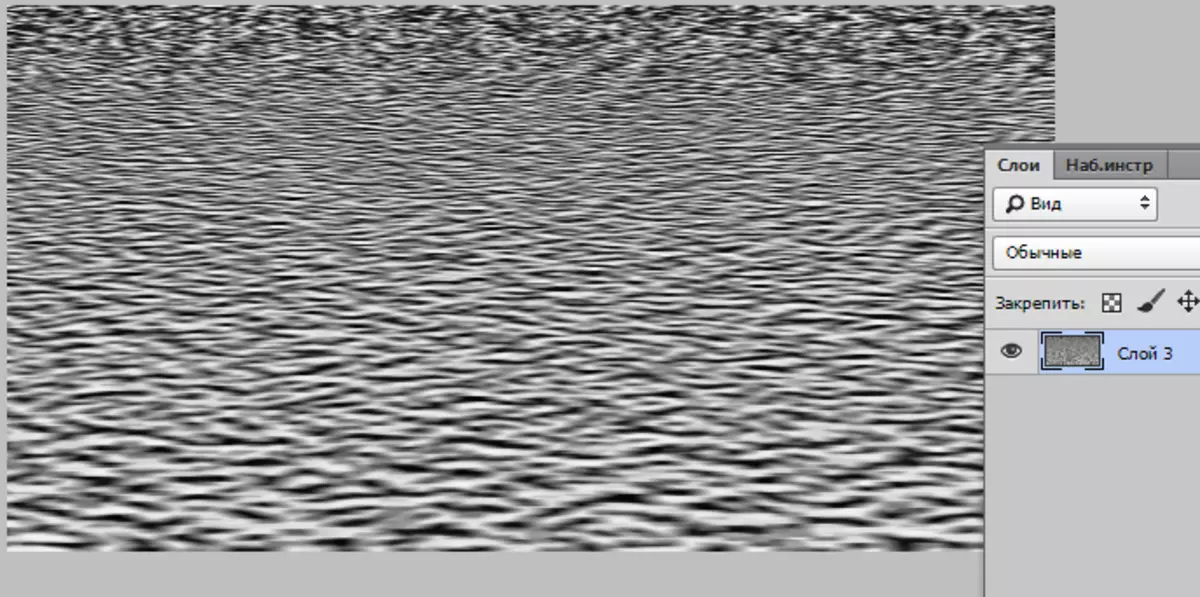
- The workpiece for texture is ready, then we need to put it on our working paper. Choose the "Movement" tool
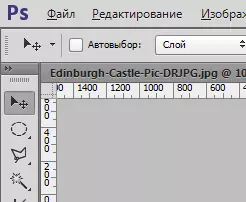
and drag the layer from the canvas to the tab with the lock.
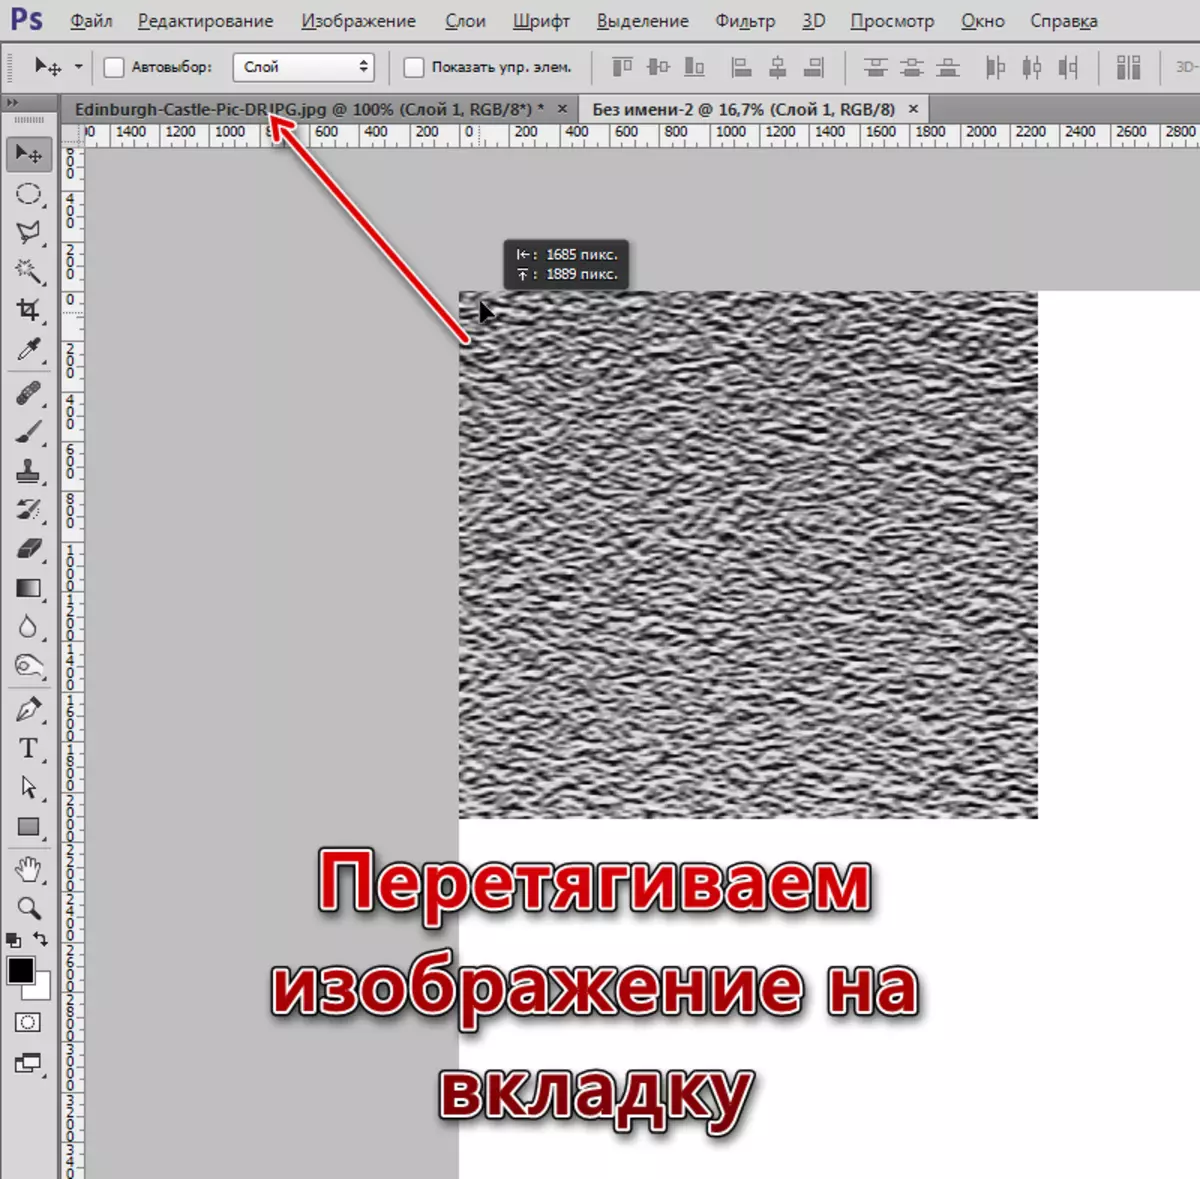
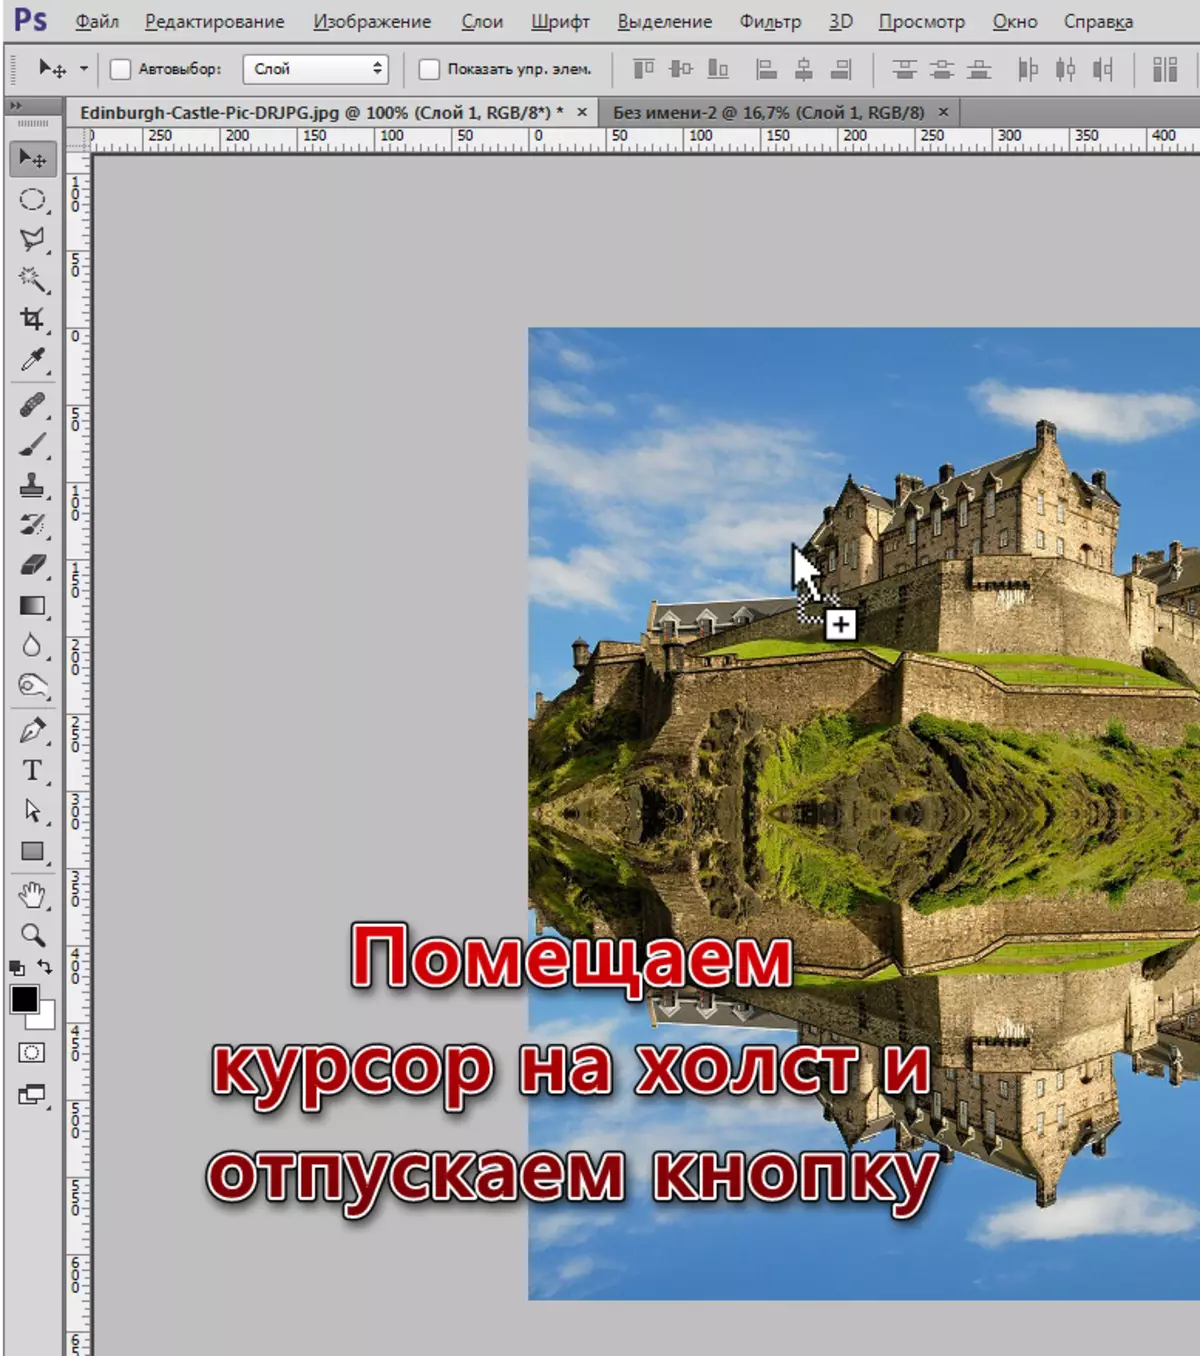
Not releasing the mouse button, waiting for the opening of the document and put the texture on the canvas.
- Since the texture is much more than our canvas, then for ease of editing, you will have to change the scale with the Ctrl + "-" keys (minus, without quotes).
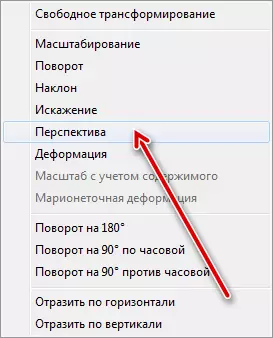
- We apply to a layer with a texture free transformation (Ctrl + T), press the right mouse button and select the Perspective item.
- Squeeze the top edge of the image to the width of the canvas. The lower edge is also compressed, but less. Then we turn on free transforming and customize the size of the reflection (vertically).
This is what the result should happen:
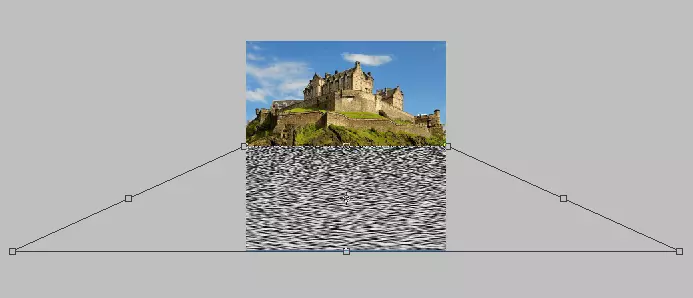
Press the Enter key and continue the creation of the texture.
- At the moment we are on the top layer, which transformed. Staying on it, clamp Ctrl and click on a miniature layer with the lock, which is below. There will be a selection.
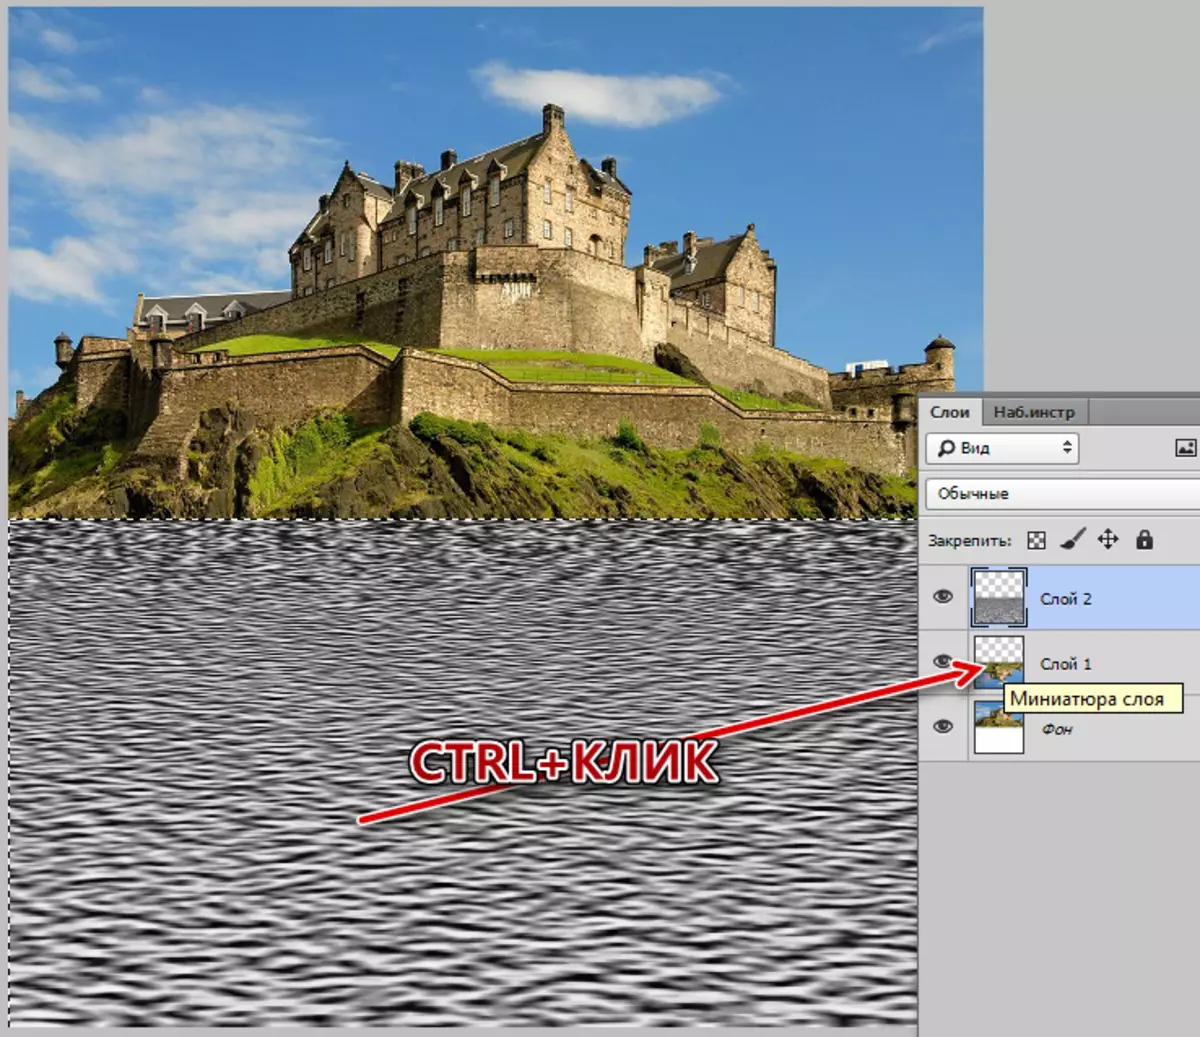
- Press Ctrl + J, the selection will be copied to a new layer. This will be a layer with the texture, the old one can delete.
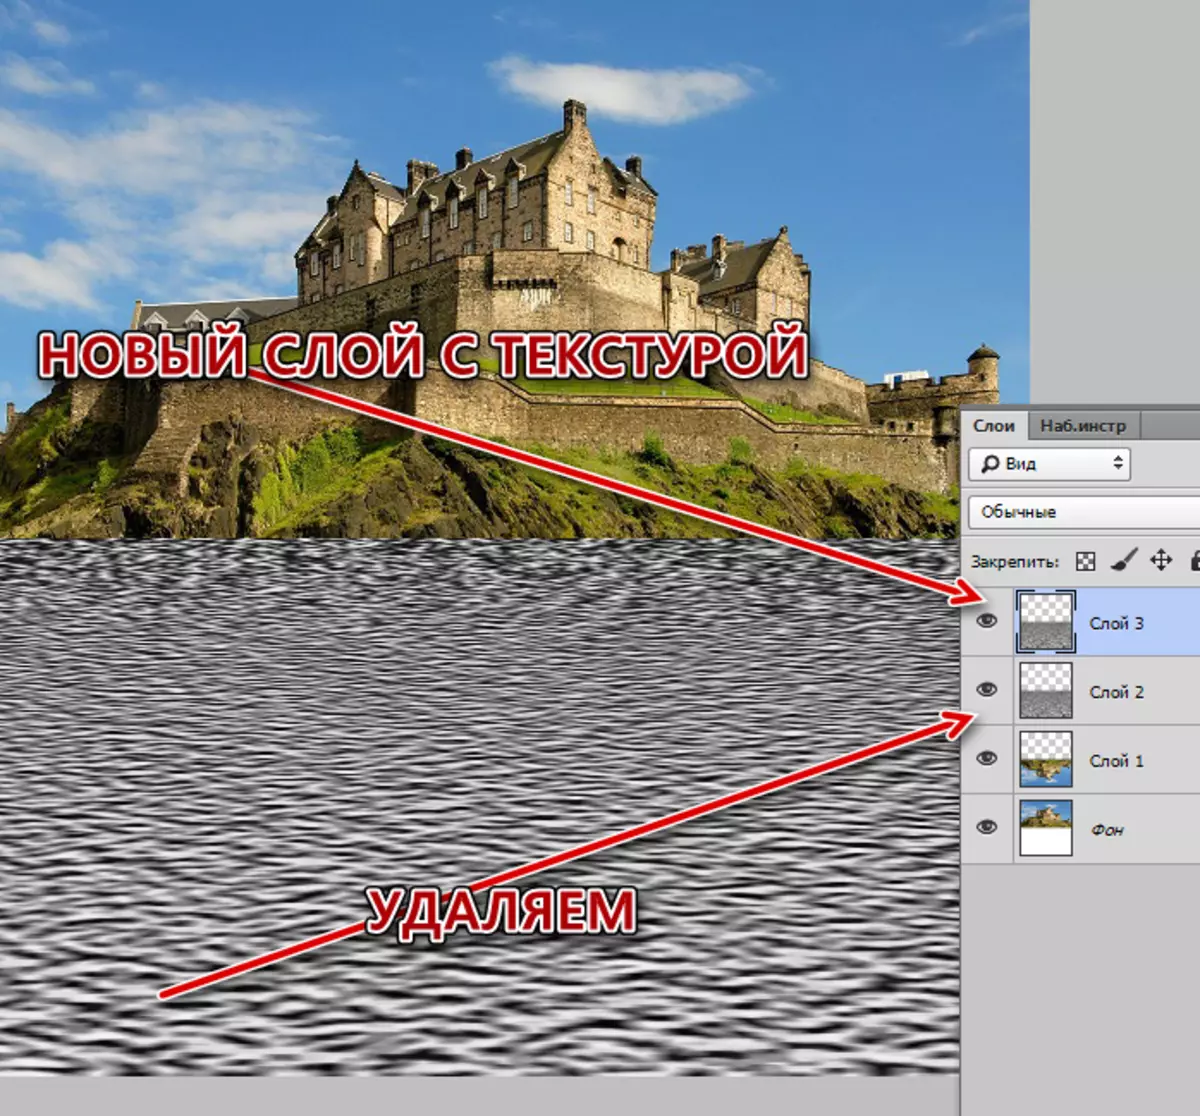
- Next, by clicking the right mouse button on the layer with the texture and select the "Create a Duplicate Layer" item.
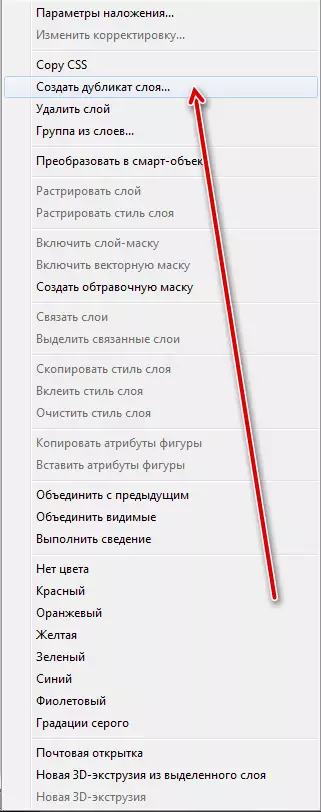
In the "Purpose" block, choose the "new" and give the name of the document.

A new file with our long-suffering texture will open, but it does not end with it.
- Now we need to remove transparent pixels from the canvas. We go to the "Image - Trimming" menu.
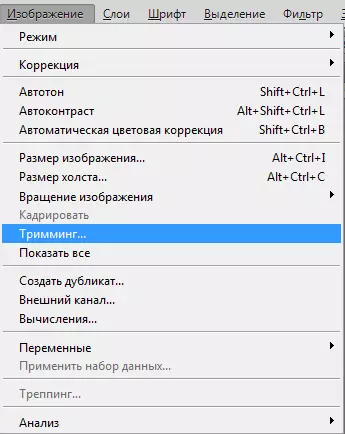
and choose pruning on the basis of "transparent pixels"
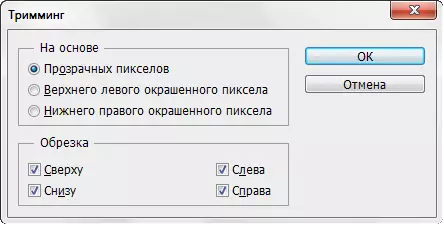
After pressing the OK button, the entire transparent area in the top of the canvas will be cropped.
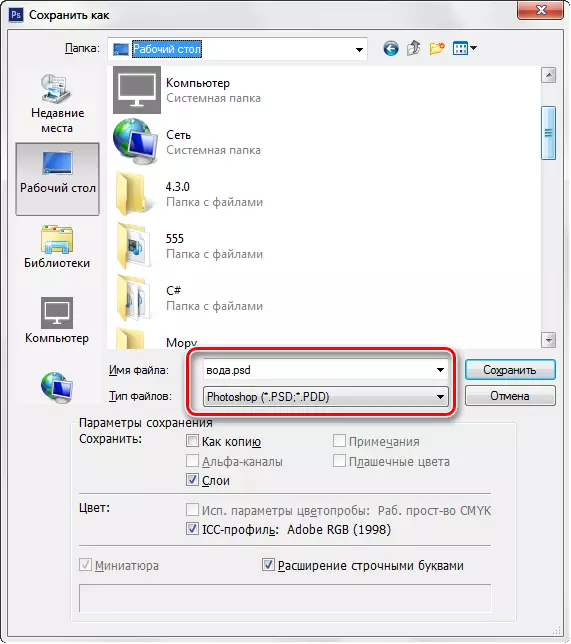
- It remains only to save the texture in the PSD format ("File - Save As").
Creating reflection
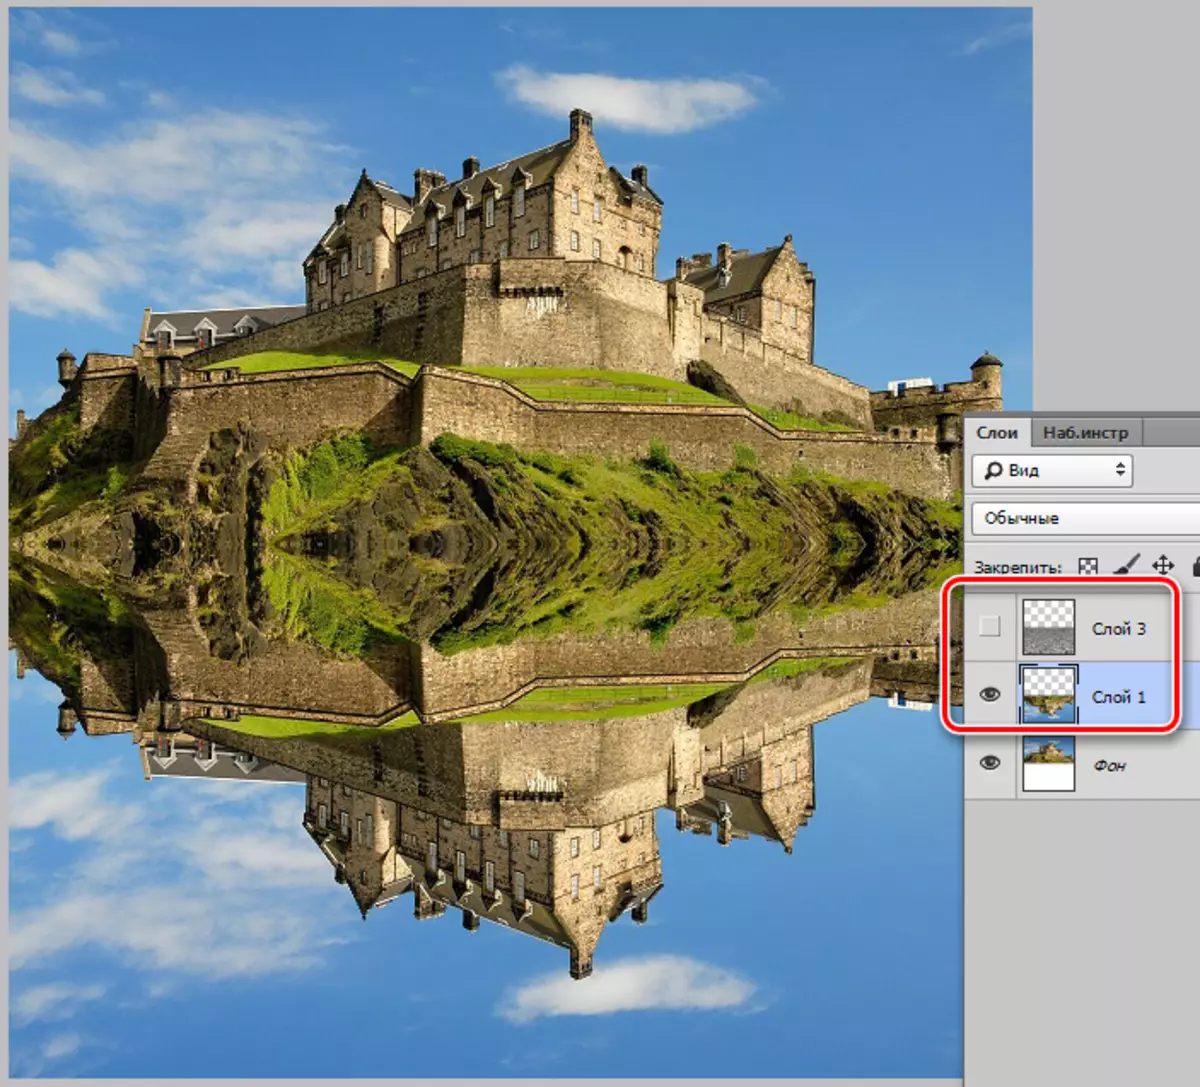
- Start creating reflection. Go to a document with a lock, on a layer with a reflected image, from the top layer with texture, we remove visibility.
- We go to the "Filter - Distortion - Glass" menu.
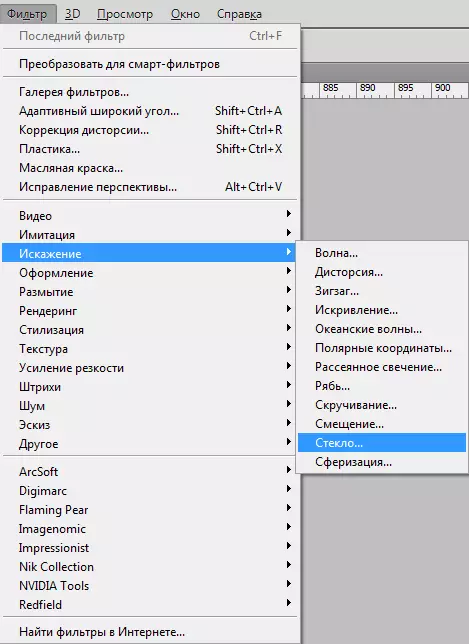
We are looking for an icon, as in the screenshot, and click "Download Texture".
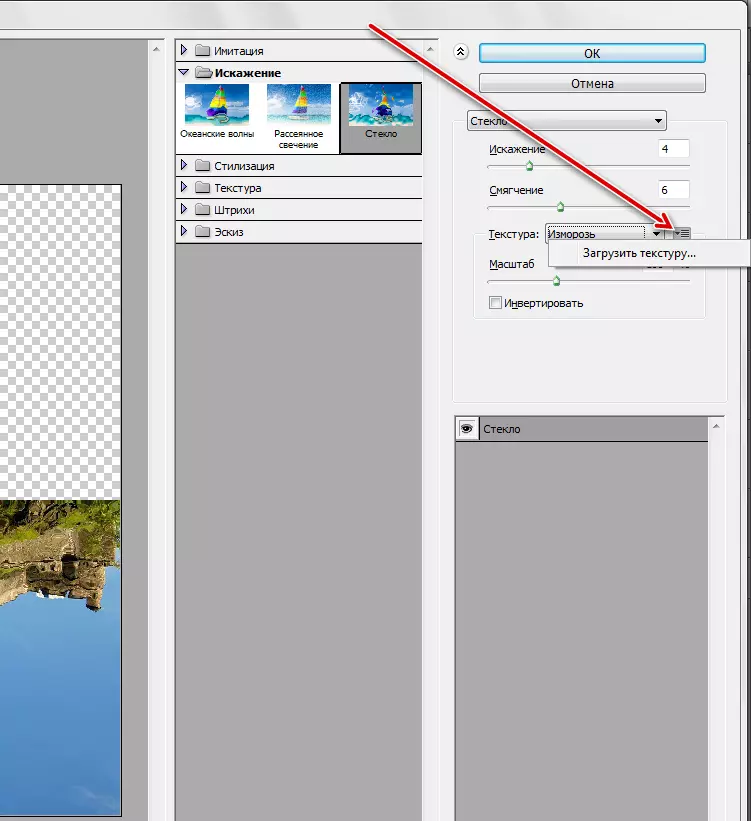
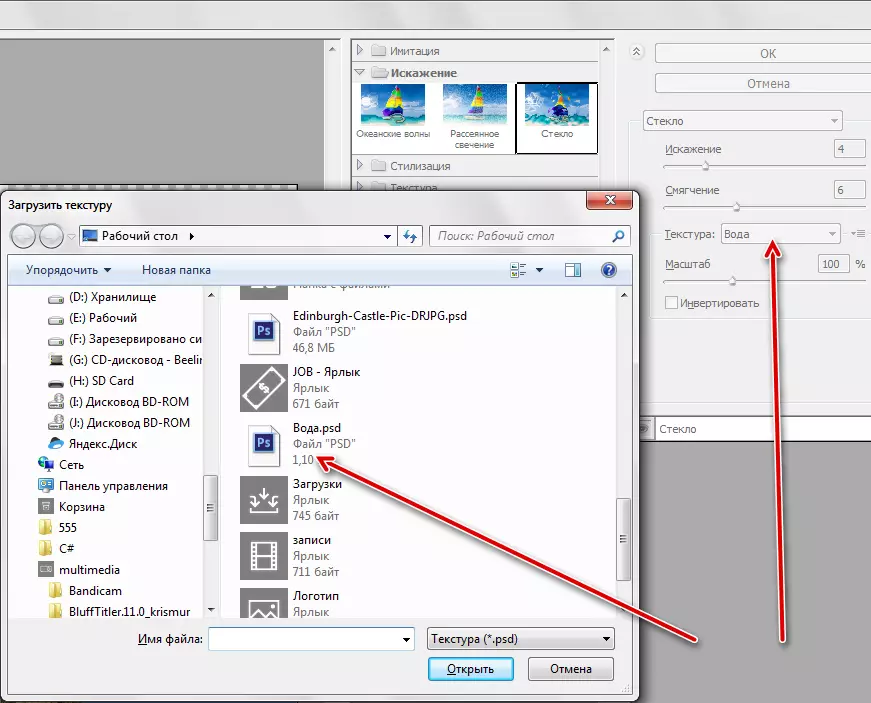
This will be saved in the previous stage.
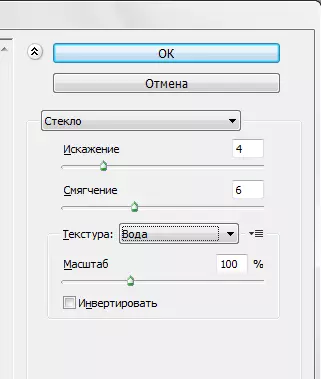
- Select all settings for your image, just do not touch the scale. To begin with, you can choose installations from the lesson.
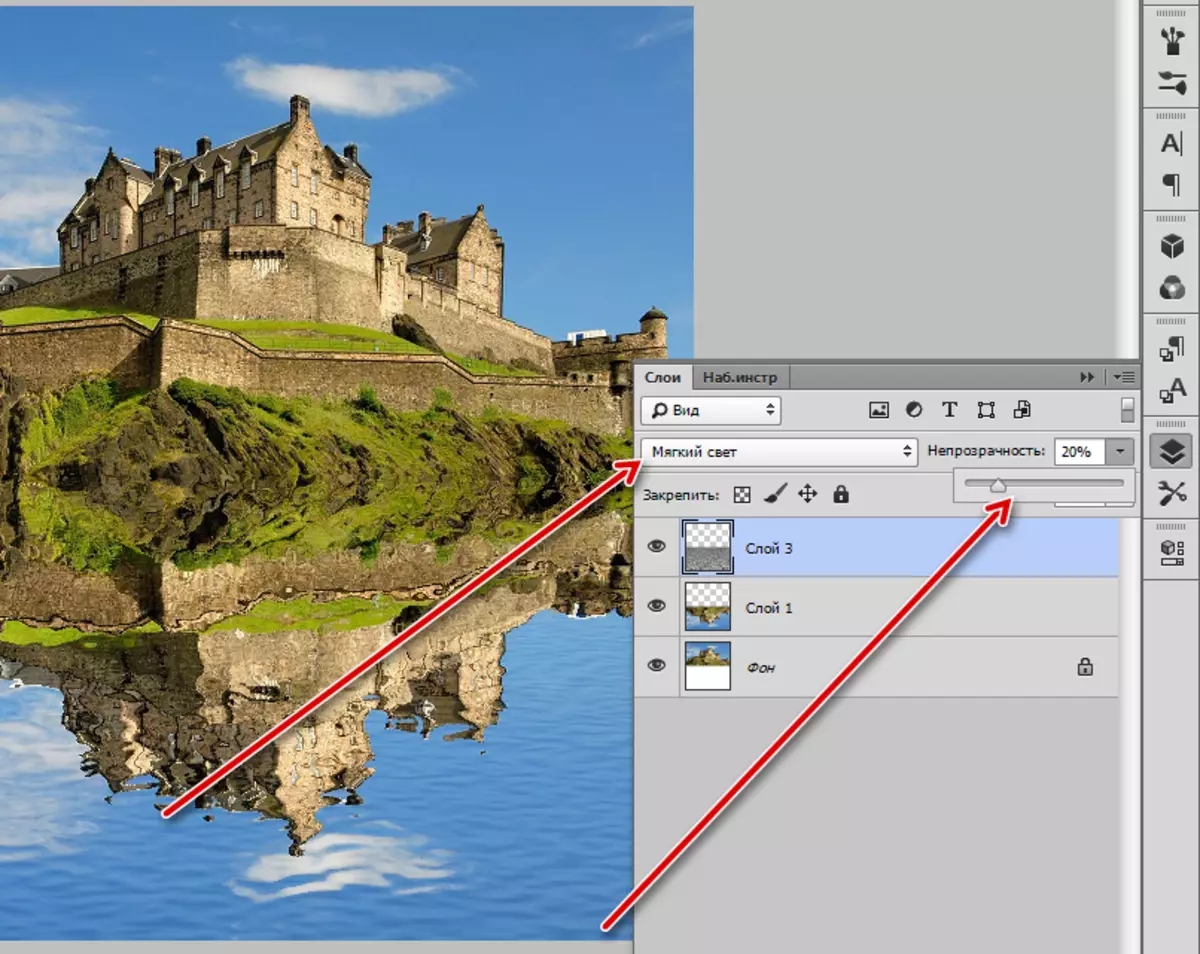
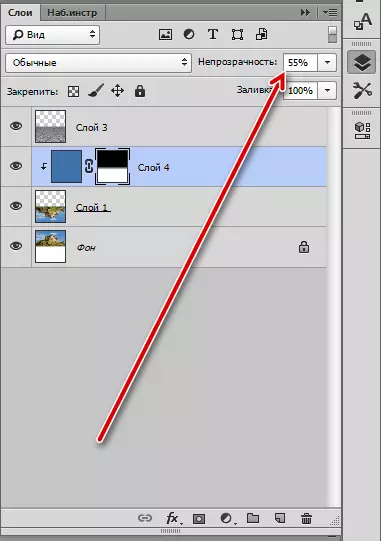
- After applying the filter, we turn on the visibility of the layer with the texture and go to it. We change the overlay mode for soft light and reduce opacity.
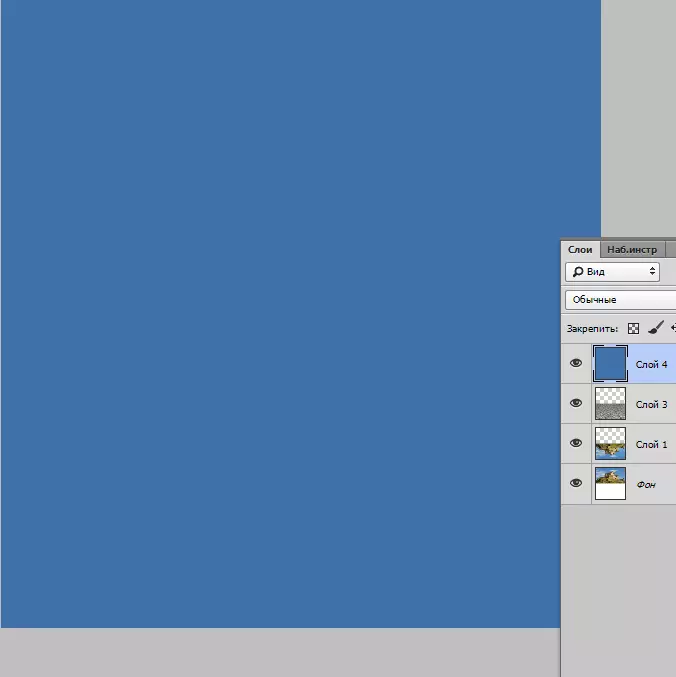
- The reflection, in general, is ready, but it is necessary to understand that water is not a mirror, besides, except the castle and herbs, it reflects the sky that is outside the visibility zone. Create a new empty layer and pour it in blue, you can take a sample from the sky.
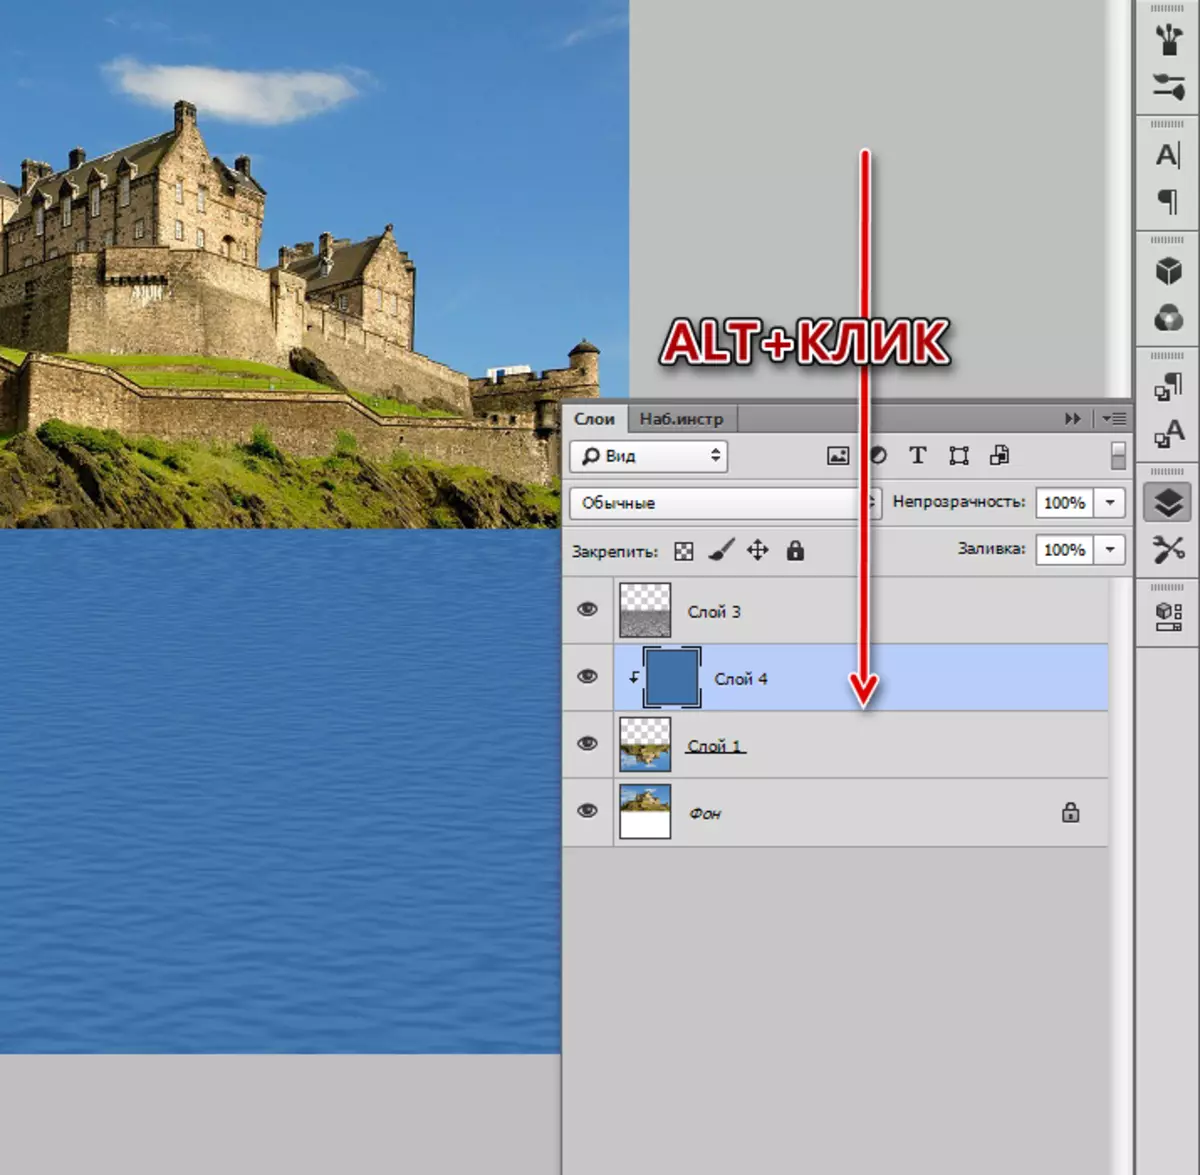
- Move this layer above the layer with the lock, then click Alt and click the left mouse button along the boundary between the layer with the color and layer with an inverted lock. At the same time, the so-called "clipping mask" will be created.
- Now add a conventional white mask.
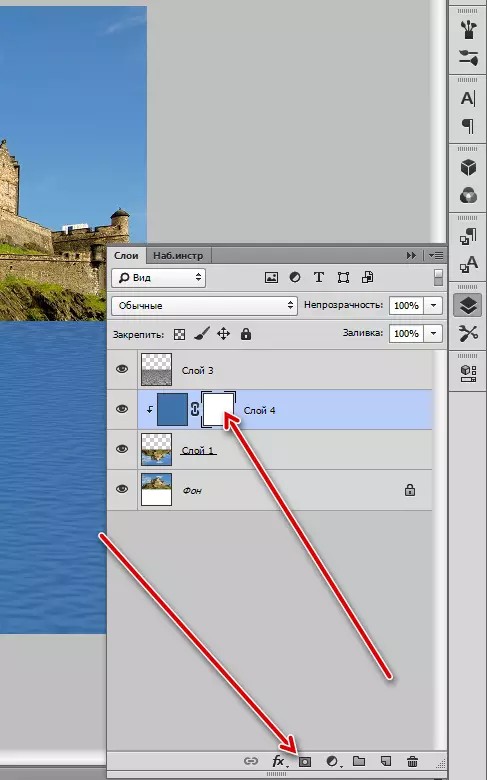
- Take the instrument "Gradient".
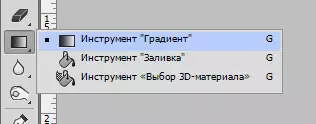
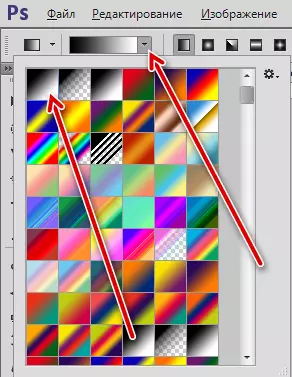
In the settings, choose "from black to white".
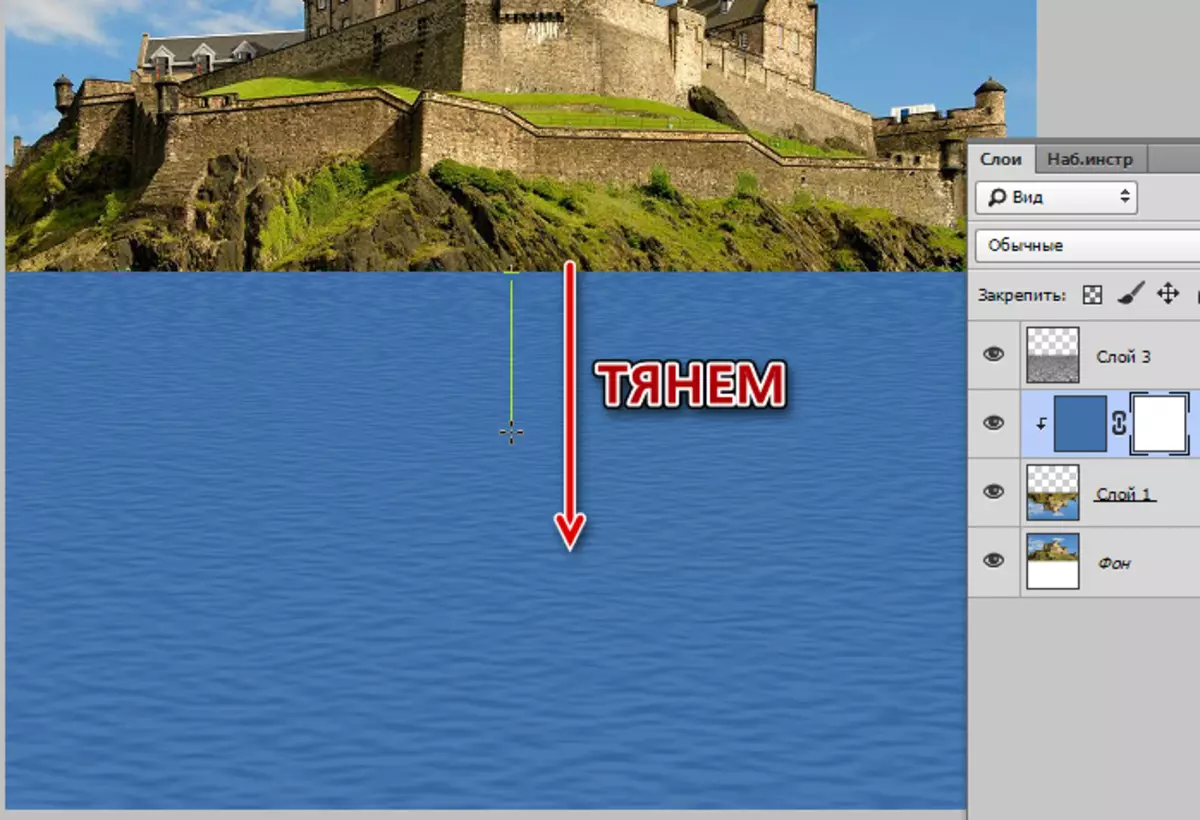
- We stretch the gradient on the mask from top to bottom.
Result:
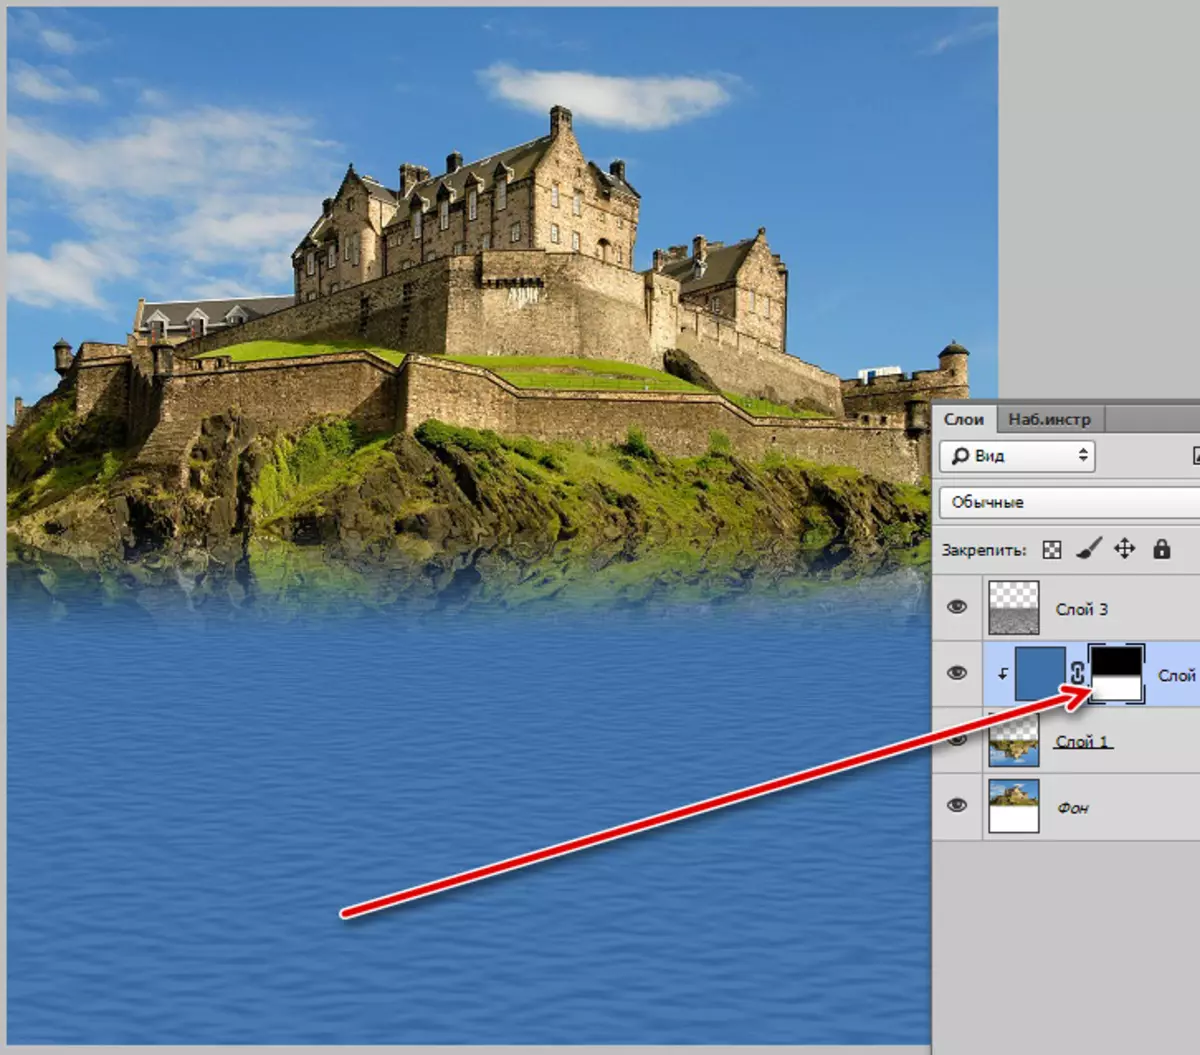
- We reduce the opacity of the layer with color up to 50-60%.
Well, let's see what result we managed to achieve.
The great cheater photoshop once again proved (with our help, of course) its consistency. Today we killed two hares - learned how to create a texture and imitate the reflection of the object on the water. These skills will be suitable for you in the future, because when processing the photo, the wet surfaces are far from uncommon.