
"Fish eye" - the effect of bulging in the central part of the picture. It is achieved by the use of special lenses or manipulations in the photo editors, in our case - in Photoshop. It is also worth noting that some modern action cameras create such an effect without any additional actions.
Effect of fish eye
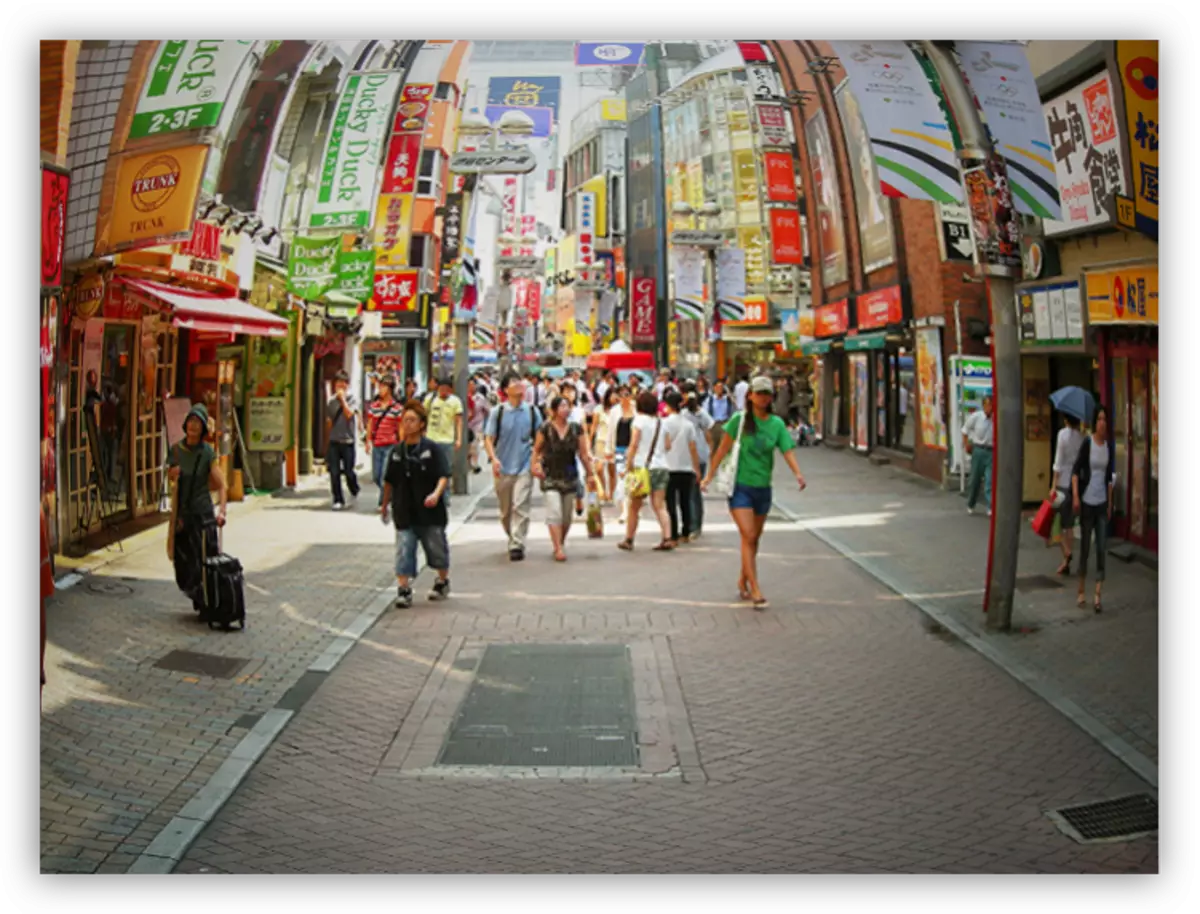
First, choose the original image for the lesson. Today we will work with a snapshot of one of the districts of Tokyo.
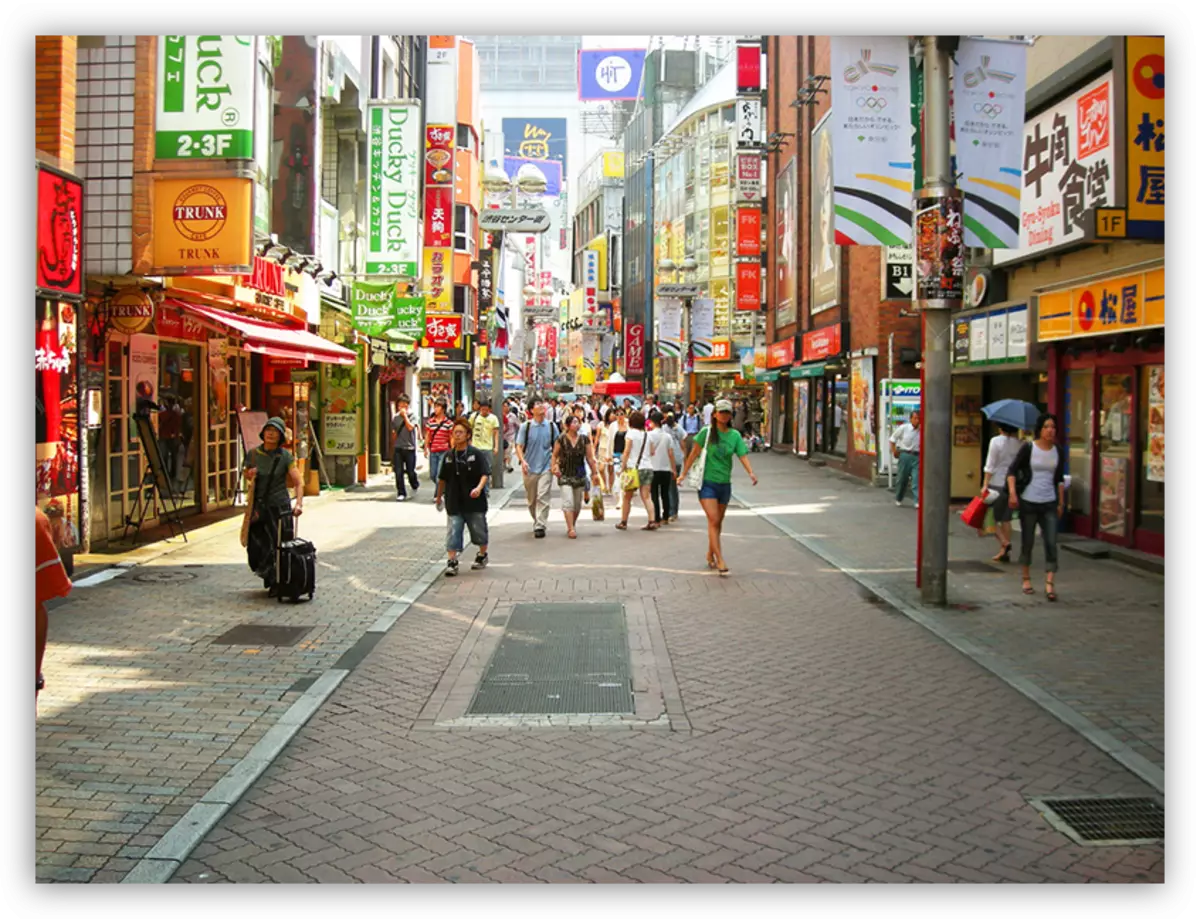
Image distortion
The effect of fish eye is created by just a few actions.
- Open the source code in the editor and create a copy of the CTRL + J key with a combination of keys.
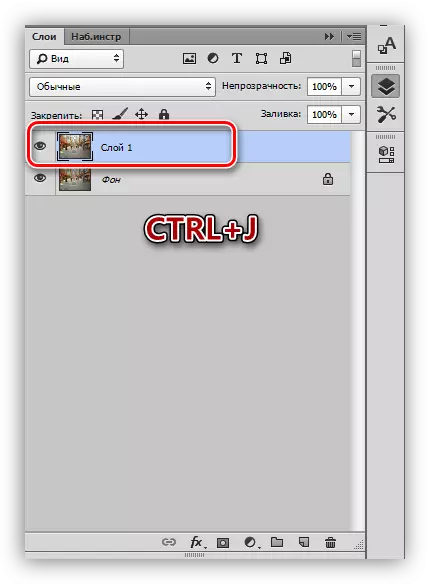
- Then we call the tool called "Free Transformation". You can make it a Ctrl + T key combination, after which a frame with markers for transformation will appear on the layer (copies).
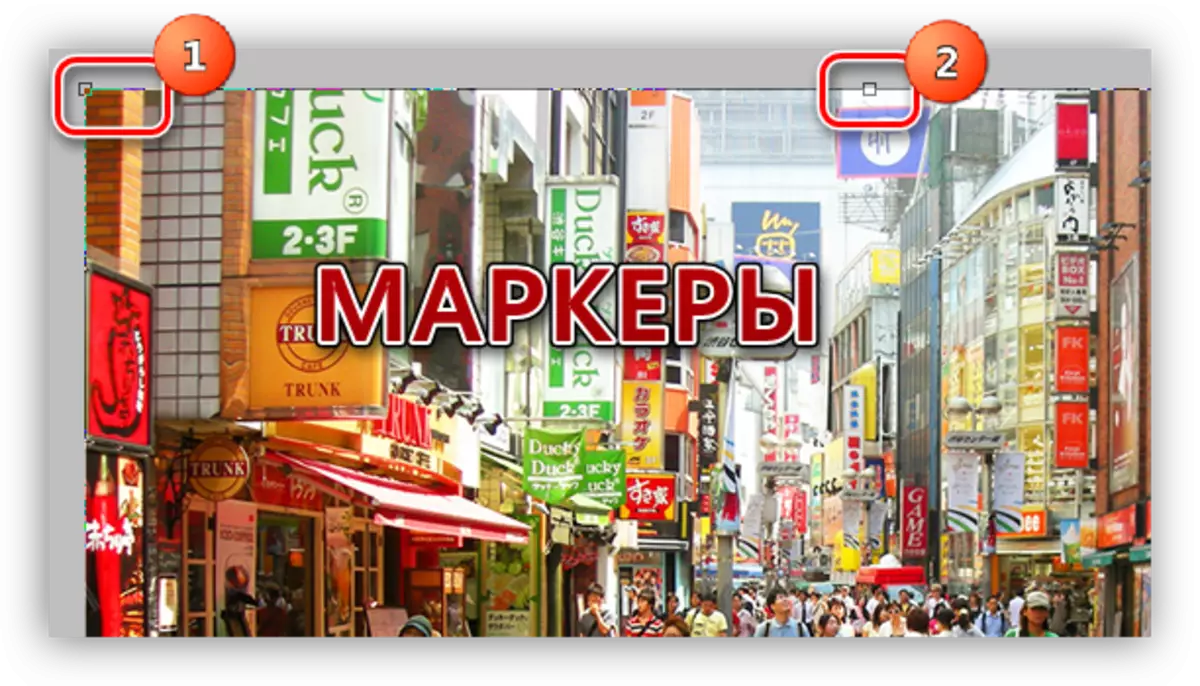
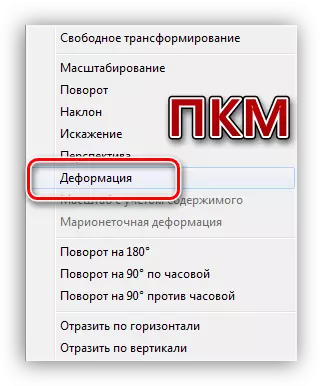
- Press the PCM on the canvas and choose the deformation function.
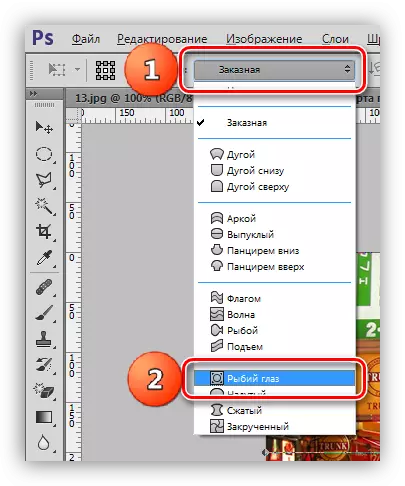
- On the top of the settings panel we are looking for a drop-down list with presets and choose one of them called "Fish Eye".
After pressing, I will see this, already distorted, frame with the only central point. By moving this point in the vertical plane, you can change the strength of image distortion. If the effect is satisfied, then press the input key on the keyboard.

It would be possible to stop at this, but the best solution will still slightly emphasize the central part of the photo and toned it.
Adding vignette
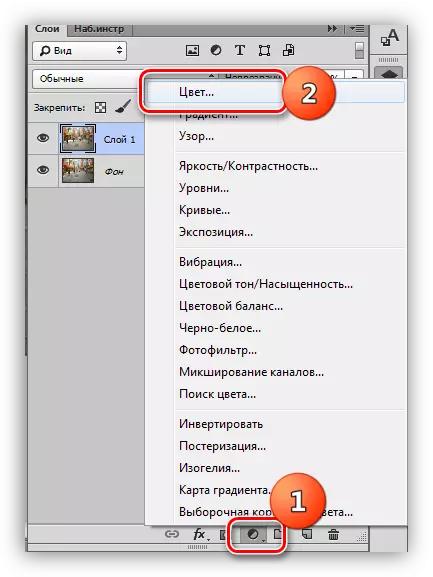
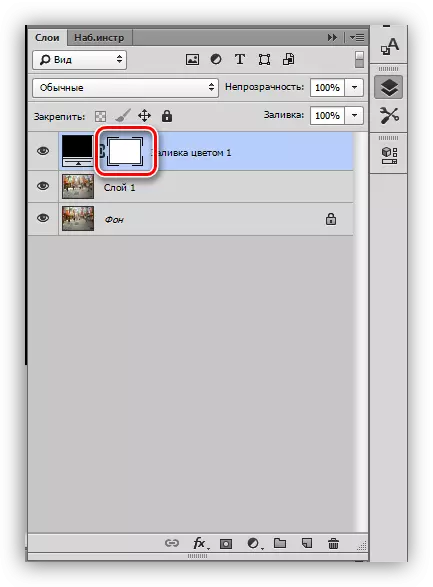
- Create a new correction layer in the palette, which is called "Color", or, depending on the transfer option, "Filling with Color".
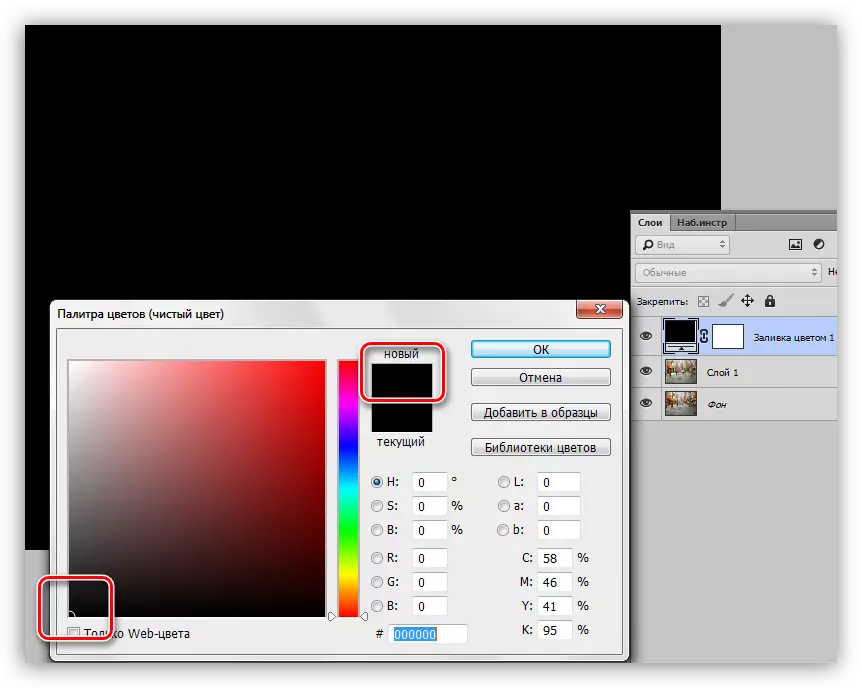
After selecting the correction layer, the color setup window will open, we will need black.
- Go to the appliant layer mask.
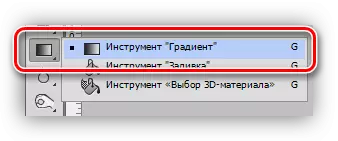
- We choose the "Gradient" tool and set it up.
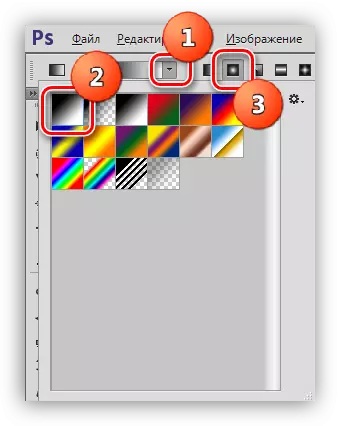
On the top of the panel, choose the very first gradient in the palette, the type is "radial".
- Click LKM in the center of the canvas and, without releasing the mouse button, pull the gradient to any corner.
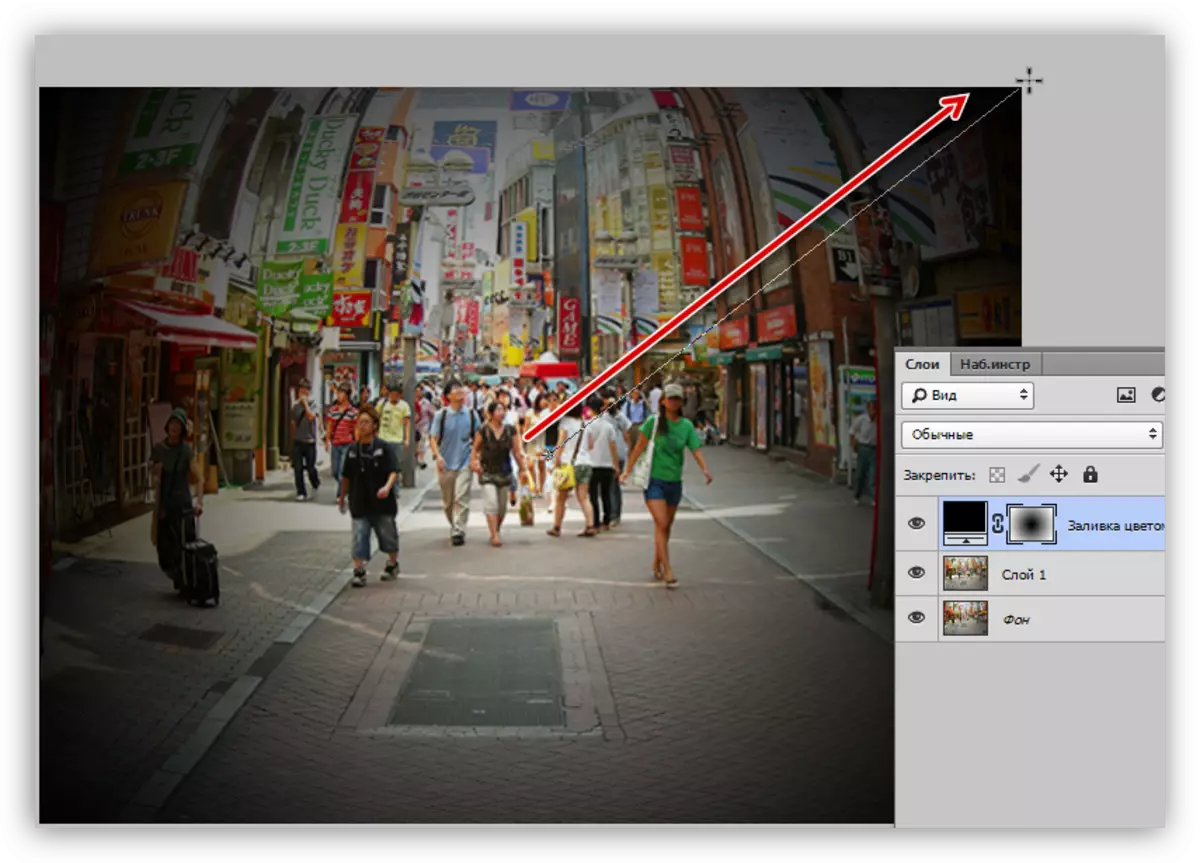
- We reduce the opacity of the correction layer to 25-30%.

As a result, we get this vignette:
Toning
Toning, although it is not a mandatory step, but give a picture more mysteriousness.
- Create a new corrective layer "Curves".
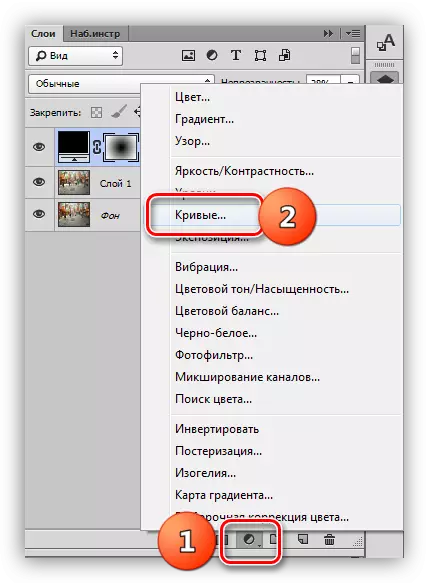
- In the layer settings window (opens automatically) go to the blue channel,
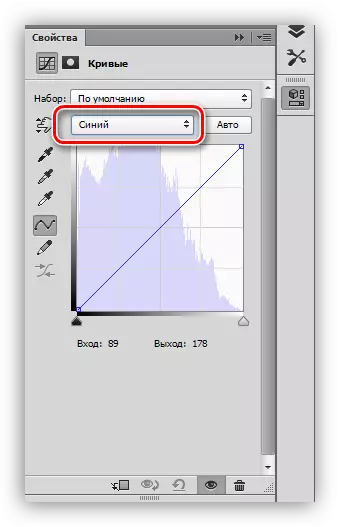
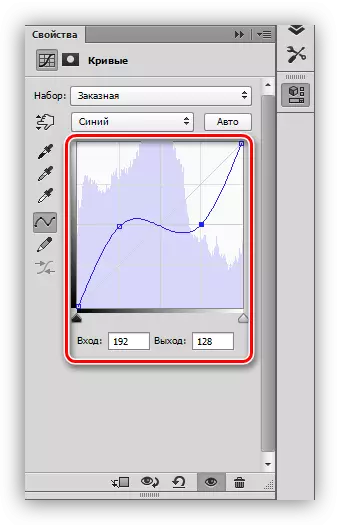
We put on the curve two points and extending it (curve), as in the screenshot.
- Layer with vignette place above the layer with curves.

The result of our today's activities:

This effect looks great on panorama view and urban landscapes. With it, you can imitate vintage photography.