

Method 1: Microsoft PowerPoint
Microsoft PowerPoint has many different settings related to video insertion: what is only the presence of several roller transfer methods and formatting it on the slide. After adding video to the sheet, a list of available parameters opens, where you can find a function that is responsible for disconnecting or turning on the sound. Before saving, make sure that the sound is really there. The finished file is preferably played to reproduce the contents again.
Read more: Insert video in Microsoft PowerPoint presentation

Method 2: OpenOffice IMPRESS
Although the program from the previous method is considered the most popular solution for working with presentations, its purchase is available not to all users, so now we will focus on free analogues. This is OpenOffice Impress, with similar functions and video editing tools in a new or existing project.
- If presentations are not yet and you are going to create it from scratch, in the welcoming window, select the "Presentation" option. If you have a finished project where you need to insert one or more video with sound, use the "Open" button.
- In the "Explorer" window, find the presentation file and double-click on it to open in the program.
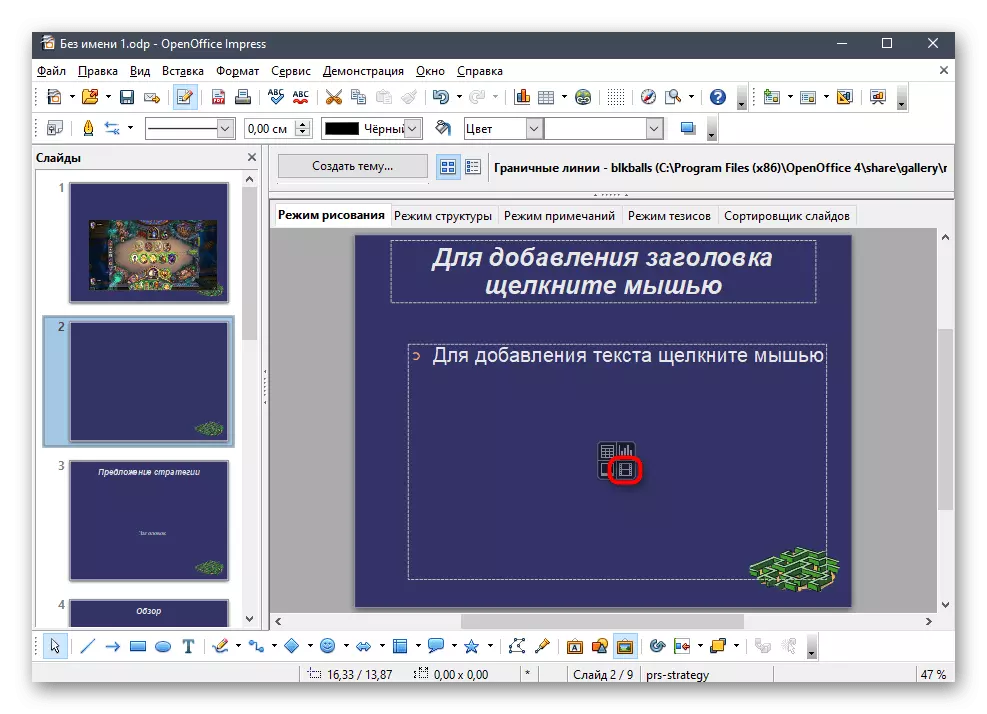
- Move to the video insertion.
- Open a list with "Insert" actions and find the "Video and Sound" option.
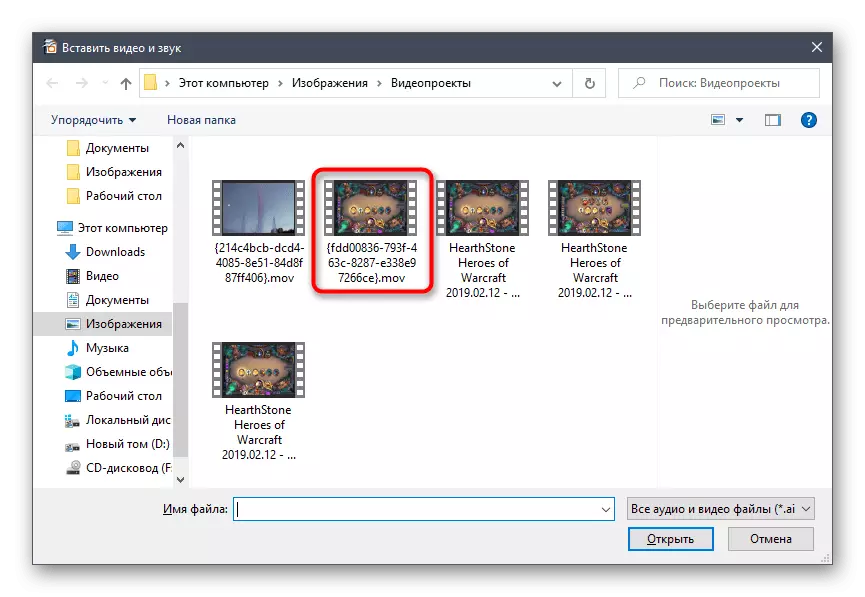
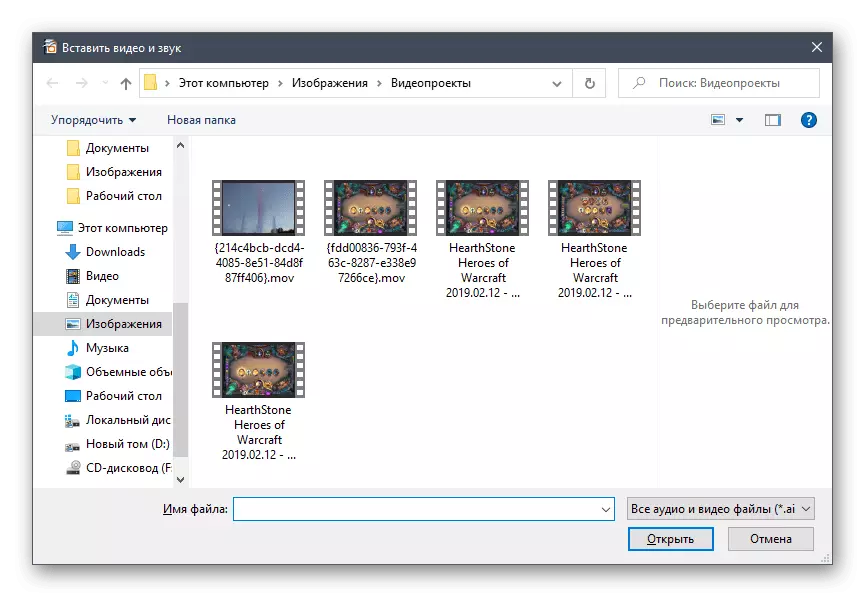
- The "Explorer" will appear again, where to find the roller in the supported format and confirm its addition to the presentation.
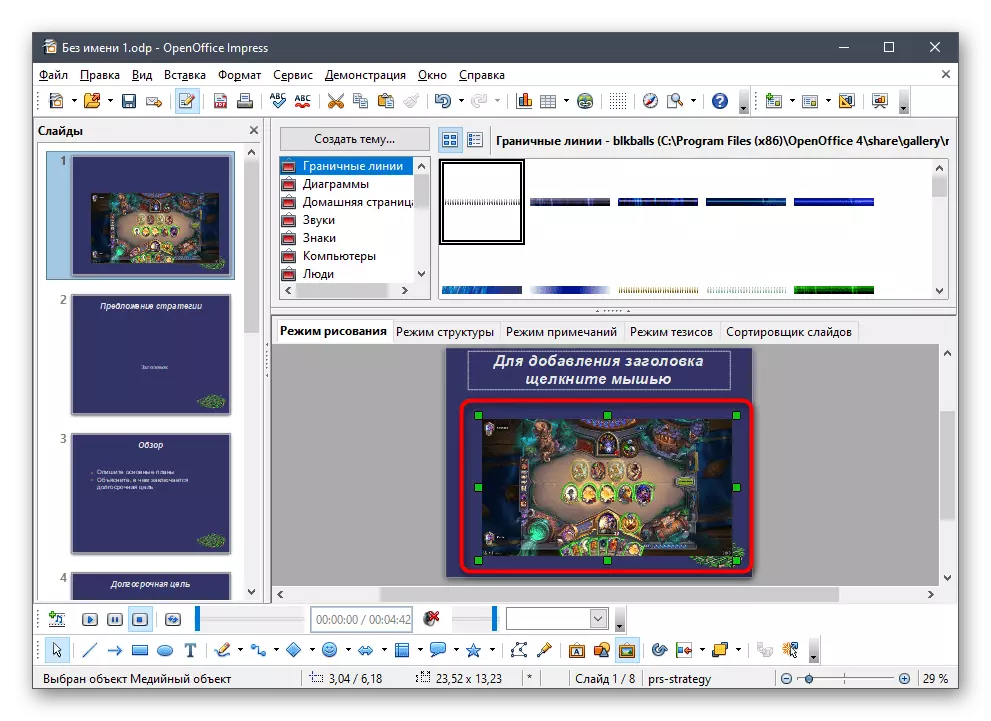
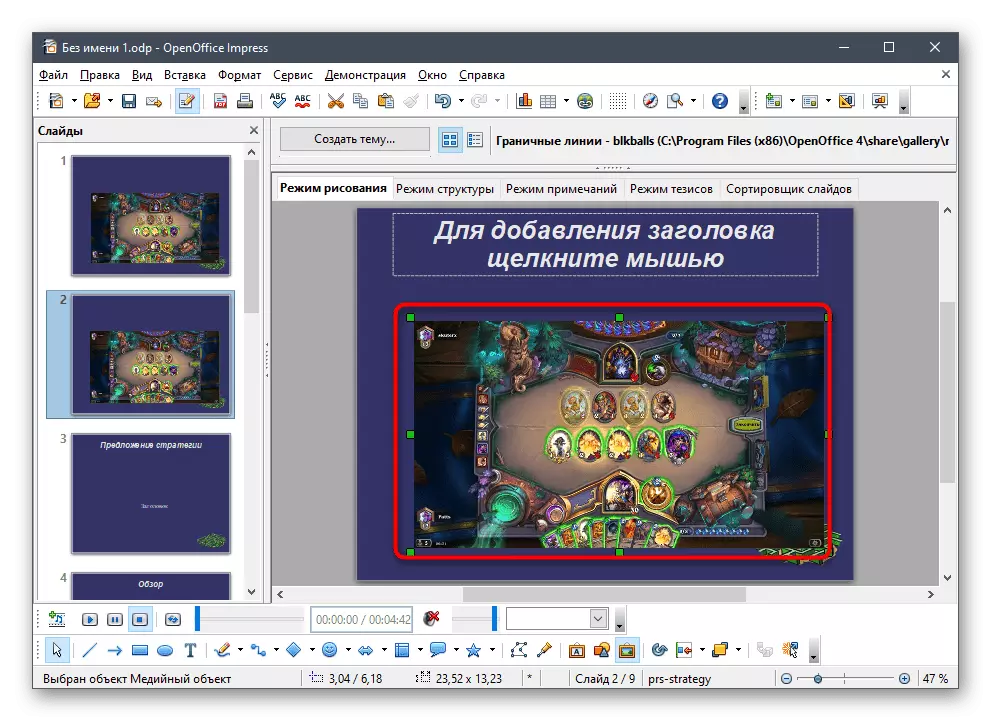
- The displayed points adjust the size and position of the roller on the sheet before reaching an acceptable result.
- Pay attention to the playback panel: here are the playback control buttons and the most important - turning off the volume. Be sure to deactivate it and adjust the volume slider so that the sound of the video is at a normal level.
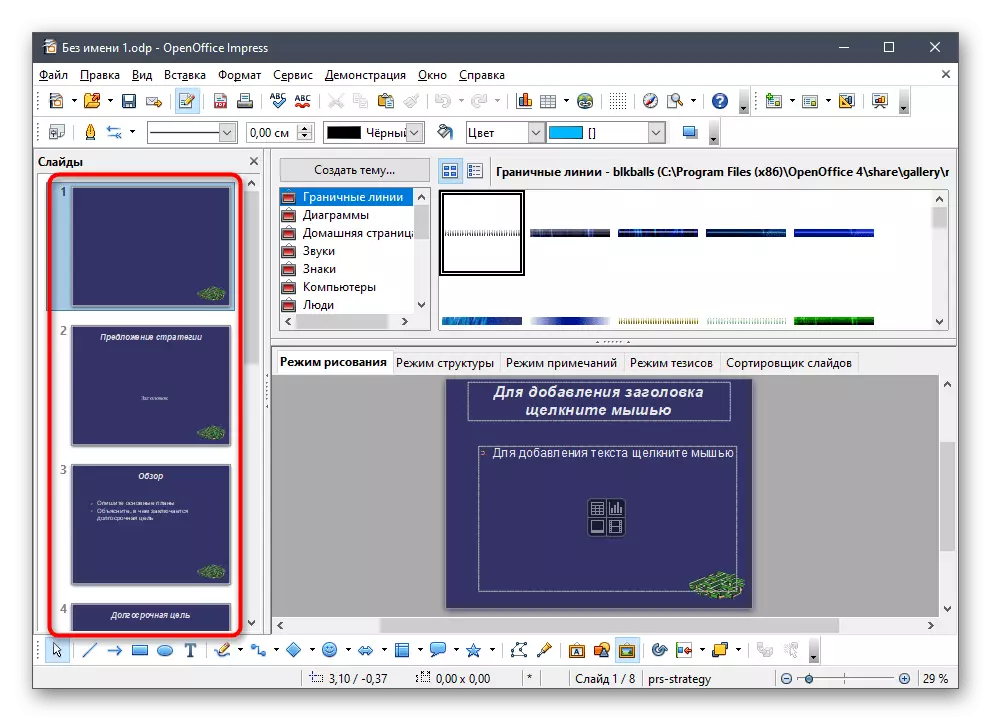
- If the roller is required to present a separate slide, right-click on an empty place on the "Slides" panel and from the context menu, select the "New Slide" option.
- On the right you will see a small button with the video, just intended to add a roller.
- Find it through the "Explorer" and insert it into the project.
- Edit the same way as already shown above.
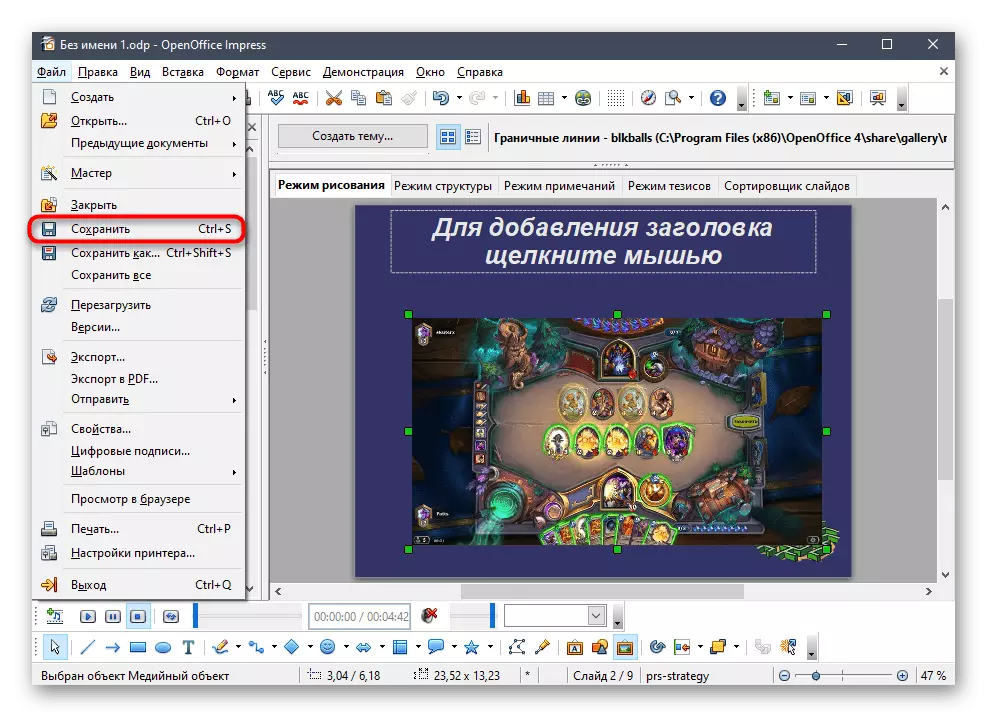
- Upon completion, expand the "File" menu and click on "Save". Instead, you can press the standard key combination Ctrl + S.


3: SWAY Method
Microsoft offers another application to work with presentations called SWAY. It applies for free through the store in Windows 10 and the official website, but has certain limitations. The most importantly associated with the support of only PDF and Word formats, so it will not work with ready-made projects in PPT formats, PPTX and ODT. Instead, PPT can be converted to PDF to continue editing in SWAY if this option is suitable.
Read more: Convert PPT to PDF format online
If you have a ready-made presentation or source source, you can already start video inserting via SWAY by simplying.
Download SWAY from the official site
- Load the SWAY by clicking on the link above or finding the application in Microsoft Store.
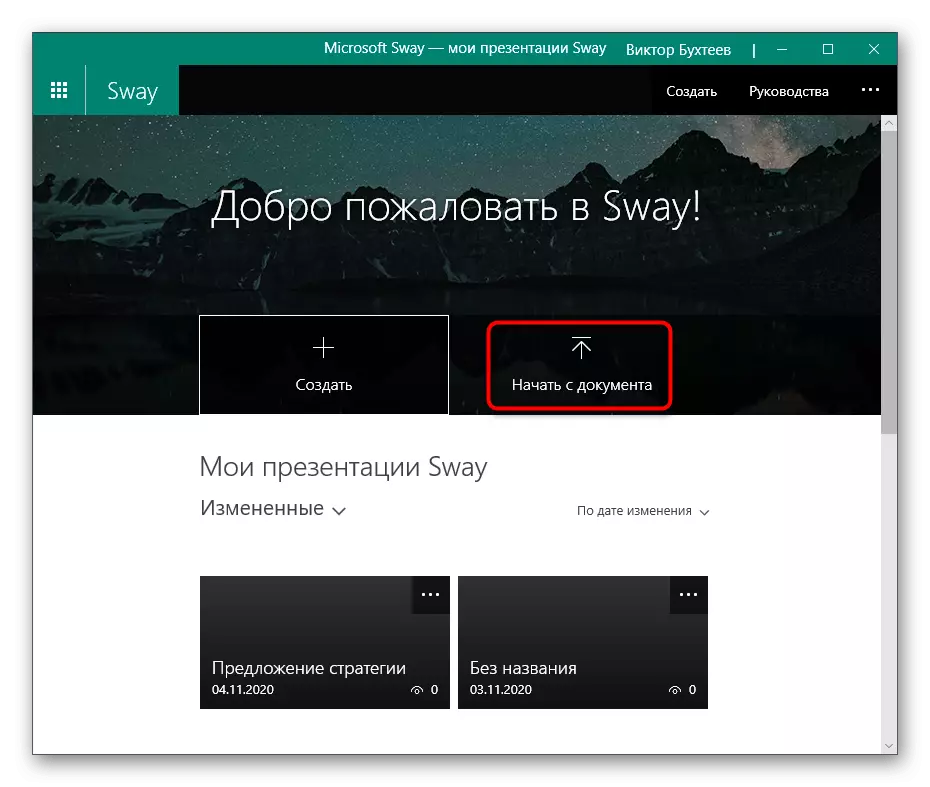
- In the welcoming window, create a new project or select the option "Start from the document".
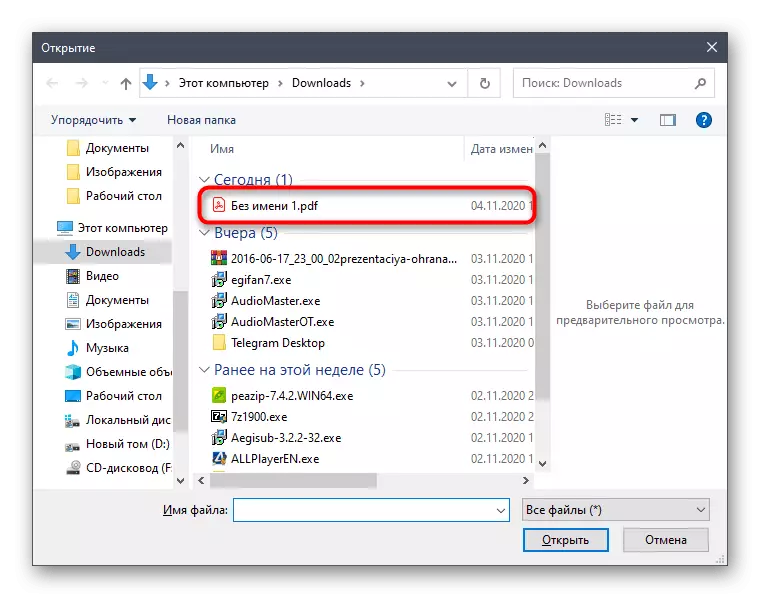
- If we are talking about the ready-made file in PDF format, open it through the corresponding window.
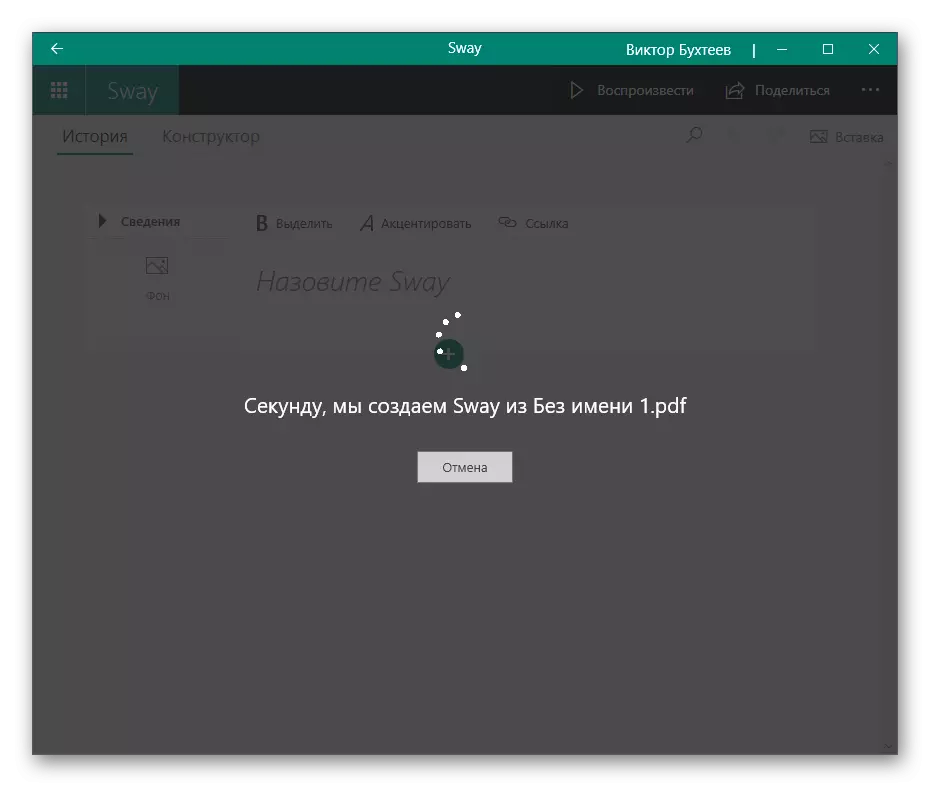
- Processing the document takes a certain time, so you have to wait a bit.
- Next, use the "Insert" button to add items to the presentation.
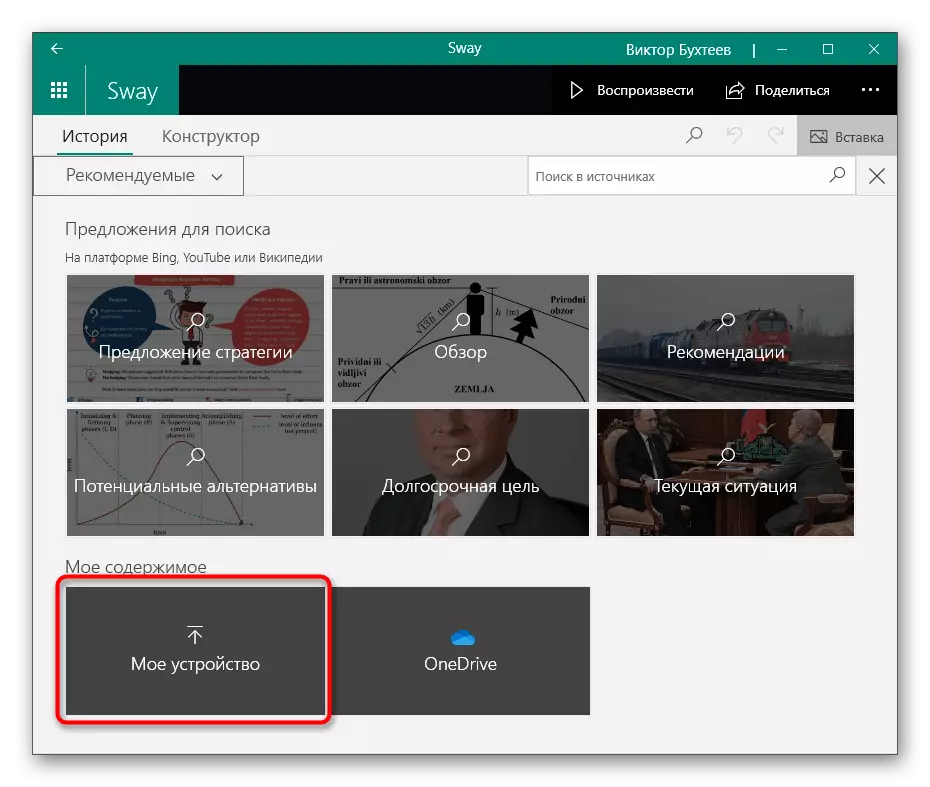
- From the proposed options, specify the "My Device".
- Find the video and click the Open button.
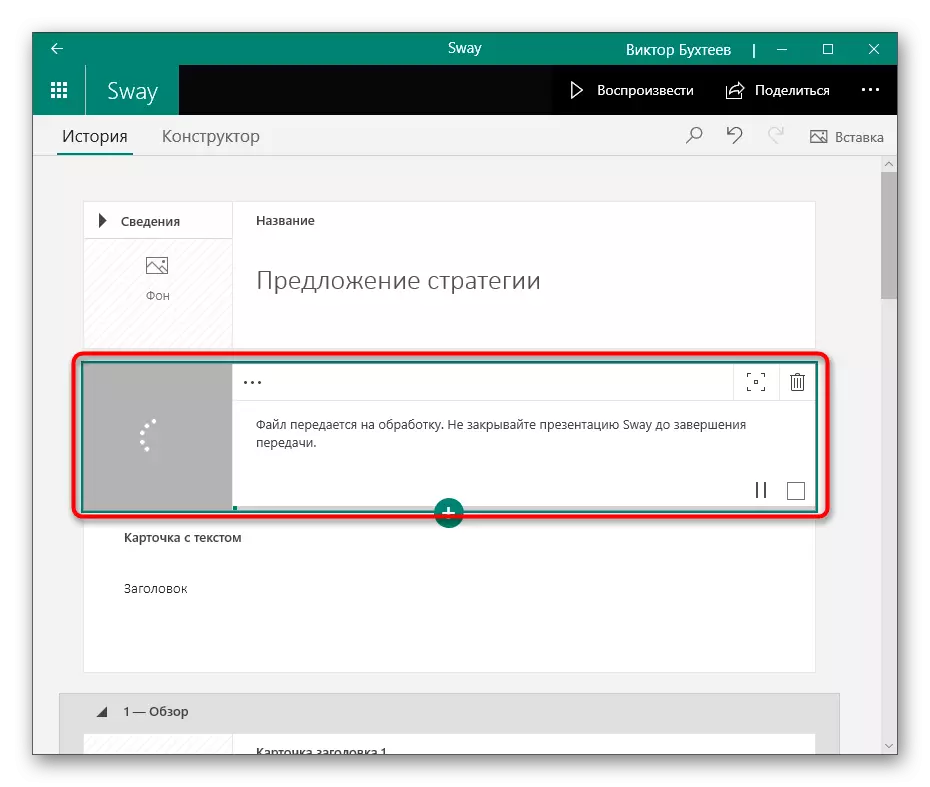
- File processing and insert it into the slide. While she goes, you can engage in other actions with a presentation, editing the rest of the slides.
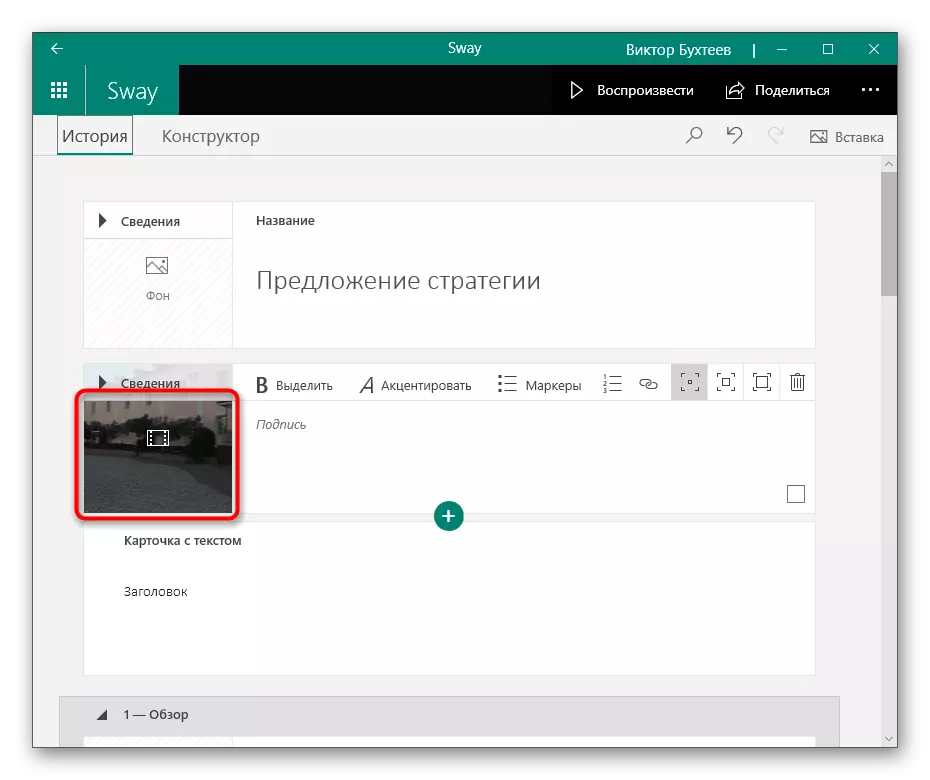
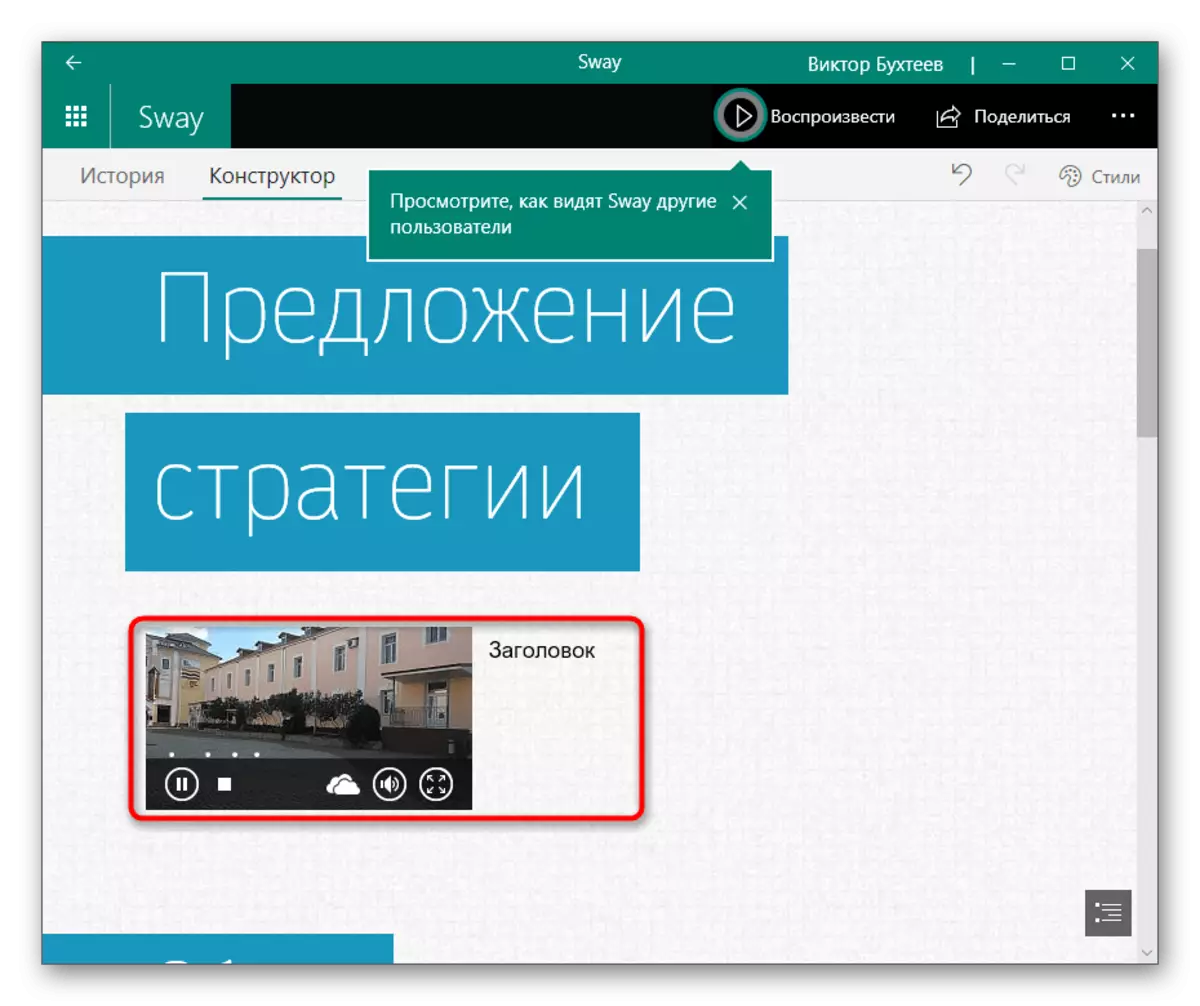
- At the end, click on the roller to check its playback.
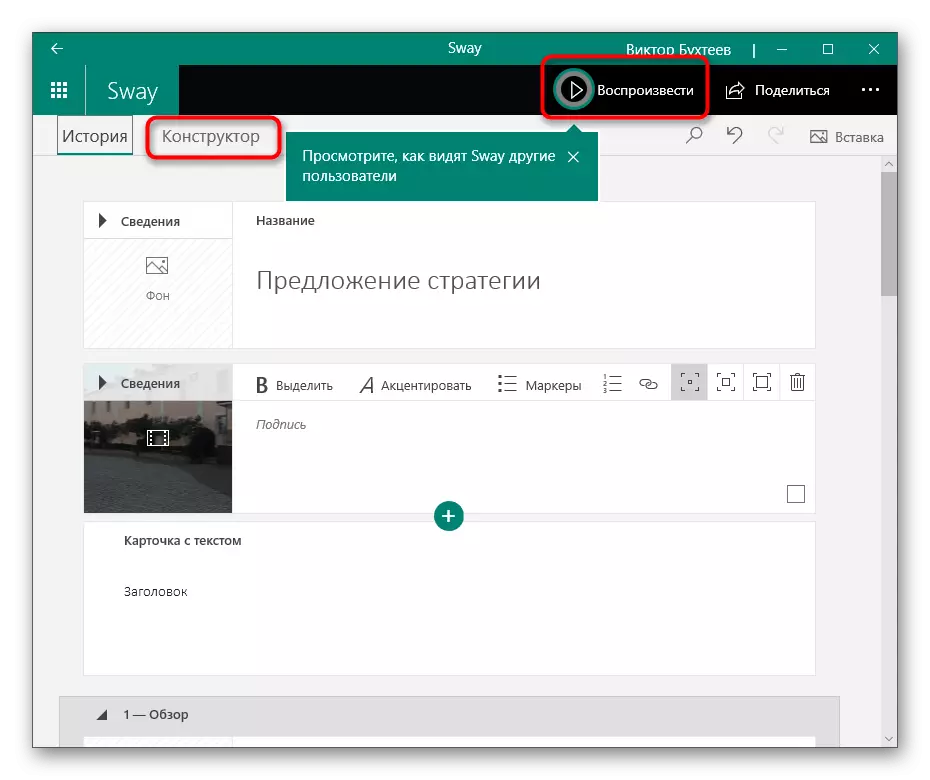
- Instead, you can go to the "constructor" and immediately lose the entire presentation, assessing the changes.
- You will see that the roller won into the slide selected for it, correctly plays and even has the control buttons to suspend playback, open it to the entire screen or turn off the sound.
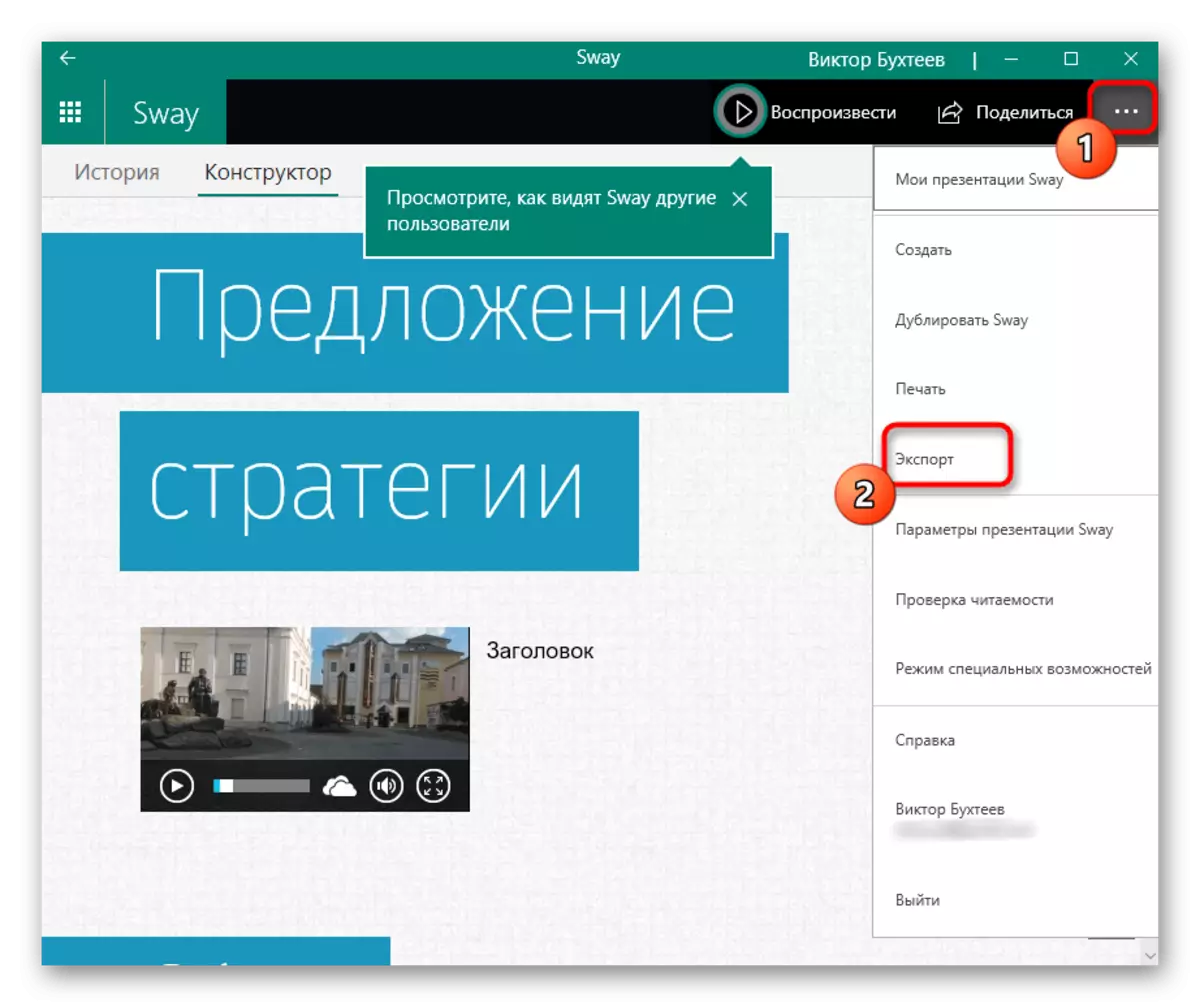
- After editing is completed, call the main menu by clicking on three horizontal points to the right, and find the Export item in it.
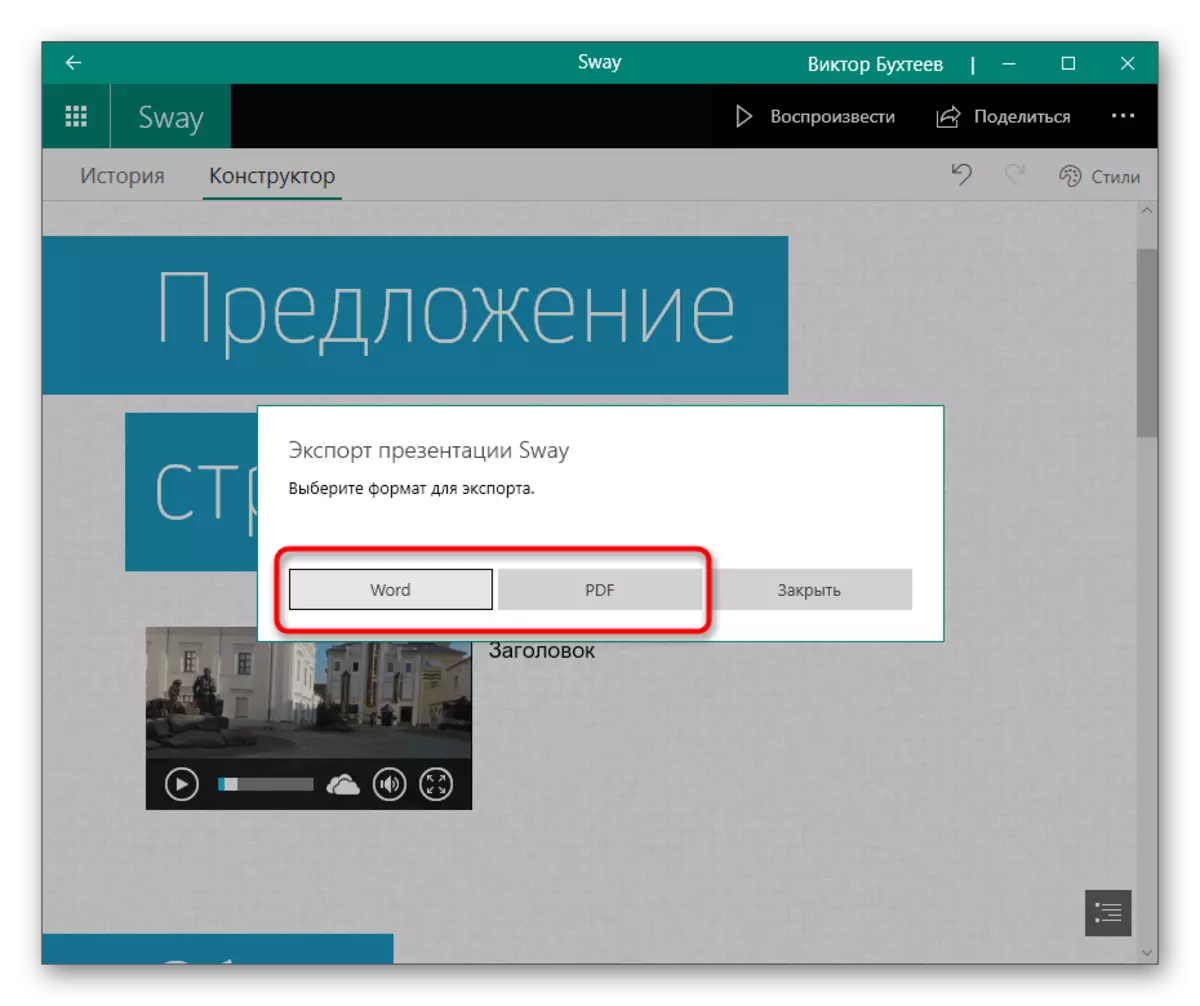
- As an output format, specify PDF or Word. The finished project can be opened through any of the editors supporting these file formats, but the best will cope with it.


Method 4: Google Presentations
Not all users are suitable for presenting programs, because sometimes all editing is based on adding video with sound in a ready-made project. To do this, you can contact online services, and as an example, take the free Google Presentation tool.
Go to the Google Presentation Online Service
- Log in your Google profile or create it if it is missing. After opening the main page of the online service, click on the "Empty File" tile.