
Peno is one of the most sought-after professionals tool Photoshop, as it allows to produce objects with the highest accuracy. In addition, the tool possesses other functionality, for example, you can create high-quality custom figures and brushes, draw lines curves and much more.
During the instrument, a vector circuit is created, which is subsequently used for various purposes.
Pen tool
In this lesson, let's talk about how the contours are built with the help of "pen", and how can they be used.

Building contour
The contours created by the tool consist of reference points and guides. Guides (will be called them with rays) allow you to curb the plot concluded between the two previous points.
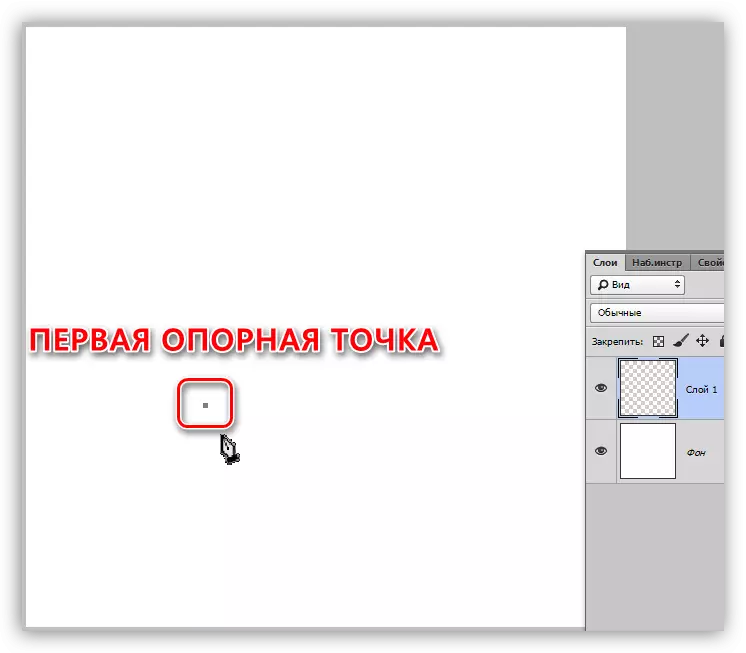
- We put the first reference point in the pen.
- We put the second point and, without releasing the mouse button, stretch the ray. From the direction of "stretching" depends on which direction the site will be curved between points.
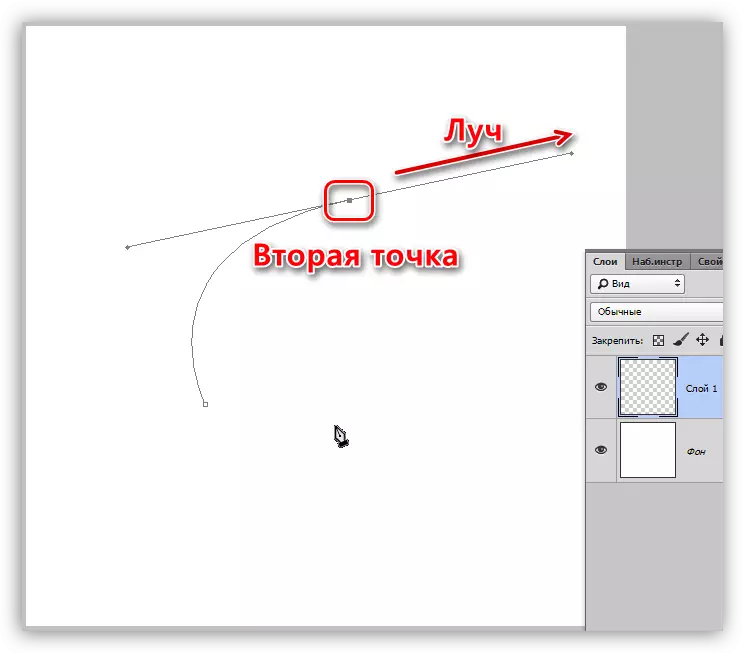
If the beam leave untouched and put the next point, then the curve will be automatically.

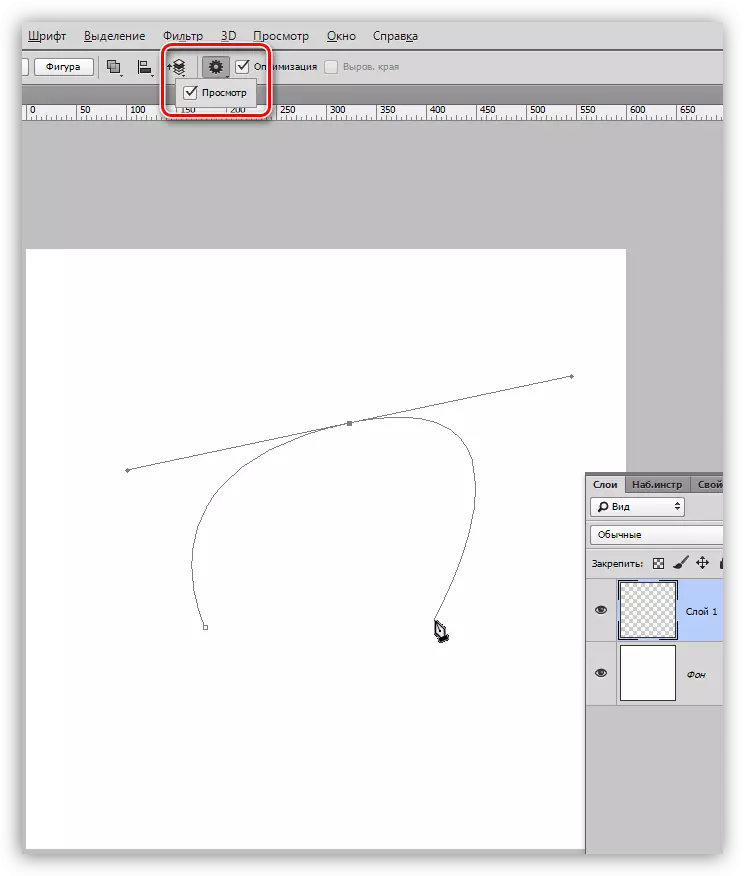
In order to find out how the contour bends, you need to put a checkbox in the checkbox "view" on the top of the settings panel.
In order to avoid the bend of the next site, it is necessary to hold the ALT and the mouse to return the beam back to the point from which it was extended. The beam must completely aby.

The bending of the contour can be made in another way: we put two points (without bending), then we put one more between them, clamp Ctrl and stretch it in the desired side.

- Moving any points in the circuit is carried out with the ctrl pinch, moving the rays - with the alt pinch key.
- Closing the contour takes place when we click (put the point) at the starting point.
Pouring contour
- To fill the resulting circuit with the right mouse button on the canvas and select "Run the contour fill".

- In the settings window, you can select the fill type (color or pattern), overlay mode, opacity, adjust the decisive. After completing the settings you need to click OK.

Stroke circuit
The circuit stroke is performed in advance configured tool. All accessible tools can be found in the drop-down stroke settings window.
Consider the stroke on the example of "brushes".
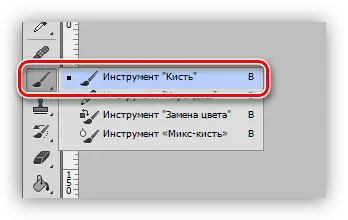
1. Select the "Brush" tool.
2. Customize the size, rigidity (in some brushes, this setting may be missing) and the shape on the top panel.
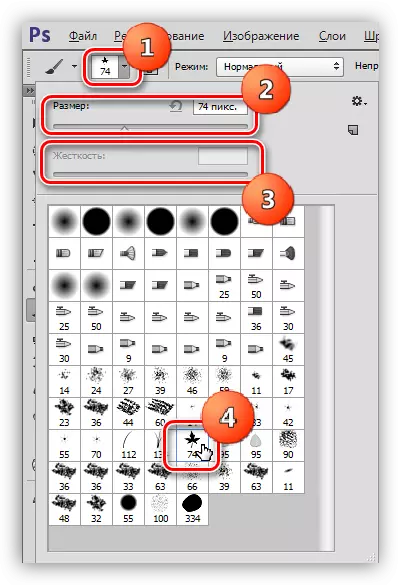
3. Select the desired color at the bottom of the panel on the left.

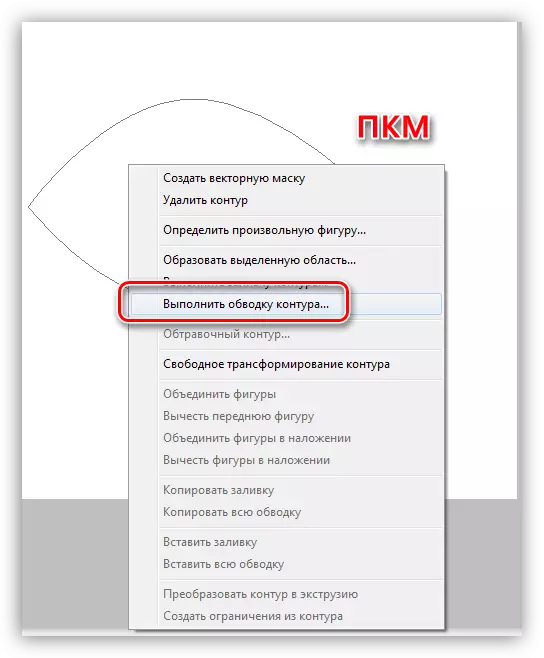
4. We again take the pen tool, click the right mouse button (the contour has already been created) and select the "Perform circuit stroke" item.
5. In the drop-down list, select "Brush" and click OK.
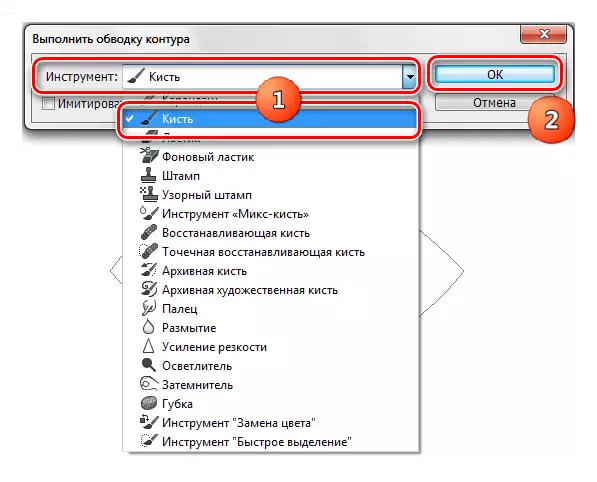
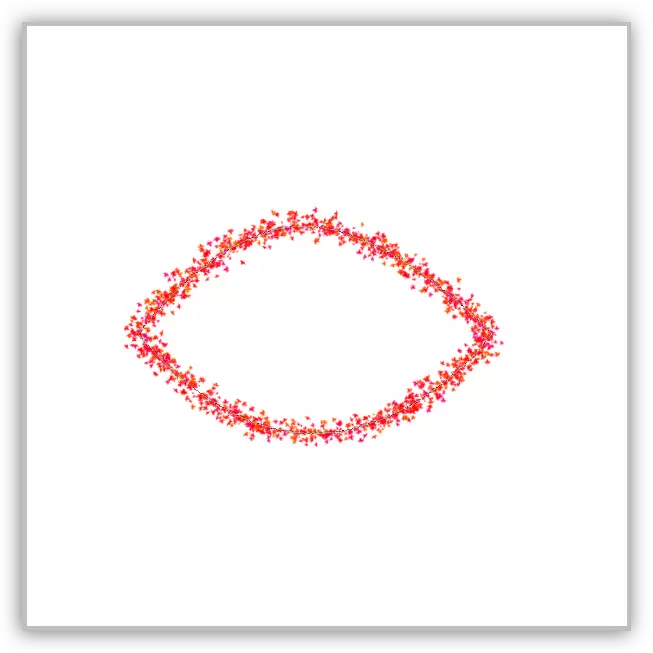
After performing all actions, the contour will circle a tuned brush.
Creating brushes and figures
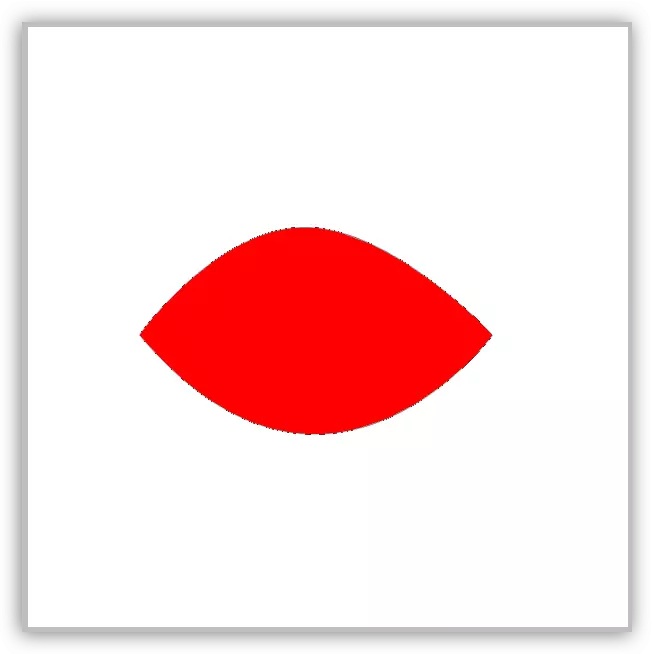
To create a brush or shape, we will need a flooded outline. Color You can choose any.
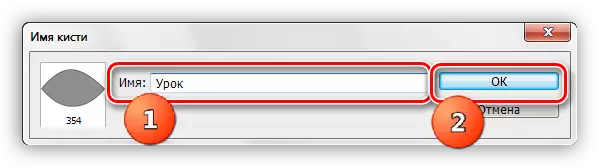
Create a brush. Please note that when creating a brush, the background should be white.
1. Go to the "Editing - Define Brush" menu.

2. Give the name of the brush and click OK.
The created brush can be found in the settings of the tool shape ("Brushes").

When creating a brush, it is worth considering that the larger the contour, the better the result will be. That is, if you want a high quality brush, then create a huge document and draw a huge contour.
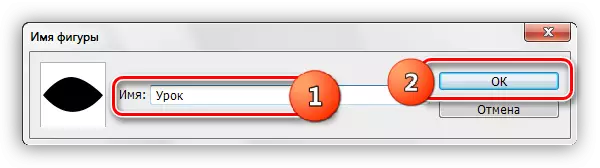
Create a figure. For the figure, the color of the background is not important, as it is determined by the boundaries of the contour.
1. Click PKM (in our hands) on the canvas and choose the "Determine an arbitrary figure" item.

2. As in the example with the brush, give the name of the figure and click OK.
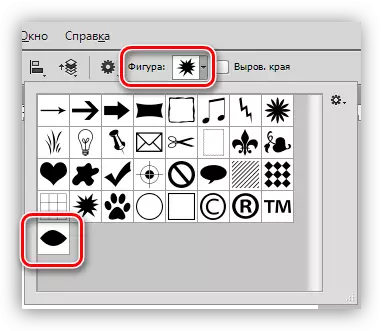
Find the figure as follows: Select the "Arbitrary Figure" tool,

In the settings on the top panel, open a set of figures.
The figures differ from the brushes by the scaling without loss of quality, so when creating a figure is not important, and the number of points in the circuit - the fewer points, the better the figure. To reduce the number of points, bend the generated circuit for the shape using the rays.
Object stroke
If you carefully studied the paragraph about building the contour, the stroke itself will not cause difficulties. Only a couple of tips:
1. When stroking (it is "clipping"), increase the scale of the image (the Ctrl + "+" keys (just plus)).
2. Displays the contour towards the object slightly to avoid the background in the selection and partially cut off the blurred pixels.

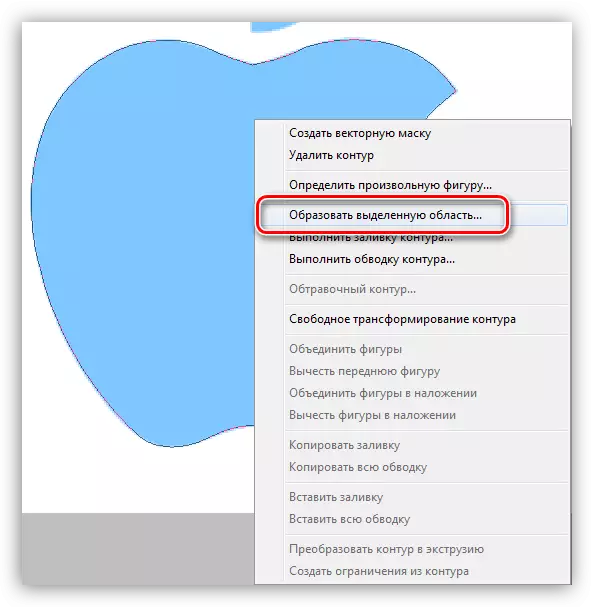
After the contour is created, you can pour it and make a brush or a figure, and you can form a selected area. To do this, click the right mouse button and choose this item.
In the settings, we specify the radius of the decisive (the higher the radius, the more blurring the border will be obtained), we put a tank near the "smoothing" and click OK.

Then decide what to do with the obtained allocation. Most often, Ctrl + J is pressed to copy it to a new layer, thereby separating the object from the background.
Removal of contour
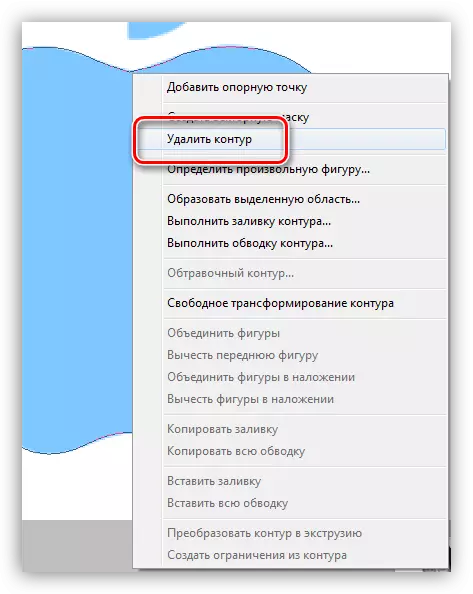
The unnecessary circuit is simply deleted: with the activated "Feather" tool, you need to click on the right mouse button and click "Delete Contour".
On this we will finish the lesson about the Pen tool. We today received the minimum of knowledge necessary for effective work, without any information, and learned how to apply these knowledge in practice.