

The imitation of gold is one of the most difficult tasks when working in Photoshop. You have to use multiple filters and styles, draw glare and shadow.
On our site there is already an article on how to create a gold text, but the techniques described in it are not suitable for all situations.
Lesson: Golden inscription in photoshop
Golden color in photoshop
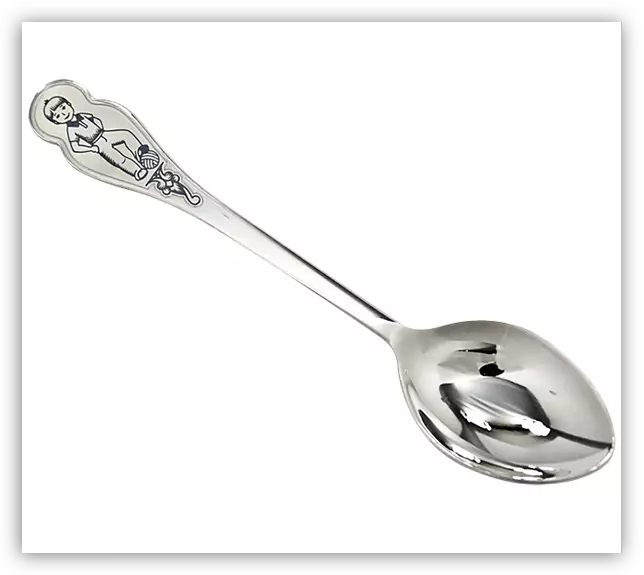
Today we will learn how to give the color of gold subjects that are not gold. For example, this silver spoon:
In order to proceed to creating a gold imitation, you need to separate the object from the background. You can do this in any convenient way.
Lesson: How to cut an object in photoshop

Start.
- Create a new corrective layer called "Curves".
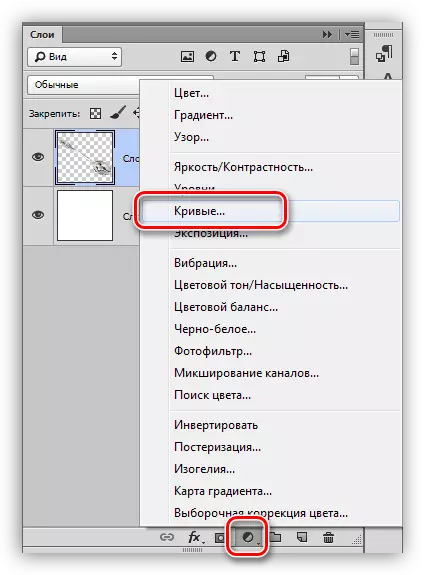
- In the automatically opened palette of the settings, go to the red channel (dropping out the list at the top of the window).

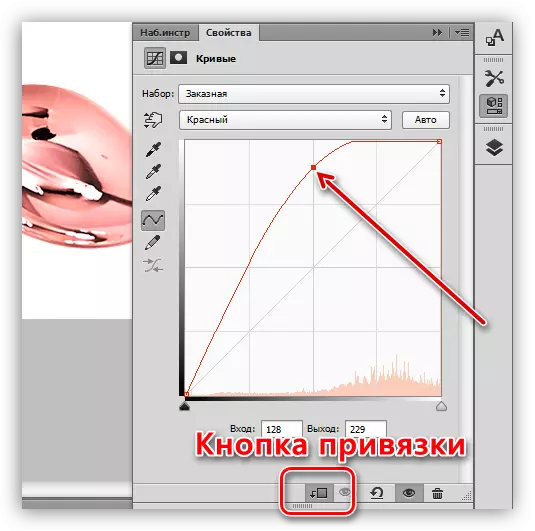
- We put the point on the curve, and pull it to the left and up until the shade is achieved, as in the screenshot. In order for the "curves" only to a layer with a spoon, activate the binding button.
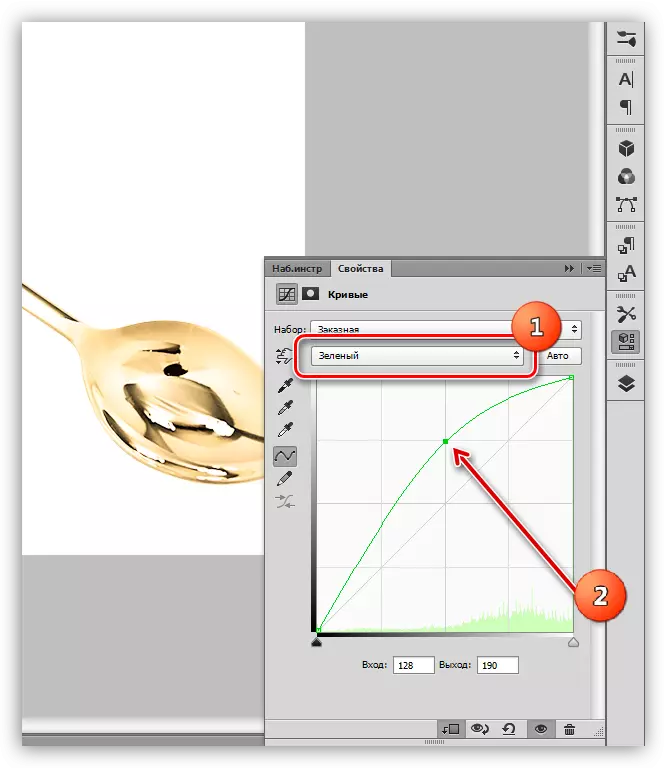
- Further, in the same drop-down list, select the green channel and repeat the actions. Channel setting depends on the initial shade and contrast of the item. Try to achieve an approximately the same color as on the screen below.
- Then go to the blue channel, and pull the curve to the right and down, thereby reducing the amount of blue in the image. It is important to achieve a practically complete "dissolution" of pink shade.

Our alchemical experience was a success, let's put a spoon on a contrasting background, suitable for gold and look at the result.
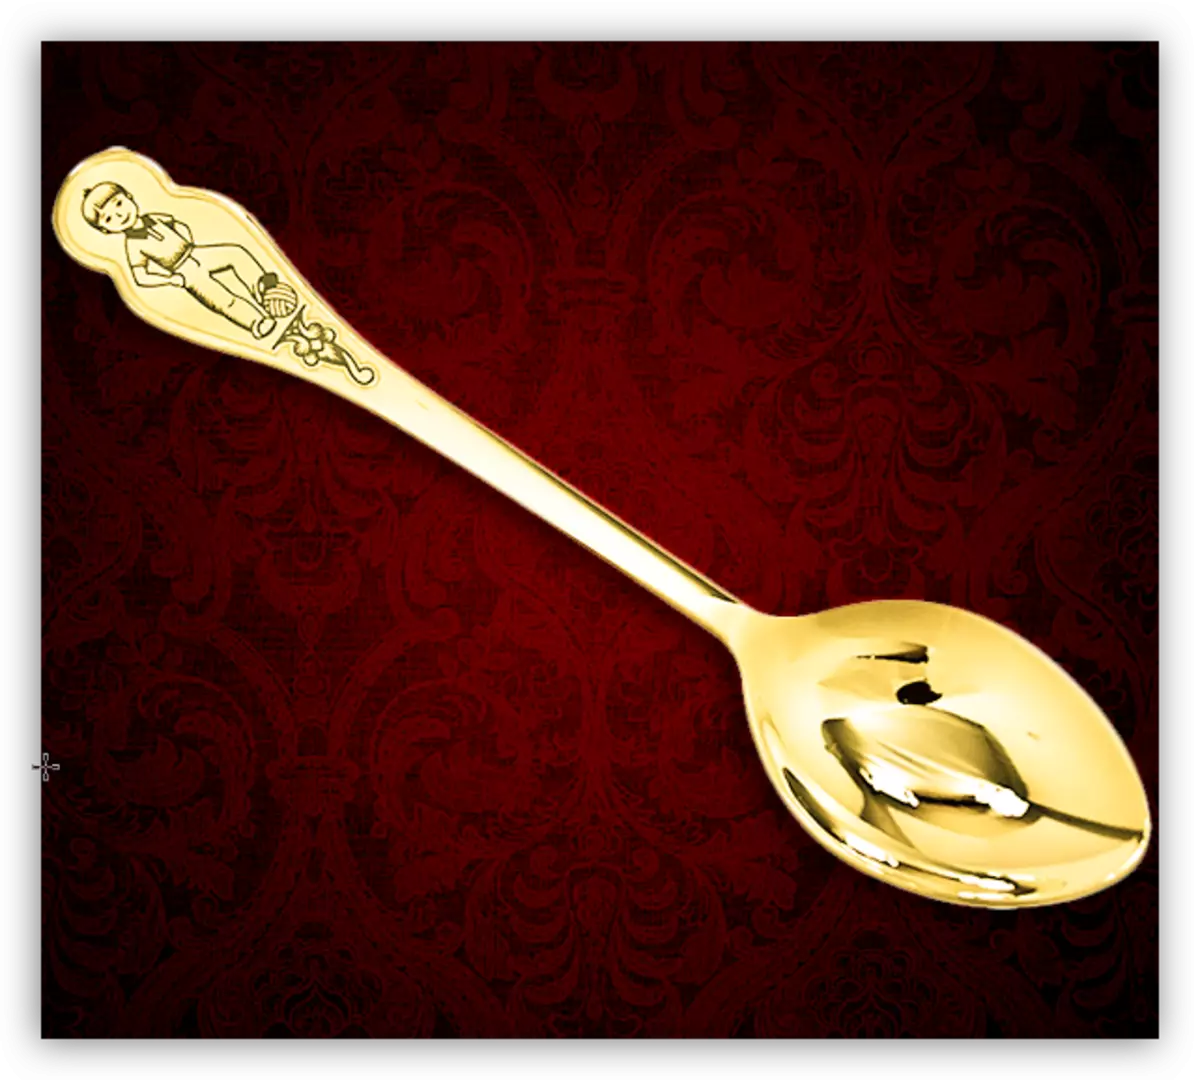
As you can see, the spoon took the color of gold. This method is applicable to all subjects having a metal surface. Experiment with the settings of the curves to achieve the desired result. There is a tool, the rest depends on you.