

Cause 1: The touchpad is disabled using the keyboard
Most often, ASUS laptops are blocked by a touchpad keypad operation, and if this happens randomly, if you want to resume the use of the touch panel, the question appears how to do it.
Depending on the device model, the touchpad control is carried out by different keys. This may be like F6 or FN + F6,
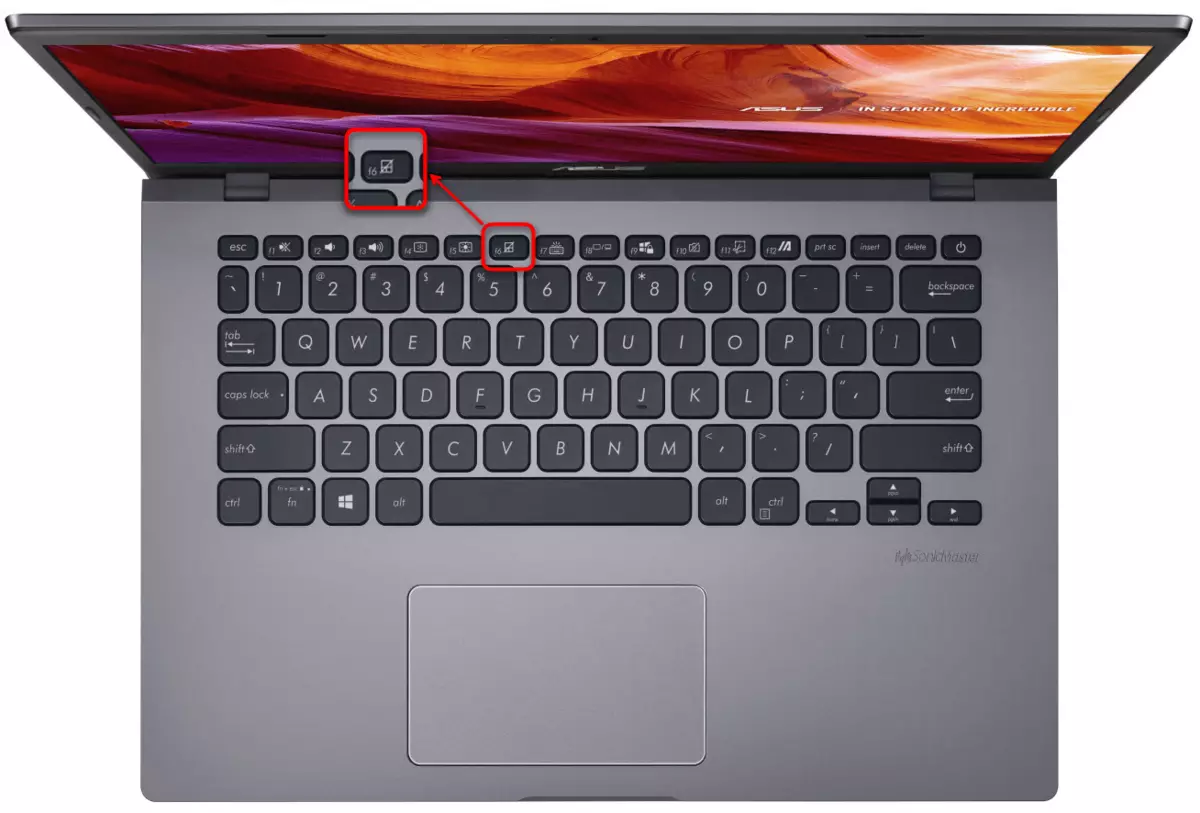
So and F9 or Fn + F9.

Click only F6 / F9 or do it in combination with Fn depends on the operation mode of the F-keys. If they perform their multimedia destiny (adjust the brightness of the screen, the sound, the backlight of the keyboard, etc.), it means that just pressing one key. Otherwise, you will have to use the key combination. By the way, the key mode of the keys from the F-row you can change at any time.
Touchpad settings
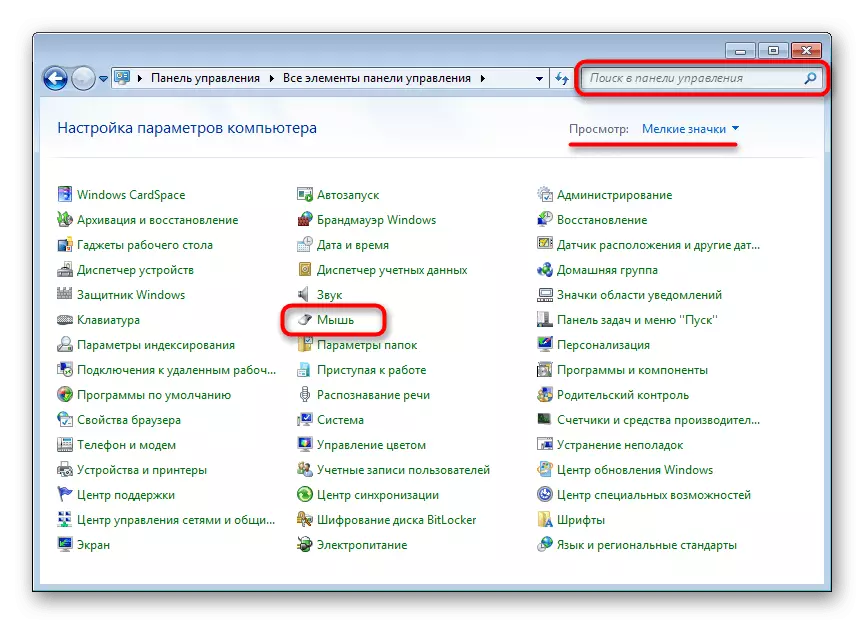
Universal method for all modern Windows - using the "control panel". This system application is in any version of the OS and allows you to easily control the touchpad.
- Open "Start", call the control panel. Go to the "Mouse" category - the fastest of all this is done by setting the view as "icons" or finding it in the search.
- A new window will appear in which to switch to the "Device Settings" or "ELAN" tab (the name depends on the manufacturer of the panel). If here you see that the "Enable" button is available for clicking, use it and apply the changes so that the touchpad earned again.
- Thus, whose touchpad does not work only in parallel with the connected mouse, in the same window it is necessary to remove the checkbox from the "Disconnect the internal decree. Device with connections. external decree. USB devices "and click" OK ".

The table under consideration may not be: it depends on whether the driver for the touch panel is installed in the operating system. Take advantage of the 4 article to correct possible malfunctions.

Disable service in Windows
A rare problem is, nevertheless necessary to verify the possessors of laptops with a touchscreen display. For certain reasons, the operating system occurs a software conflict between the touchpad driver and the input service using the pen, which is why the indicating device stops working. Check if it is possible, you can turn off the service.
- Run the "Task Manager" by pressing the Ctrl + Shift + Esc kely if you use Windows 10. Switch to the "Services" tab. In Windows 7, you need to run another application - "services", for example, through the search in the "start".
In the list, find the service that is called "TabletInputService".
- Click on it right-click and select "Stop". However, you can click and "restart" with a further restart of the laptop, regardless of the choice of option.
- If it helped, but you use the stylus, you can try to enable the service and check how it will affect the performance of the touchpad now.


Cause 3: Touchpad Disabled in BIOS
Very often, the touchpad is simply disabled in the BIOS - usually this makes the user from the convenience, but forgets at the moment when they need to take advantage. Less often it happens by chance or after resetting the BIOS settings.
When you turn on the laptop several times and quickly press the key assigned to the developer to the BIOS input. If you do not know what kind of key, read another article.
Read more: We enter the BIOS on the ASUS laptop
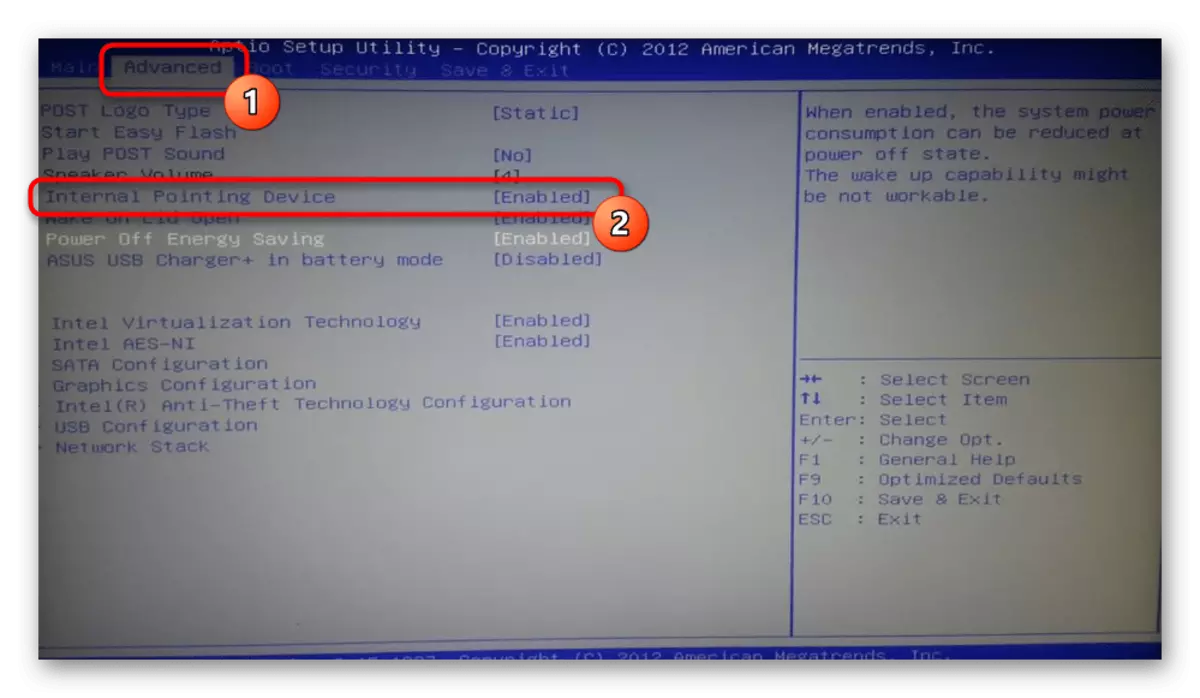
Click the "Advanced" section on the keyboard and find the "Internal Pointing Device" option there. Click on it with the Enter key and change the status to "Enabled". Then press the F10 key to save the settings and exit BIOS with the further start system.
Game and simply not budget models can be a UEFI interface (that is, with a graphic shell). If you have such, first go to the advanced settings mode - "Advanced Mode" - corresponding to the button or by pressing the F7 key.
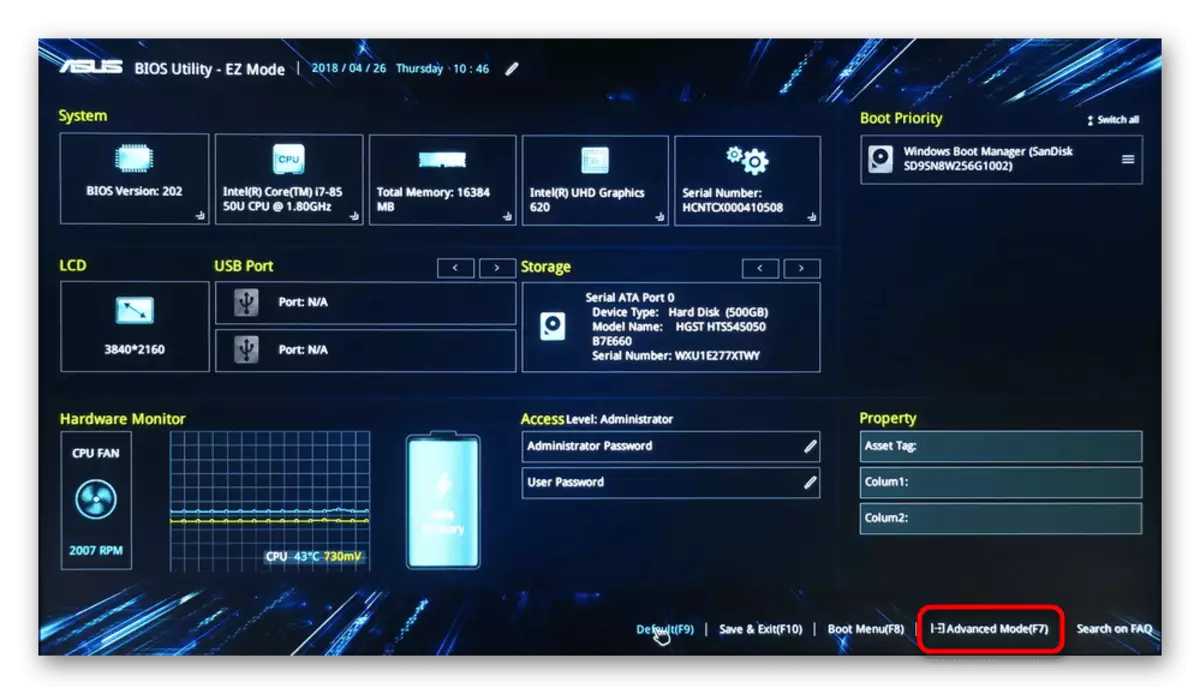
Next you need to do the same thing that was described in the paragraph about the usual BIOS above.

There is a chance that the management of the touchpad is not present in all BIOS laptops ASUS. Therefore, if you did not find the specified option, simply go to other sections of the article.
Cause 4: Driver Problems
The driver as a whole should not fully affect the performance of the touchpad - the basic functions (movement of the cursor, pressing the left and right buttons) are performed without it. However, if some malfunctions arose with him, it is quite possible to unpredictable behavior of the touchpad entirely.You can download the driver for a touchpad in different ways, so we suggest familiarizing yourself with a separate article on this topic. Specify the fact that occasionally the touchpad stops working after upgrading to the latest version, so if you are sure that it is difficult in it (and you can make sure this), you can try to find and install the previous version.
Read more: Download Touchpad driver for Asus laptops
In the same method, we will consider additional options that can help, and the first is the local reinstallation.
Reinstall Driver
A quick reinstallation involves the installation of the available version of the driver on top of the same.
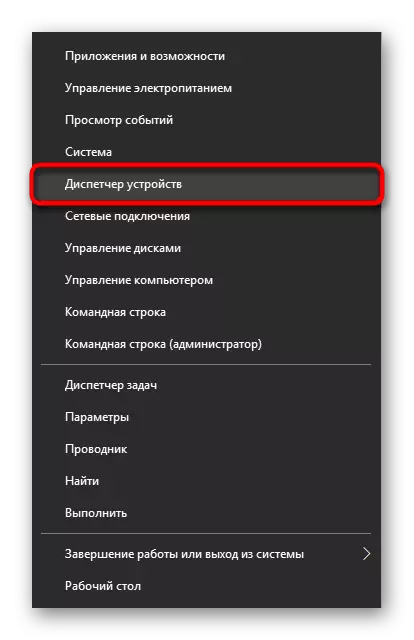
- Call "Device Manager" Finding it in "Start" or clicking on it with the right mouse button (Windows 10) and selecting the desired item.
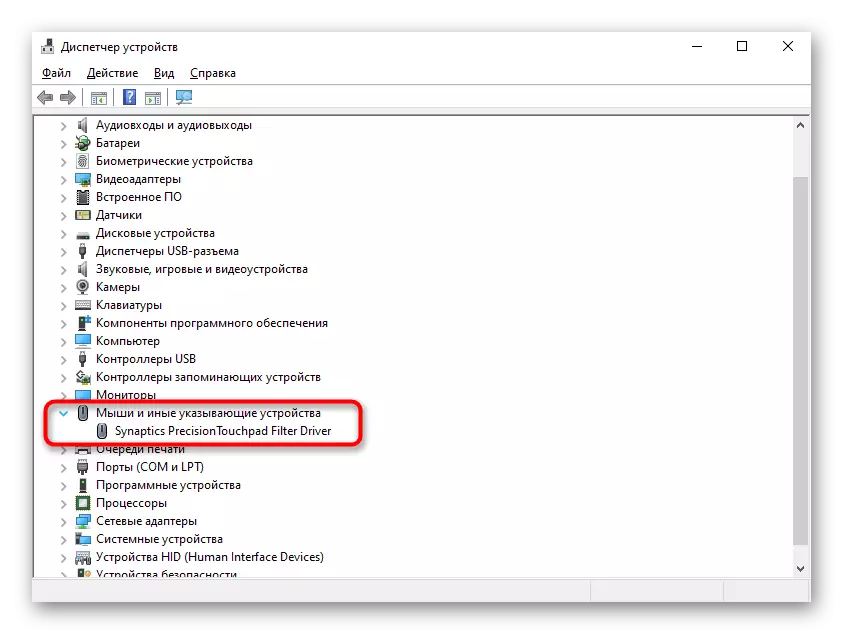
- Lay out the "Mouse and Other Indicating Devices" section, expand it - there must be the name of the touchpad containing the word "Driver" and / or "TouchPad".
- Highlight this string and on the toolbar, click on the Update button.
- Here you need the option "Select a driver from the list of available drivers on the computer."
- In the device list, select the mouse driver, pushing out the name and version. If there is no similar name, select "HID-compatible mouse" or "HID-compatible device".
Perhaps instead of a row with the name of the touchpad, you will simply see the inscription "HID-compatible mouse". When connecting the mouse as a temporary equipment in the "Mouse and Other Indicating Devices" section, most likely there will be two identical devices with such names. Determine where the touchpad, and where the mouse can be easily: highlight any of these two lines, and then disconnect the USB mouse from the laptop. If the allocated string remains, it means that it is a touchpad, if not, it was a mouse. When re-connected, it will again be the same in the list.


Delete Driver
If the driver is installed on top of the current version of the results, try to delete this software first, and then install.
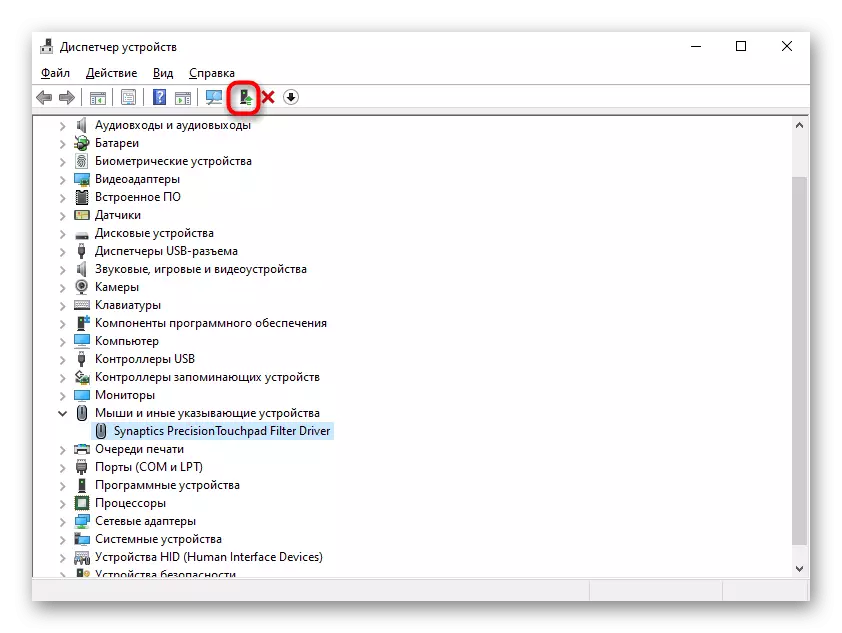
- In the Device Manager, select the same string with the touchpad, click the hardware removal button on the toolbar.
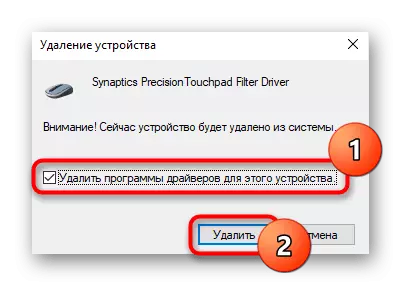
- Despite the name of the item, in fact it is deleted, of course, the driver, and the device itself turns off to the next start of the system. In the next window, put a tick next to the drive file deletion line (if there is such) and click "Delete".
- Now in mandatory reboot the laptop, and then install the driver by any of the available ways. However, we clarify that in modern versions of Windows when you turn on the laptop, the universal driver from Microsoft will be installed automatically, so the operation of the touchpad can be checked already at this stage. Contact manual installation is then when the background installation has not happened.

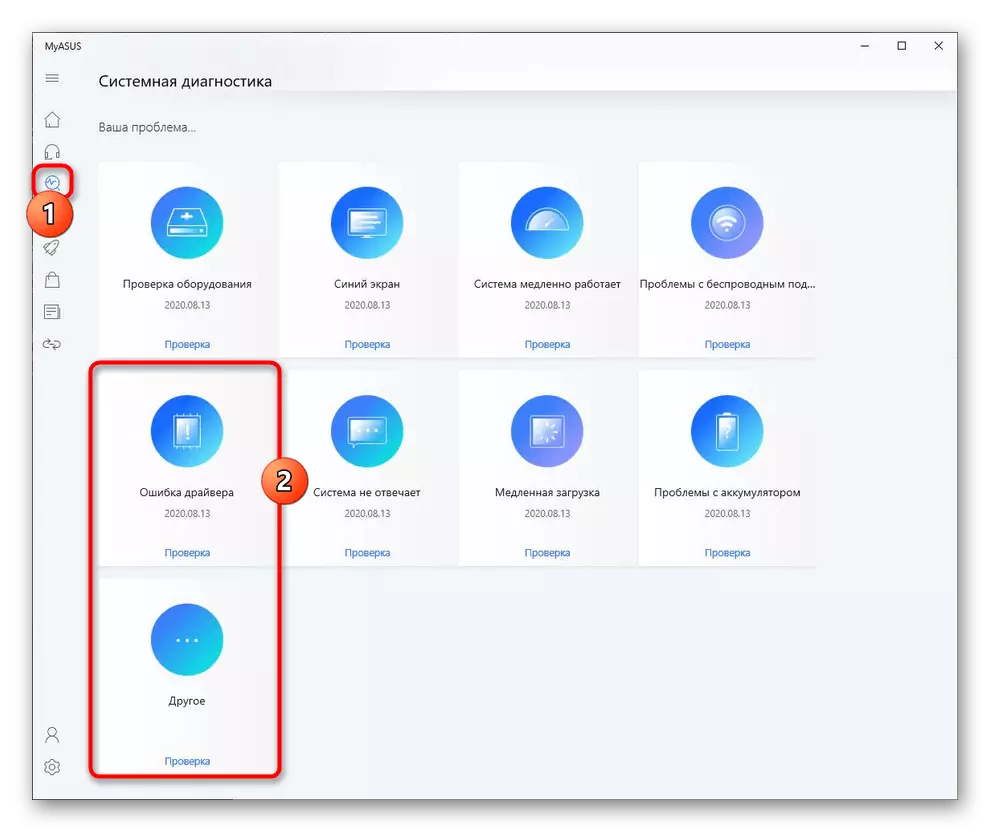
Using Myasus program
For all owners of ASUS laptops with Windows 10, the company has developed a branded software, which is something like the Devys Management Center. Here in the diagnostic section there is a "driver error" tile - try running this tool to search for non-working software associated with touchpad. If this does not help, use the "Other" tile to search for additional information or access to support service.
Immediately clarify that, despite the presence of tile "equipment check", the work of the touchpad is not scanned. On the company's official website page lists a list of devices that are tested, and the touch panel does not apply to them. In the absence of such a program on your laptop, download it from the following link (download is available solely from MS Store).
Download Myasus from Microsoft Store
Cause 5: Viral Activity
Malicious software can also prevent the operation of the touchpad, as well as any other component. If he stopped working with no visible cause and, perhaps, there were failures of another character, be sure to scan an operating system with anti-virus software or at least a scanner that does not require installation.
Read more: Fighting computer viruses

Cause 6: hardware problem
Unfortunately, to establish the work of the touchpad software tools is not always possible. The reason concluded in the hardware fault can only be eliminated physically. As a rule, it is preceded by an incorrect appeal of a person with a laptop: the device fell, subjected to a strong shaking, was flooded with a liquid, it was in unsuitable external conditions, was revealed and was incorrectly collected.
Under the sensor panel there is a familiar design: electronics and a train. The fee could, for example, oxidize, overdo it, and the train - spoil. Of course, this kind of breakage happens and under the action of the duration of operation, and not the fault of the owner of the laptop. Nevertheless, the loop could and simply move away or be not fully attached after the previous parsing of the laptop. To accurately determine the problem of an ordinary person will not work - only a specialist of the service center can be made, where the laptop should be attributed to the diagnosis. Advanced users can try to disassemble the laptop and inspect the parts of the touchpad for the presence of visual problems or even independently replace it by buying a new one in the online store or, for example, on AVITO for the same model.