

To perform some operations in Excel, it is required to separately identify certain cells or ranges. This can be done by assigning the name. Thus, if it is directed, the program will understand that this is a specific area on the sheet. Let's find out what methods can this procedure in Excel be performed.
Name assignment
You can assign an array or separate cell name in several ways, both using the tape tools and using the context menu. It must comply with a number of requirements:- begin with the letter, with an underscore or from a slash, and not with a number or other symbol;
- do not contain spaces (instead you can use the lower underscore);
- Not at the same time the address of the cell or range (i.e., the names of the type "A1: B2" are excluded);
- have a length of up to 255 characters inclusive;
- A unique in this document (the same letters written in the upper and lower registers are considered identical).
Method 1: Name String
It is easier and faster to give the name of a cell or area by entering it into the name string. This field is located to the left of the formula string.
- Select a cell or range over which the procedure should be carried out.
- In the name string, enter the desired name of the region, given the rules for writing titles. Click on the ENTER button.
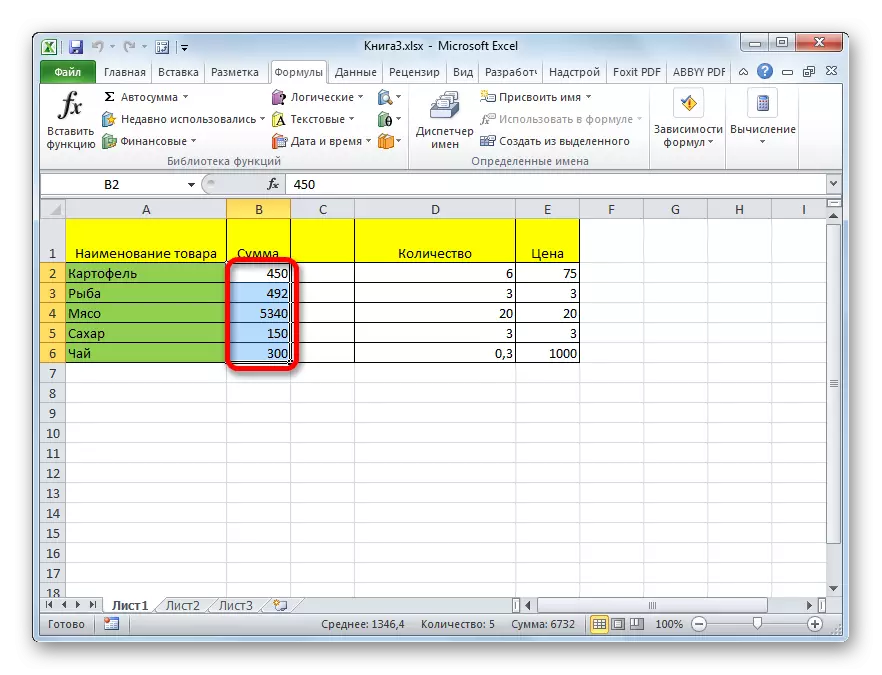
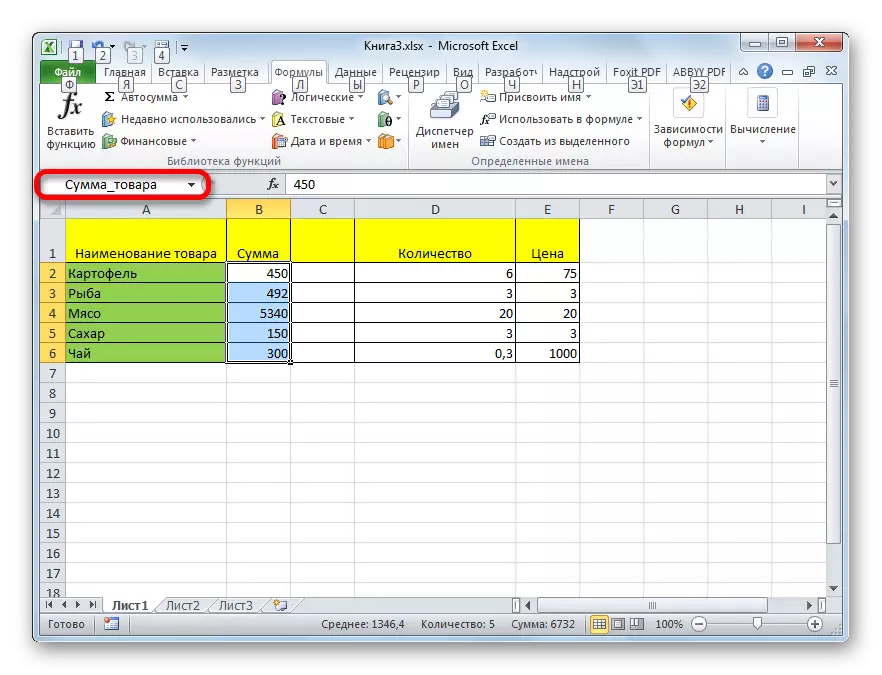
After that, the name of the range or cell will be assigned. When you are selected, it will be displayed in the name string. It should be noted that when assigning titles to any other methods that will be described below, the name of the dedicated range will also be displayed in this row.
Method 2: Context Menu
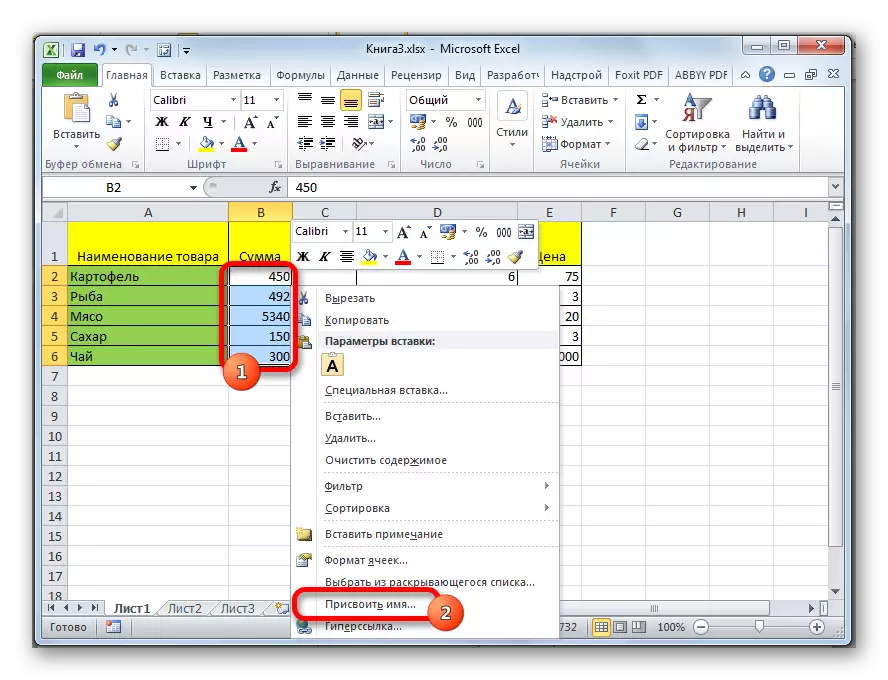
A rather common way to assign the name cells is to use the context menu.
- We allocate the area over which we wish to perform an operation. Click on it right mouse button. In the context menu that appears, select the "Assign Name ..." item.
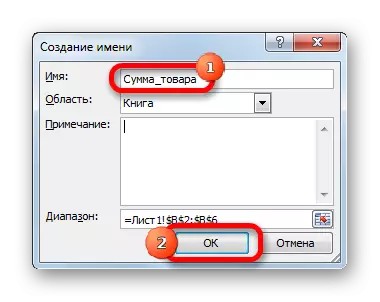
- A small window opens. In the "Name" field you need to drive the desired name from the keyboard.
The area indicates the area in which the selected range of cells will be identified at the link to the assigned name. It can act as a book as a whole and its separate sheets. In most cases, it is recommended to leave this default setting. Thus, the whole book will perform as the link area.
In the "Note" field, you can specify any note that characterizes the selected range, but this is not a mandatory parameter.
The "Range" field indicates the coordinates of the region, which we give the name. Automatically comes here to the address of the range that was originally highlighted.
After all settings are specified, click on the "OK" button.
The name of the selected array is assigned.
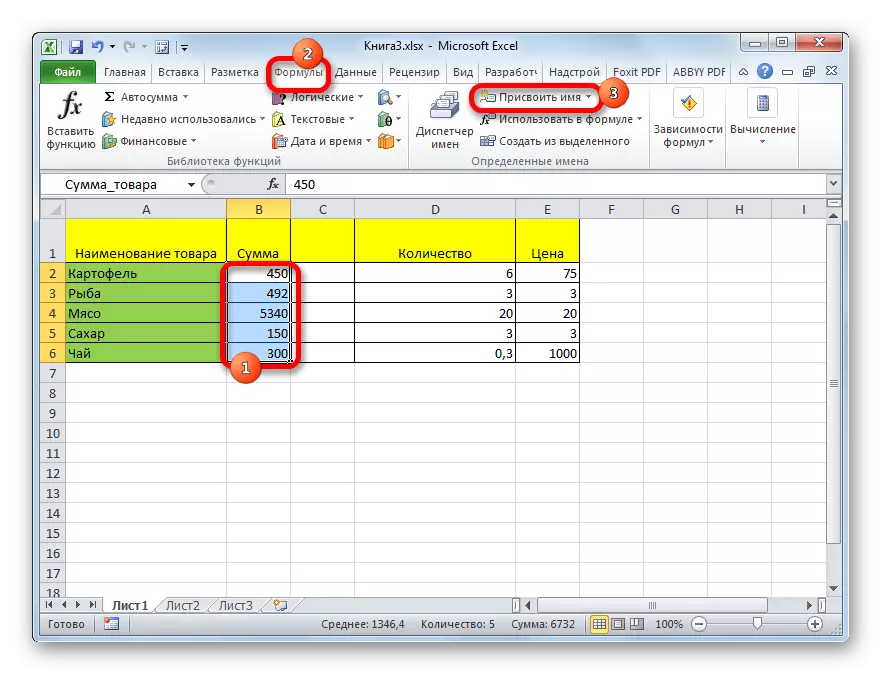
Method 3: Assigning the name using the tape button
Also, the name of the range can be assigned using a special tape button.
- Select a cell or range that you need to give name. Go to the "Formulas" tab. Click on the "Assign Name" button. It is located on the tape in the "Certain Names" toolbar.
- After that, the name of the name assignment is already familiar to us. All further actions exactly repeat those that were used in the execution of this operation in the first way.
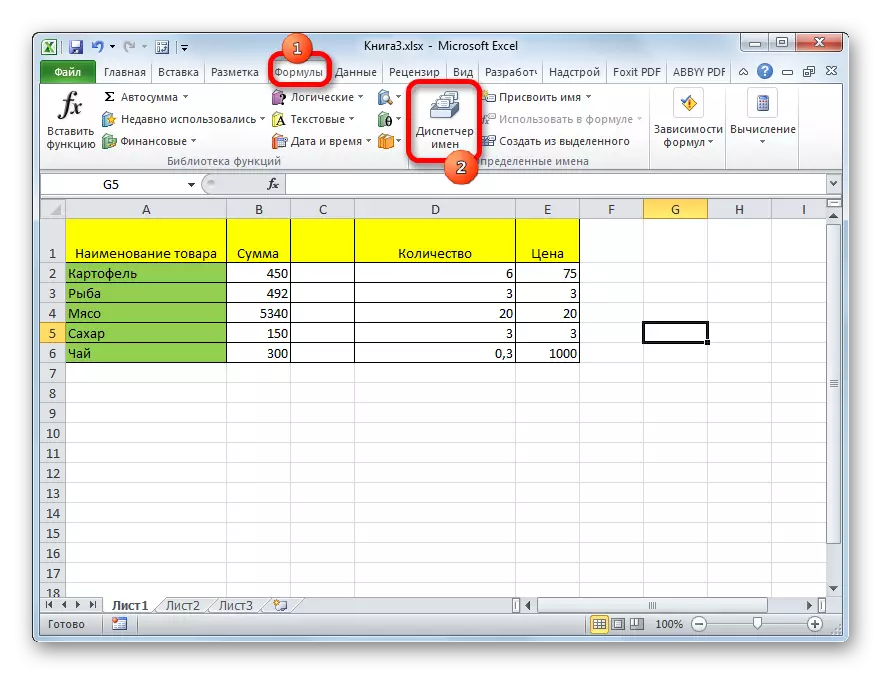
Method 4: Name Dispatcher
The name for the cell can be created and via the name manager.
- Being in the formula tab, click on the "Name Manager" button, which is located on the tape in the "Certain Names" toolbar.
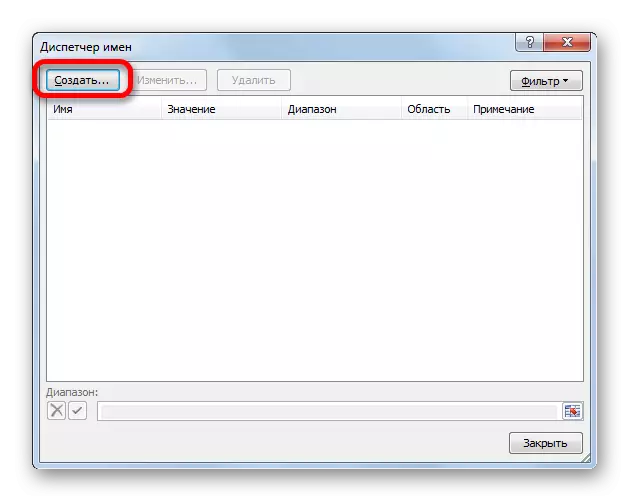
- The "Name Manager ..." window opens. To add a new name of the region, click on the "Create ..." button.
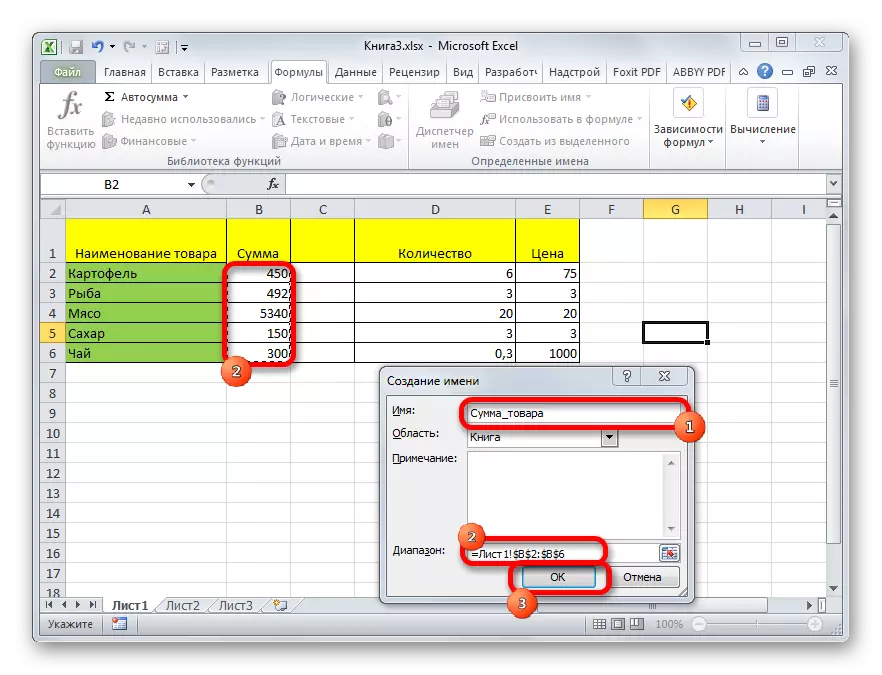
- It is already well a familiar window of adding a name. The name is added in the same way as in the previously described variants. To specify the object coordinates, put the cursor in the "Range" field, and then directly on the sheet allocate the area you want to name. After that, click on the "OK" button.
This procedure is completed.
But this is not the only feature of the name manager. This tool can not only create names, but also to manage or delete them.
To edit after opening the name manager window, select the desired entry (if the named areas in the document is somewhat) and click on the "Edit ..." button.
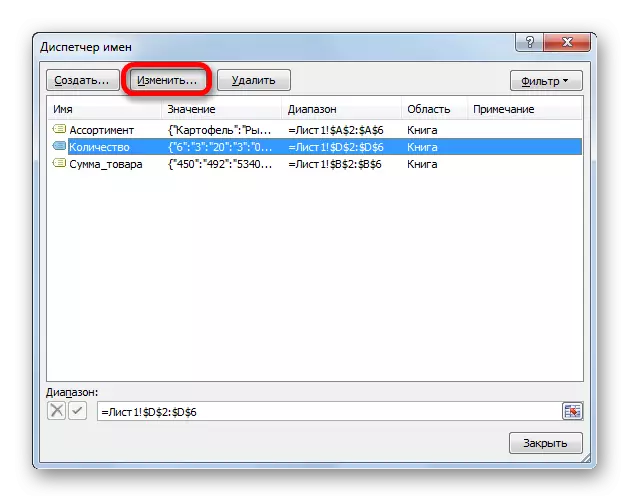
After that, the same name window opens in which you can change the name of the area or the address of the range.
To delete the record, select the element and click on the "Delete" button.
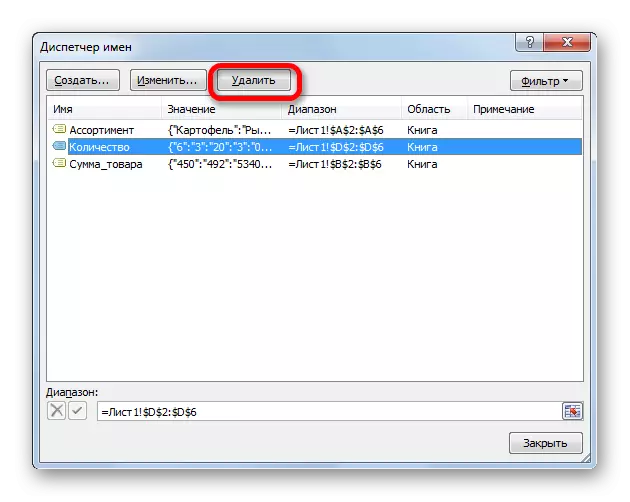
After that, a small window opens, which asks to confirm the removal. Click on the "OK" button.

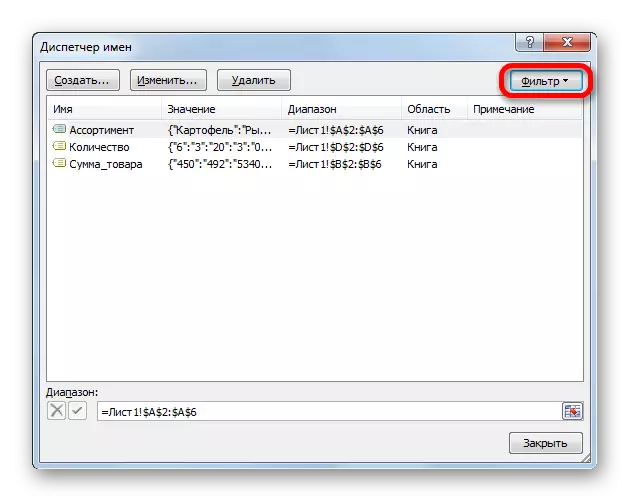
In addition, there is a filter in the name manager. It is designed to select records and sorting. This is especially convenient when the named areas are very much.
As you can see, Excel offers several name assignment options at once. In addition to performing a procedure through a special line, all of them provide for working with the name of the name of the name. In addition, using the name name manager, you can edit and delete.