Step 1: Choosing the Topic Bott
If you create a bot for commercial purposes, but do not have a technical task, first to understand what functions are planned to be implemented at all. It can be a bot to administer, play music or entertaining with mini-games. Usually, at the stage of learning, an idea appears for implementation or is offered as a home task on courses.
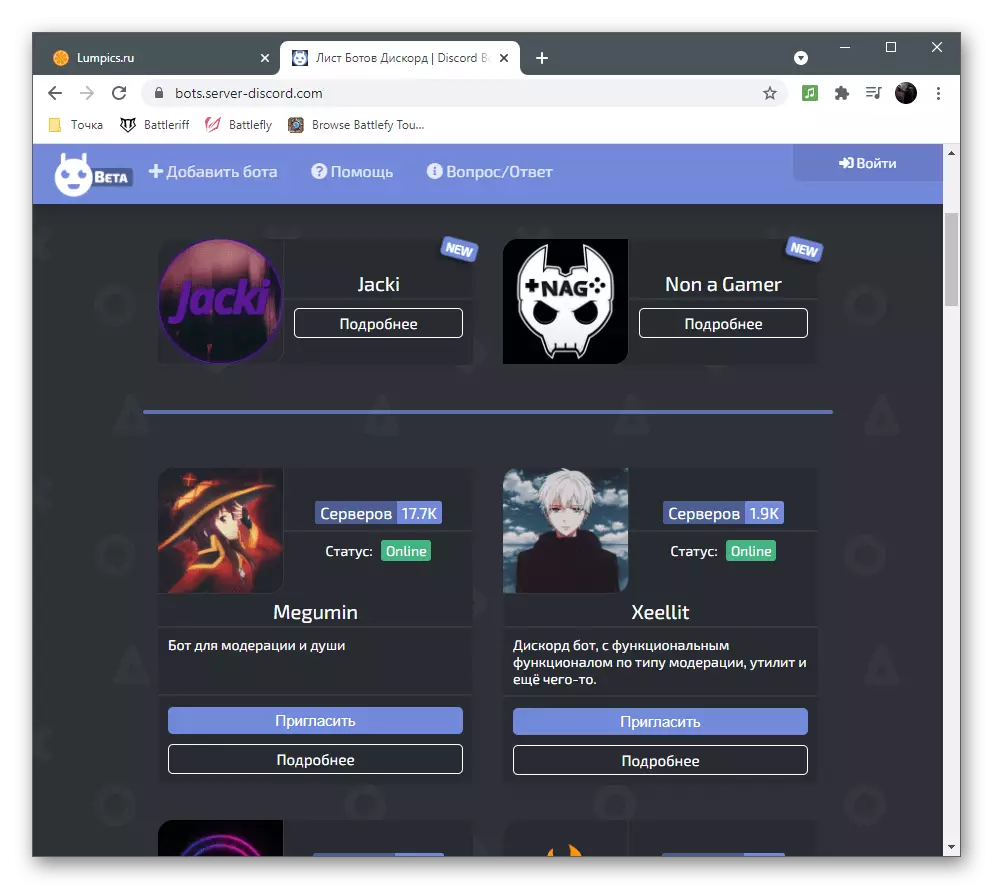
An excellent source for searching for an idea is absolutely any popular site with a list of bots. On it you can set the sorting in popularity and find out what is the most popular. On project pages there is a description of the functions and principles of work, which will also help to figure out how your future bot should look.
As soon as the topic is selected or it is decided to copy the existing code already by editing it, proceed to writing your own bot.
Step 2: Creating a bot application
The next step is to create an application on the official portal for Discord developers. It is necessary that the bot began its existence and acquired a unique token used at the invitation. Already, the project name is selected, the installation of permits and logo.
Go to the site of Discord Developer Portal
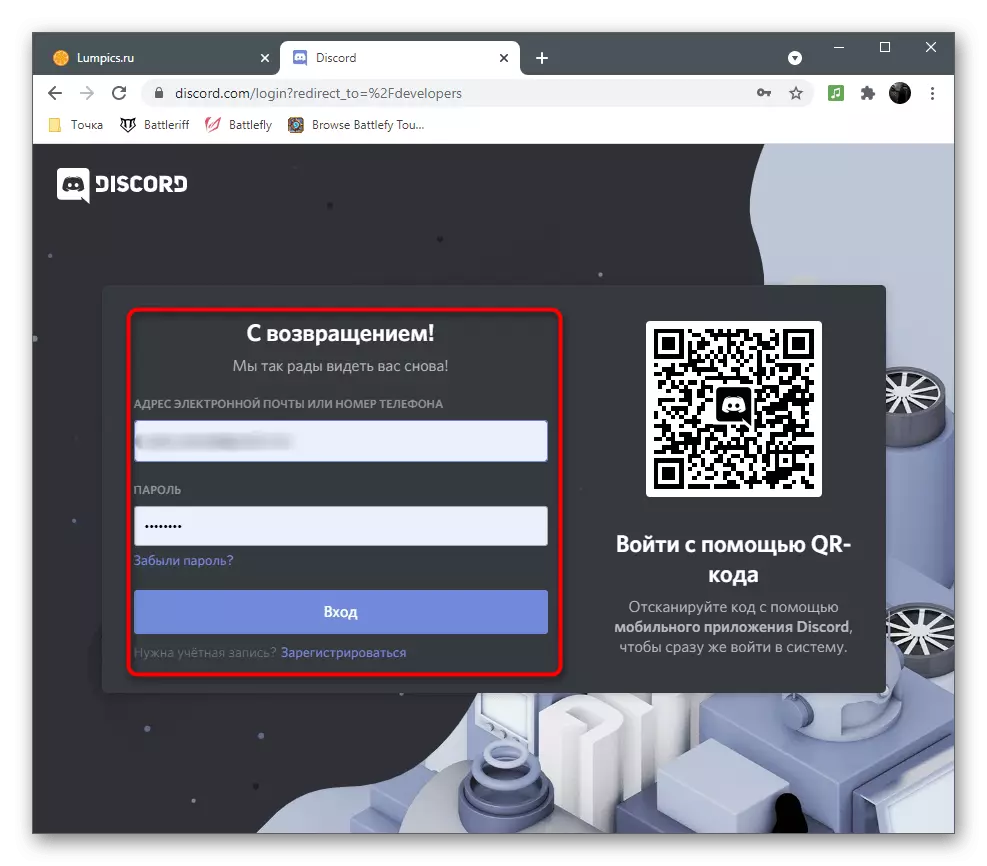
- Open the link above and log in on the developer portal under the profile that you will use for the test server when you first authorize and check the bot.
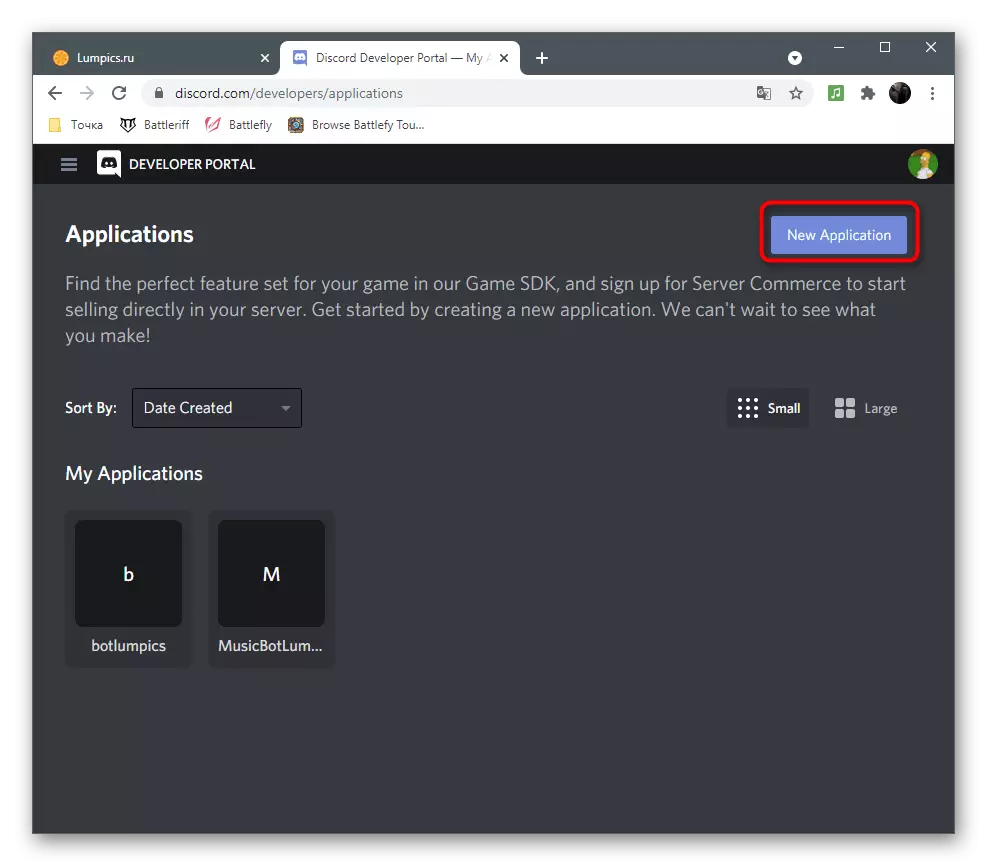
- Once on the main page, click on the "New Application" button.
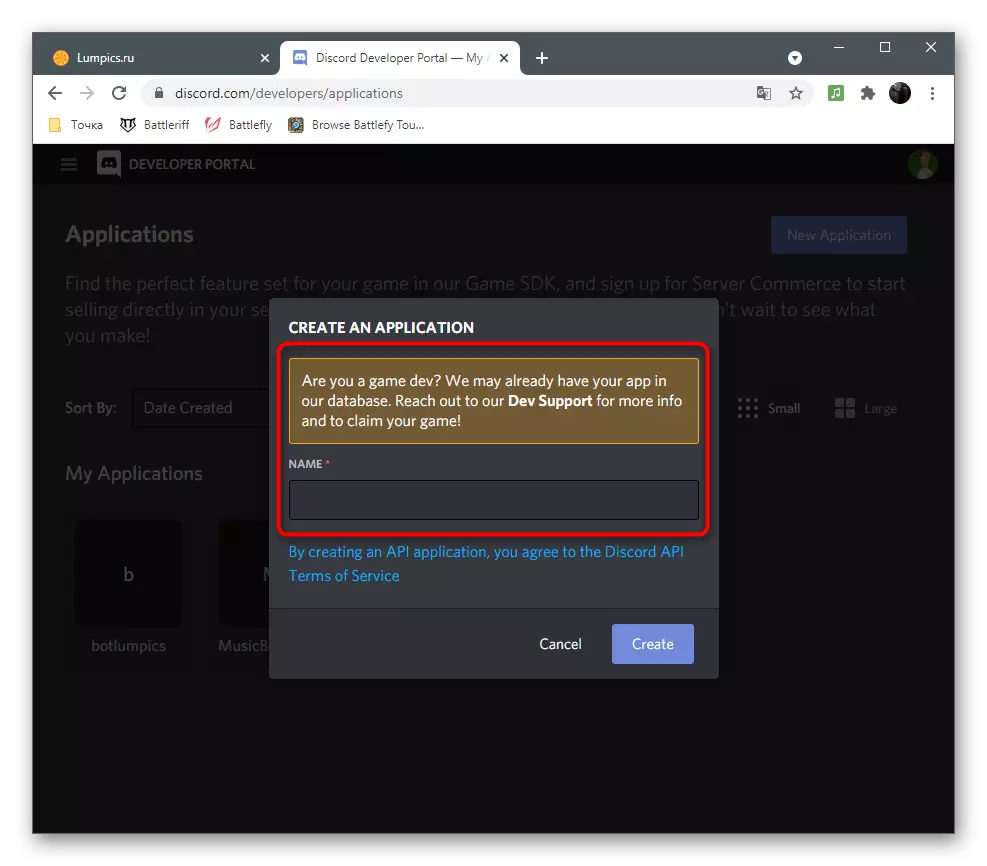
- Enter your name and confirm the creation.
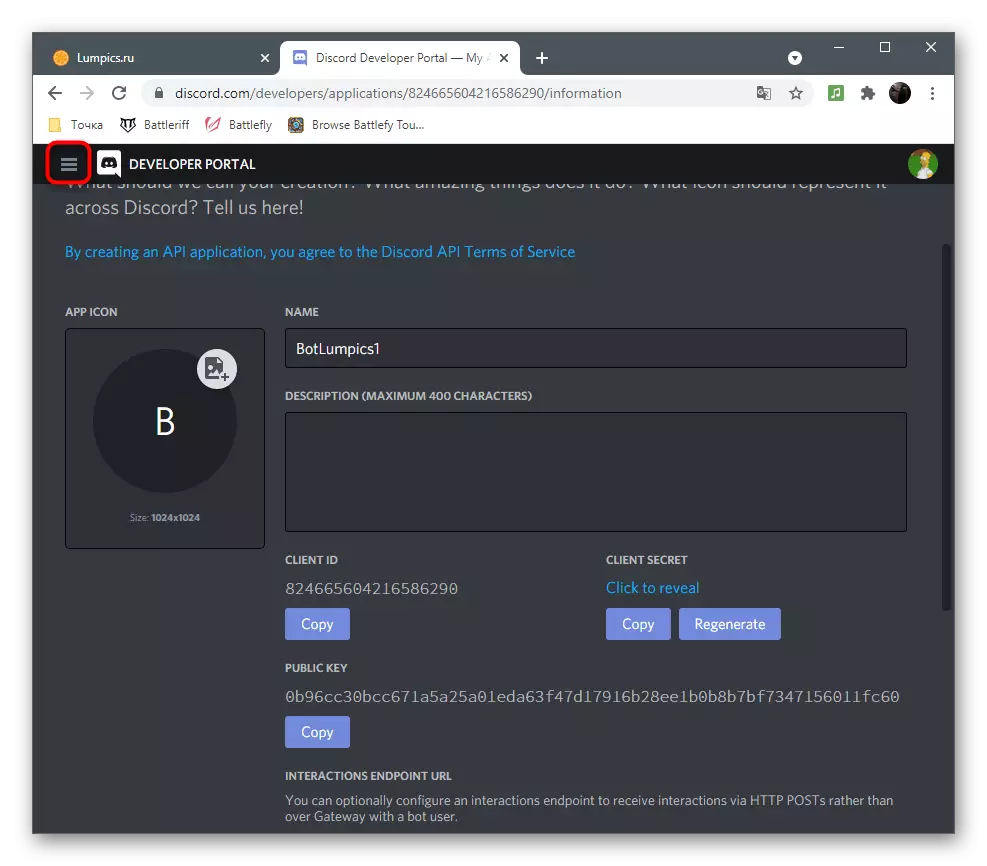
- Expand the menu of the site by pressing the button with three horizontal lines.
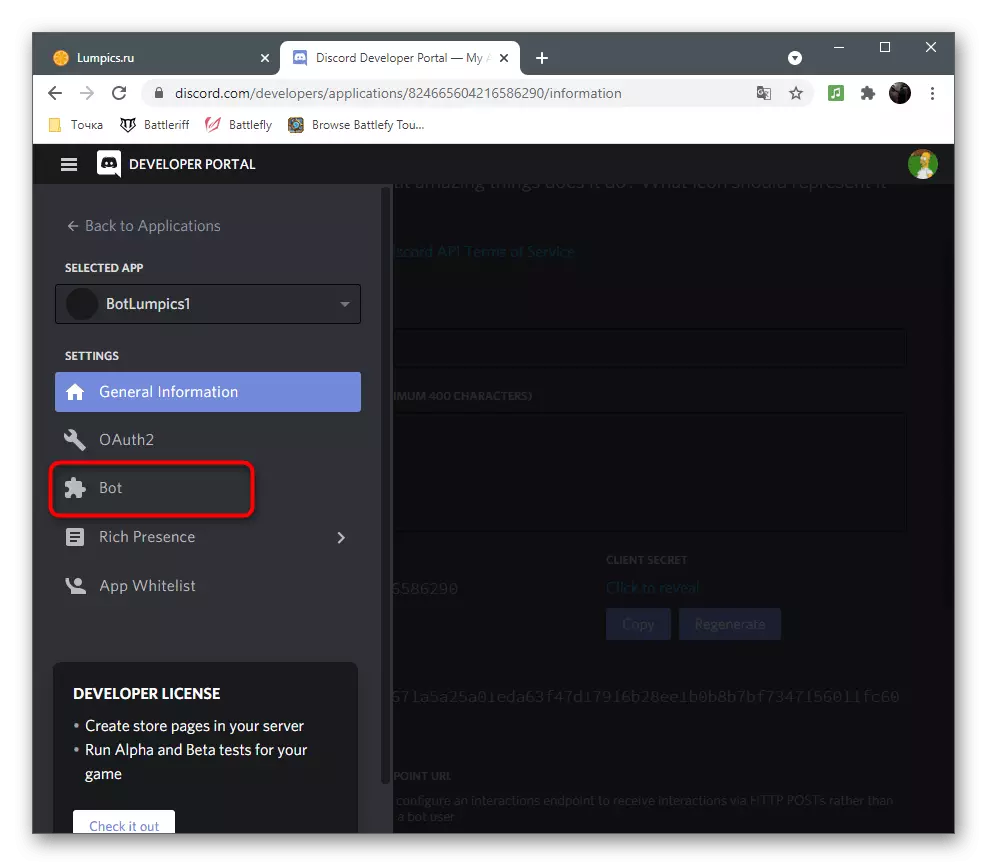
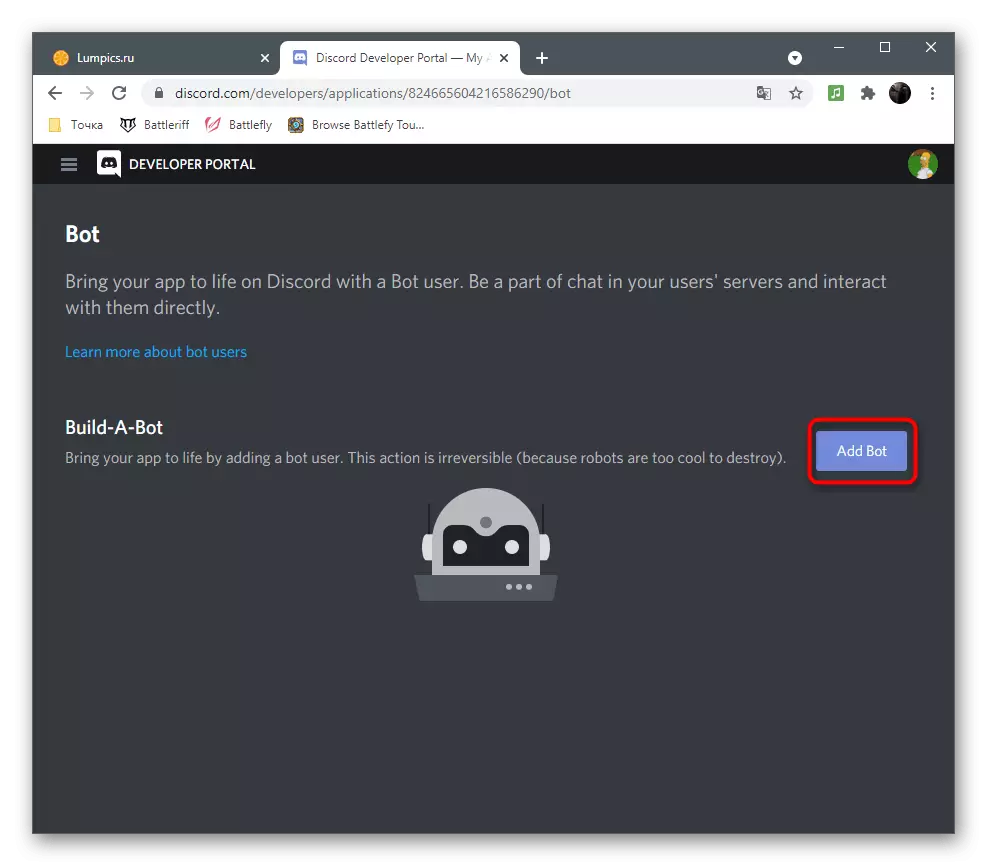
- In the "SETTINGS" block, select "Bot".
- Confirm the construction of a new bot for the application.
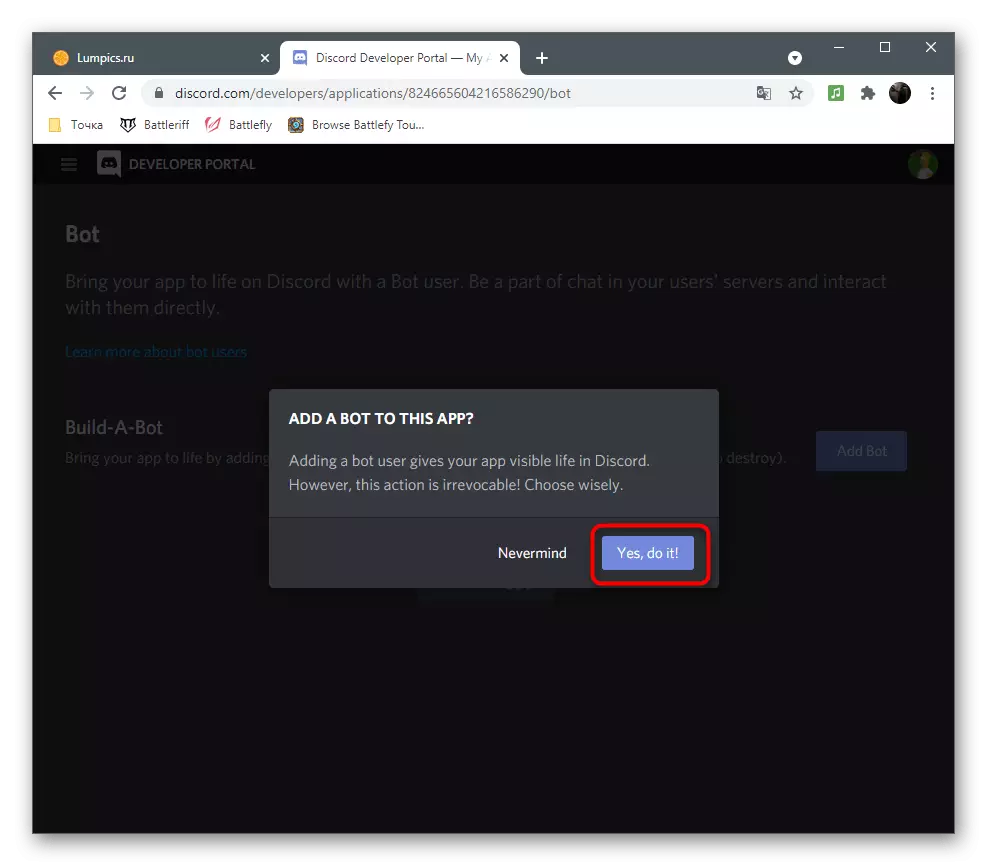
- In the pop-up window, click on "Yes, Do IT!".
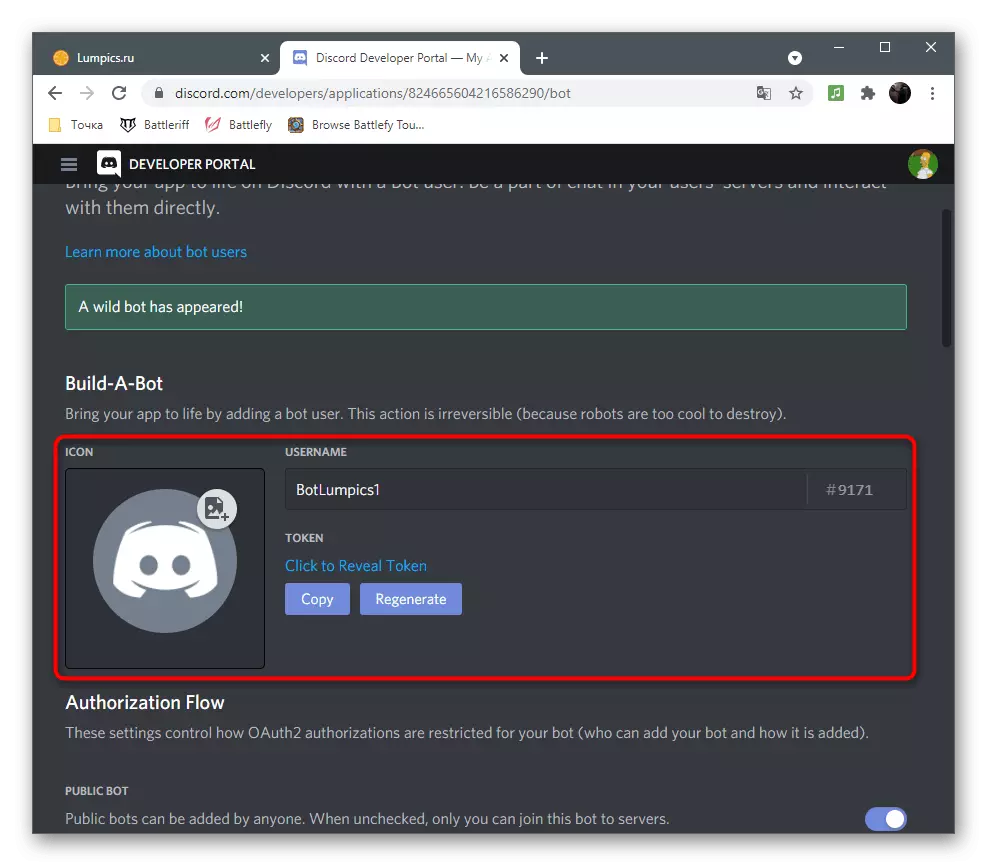
- At this stage, you can change the name of the bot and download it to the avatar if it is ready. Please note that the in the same section is also a token with the "Copy" button, which is responsible for copying it to the clipboard. This action will have to do more than once during operation with the project code.
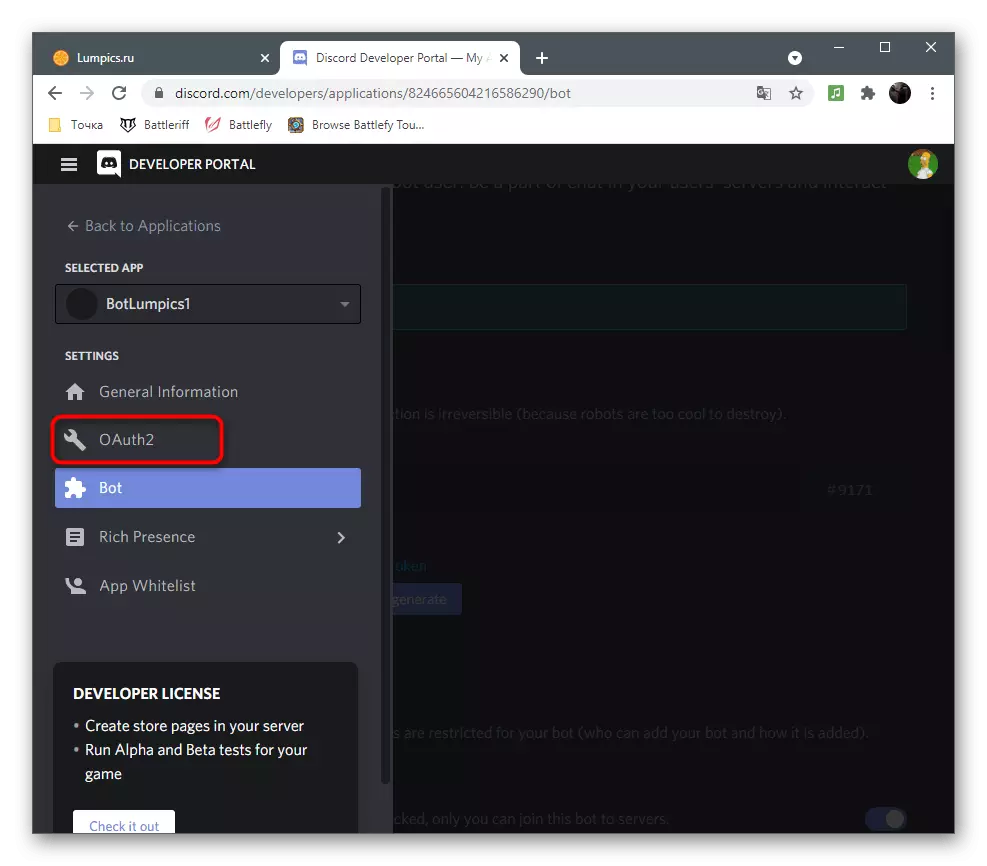
- Expand the menu again and go to the OAuth2 section.
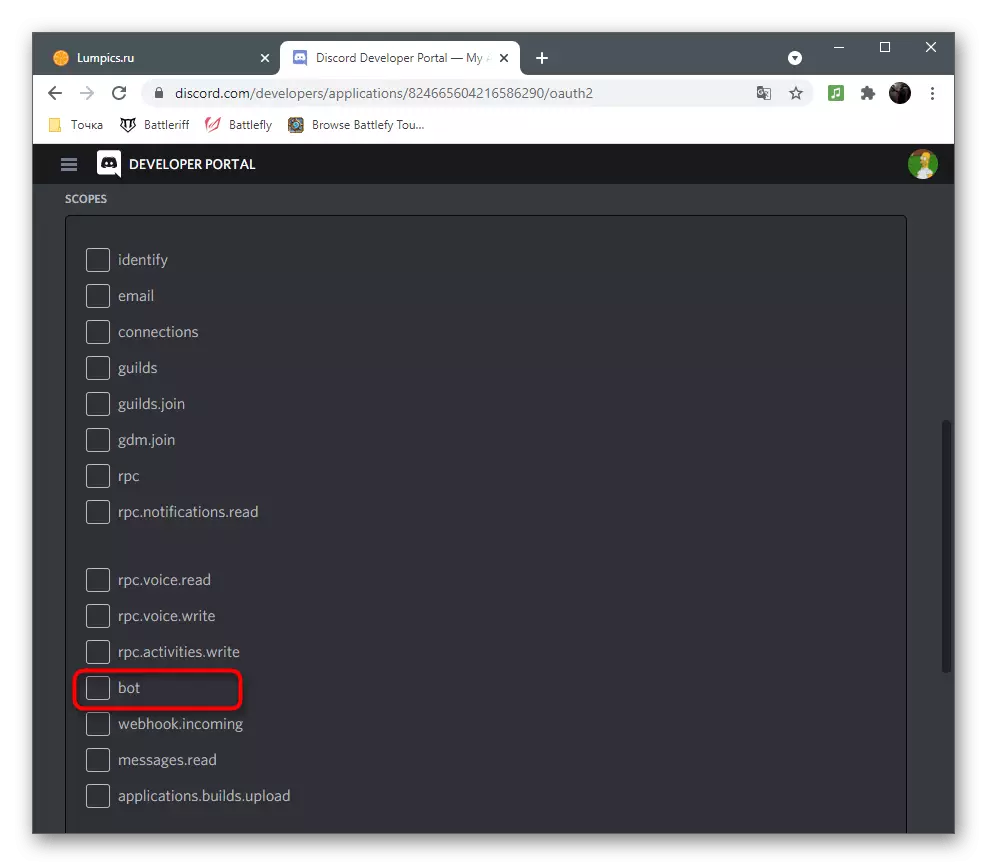
- In the SCOPES parameter list, find the "Bot" item and mark it with a check mark.
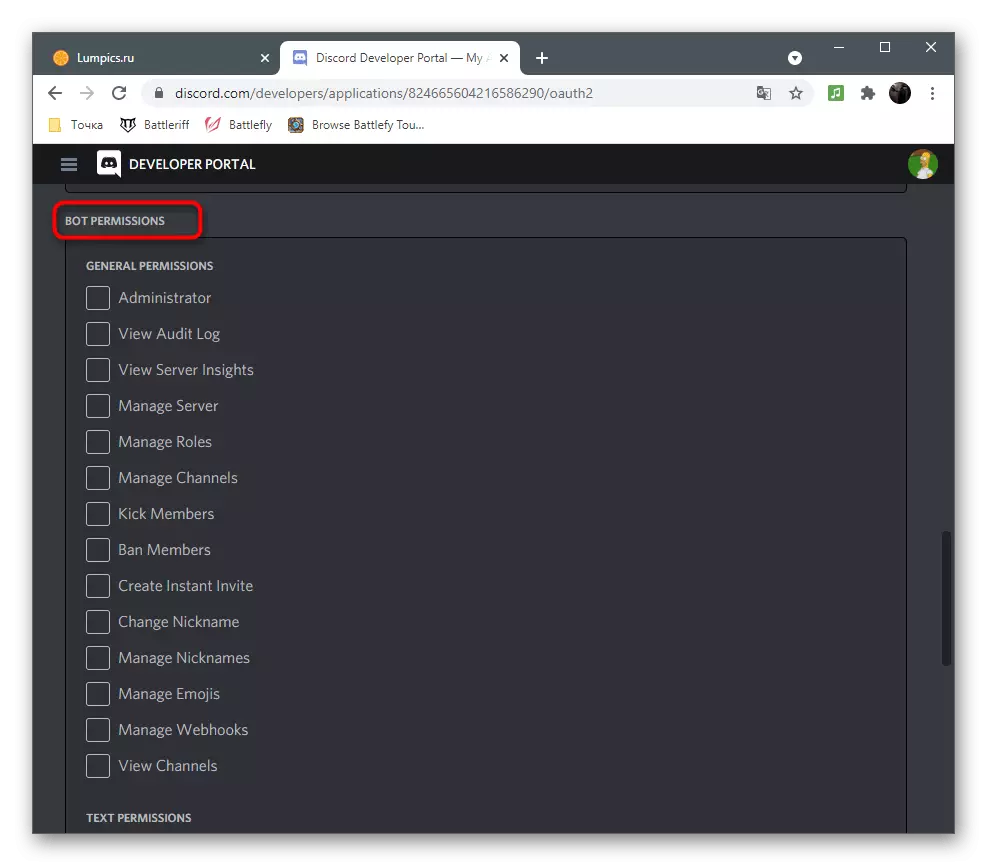
- Immediately find another block with the name "Bot Permissions". Activate all permissions, pushing out the actions performed by this bot.
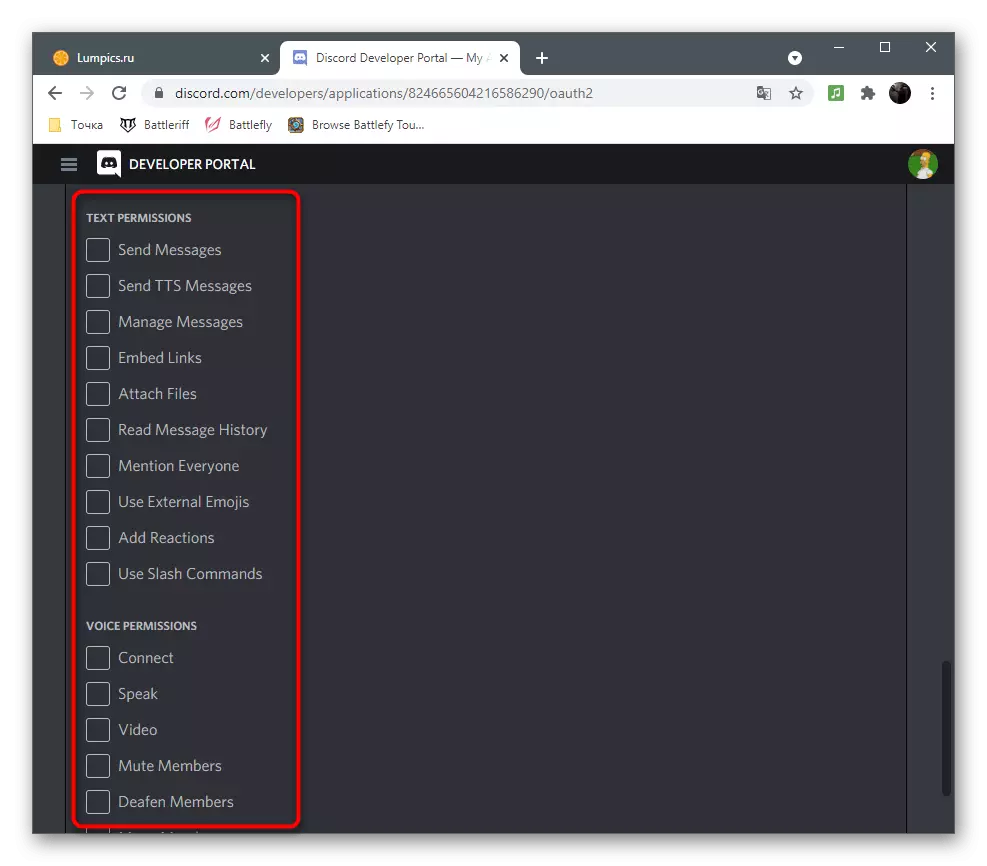
- Do not forget about permissions for text and voice channels. However, they will not be needed to activate if the administrator's right to immediately provide the application.
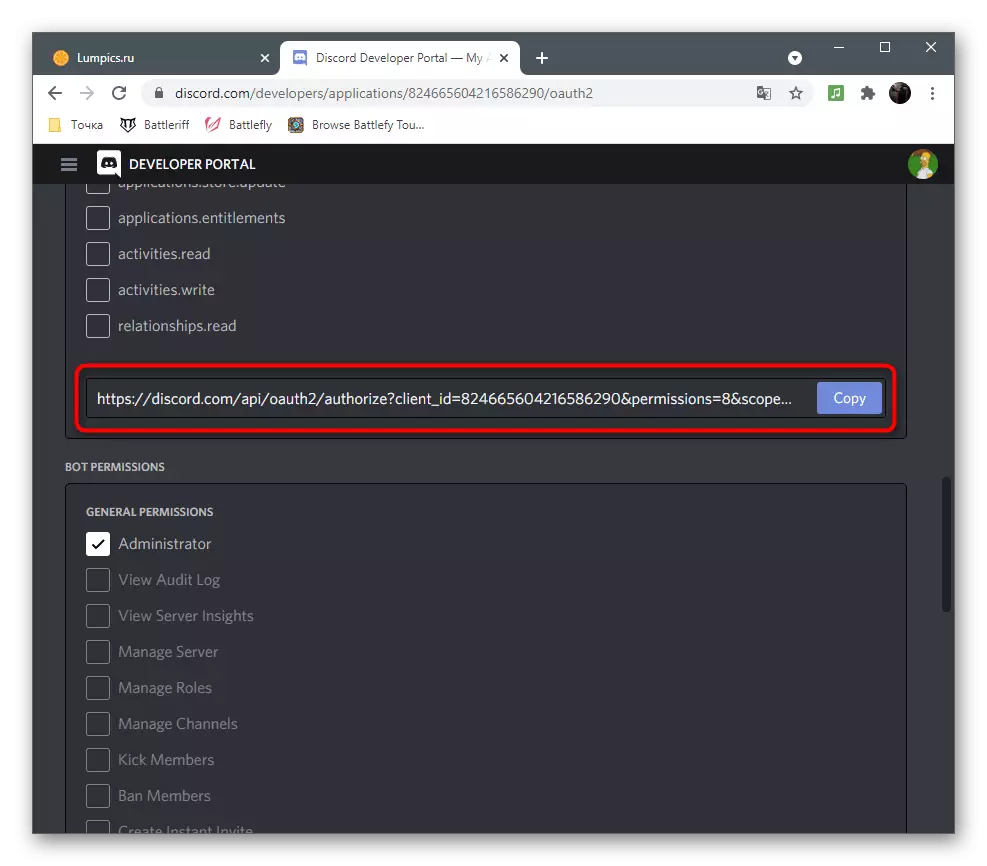
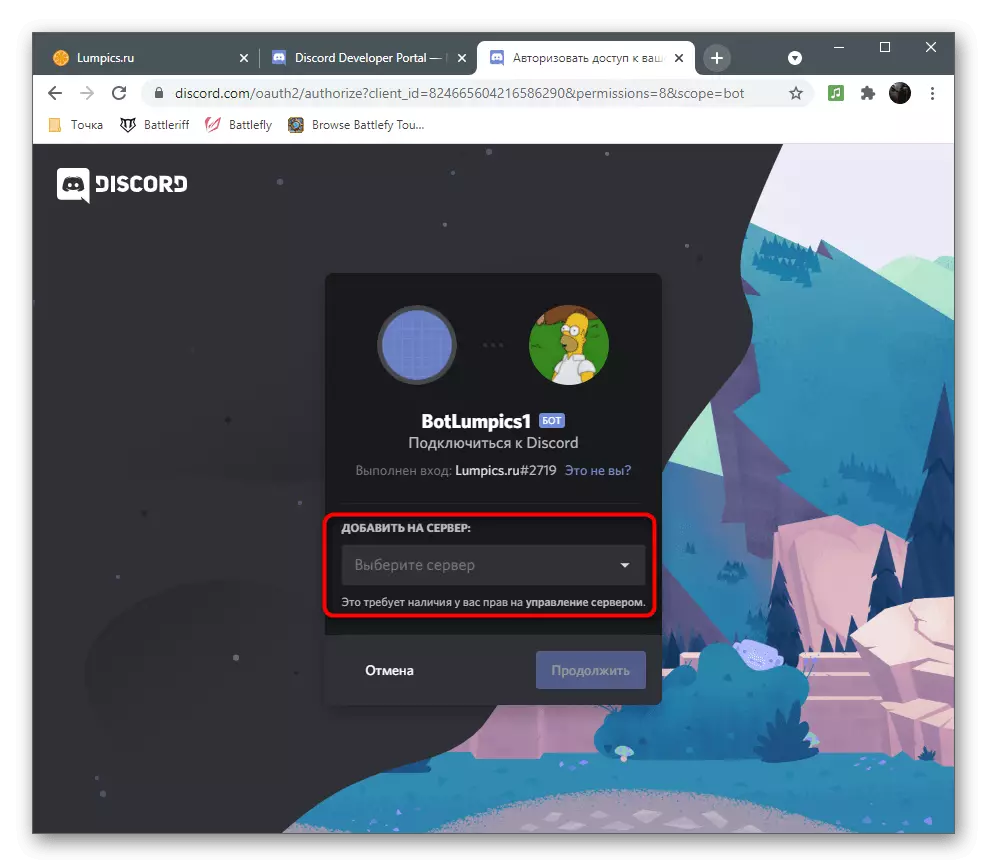
- Raise the "Scopes" block again and copy the automatically generated link to the bike authorization.
- Scroll through it and select the server to add an application.
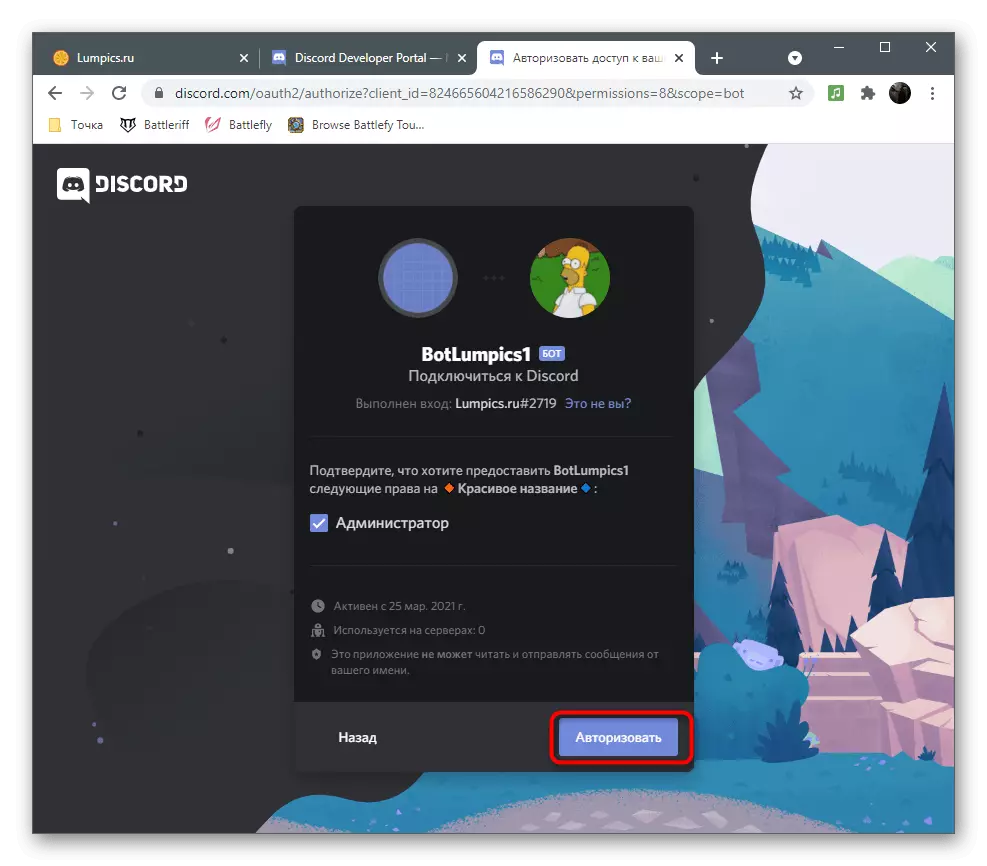
- Confirm the provision of appropriate rights (all permissions marked with checkboxes are displayed in the window. Click "Authorize" to go to the next step.
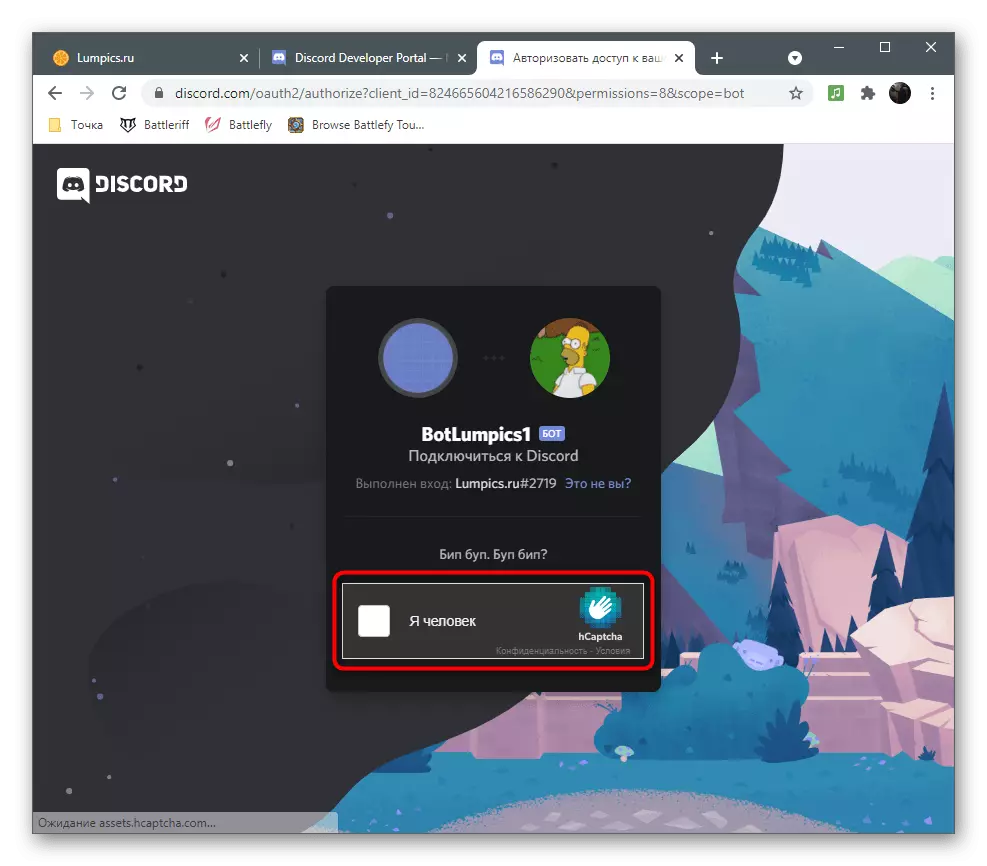
- Enter the captcha to complete the procedure.
- Scroll to the server and make sure that the bot is now displayed in the list of participants. Now he is offline, because its code has not yet been written.

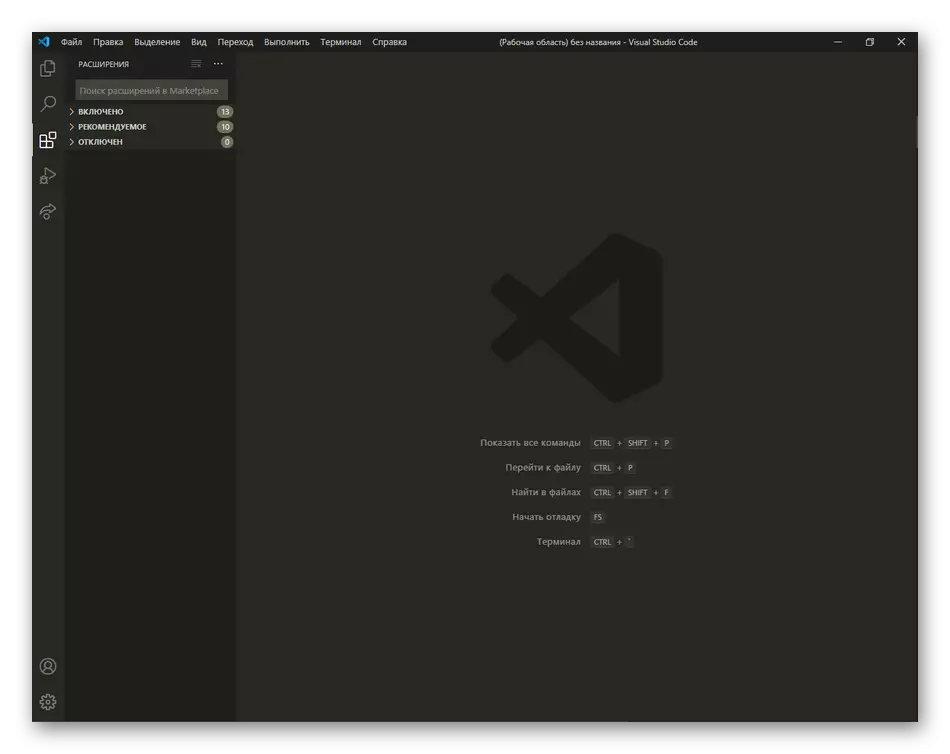
Step 3: Select Development Environment
It's time to do the hardest stage of creating a bot - writing code. To do this, select one of the supported programming languages. Most often use JavaScript with an extension in the form of Node.js or Python. The selection depends exclusively on your knowledge or in which format is the botline of the bot, if it comes to copying it to further refinement. For different languages, various development environments are needed with syntax support and additional useful features. You can learn about the most popular of these in the articles on the links below.
Read more:
Selecting the development environment for programming
Text editors for Windows
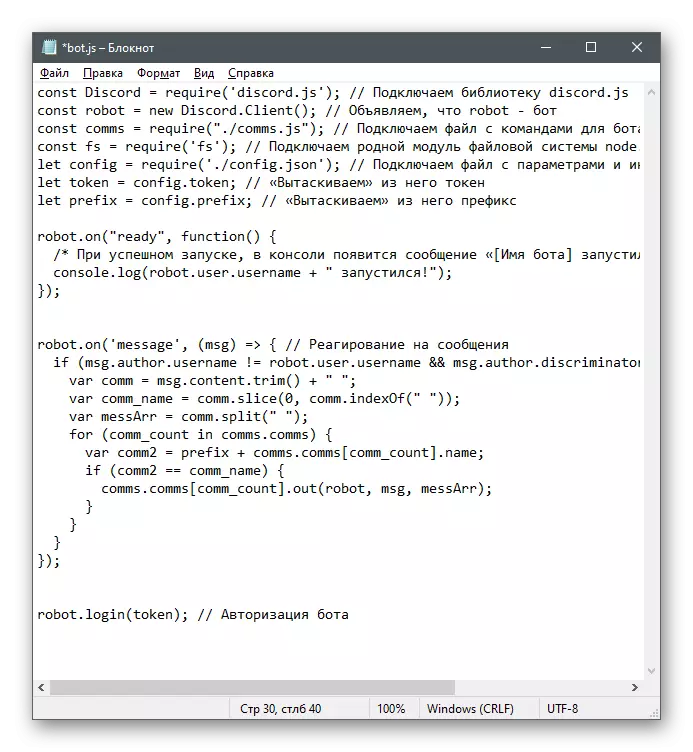
Step 4: Writing Code
There are many different lessons and demonstrations of how to write bots to Discord a different level of complexity. There are even whole projects for playing music or administration, so sometimes banal copying sometimes. However, if you decide to write the code yourself, you need to master Python or JavaScript.
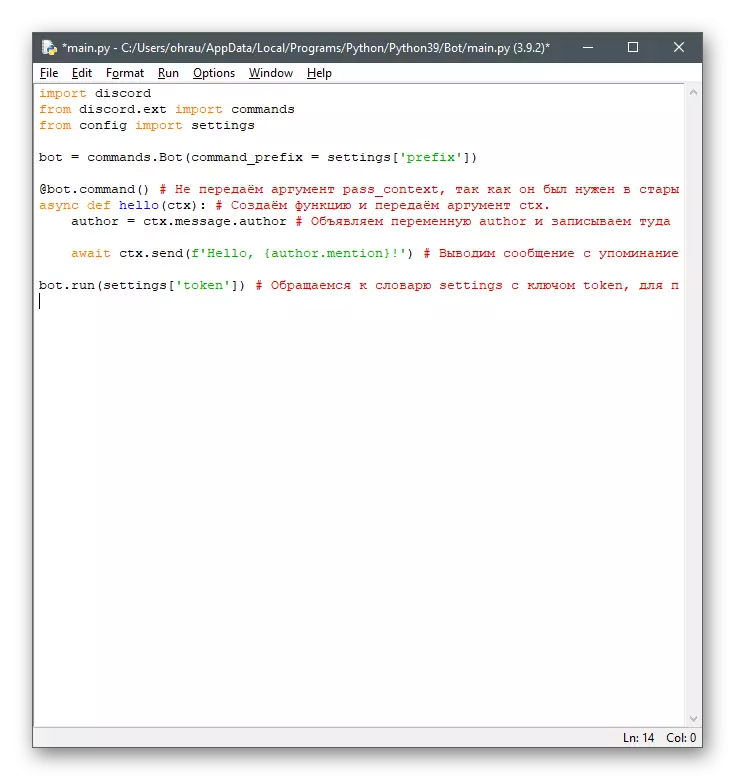
In another article, we described in detail about how the basis of the bot is created and basic commands are added, breaking the two mentioned programming languages at once. You only have to choose the best and understand how the principles create files and write their contents.
Read more: Writing a bot in Discord
Step 5: Distribution of Bot
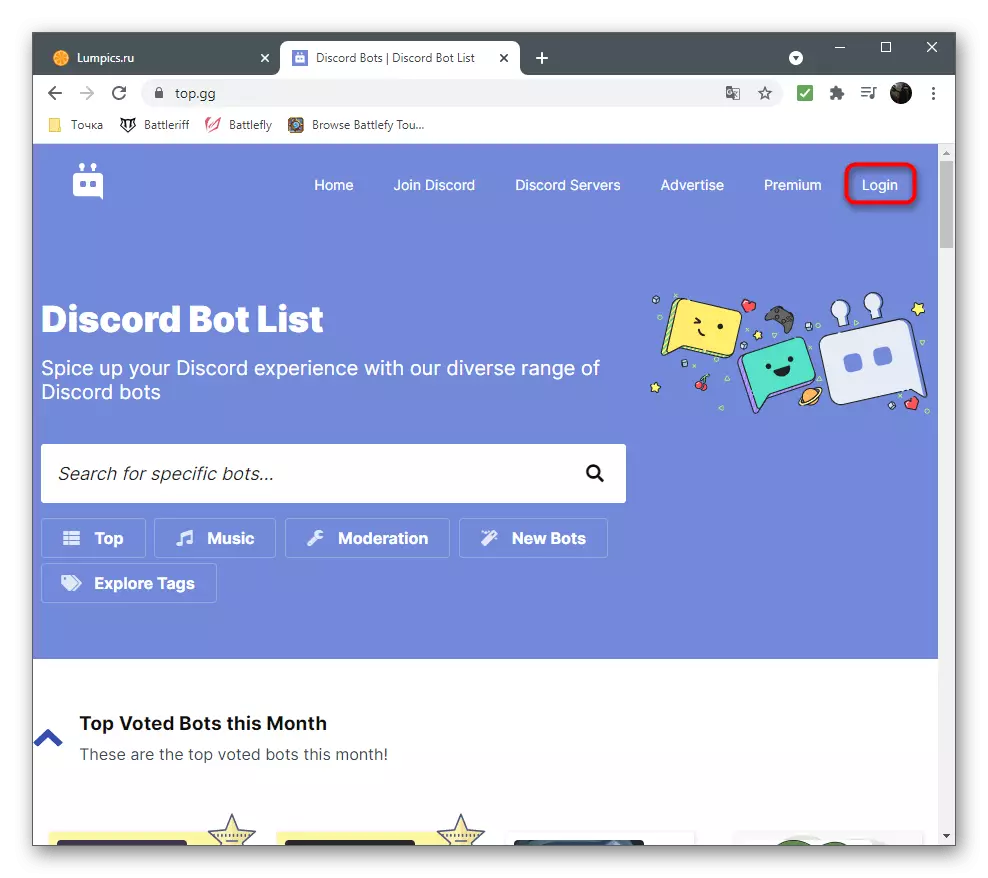
Simply, no one will know about your bot, because he is simply missing on the network. If the creation occurs solely for a personal project, the promotion is not needed, but it is often pursued by the goal of earning a bot. Open sites are considered the best means of distribution, where you can download it for free or by subscription to download your bot, thus opening it to search. We will analyze this on the example of one popular site.
- At first, you will need to authorize through the discord account by clicking "Login".
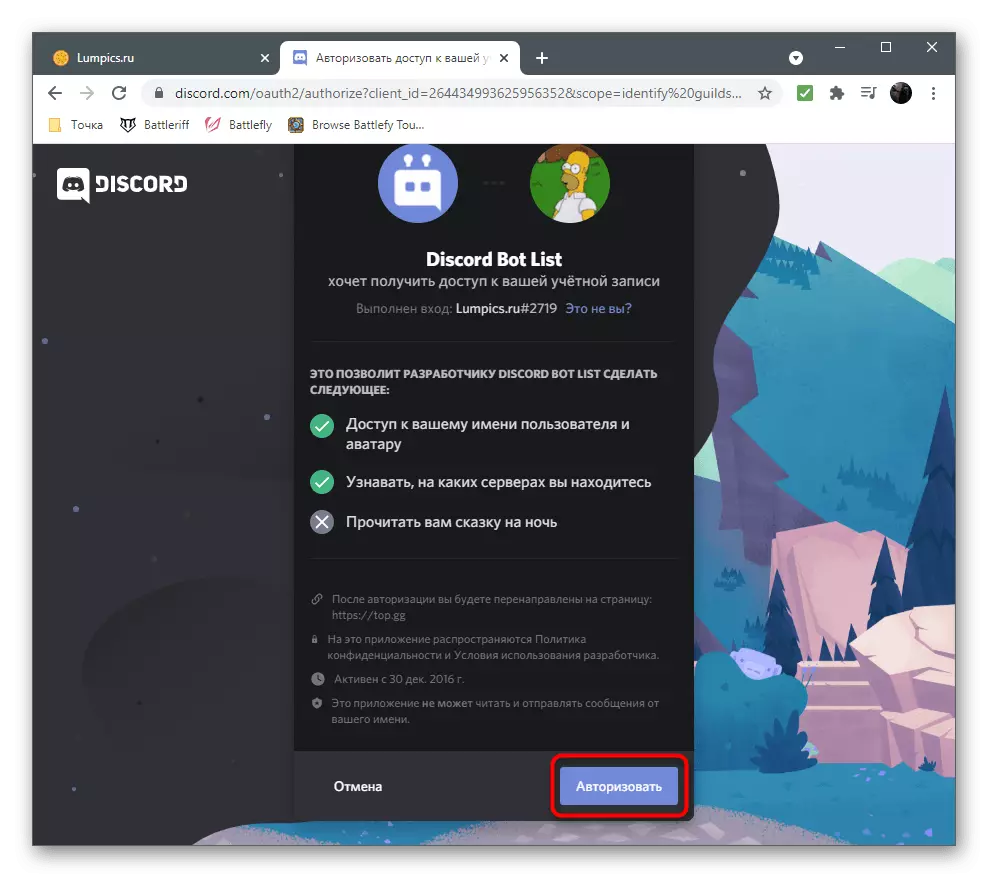
- When a new tab appears, confirm the action using the "Authorize" button.
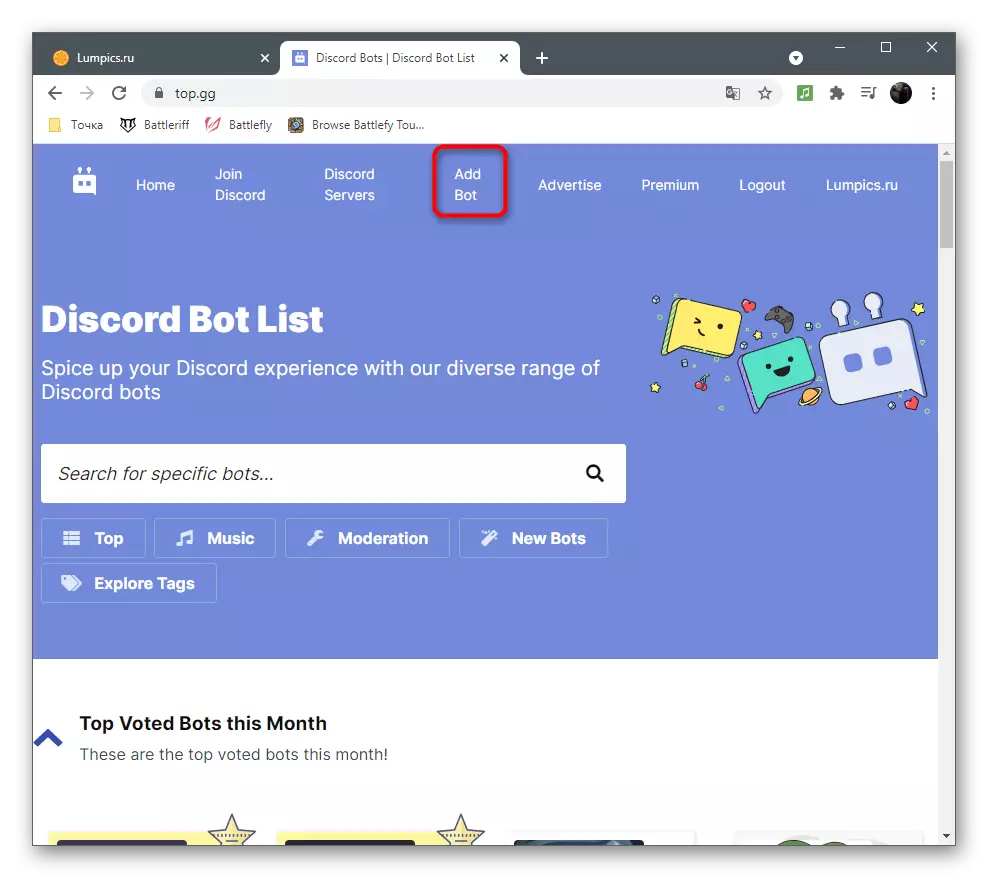
- On the main file page, find the section responsible for adding a bot.
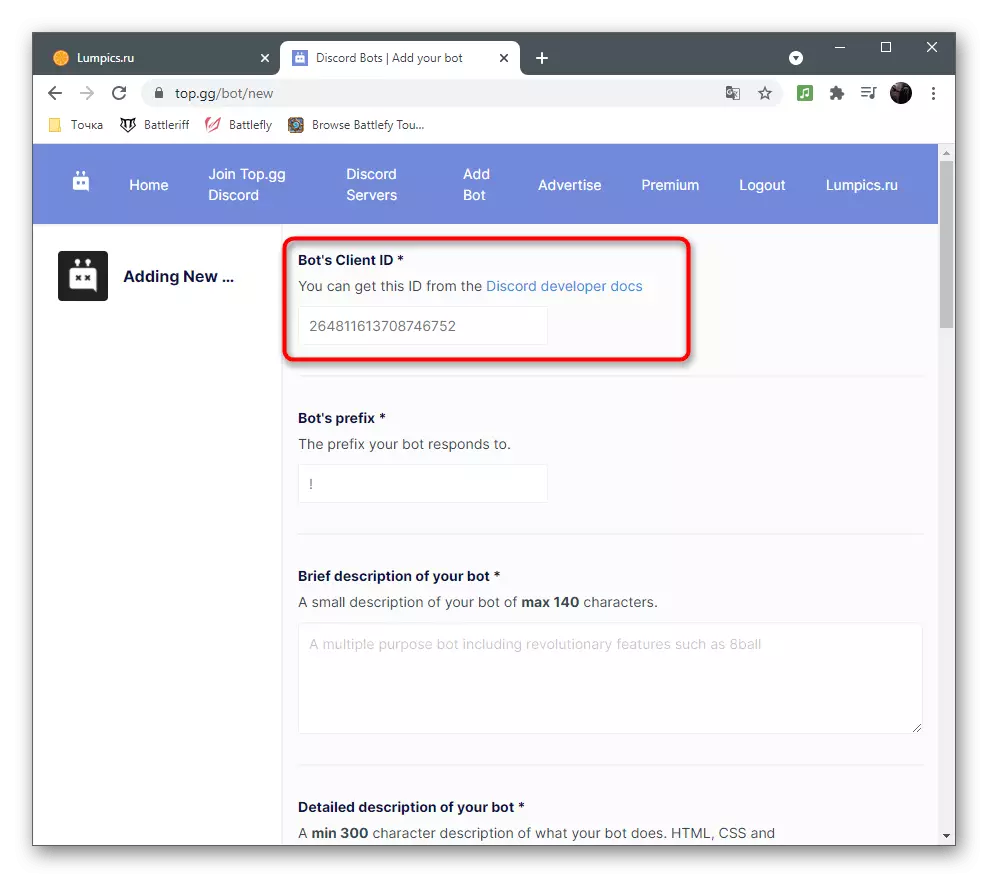
- Enter its ID by defining this parameter through the Discord Developer Portal, which we have already written earlier.
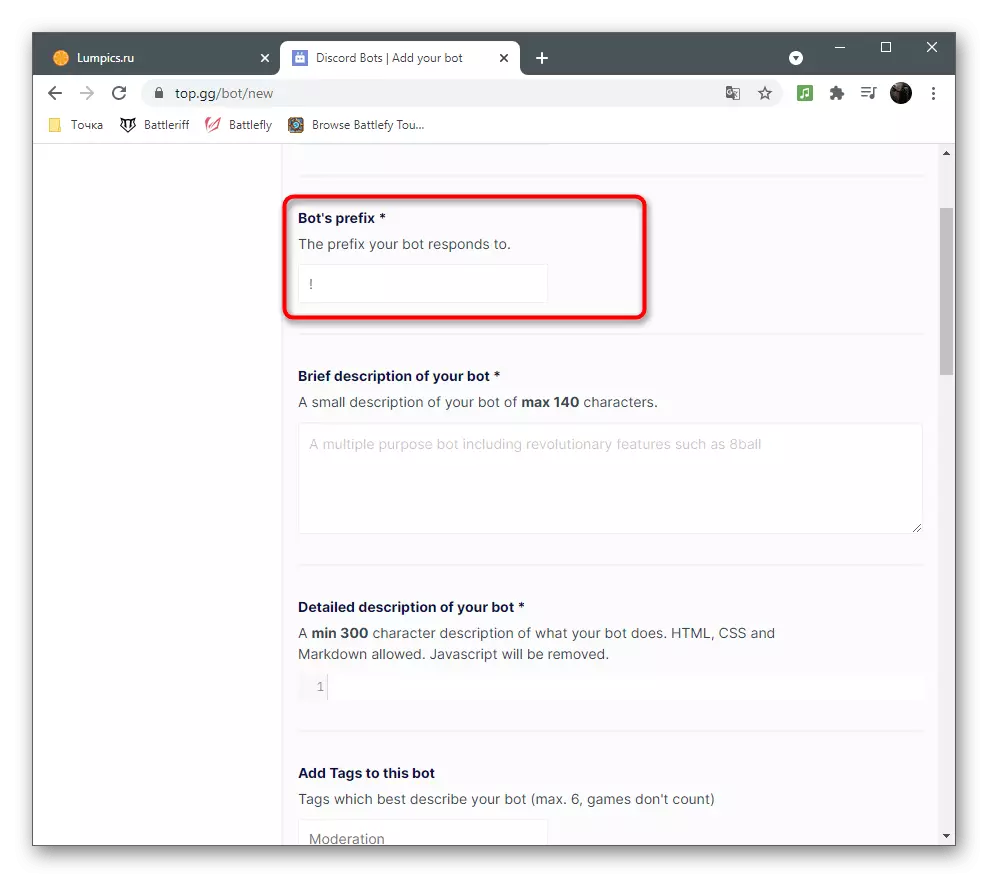
- Be sure to specify the prefix used.
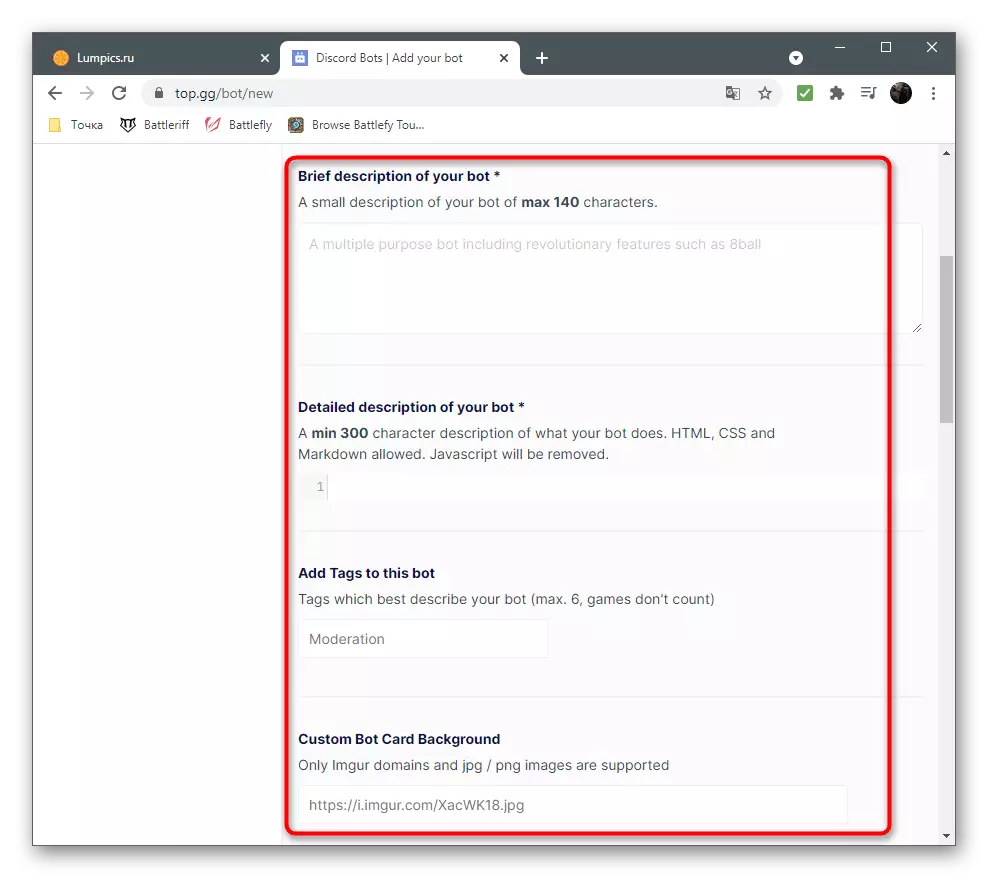
- Add a description, specify the tags and other parameters affecting the display of the bot's page on the site.
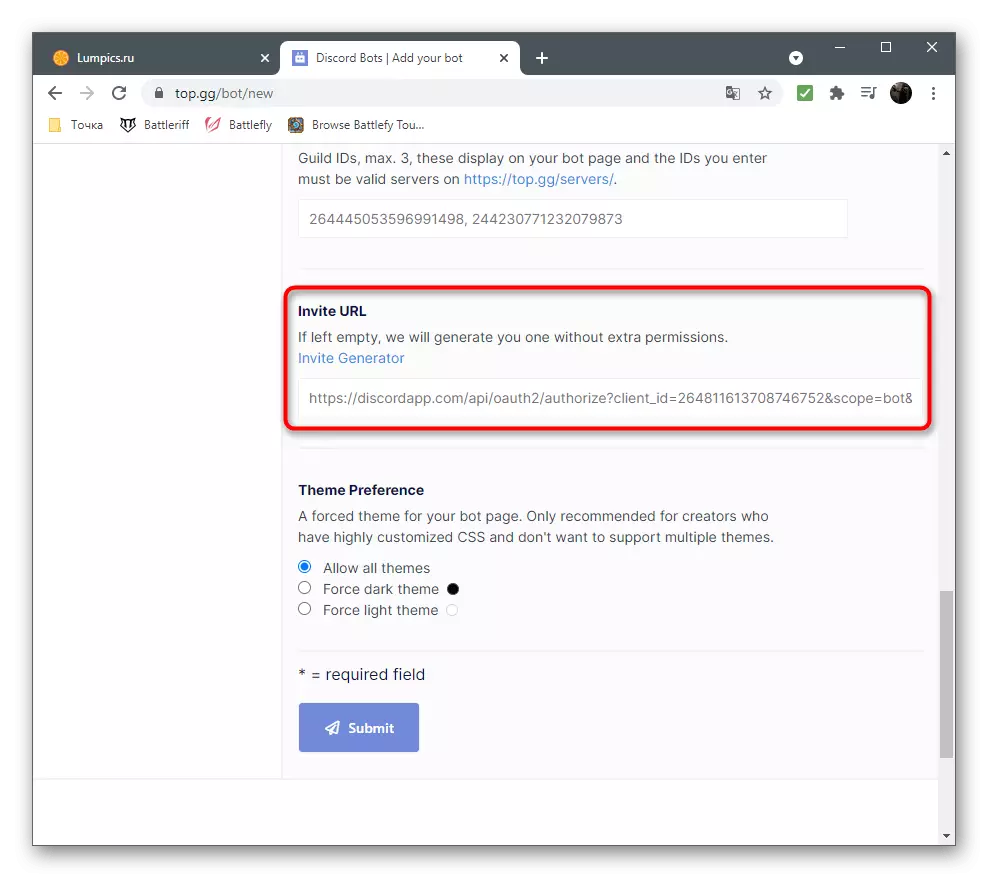
- If the invitation link is already there, insert it into the appropriate field or go to "Invite Generator" to generate it.
- Check the correctness of the data entered and click on "Submit".

The principle of basic actions is approximately the same on all sites for monitoring bots and servers, the difference lies only that some allow free to place their own projects and promote them to the top for a fee, while others require the acquisition of a subscription at the project registration stage. Here are already focusing on your own preferences and formed advertising budget.
Step 6: Placing a bot on VPS
It will not be able to work constantly on a local computer - sooner or later the operating system will go on a reboot, which means it will turn off and the bot, since the "command line" will close with the application. All large-scale projects are connected to the VPS with the support of the programming language used. If you are at the level when you need to use such services, explain the principle of their work no longer makes sense, because the necessary knowledge is most likely already acquired. Instead, we recommend always to pay attention to the support of the selected Yap and, if possible, use the test period to check the work of the bot on the selected VPS. Do not forget that there are support services on such sites, whose specialists are quickly responsible for any questions. After connecting the bot to the VPS, it will always be in active condition and you do not have to store it with files on the local PC.