

Method 1: Adobe Photoshop
Let's start with the most popular graphic editor - Adobe Photoshop, in whose functionality includes many different tools designed to edit images. Blur background in the photo is provided by creating a special layer mask and the use of built-in filters. The whole processing process does not take much time, but you need to take into account its features that another our author told in the article on the link below.
Read more: Blur back background in Photoshop
Method 2: GIMP
GIMP is a free analogue of the previous program, the process of interaction with which as much as possible, but has its own nuances and differences with photoshop. Thanks to unacceptable actions, the blur can be applied not to the entire image, but only on the back background, leaving the main figure in focus. To do this, you will have to resort to certain editing tools.
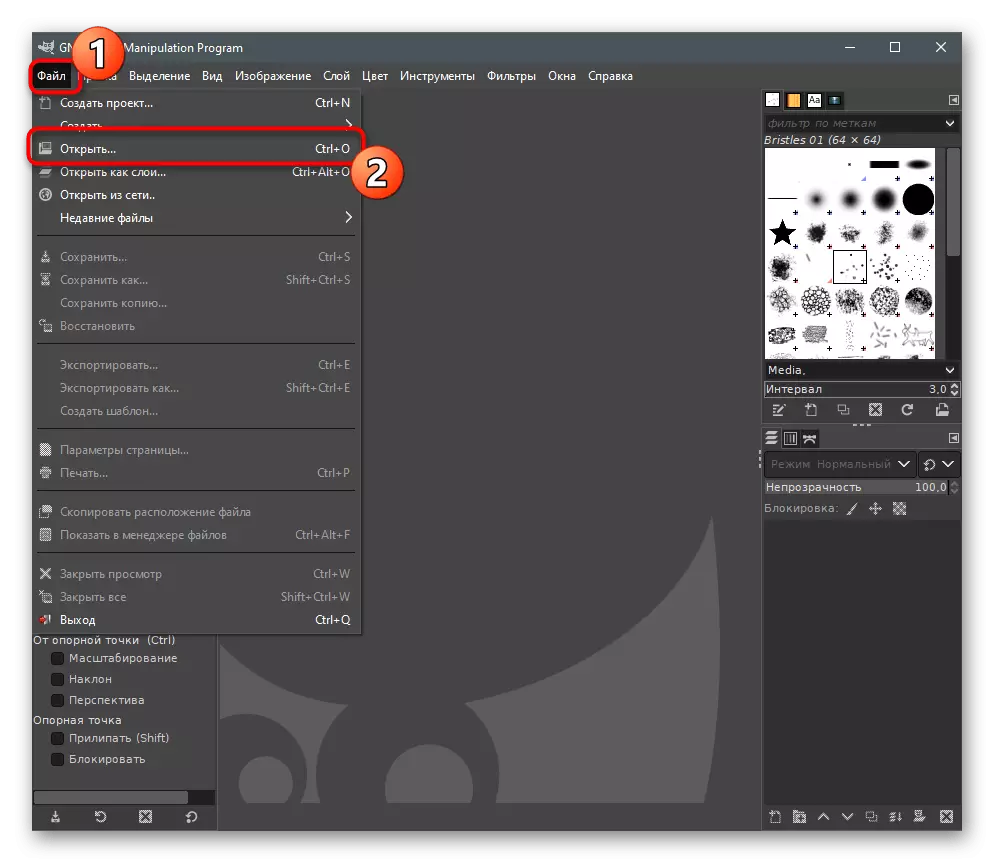
- Download and install GIMP to your computer. After starting, expand the File menu and click on the "Open" string.
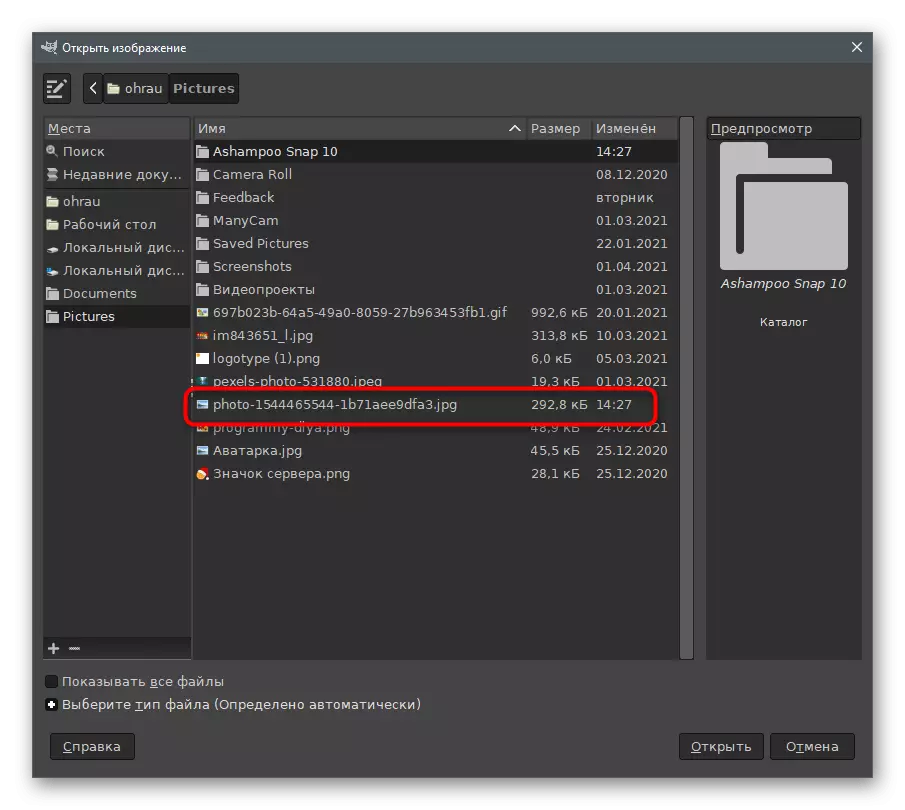
- A "Open Image" window will appear, where location the file required for editing and double-click on it with the left mouse button.
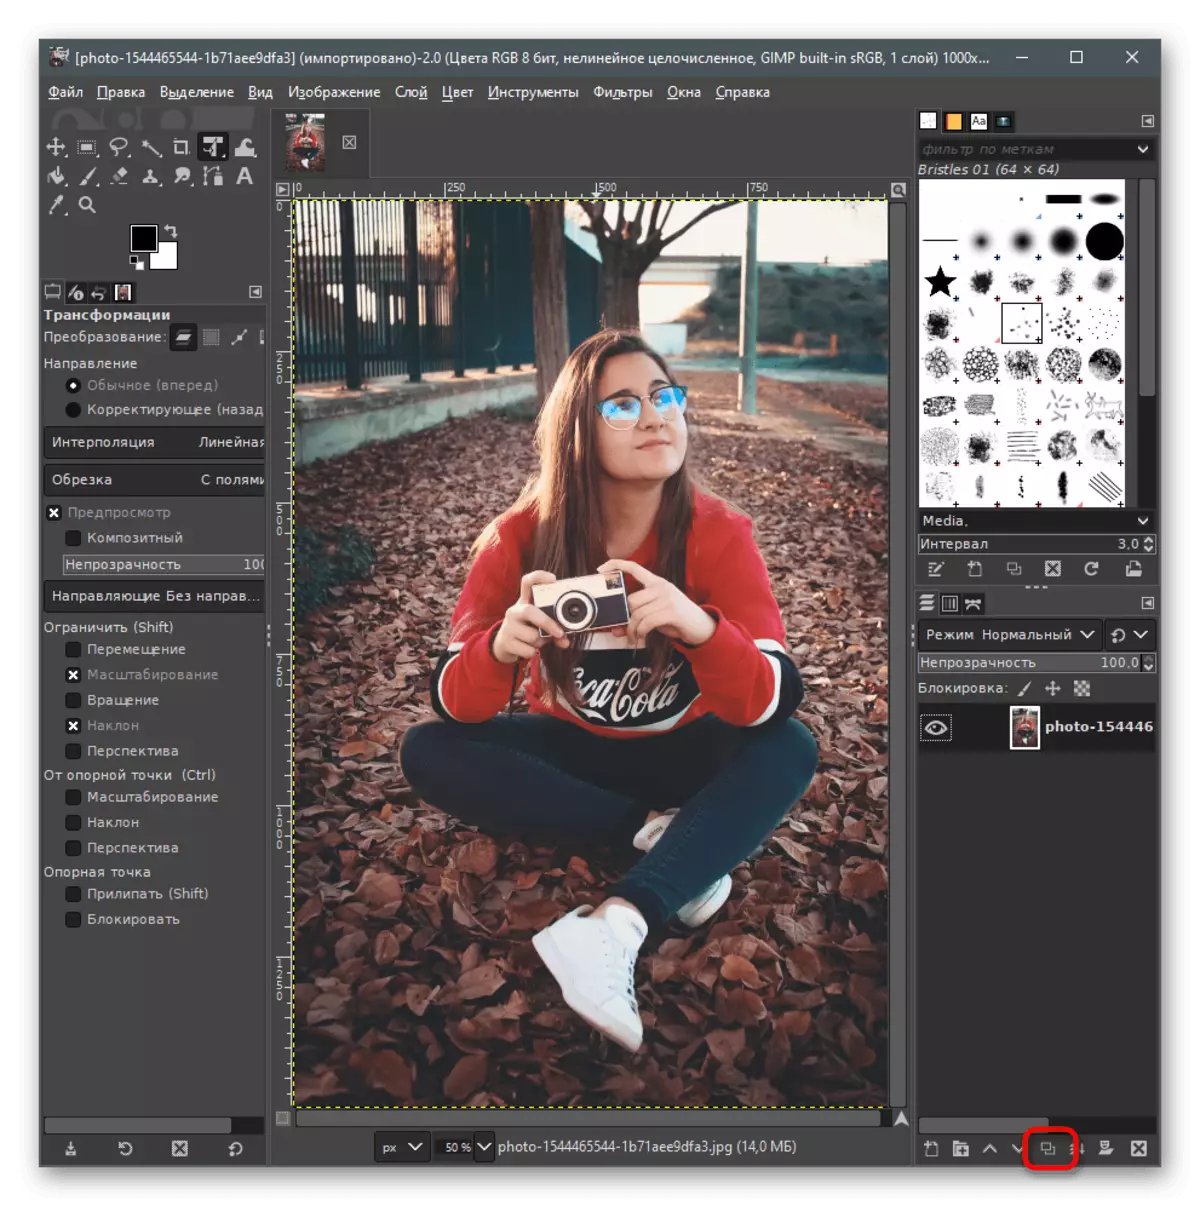
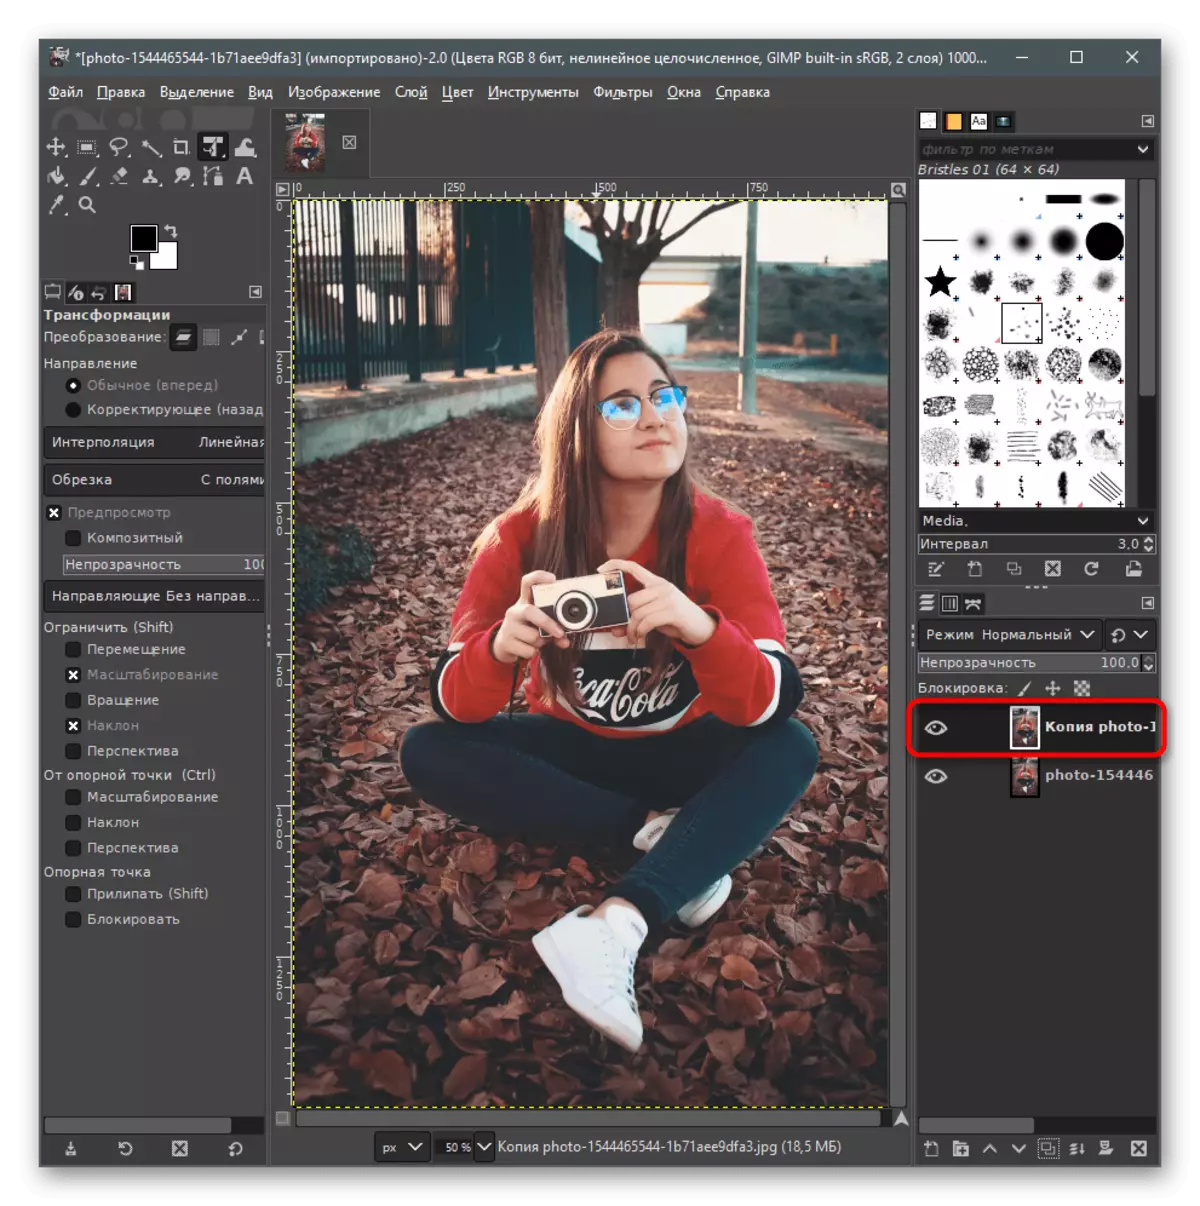
- The first priority is to create a copy of the image, because blur is added to it. To do this, in the layer block there is a special button, pressing which automatically makes a copy of the current image.
- If the function has worked, the second layer will appear with the name "Copy".
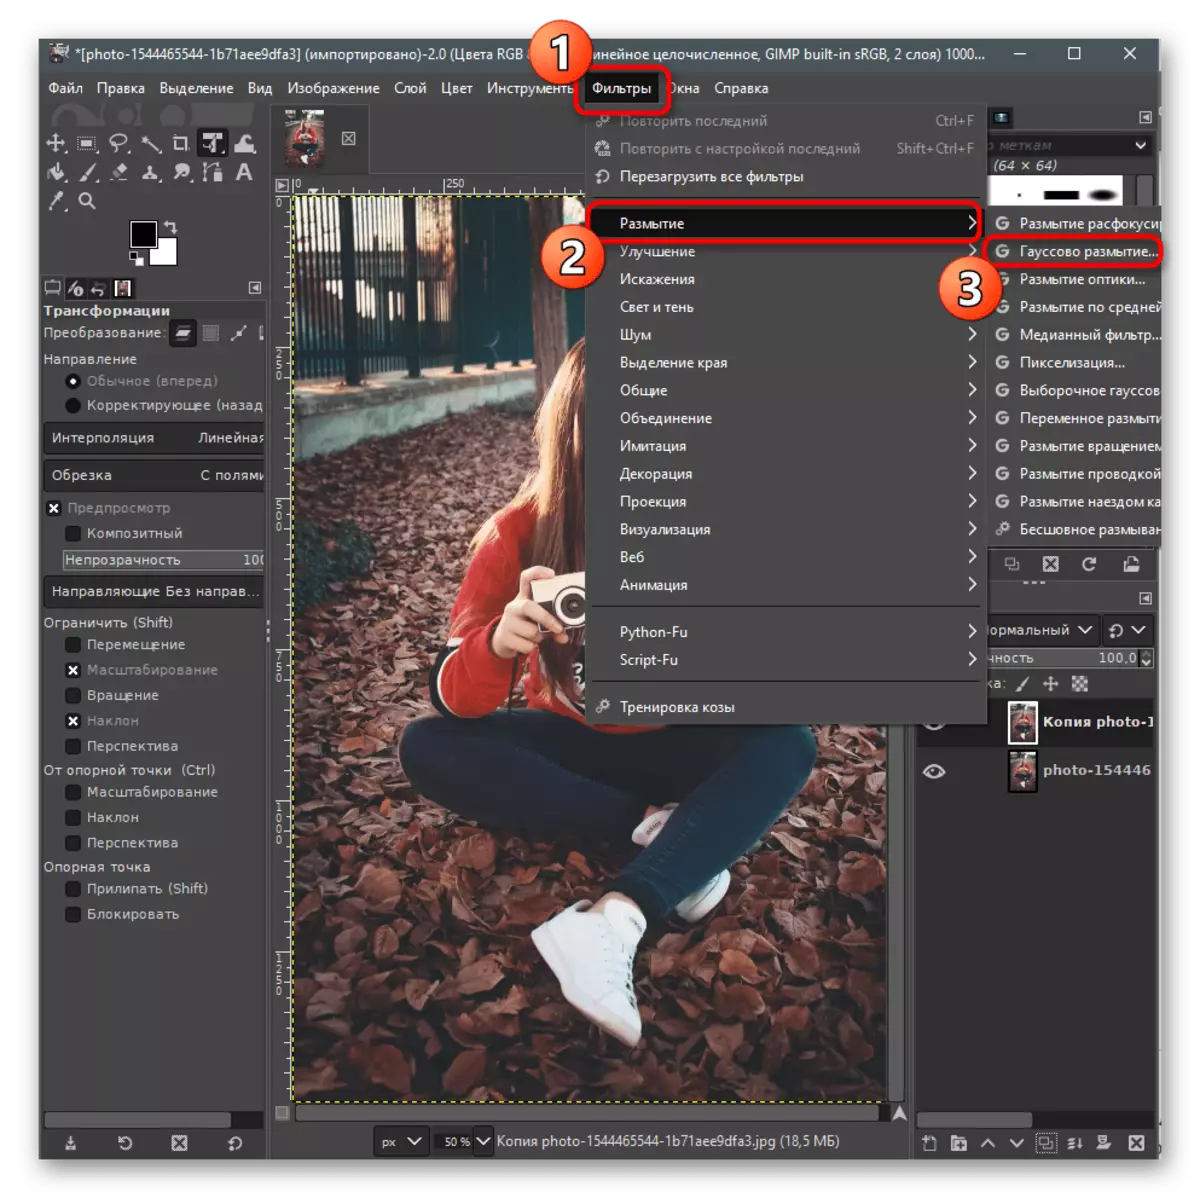
- After that, call the "Filters" menu, hover over "Blur" and select the "Gaussian Blur" option.
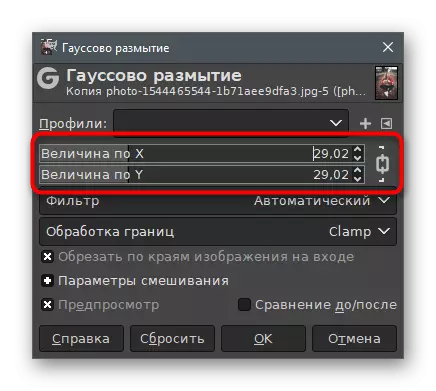
- It is recommended to keep the value in proportion to 20-50 units. Changes are immediately displayed in the picture, so you can configure the parameter for yourself.
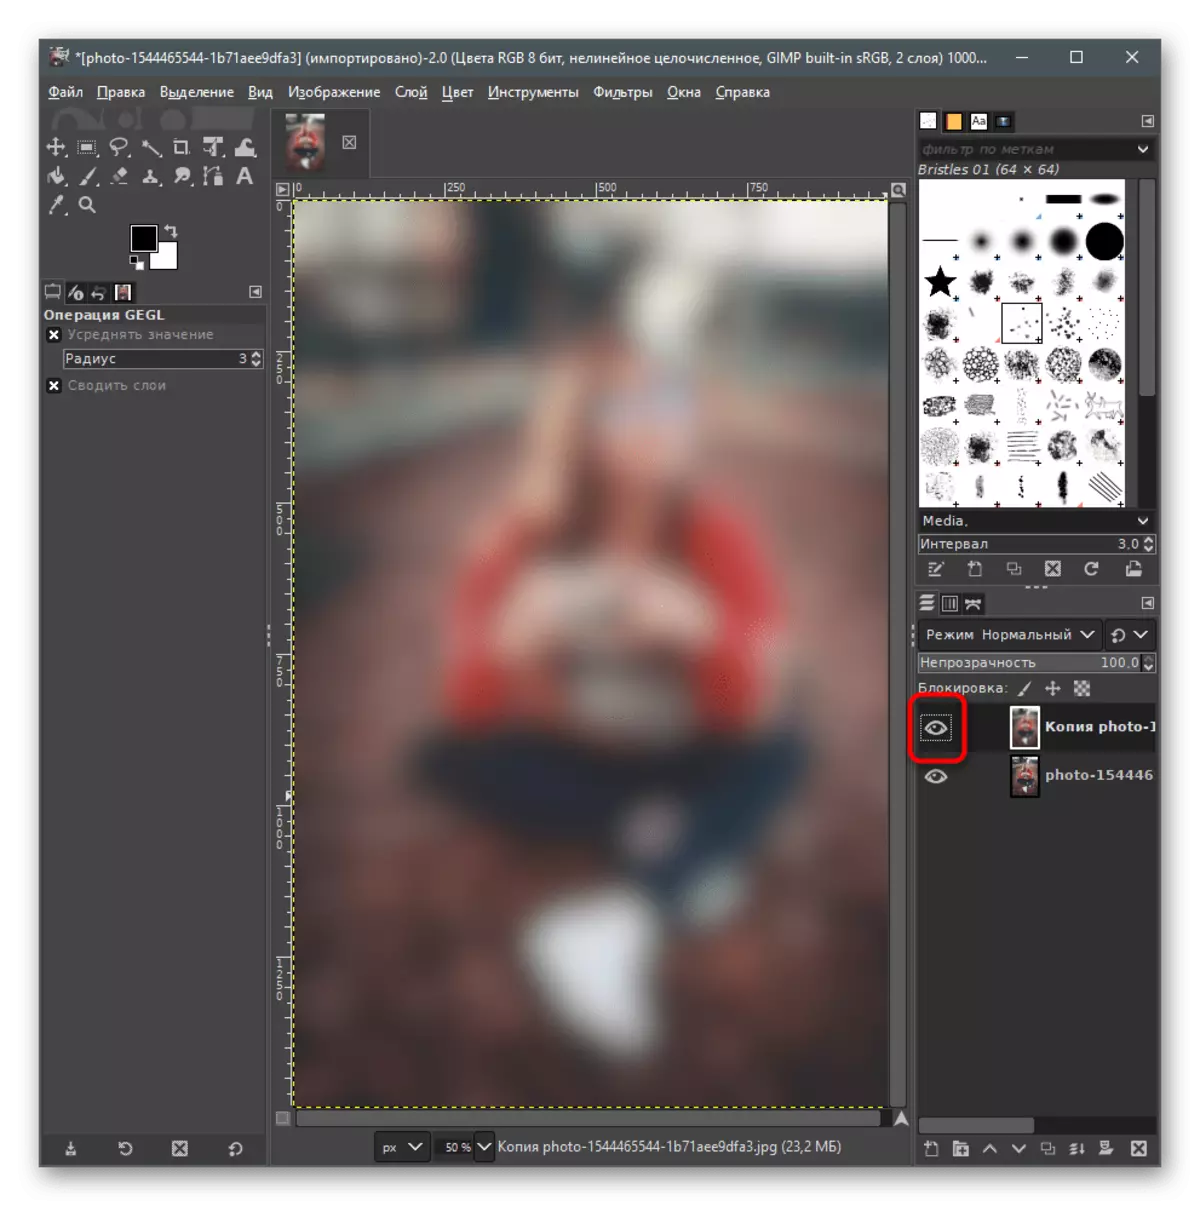
- Now it is clear that the whole photo is blocked, including the background and the main object. It's time to proceed to the exhaustion of the required subject, so that the blur does not apply to it.
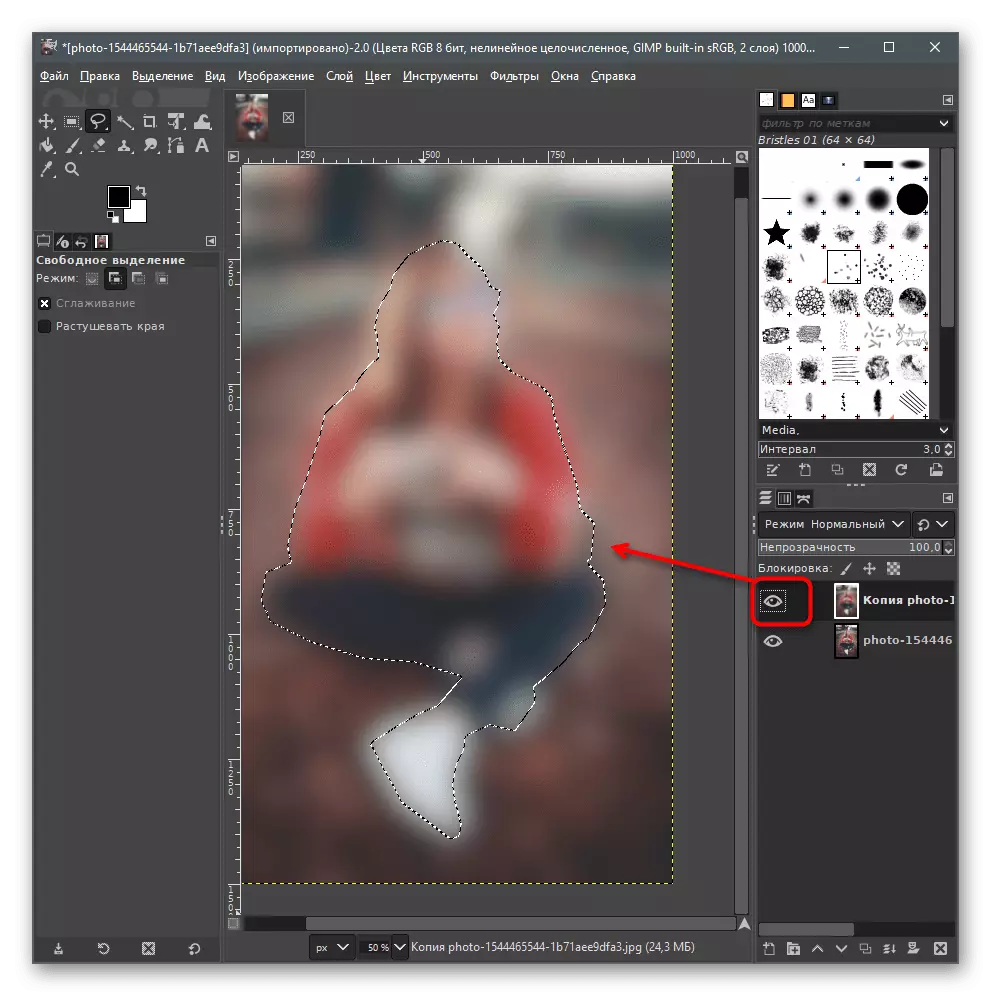
- So far, hide a copy of the layer by clicking on the eye icon.
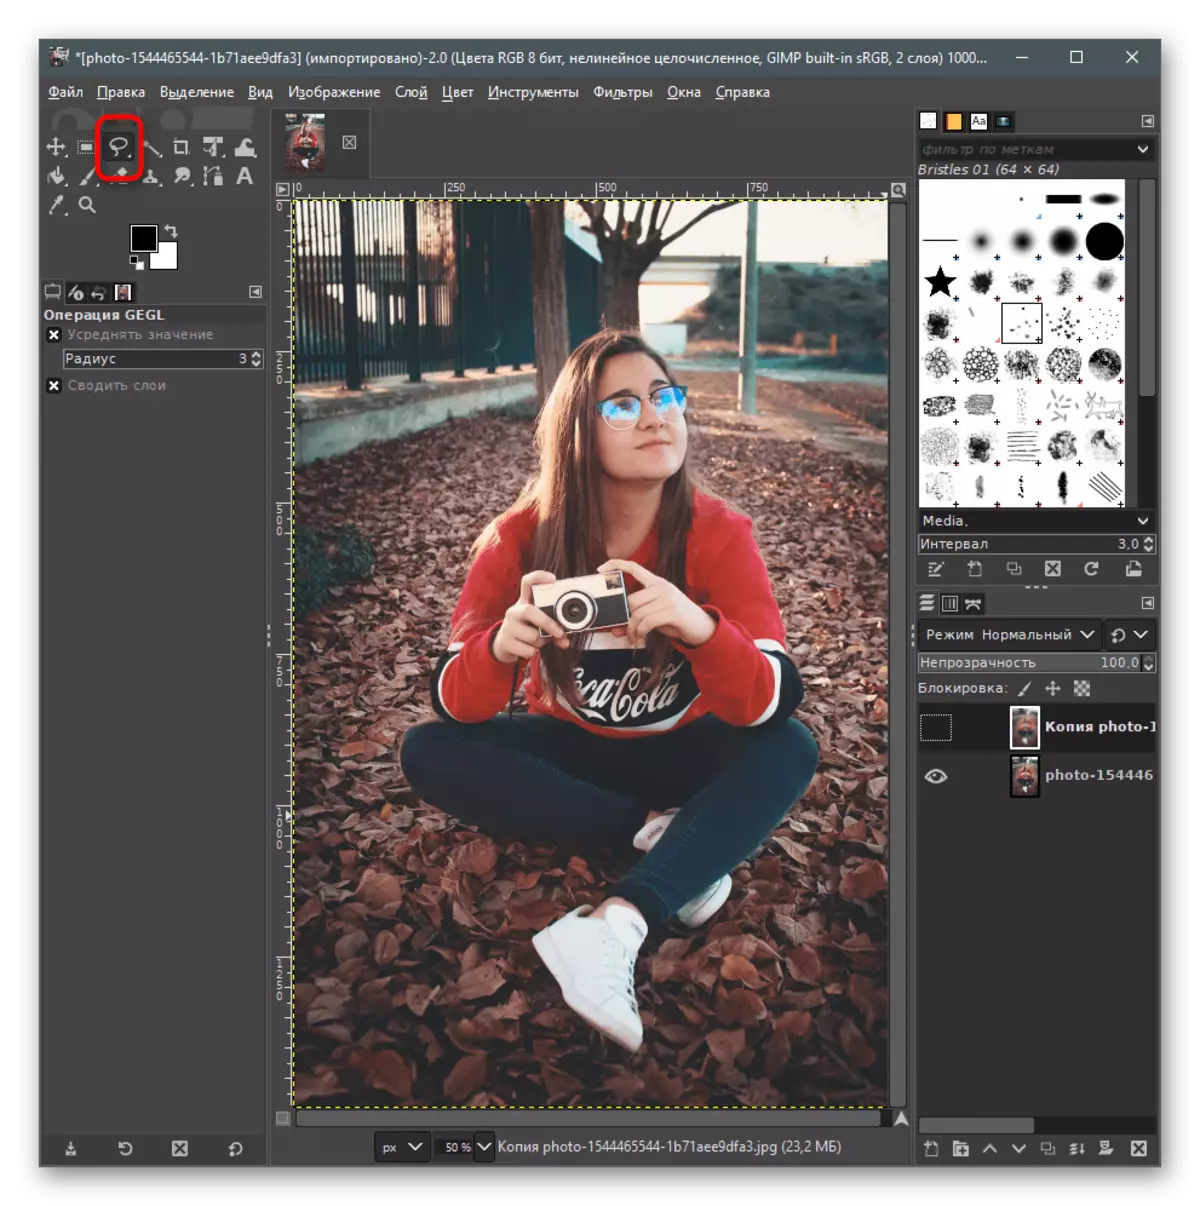
- Select the "Arbitrary Selection" tool.
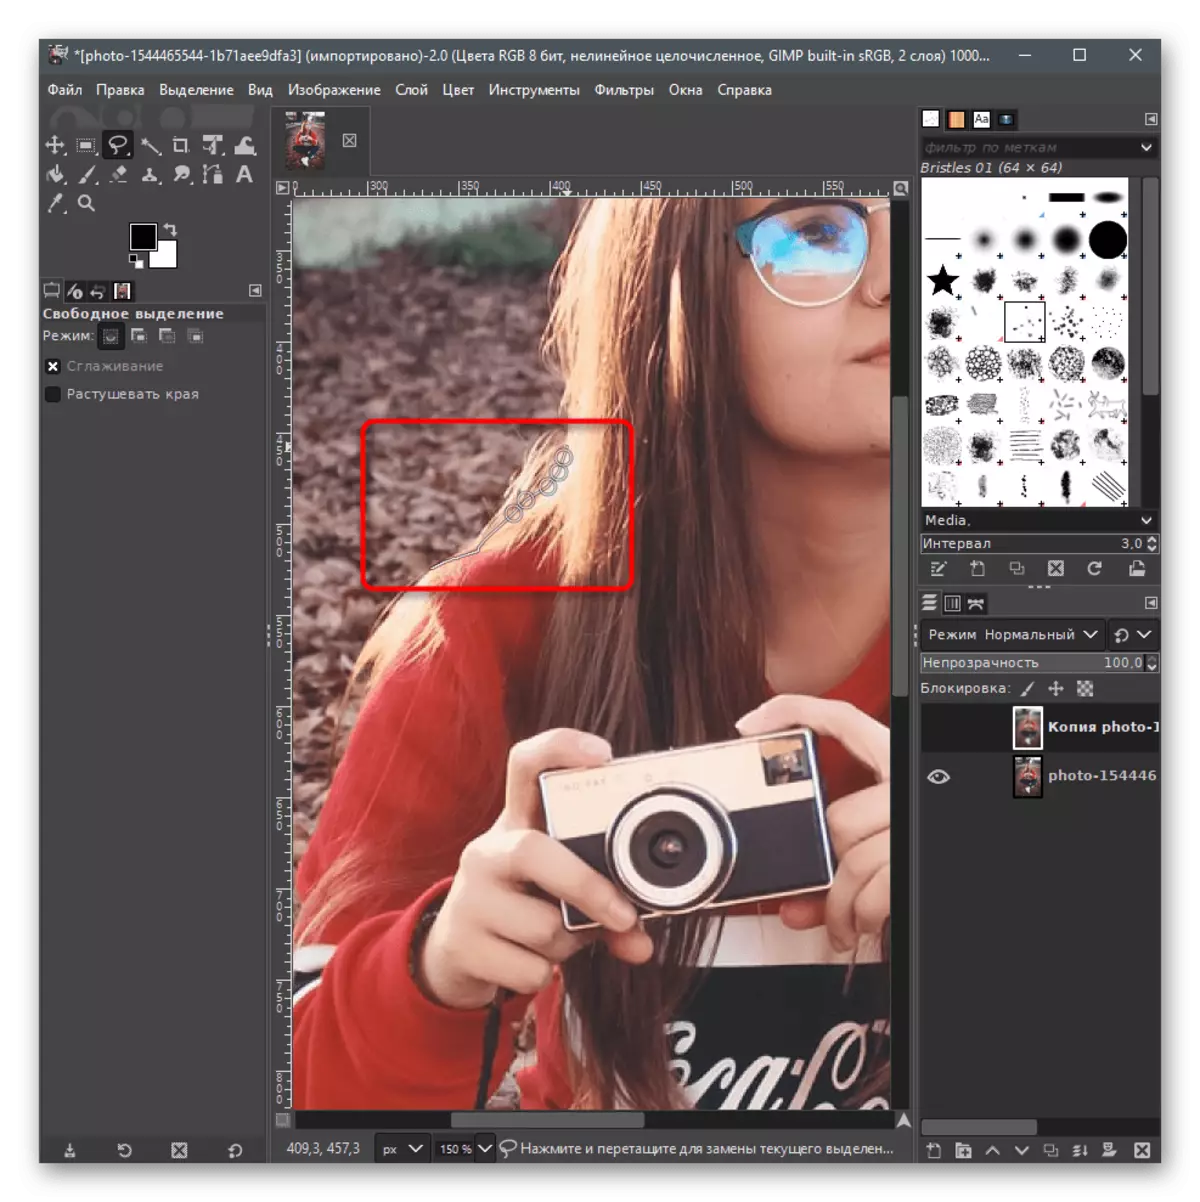
- Drove the shape by creating points with clicks of the LKM throughout the perimeter. Try not to capture extra details and do not cut the necessary, because so the blur will be not high-quality enough.
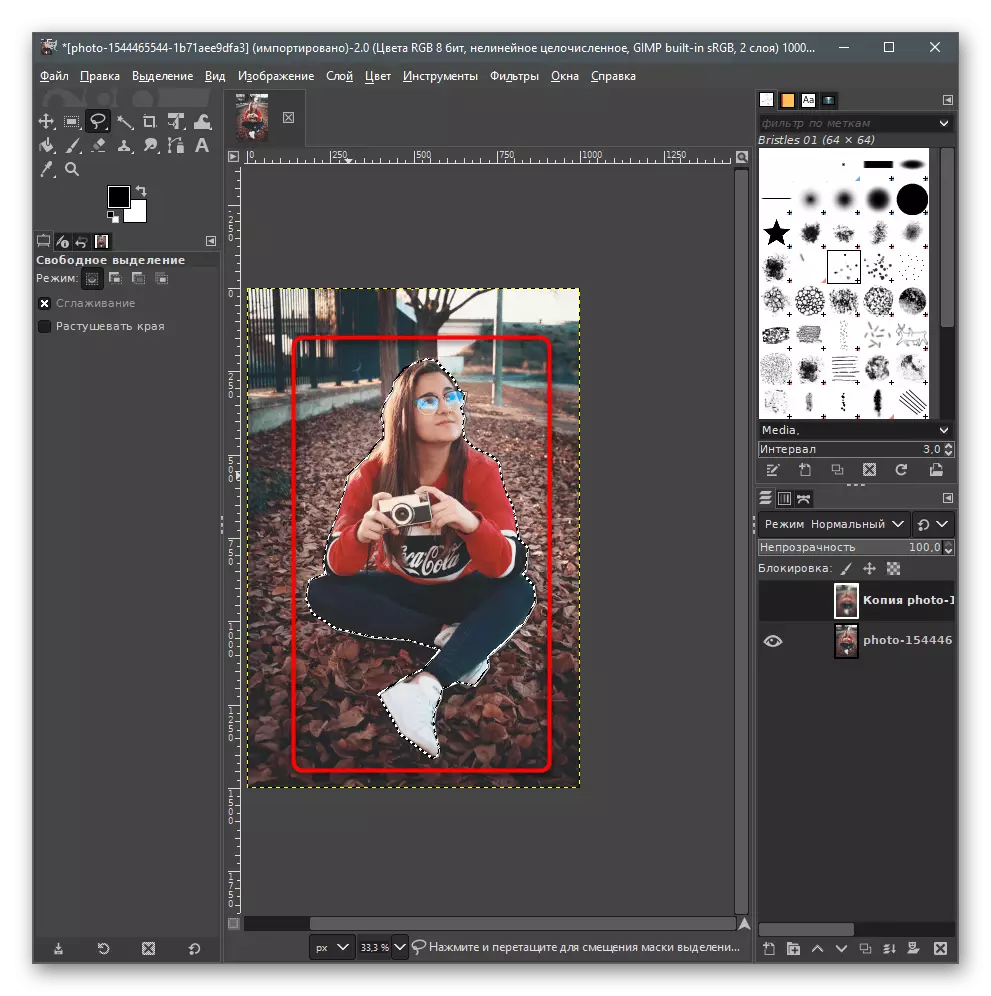
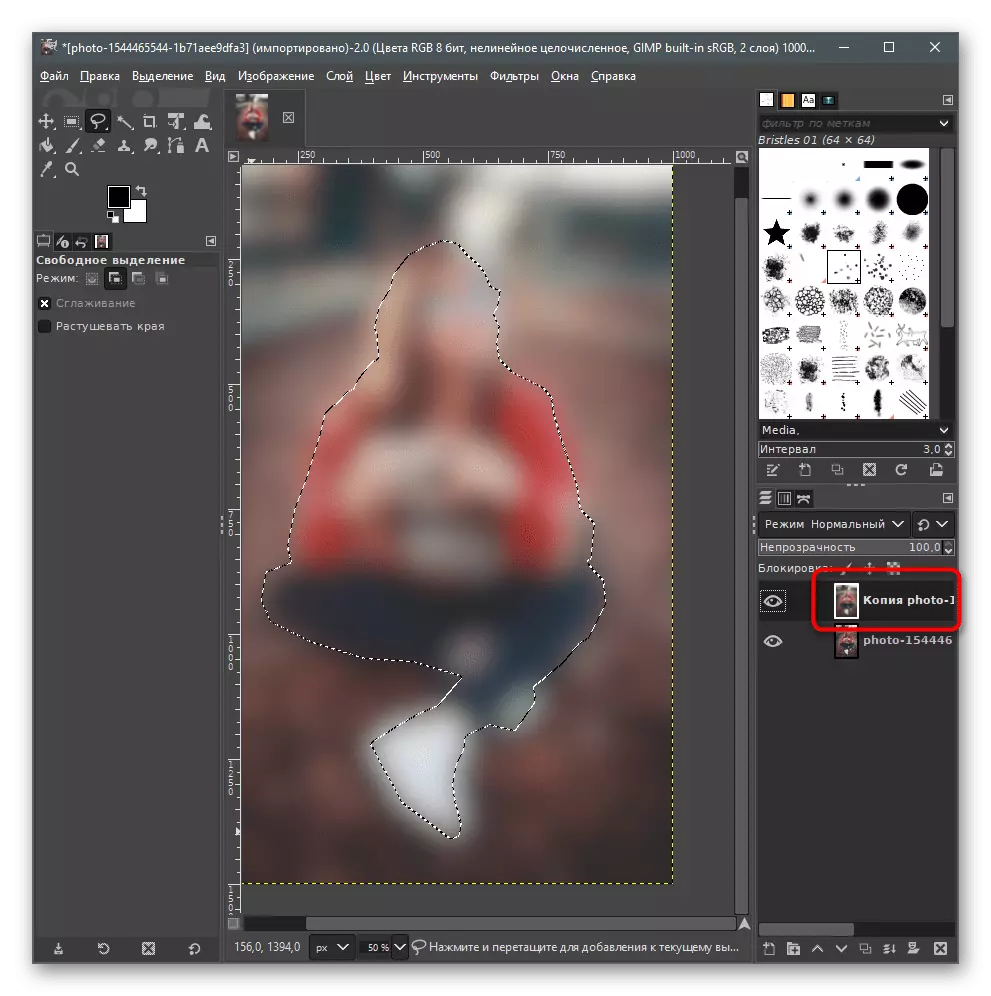
- In the following screenshot, you see an example of how allocation works after connecting all points of the object.
- Use the discharge button if some lines randomly hit the area and do not need to be captured.
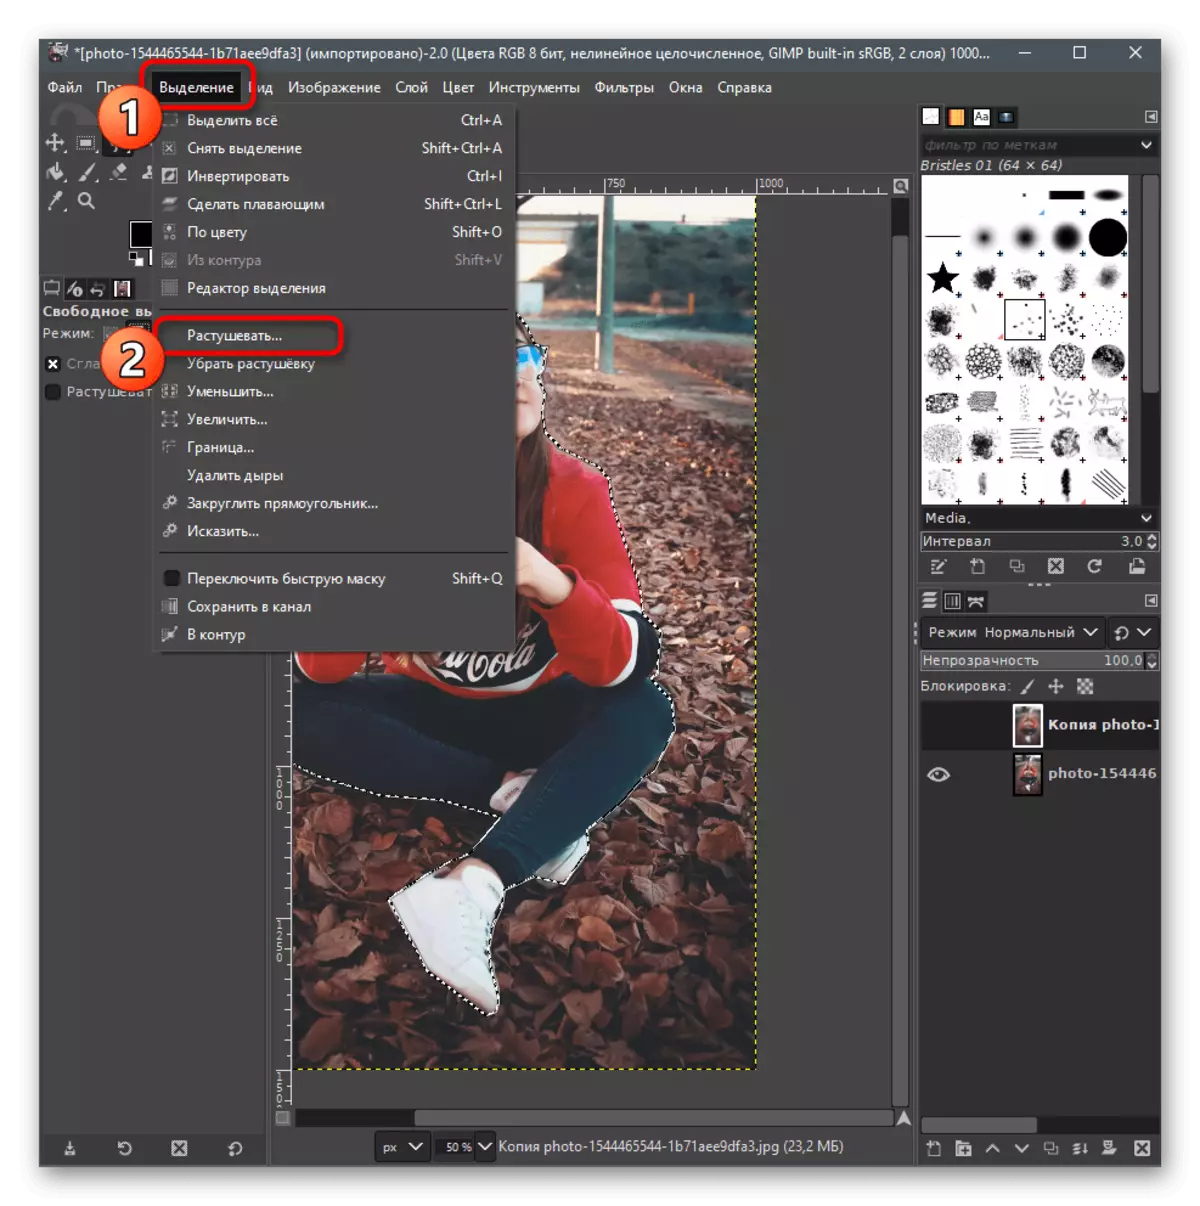
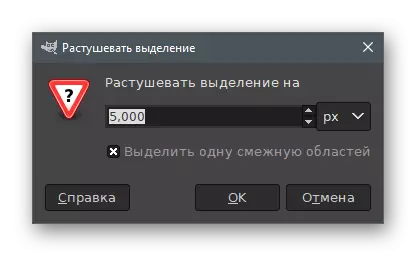
- For the current selection, you must assign the "Establish" parameter by selecting it from the "Select" menu.
- Leave its default value and just confirm the input.
- Turn on the display of the upper layer, because the work with the selection of the figure is already completed.
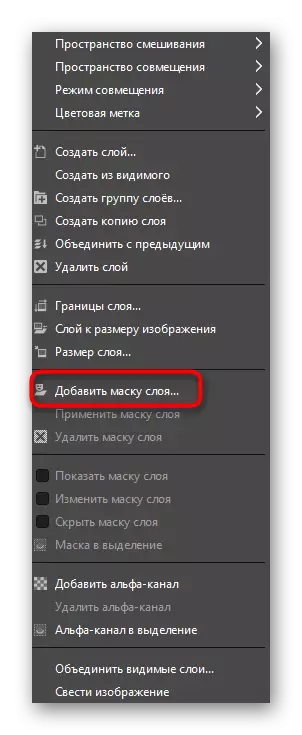
- Click on the right mouse button, thereby providing the context menu.
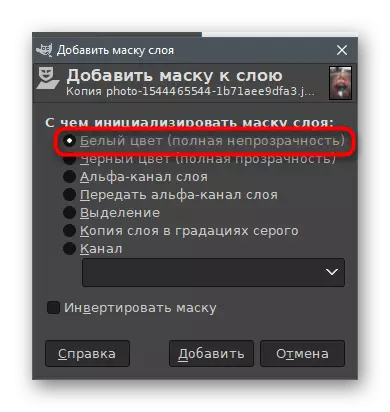
- In it, find the "Add Layer Mask" function.
- Marker Mark the type of initialization "White color (complete opacity)".
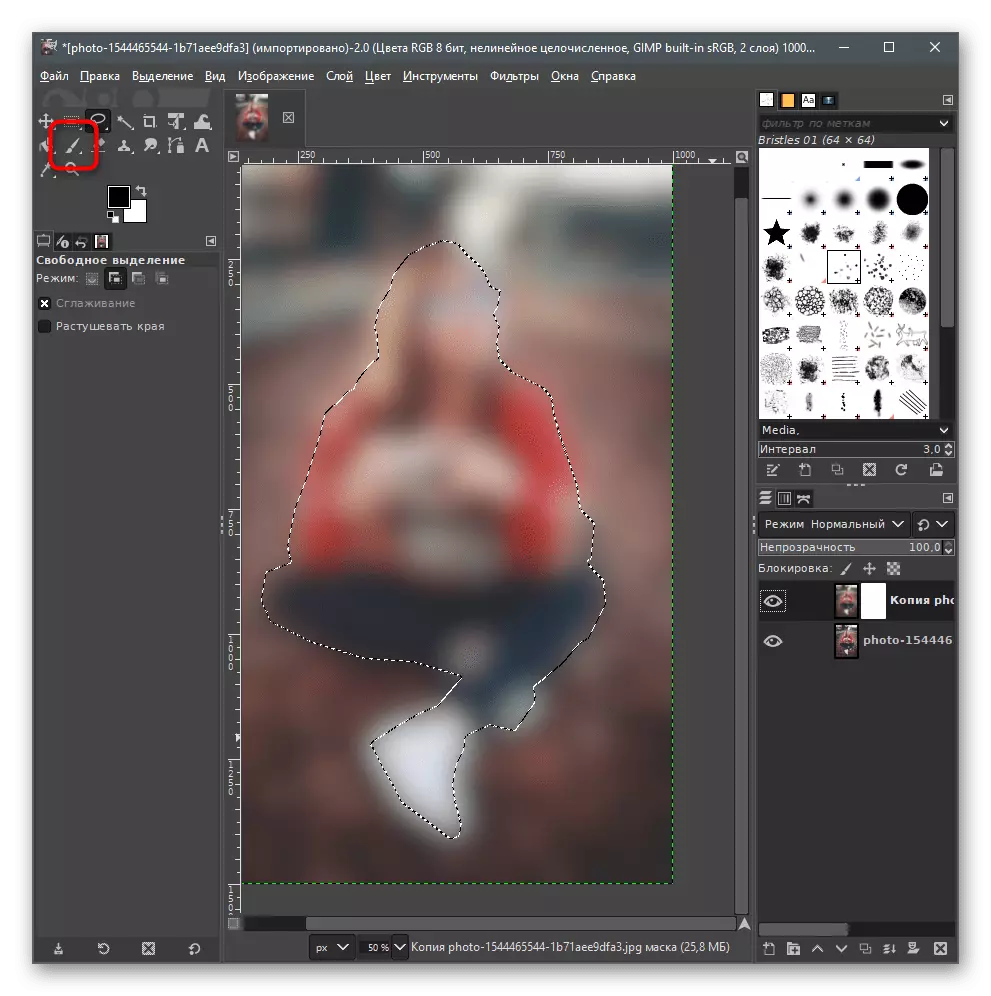
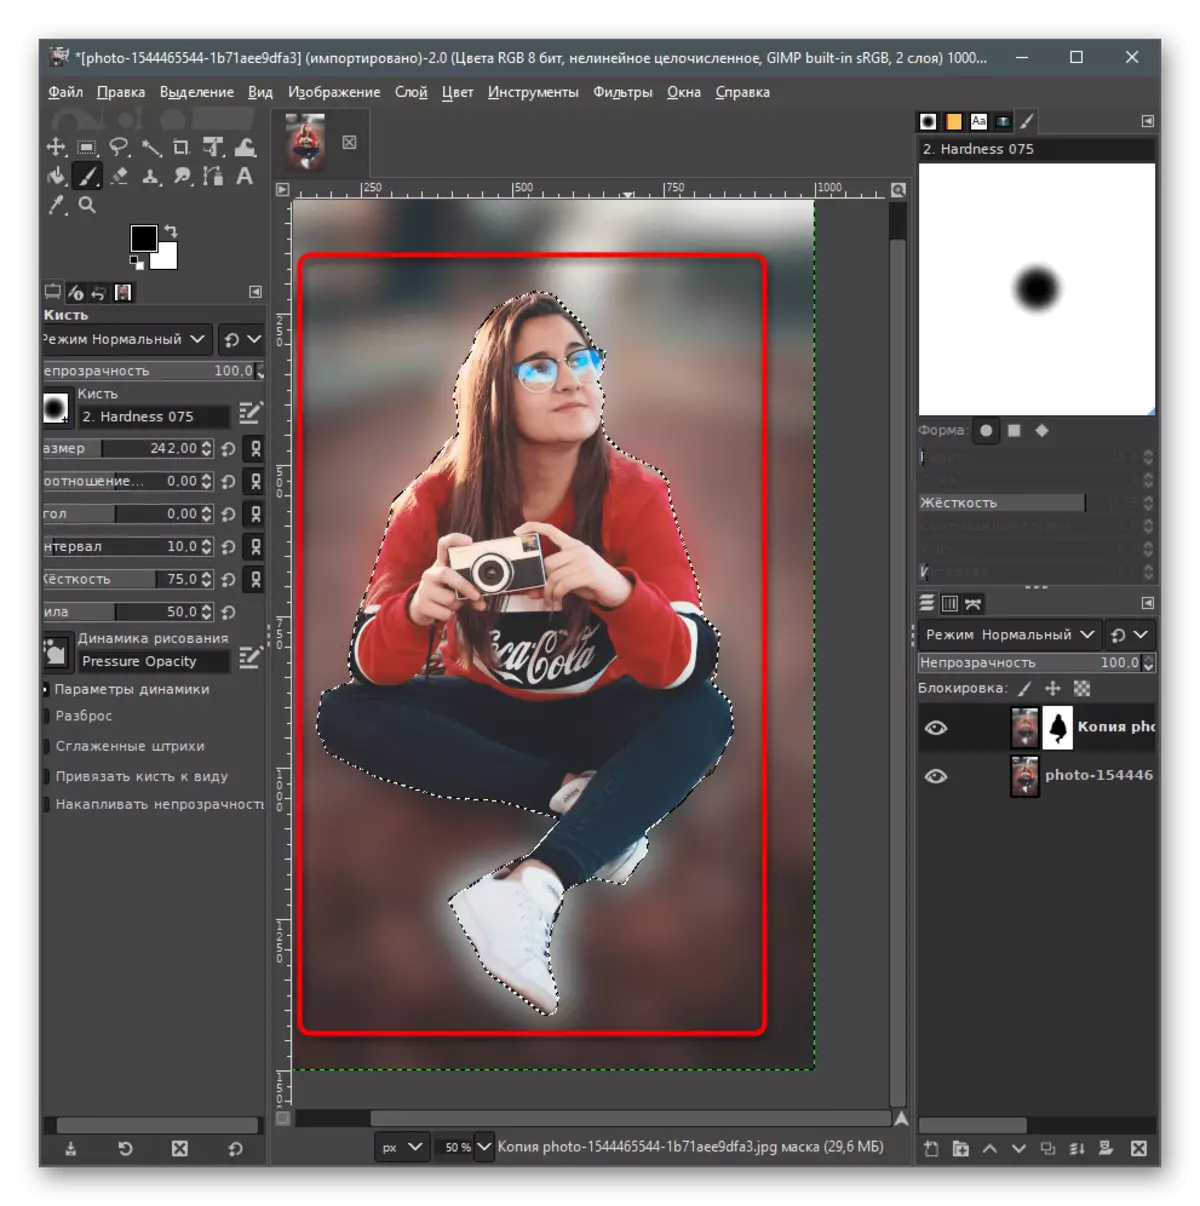
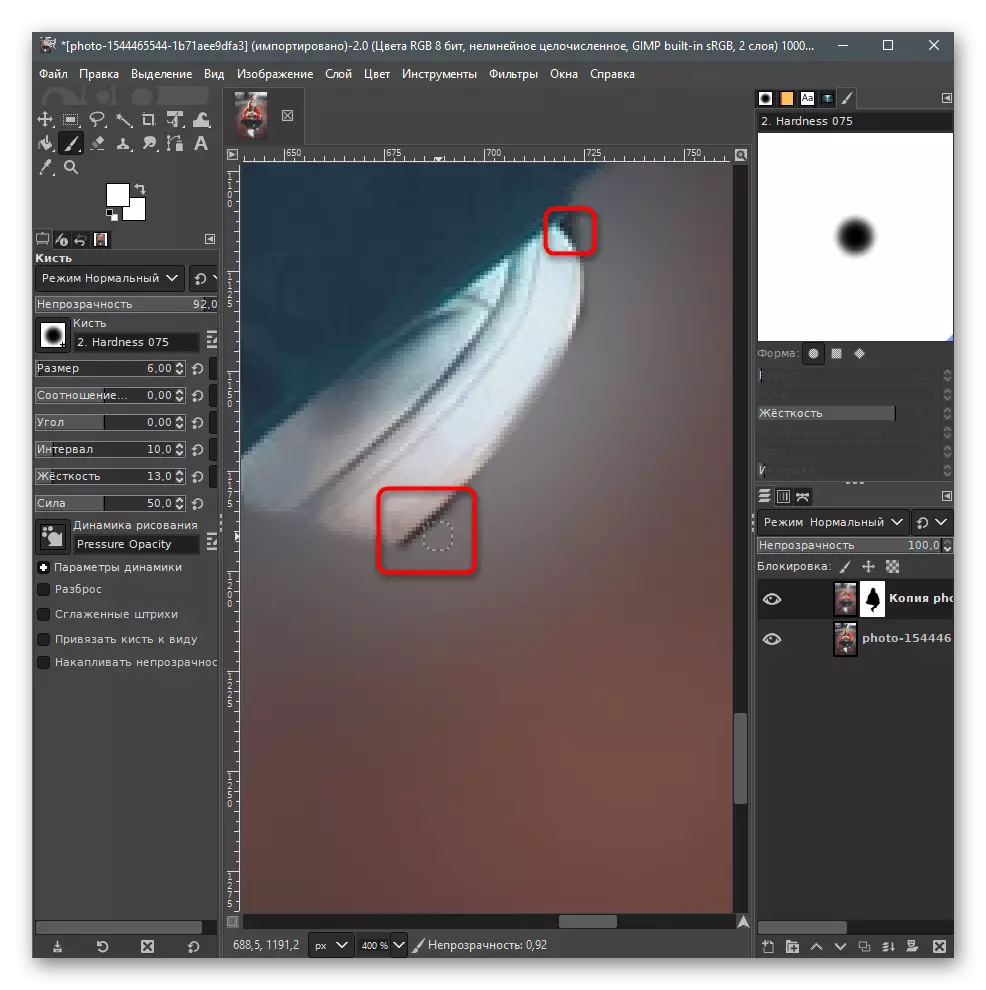
- Now take the usual brush that you will delete the filter effect from the selected area.
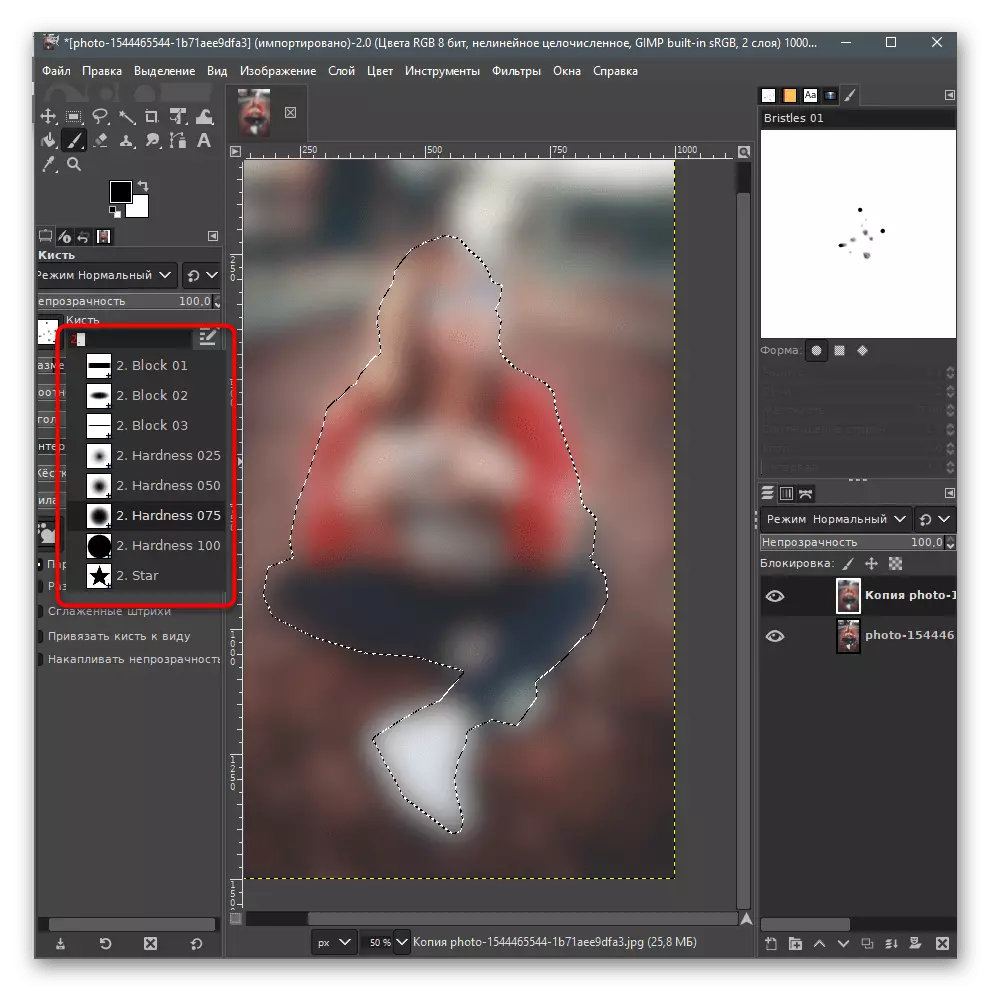
- In the list with varieties of brushes by name, find "2. Hardness 075, because this type is best coping with quick cleaning.
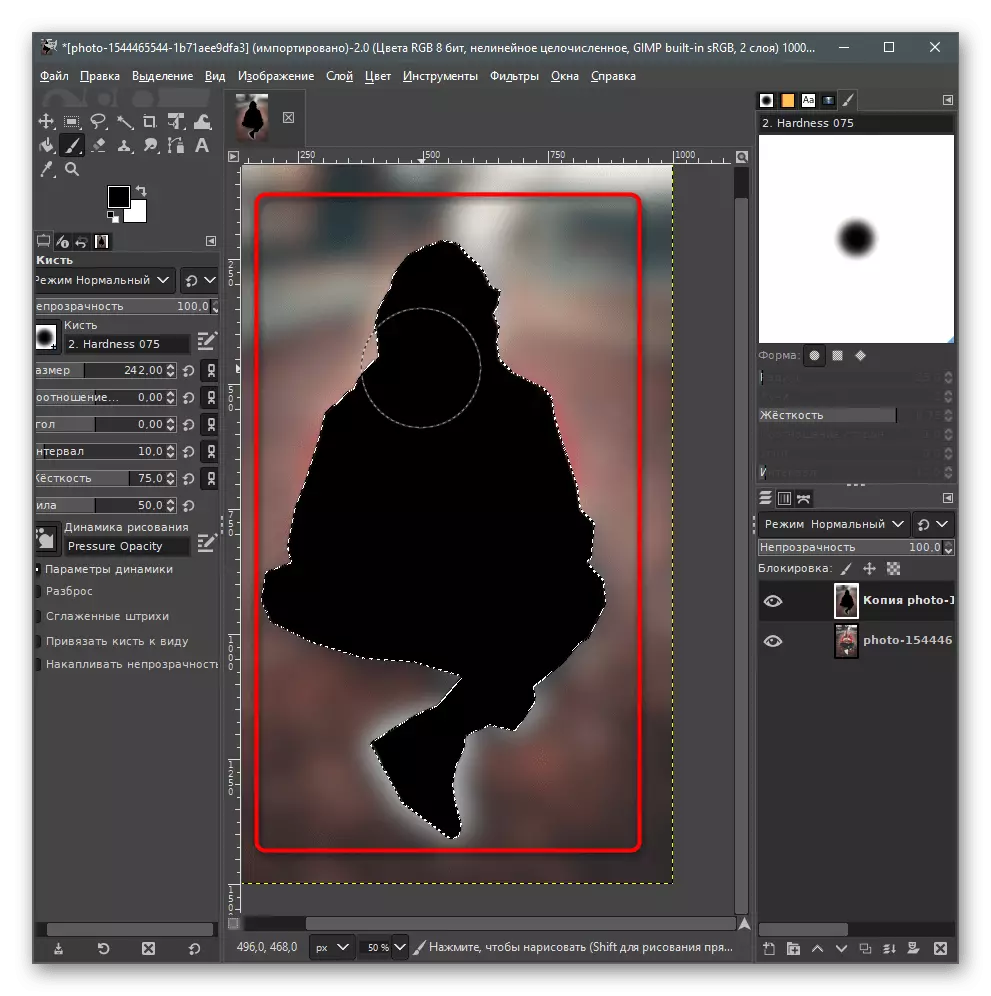
- Select a black color, set the size of the brush depending on the selected area and paint the entire area, without fearing Go behind the line, since the effect of the brush does not enter the release.
Note - the next screenshot shows that the brush paints the area in black, which should not be. This means that you accidentally removed the mask, for example, when layers switched. Create it re-select and activate the brush again.
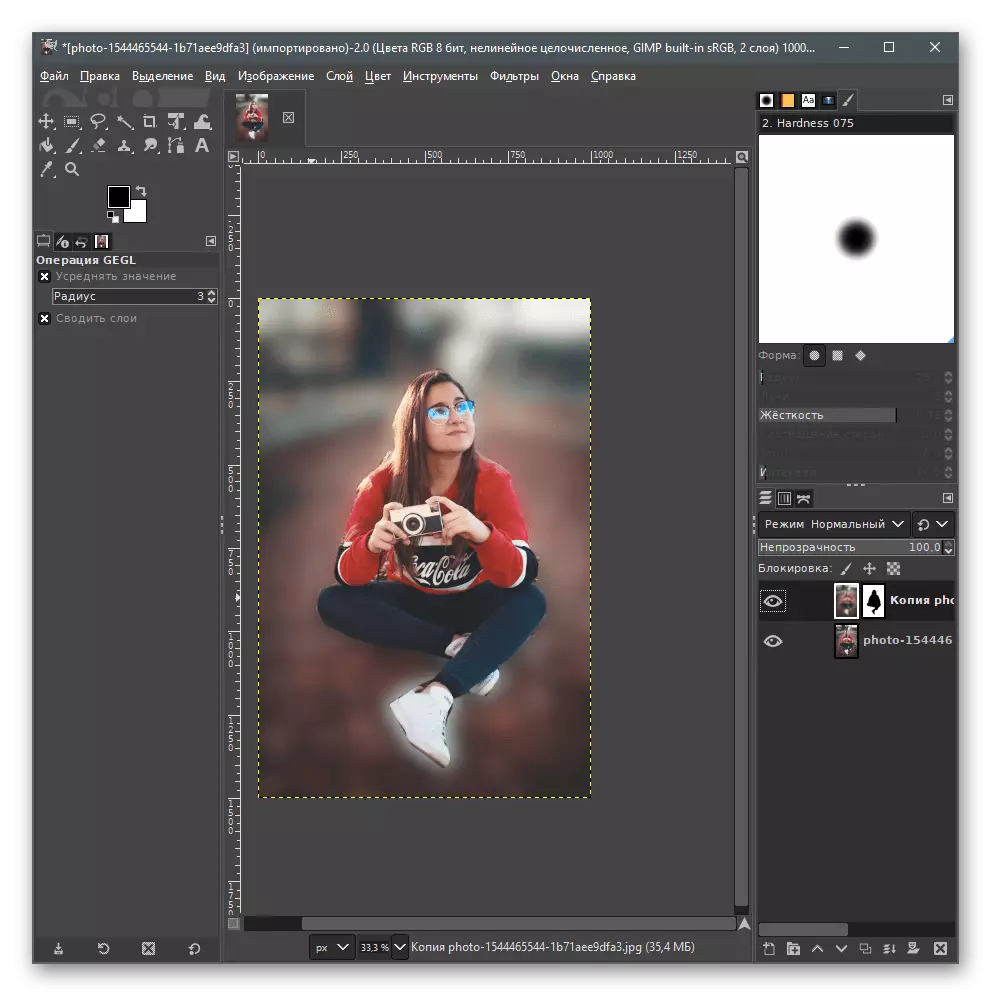
- When using it, the selected object should be drawn through the blur because it is shown in the image below.
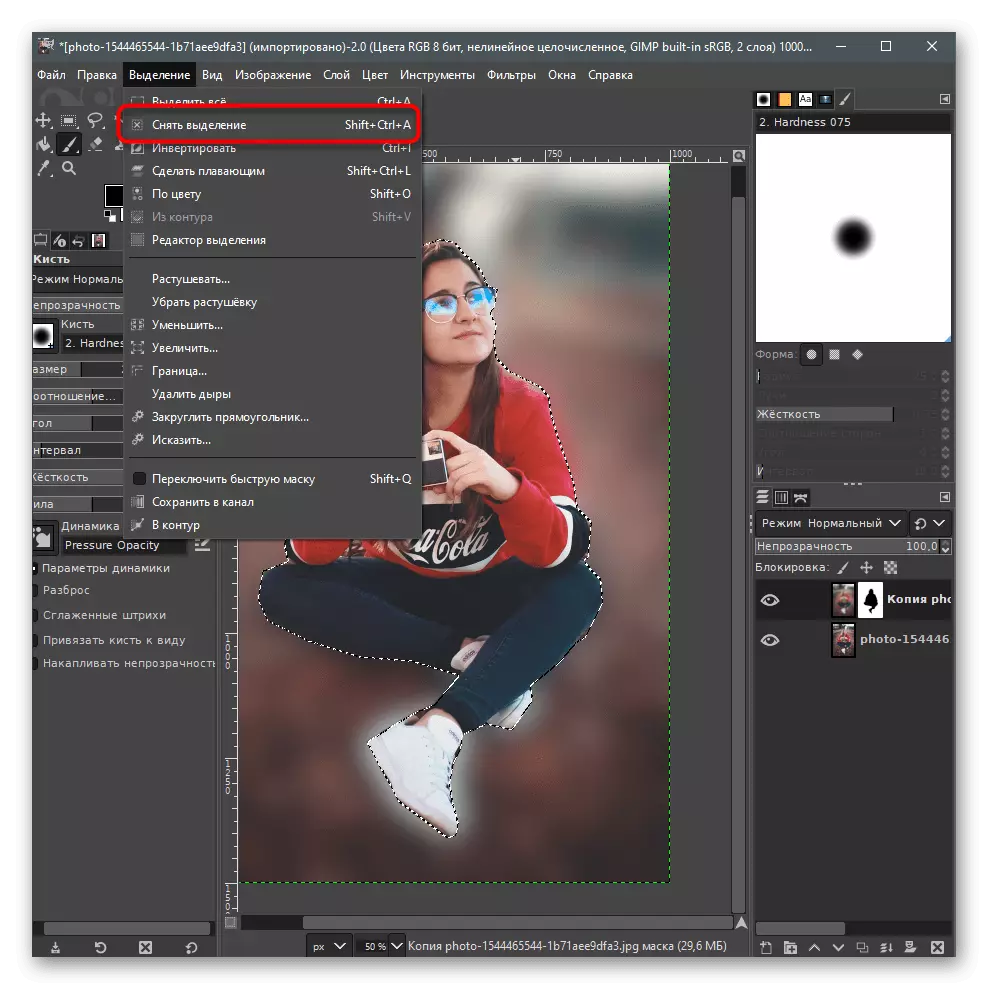
- Selection can be removed by activating the appropriate function in the already familiar menu.
- As a result, it turned out an object in focus with a blurred background. Once again we clarify that the strength of the blur directly depends on the selected at the beginning of the parameters, so adjust it at the filter setting step, because then it is impossible to do this and will have to re-implement the same actions.
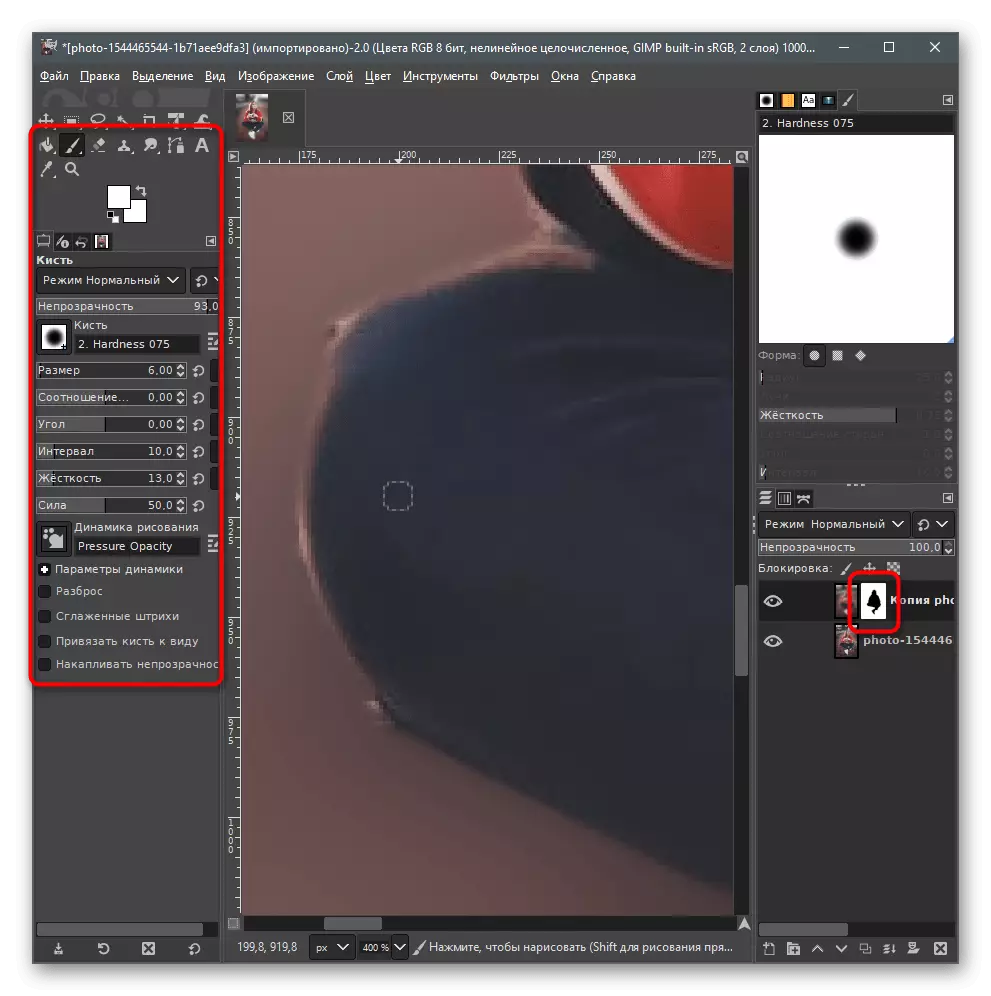
- If it turned out that extra details got into focus, activate the layer with a mask again, choose a brush, but this time put the color white.
- Come along the contour so that all the flaws are painted in the color of blur.
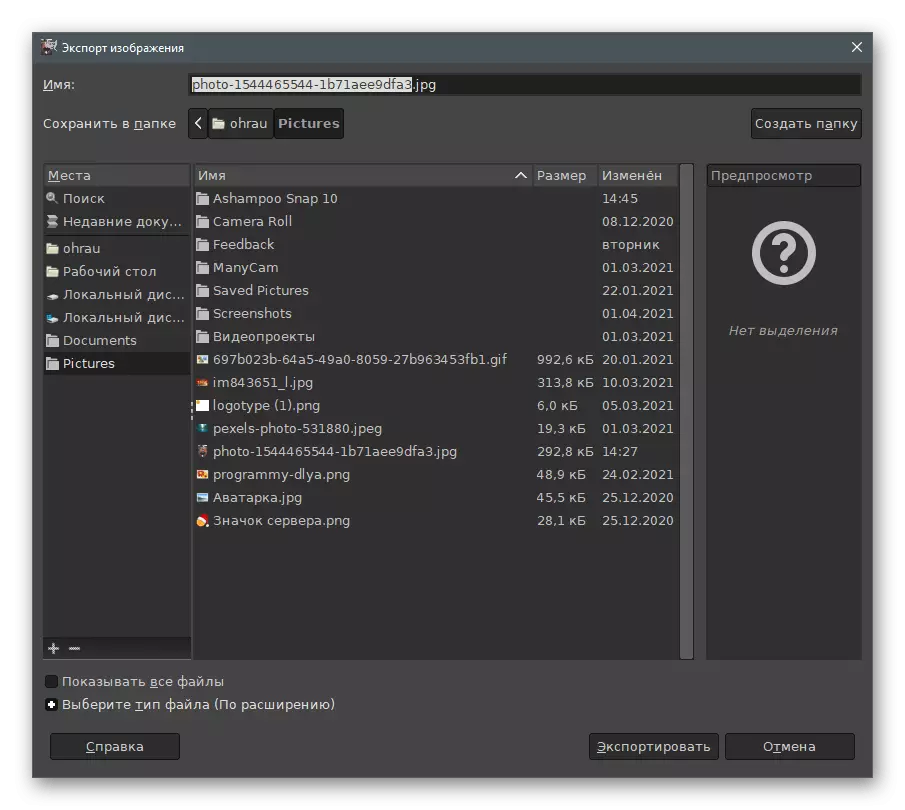
- Upon completion, open the File menu and click on "Export As".
- Set the name file, specify the format for saving and confirm export.


Method 3: Paint.net
So far, the reviewed programs have no worthy competitors in the form of full-fledged graphic editors. Available solutions do not offer the same set of functions to perform the necessary tasks. However, similar filters are available in Paint.Net, so as an alternative we suggest read the following instructions and deal with the features of blur photos in this application.
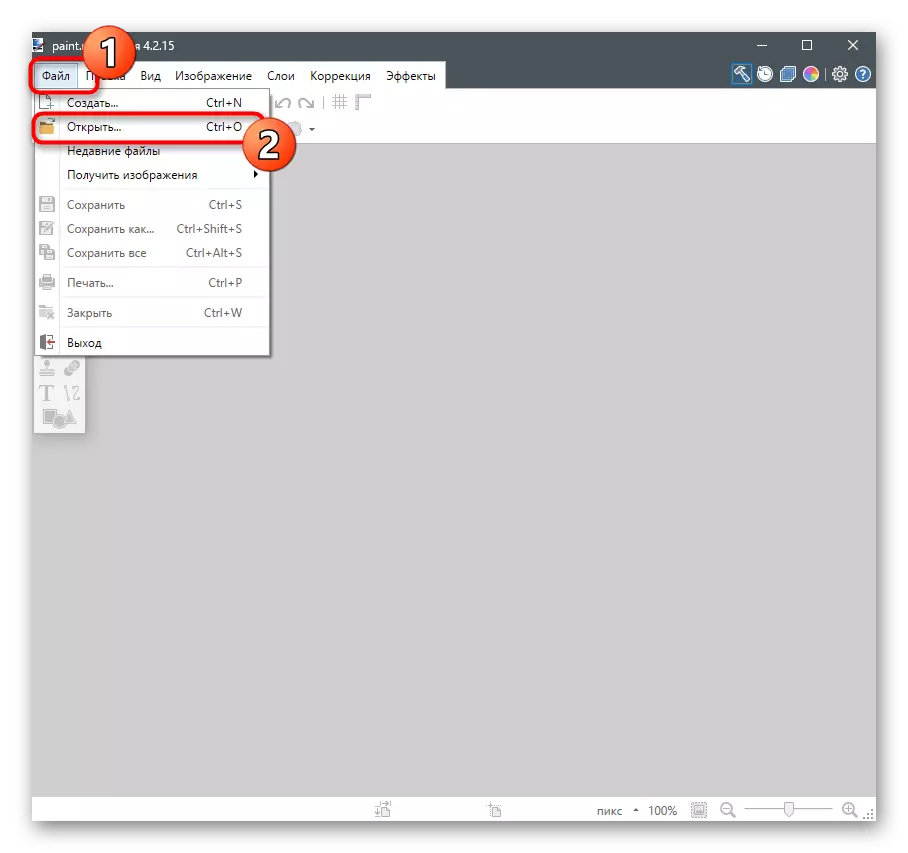
- Run the program and through the File menu. Call the Open window. To do this, you can use the standard Ctrl + O key combination.
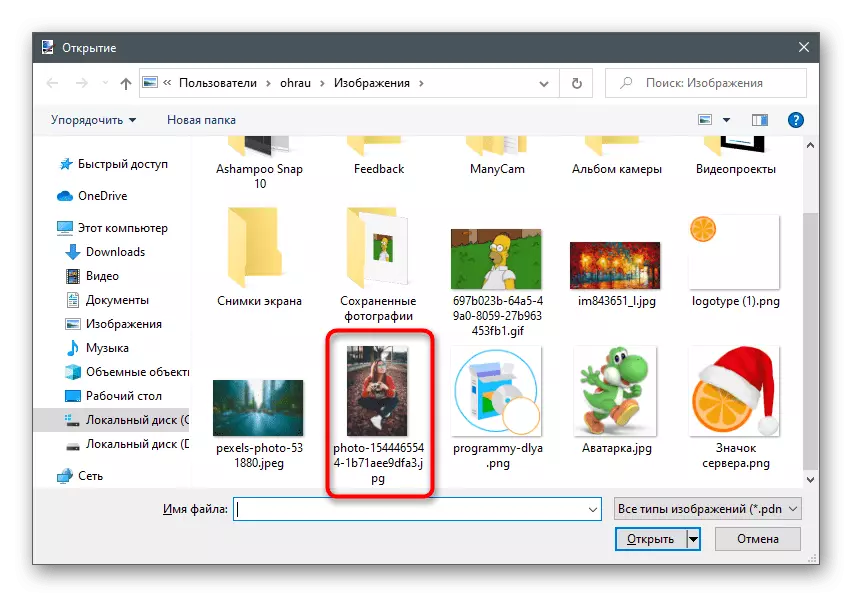
- In a new window, find the picture, select it and click "Open".
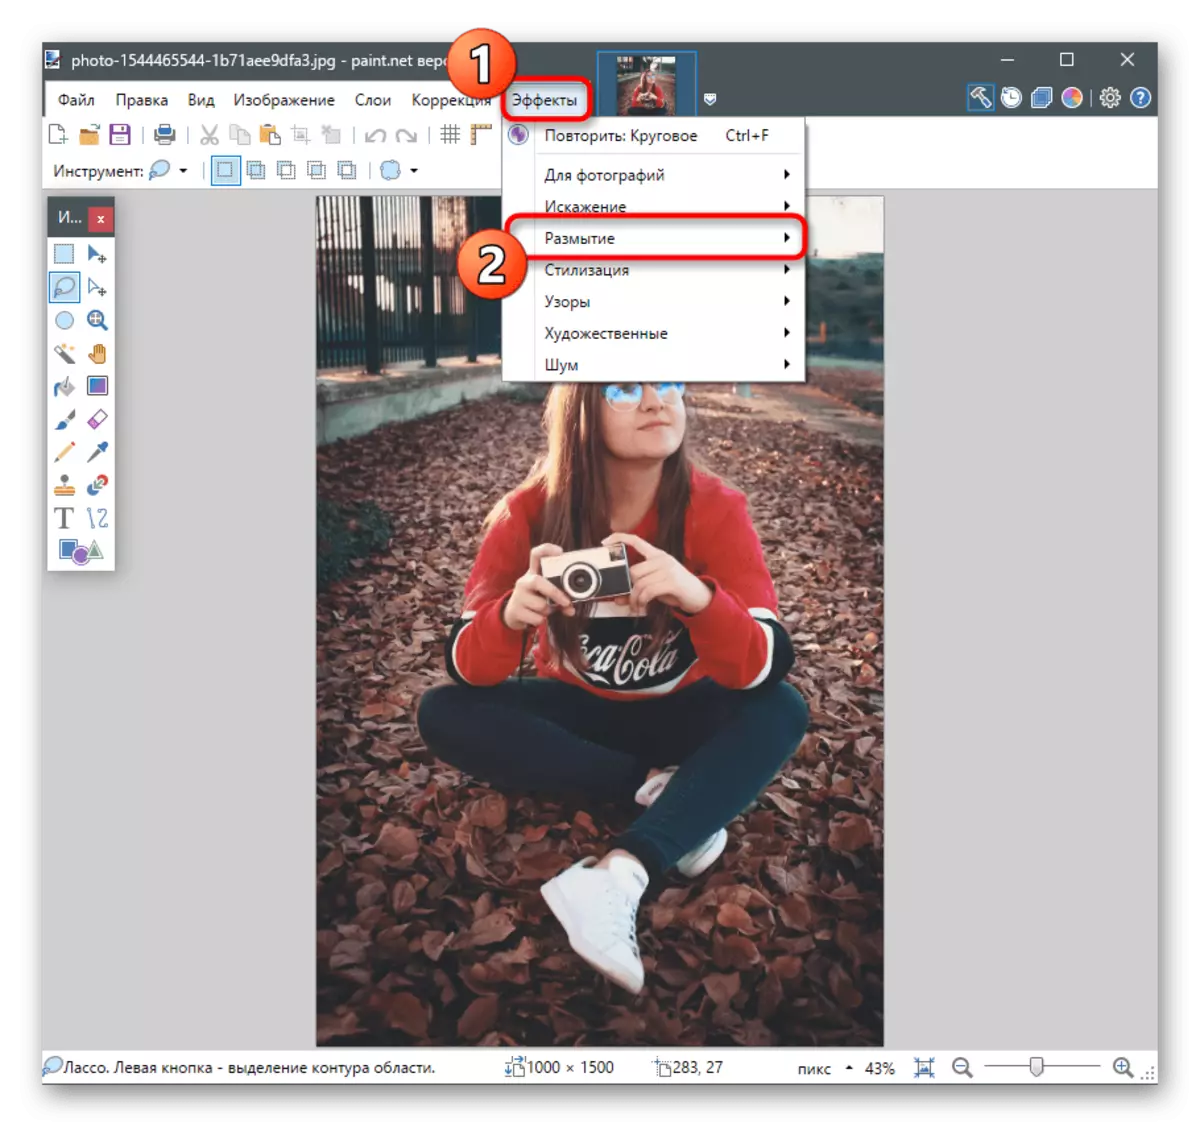
- Expand the "Effects" menu and move the mouse over "Blur".
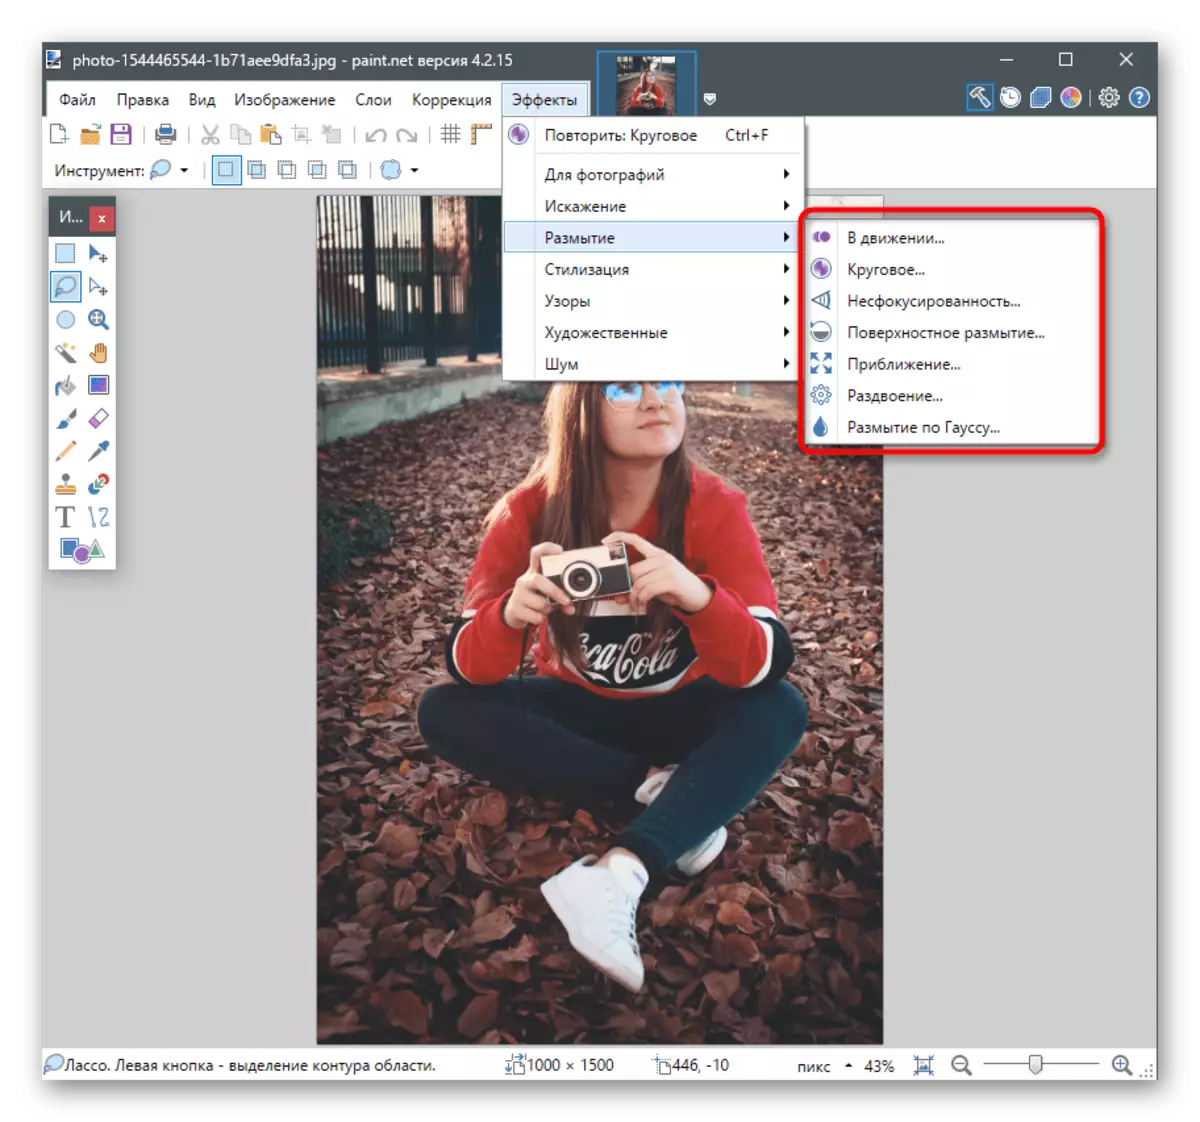
- You can independently activate each mode to view its effect, but we offer to use "circular" blur because it best saves the object in the center and blurs the edges.
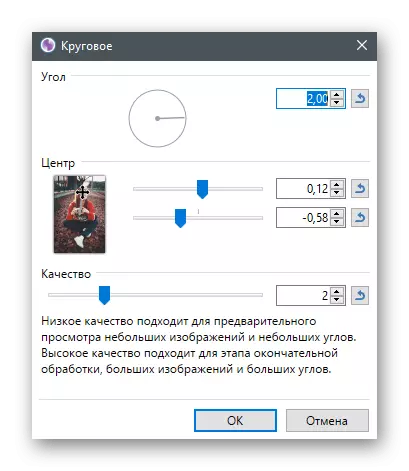
- Configure the blur parameters depending on the changes occurring in the picture.
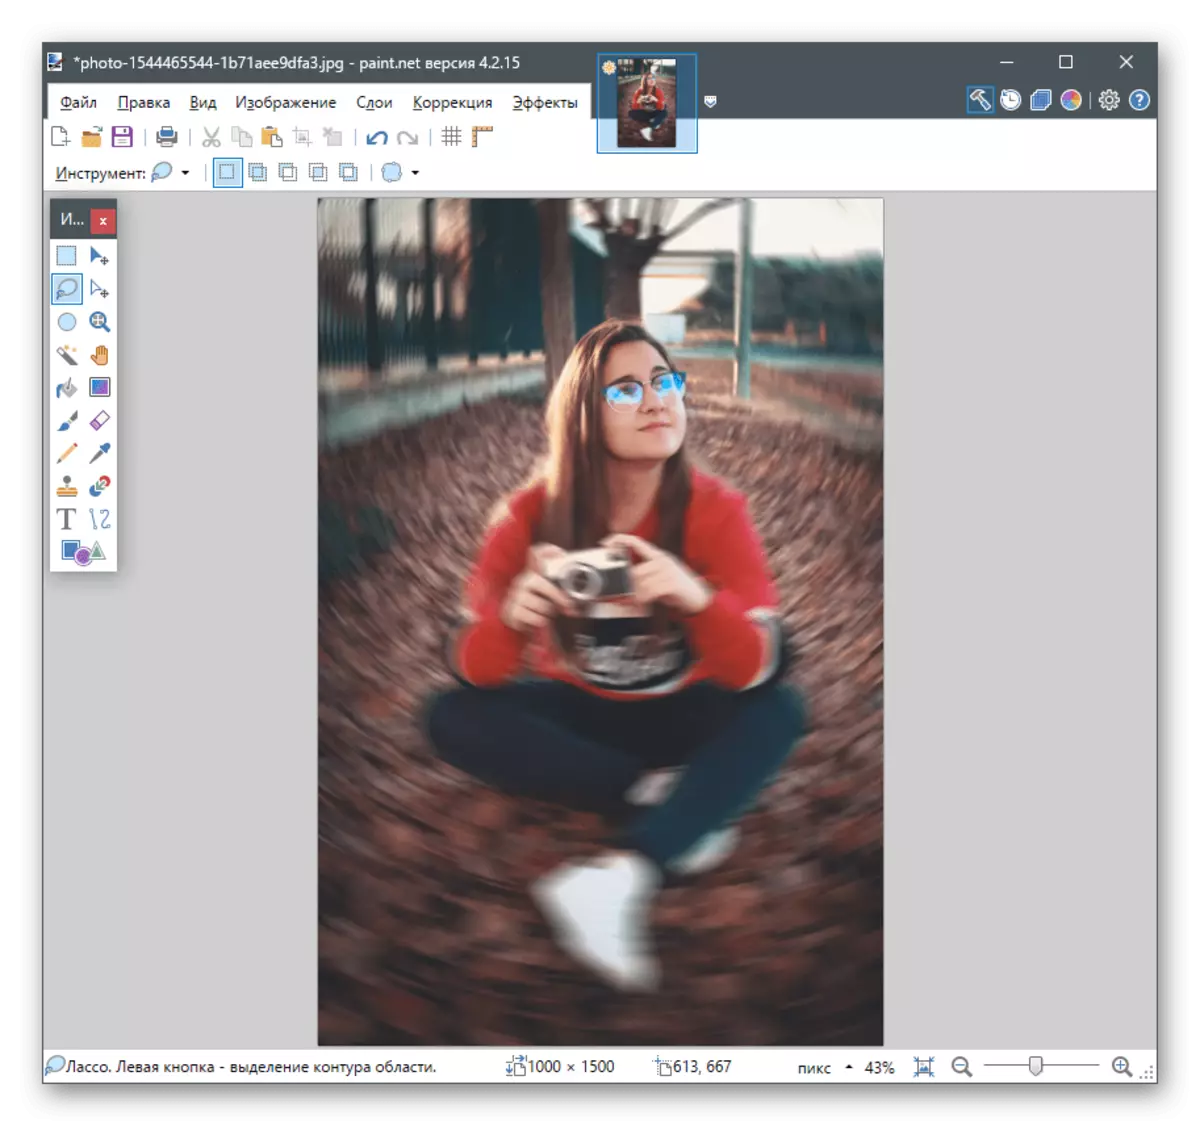
- We have turned out to be such an effect that it was possible to achieve with the help of the mentioned modification mode with a slight deviation of the sliders from the center.
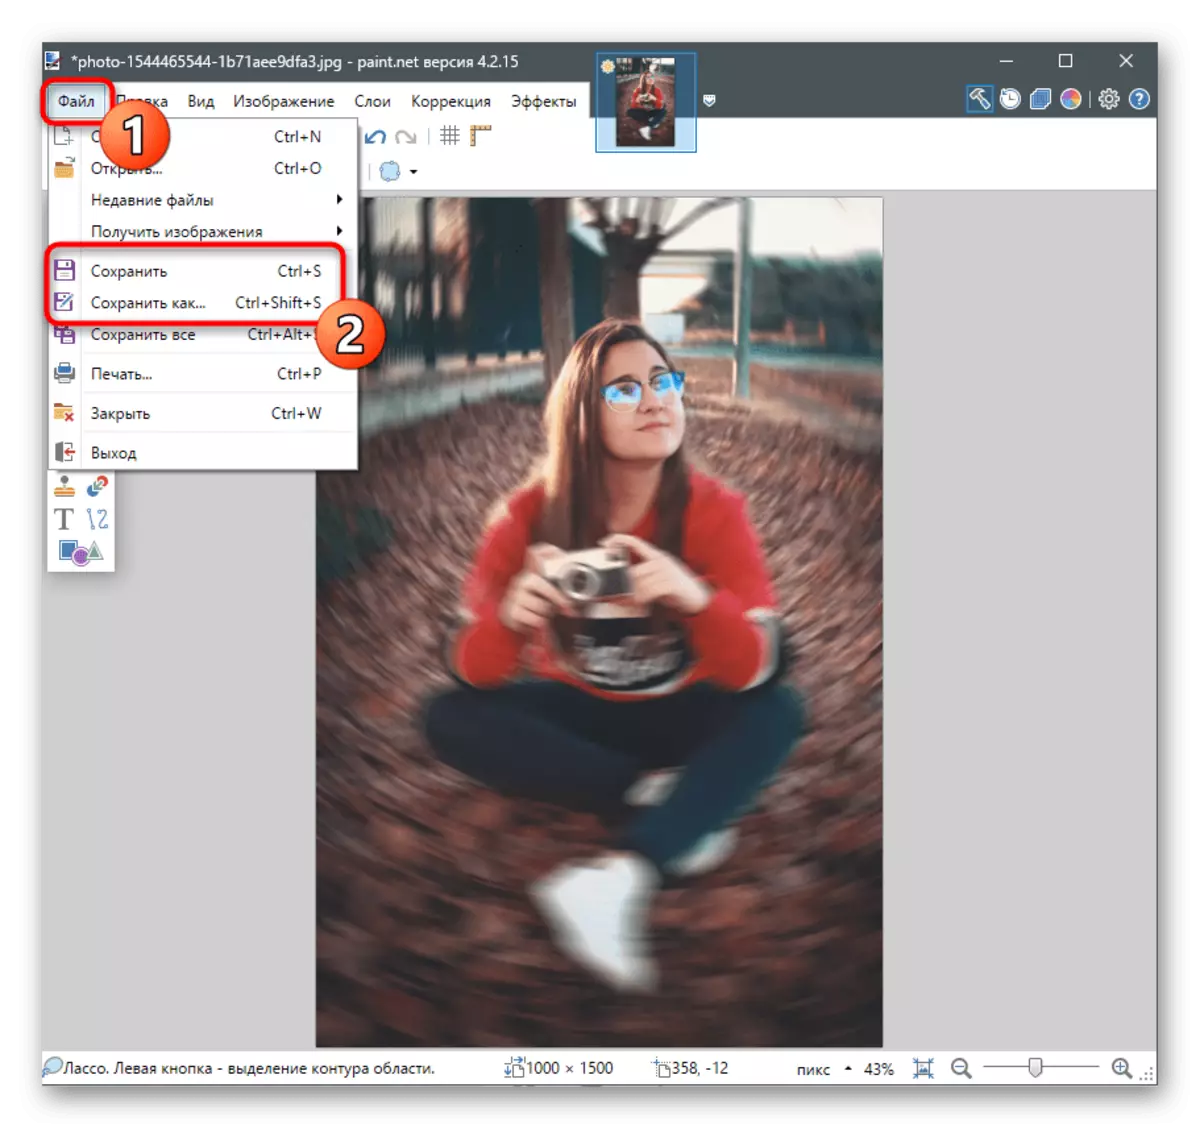
- If working on a photo is completed, call the "File" menu and go to the preservation.
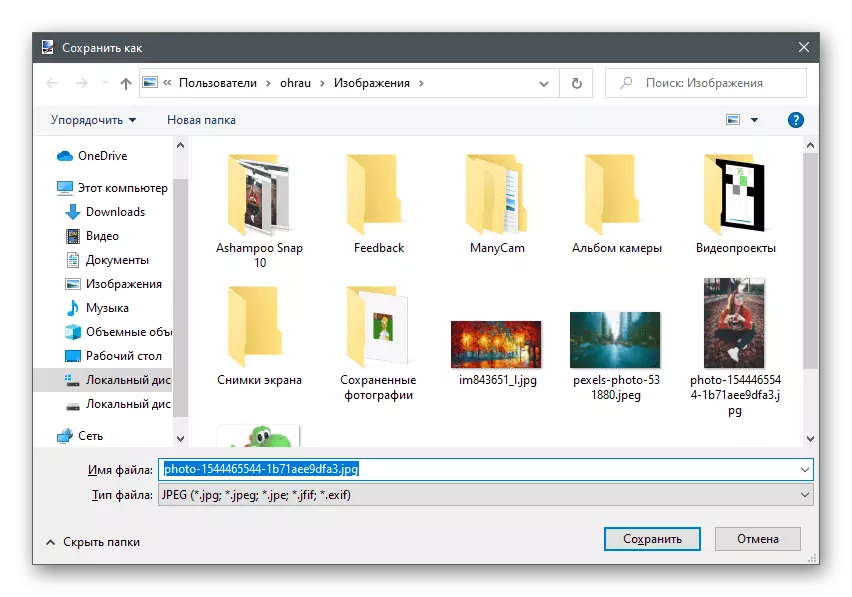
- Set the name for the file and in the File Type list, find the appropriate format.
In Paint.NET there are other editing features that can be used at any time. If you are interested in the topic of interaction with this graphic editor, we advise you to read the thematic article by clicking on the link below.
Read more: How to use Paint.Net
In completion, we note that the background in the photo can be blurred not only with the help of special software, but also through online services, designed to perform approximately the same tasks. Usually their functionality is limited, but it will be enough to achieve the necessary effect.
Read more: Blur Background on photo online