
For artistic design of work in Photoshop, we often require a clipart. These are separate design elements, such as various frames, leaves, butterflies, flowers, character figurines and much more.
Clipart is mined in two ways: bought in runoff or is looking for public access through search engines. In the case of drains, everything is simple: we pay money and get the desired picture in a large resolution and on a transparent background.
If we decided to find the desired element in the search engine, then one unpleasant surprise is waiting for us - in most cases it is located on any background that interferes with its instant use.
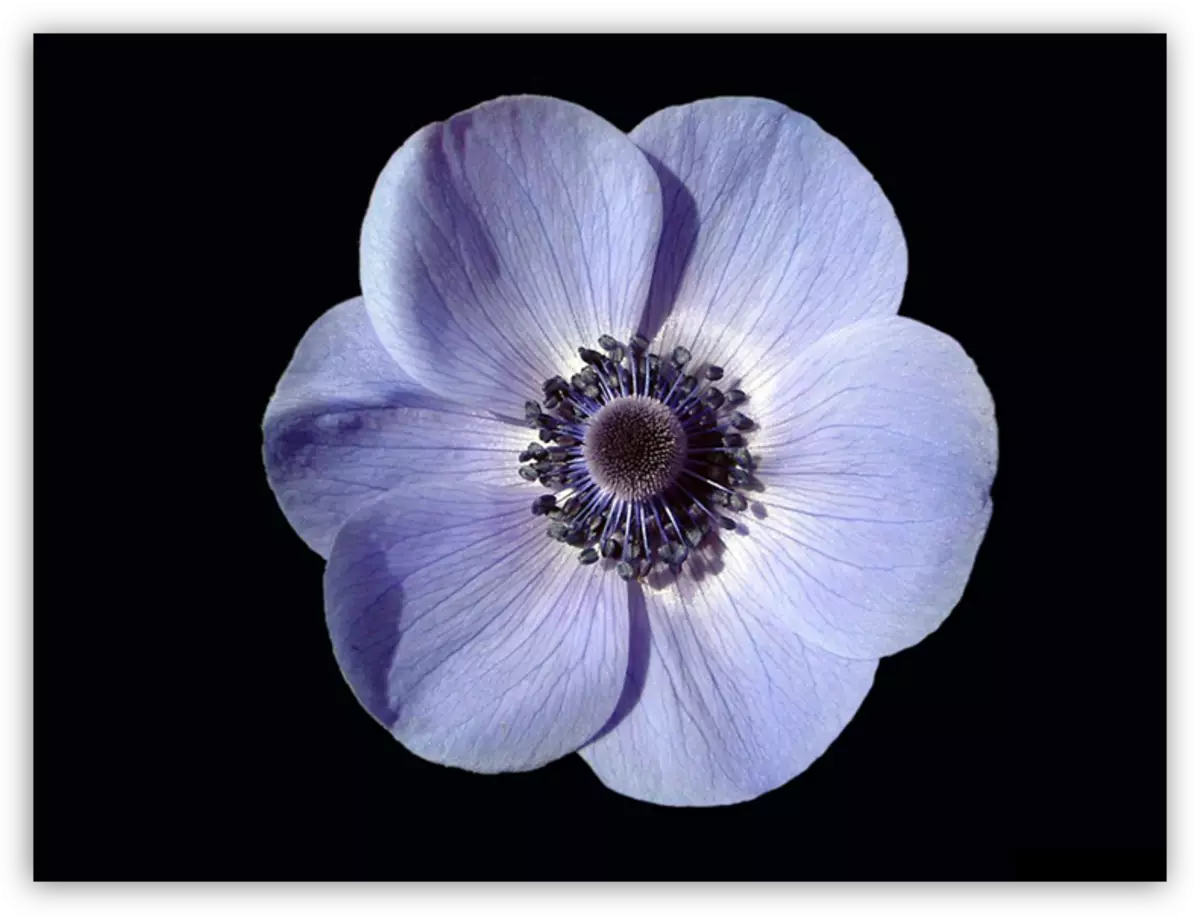
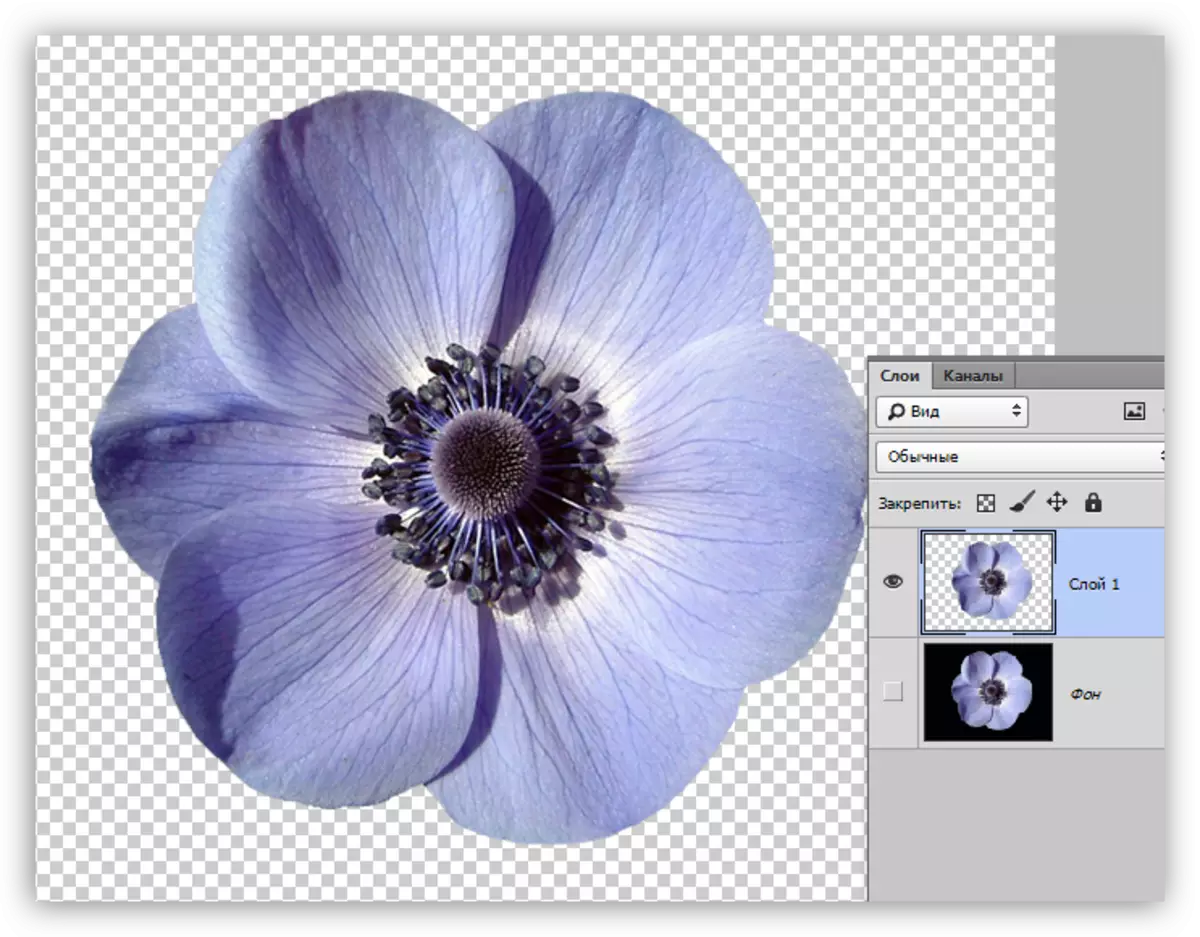
Today we will talk about how to remove a black background from the picture. The image for the lesson looks like this:
Removal of black background
There is one obvious solution to the problem - cut the flower from the background by any suitable tool.Lesson: How to cut an object in photoshop
But this method is not always suitable, as it is quite time consuming. Imagine that you cut out a flower, spending a bunch of time on it, and then decided that it is not quite suitable for the composition. All the work of the Nammark.
There are several ways to quickly remove black background. These ways can be a bit similar, but they are all subject to study, as used in different situations.
Method 1: The fastest
In Photoshop, there are tools that allow you to quickly remove the monophonic background from the picture. This is a "magic wand" and "magic eraser". Since a whole treatise on our site has already been written about the "magic wand", we will use the second tool.
Lesson: Magic wand in photoshop
Before you start work, do not forget to create a copy of the source image with the Ctrl + J keys. For convenience, we also remove the visibility from the background layer so that it does not interfere.

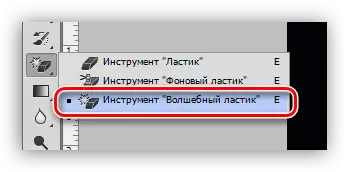
- We choose the "Magic Erase" tool.
- Click on black background.
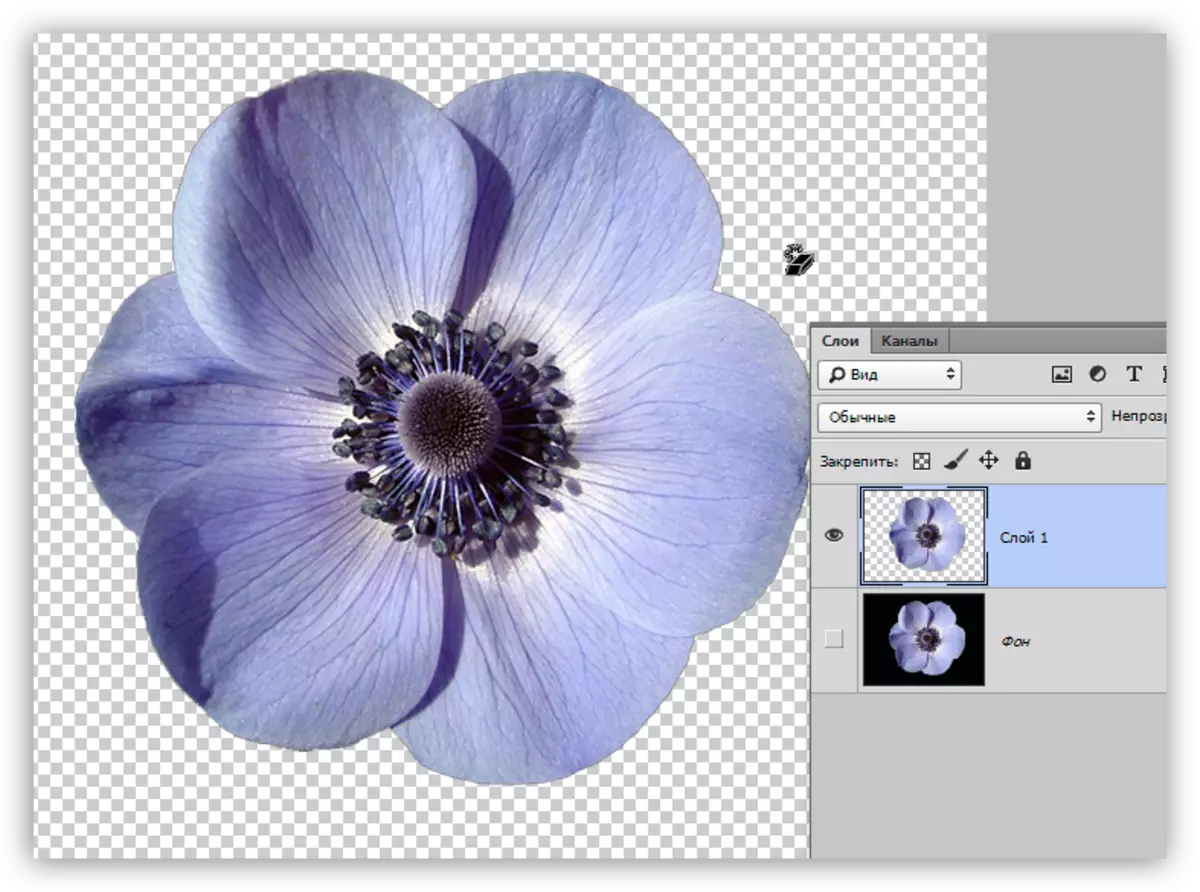
The background is removed, but we see the black halo around the flower. This is always happening when separating bright objects from a dark background (or dark from light) when we use "smart" tools. This halo is deleted quite easily.
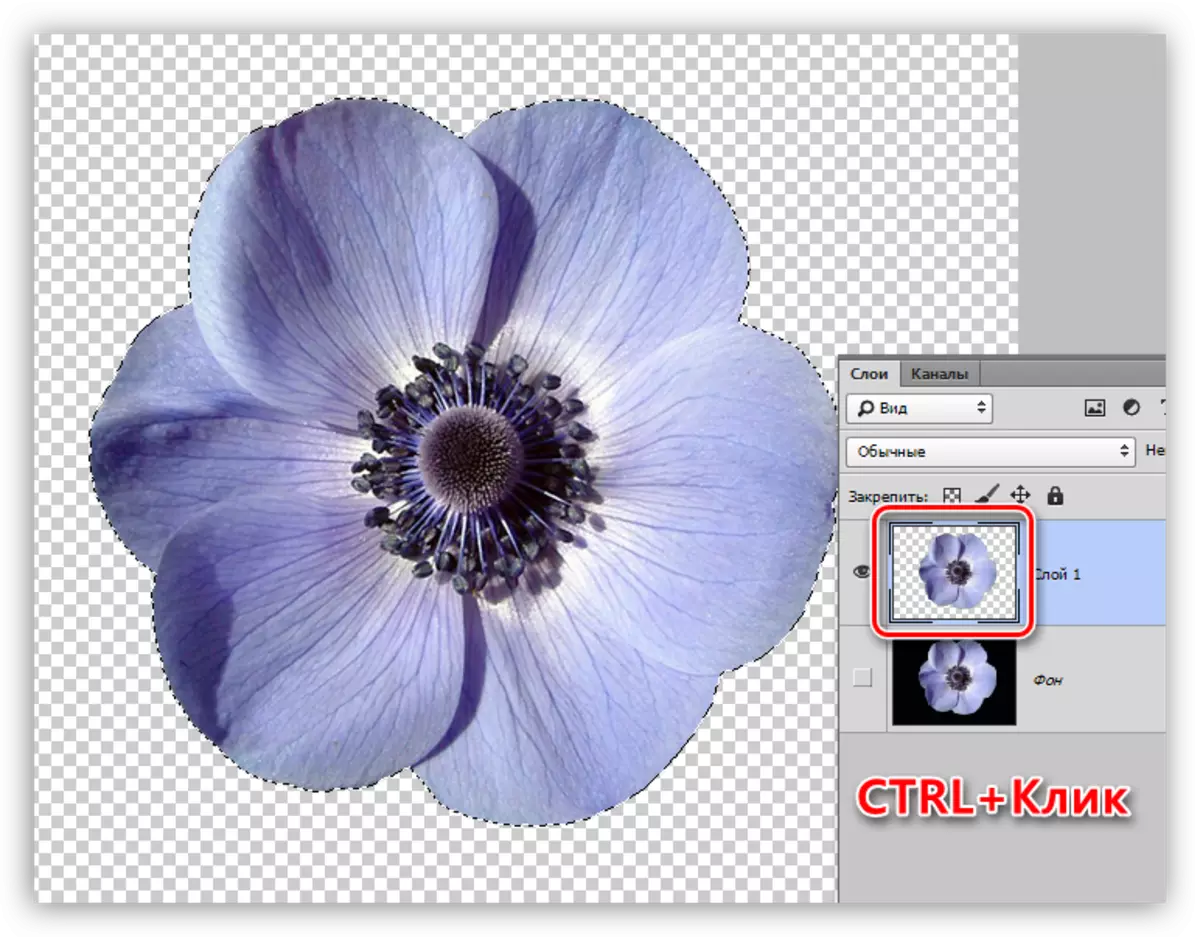
1. Press the Ctrl key and press the left button on the miniature layer with a flower. A selection will appear around the object.
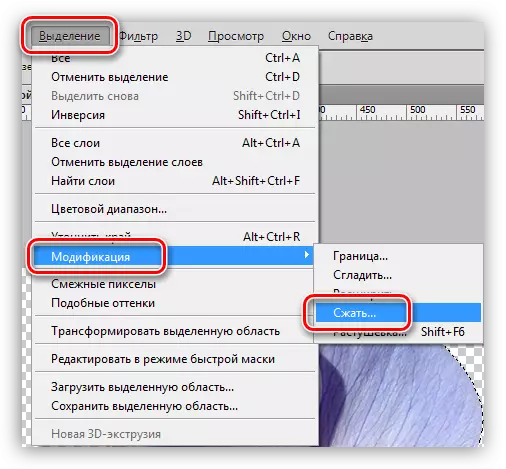
2. Go to the "Selection - Modification - compress" menu. This feature will allow us to shift the edge of the flower inside the flower, thereby leaving the halo outside.
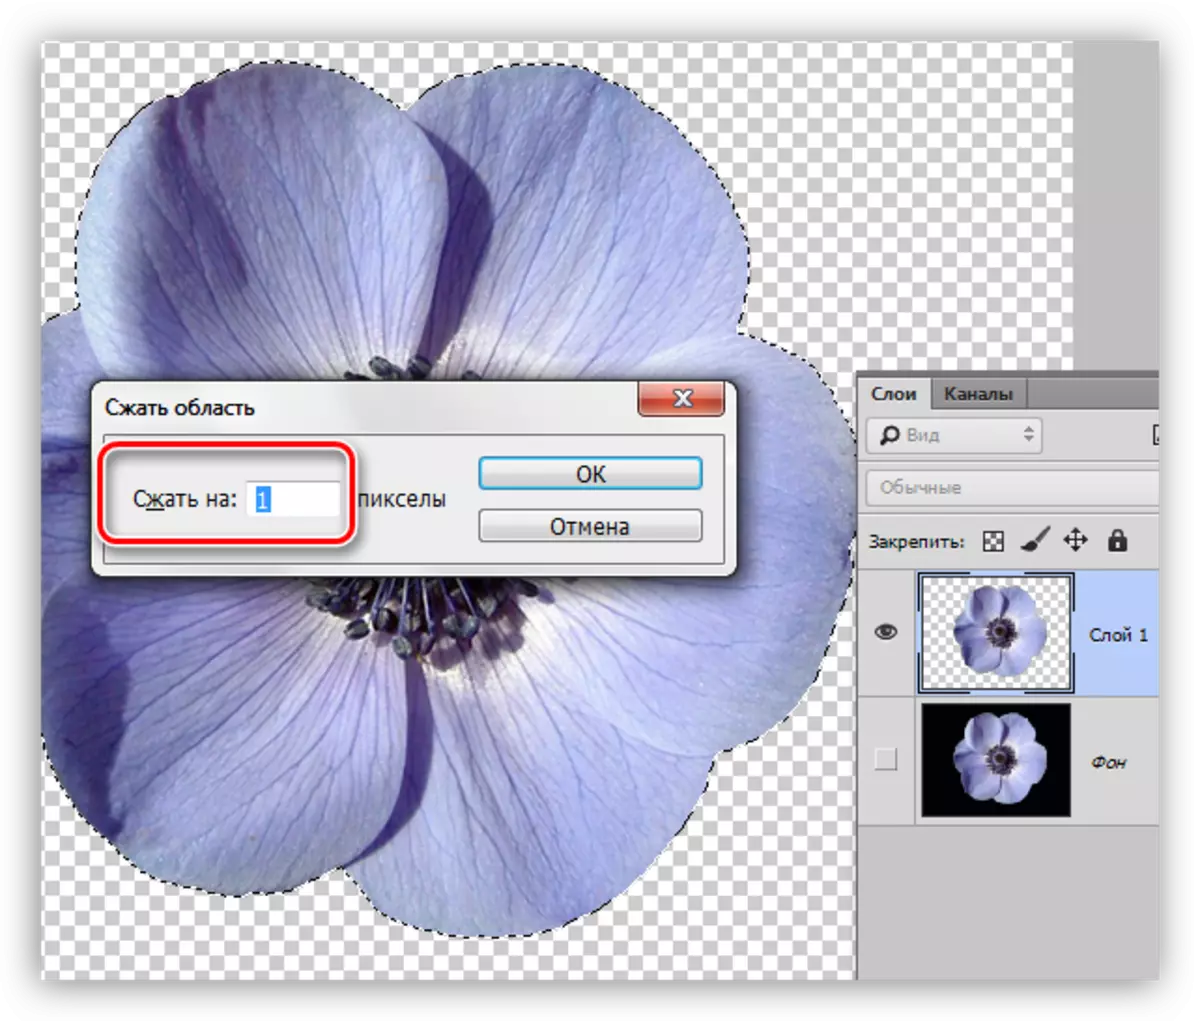
3. The minimum compression value is 1 pixel, it and wept in the field. Do not forget to press OK to trigger the function.
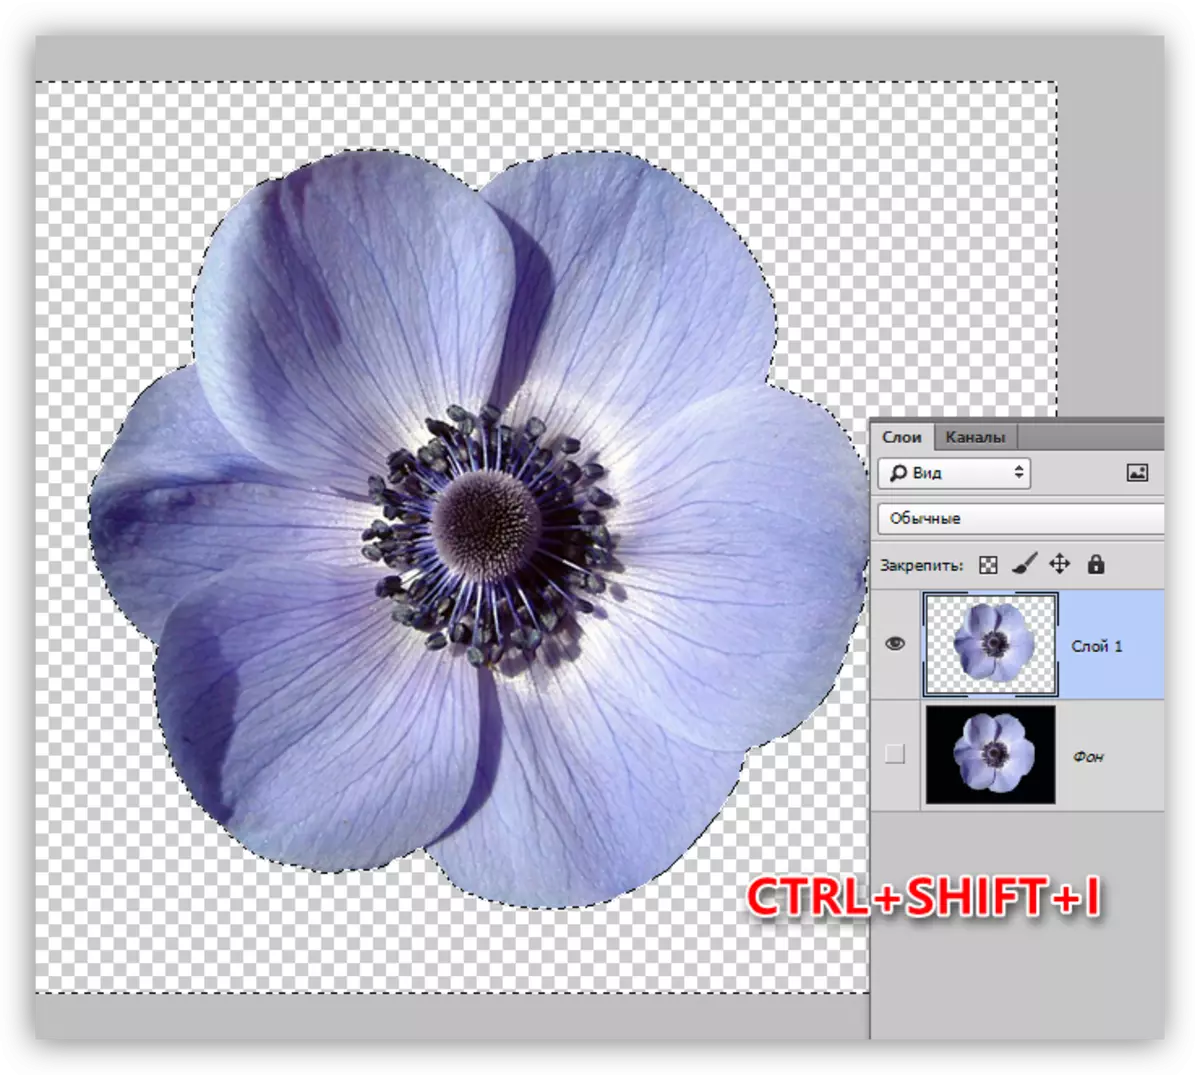
4. Next, we need to remove this pixel from the flower. To do this, invert the selection with the CTRL + SHIFT + I keys. Please note that now the dedicated area covers the entire canvas completely excluding the object.
5. Just press the Delete key on the keyboard, and then remove the selection with a combination Ctrl + d.
Clipart Ready to work.
Method 2: Overlay Mode "Screen"
The following method is perfect in the event that the object must be placed on another dark background. True, there are two nuances: the element (preferably) should be as light as possible, better than white; After applying, color can be distorted, but it is easy to fix it.
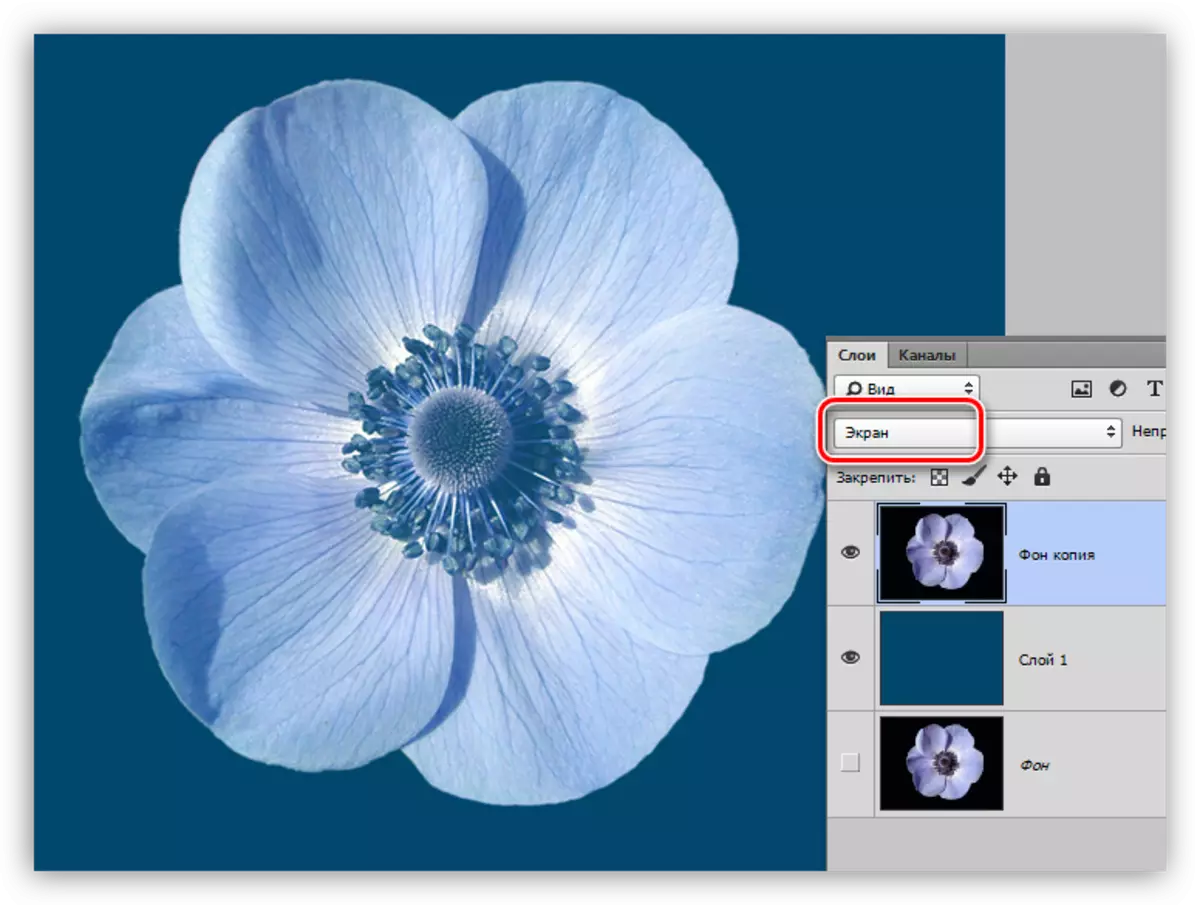
When removing the black background, we must put the flower in advance in the right canvas place. It is understood that the dark background we already have.
- Change the overlay mode for a layer with a flower on the "screen". We see such a picture:
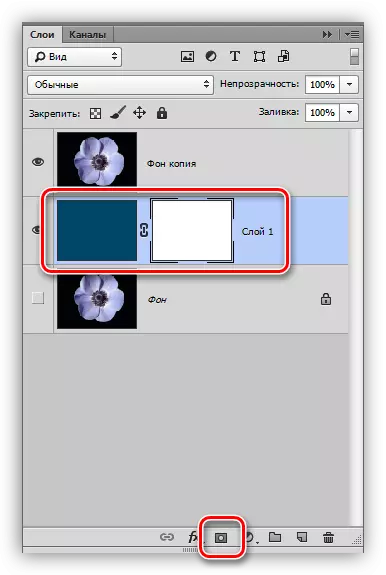
- If we are not satisfied with the fact that the colors have changed a little, go to the layer with the background and create a mask for him.
Lesson: We work with masks in Photoshop
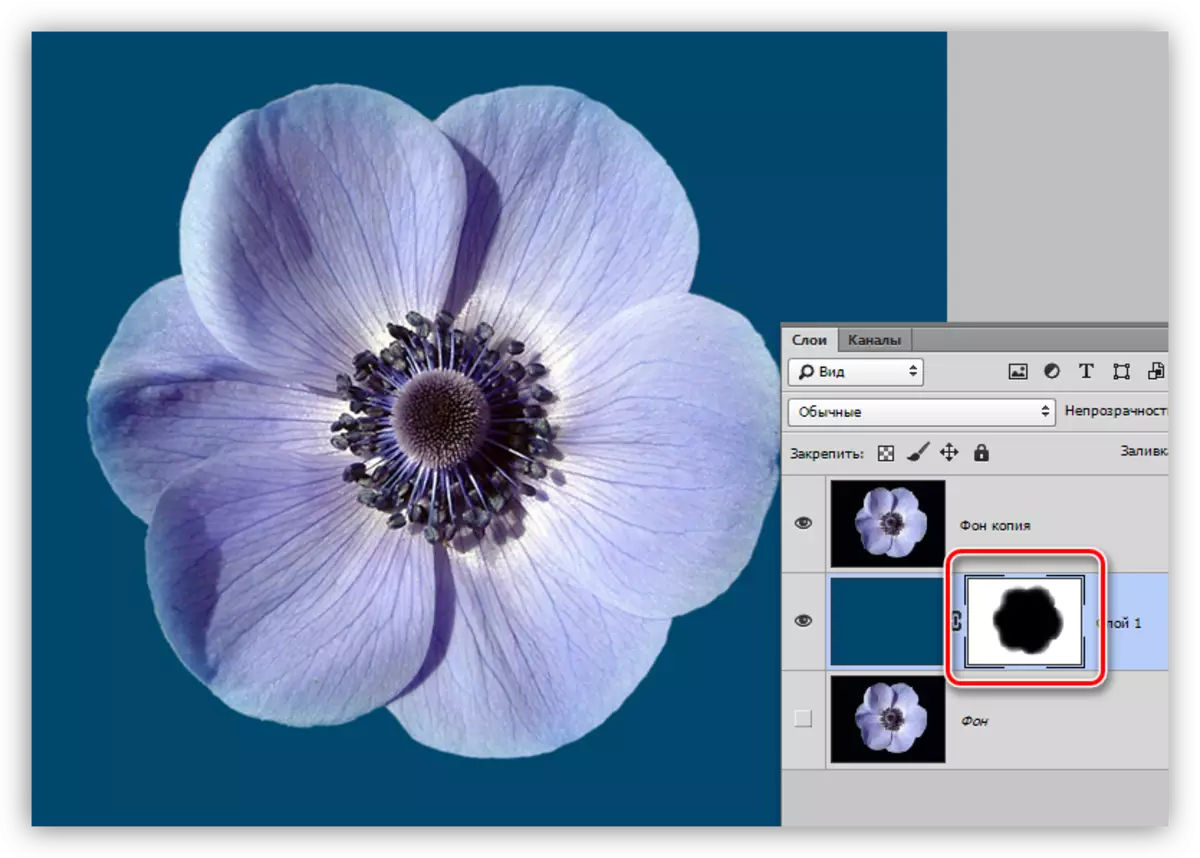
- Black brush, being on the mask, gently paint the background.
This method is also suitable in order to quickly determine whether the element will fit into the composition, that is, just put it on canvas and change the overlay mode, without removing the background.
Method 3: Complex
This technique will help you cope with the separation from the black background of complex objects. First you need to brighten the image as much as possible.
1. Apply the adjusting layer "Levels".
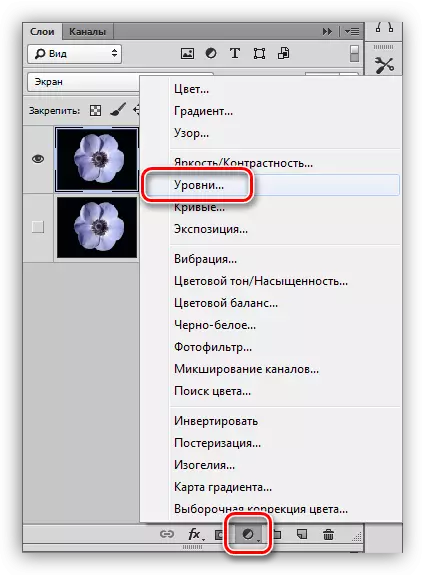
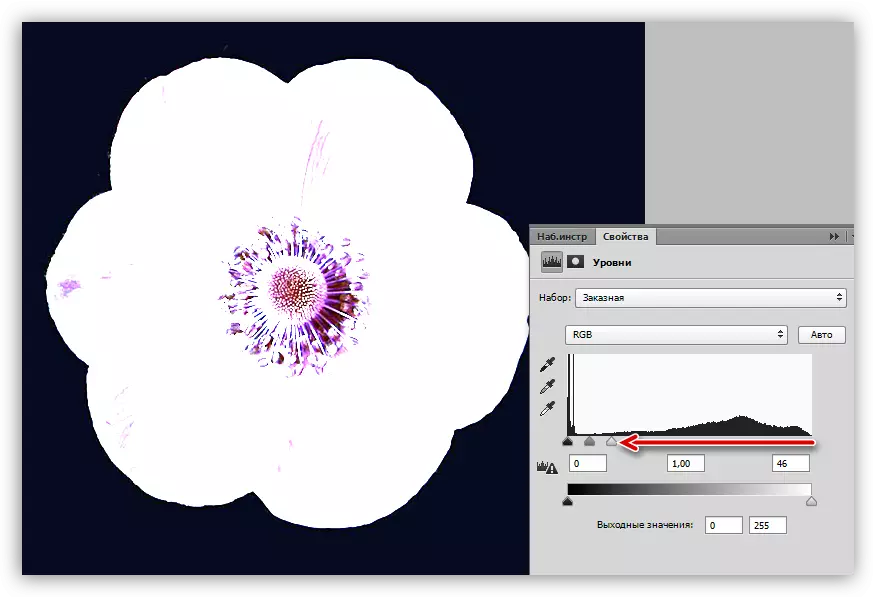
2. The extreme right slider we move to the left, carefully following the background to remain black.
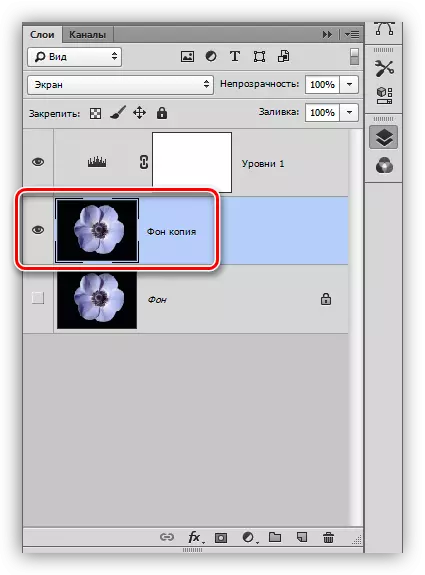
3. Go to the layer palette and activate the layer with a flower.
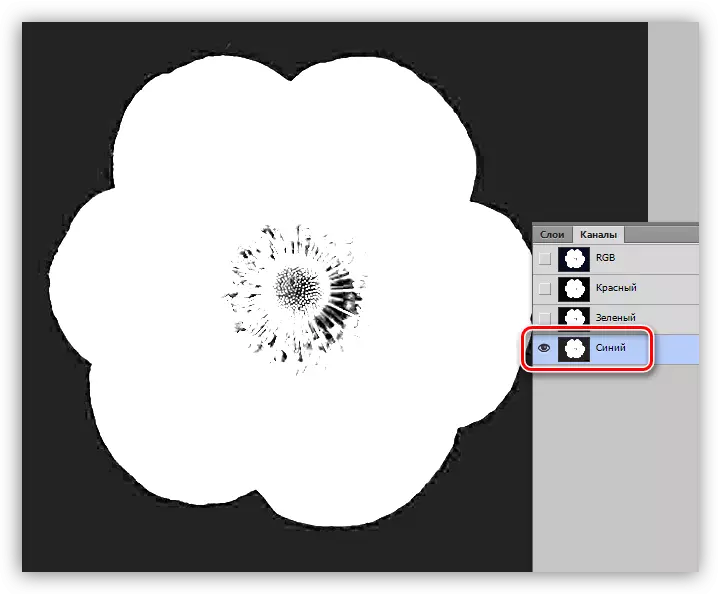
4. Next, go to the "Channels" tab.
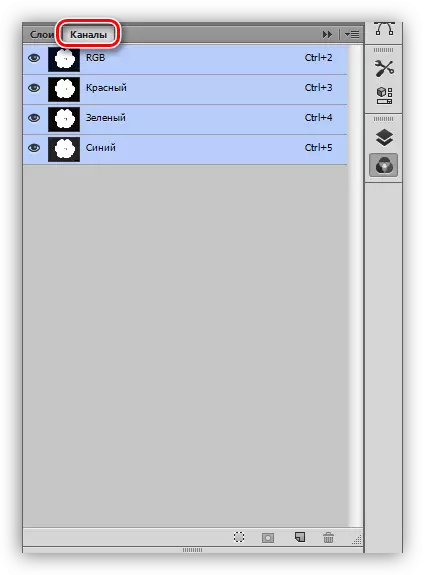
5. In turn, pressing the miniatures of the channels, find out what is the most contrasting. In our case, it is blue. We do this in order to create the most solid separation for filling the mask.
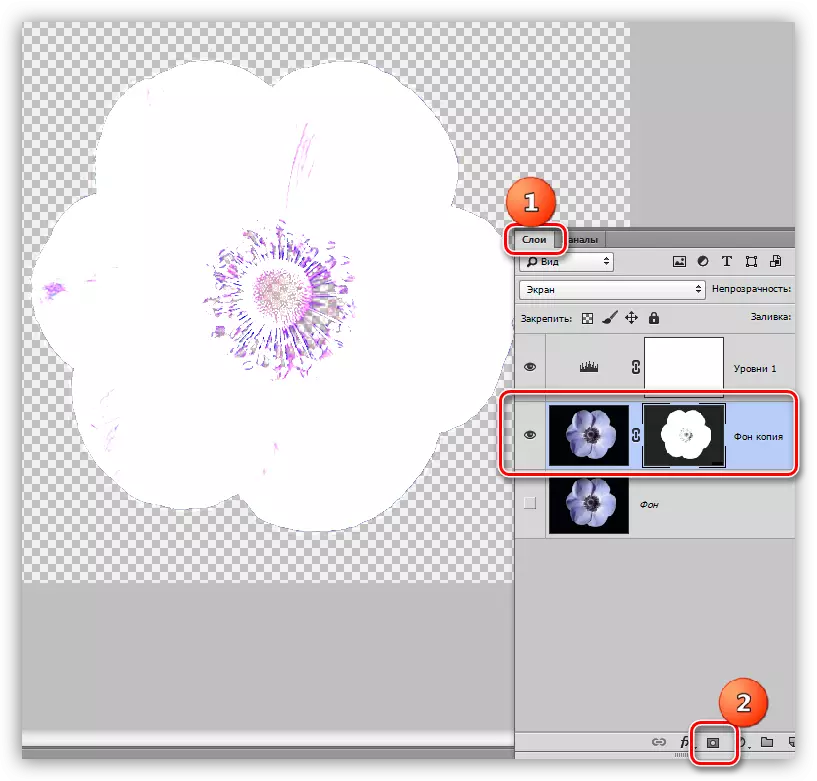
6. Selecting the channel, clamp Ctrl and click on its miniature, creating a selection.

7. Go back to the layer palette, on a layer with a flower, and click on the mask icon. The created mask will automatically take a type of selection.
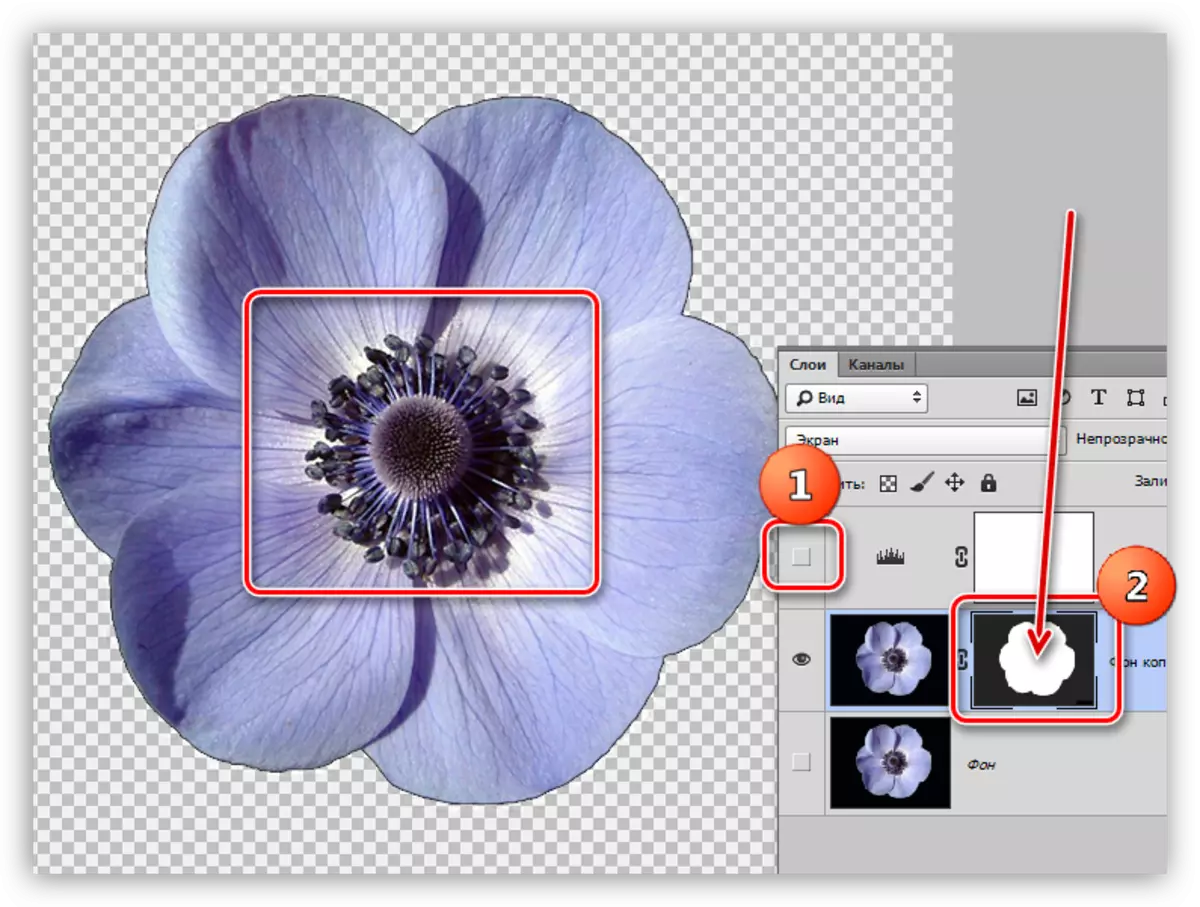
8. Disconnect the visibility of the layer with the "levels", we take a white brush and paint the areas that remained black on the mask. In some cases, this does not need to do, perhaps these sites and must be transparent. In this case, the center of the flower we need.
9. Get rid of black halo. In this case, the operation will be a bit different, so we repeat the material. Click Ctrl and click on the mask.
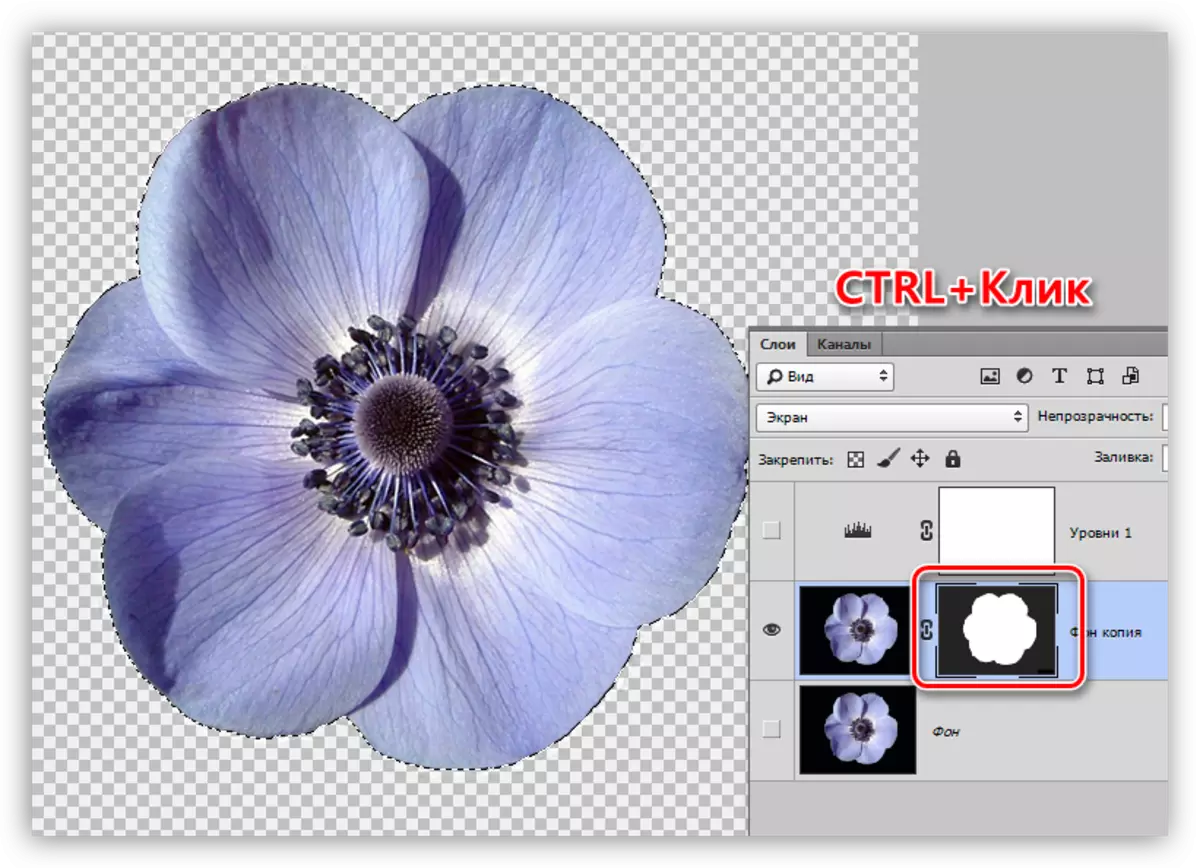
10. Repeat the actions described above (compress, invert the selection). Then take a black brush and pass along the border of the flower (halo).

These are three ways to remove a black background with pictures we studied in this lesson. At first glance, the option with the "magic eraser" seems the most correct and versatile, but it does not always make it possible to get an acceptable result. That is why you need to know several techniques for performing one operation, so as not to waste time.
Remember that professional from an amateur distinguishes precisely the variability and the ability to solve any task, regardless of its complexity.