View the list of installed applications
Not always the user knows which applications or games, he installed through Microsoft Store in Windows 10, and which were obtained from other sources. Sometimes it is a decisive factor when deleting, so we recommend first to view the list of those most applications and decide which you can get rid of.
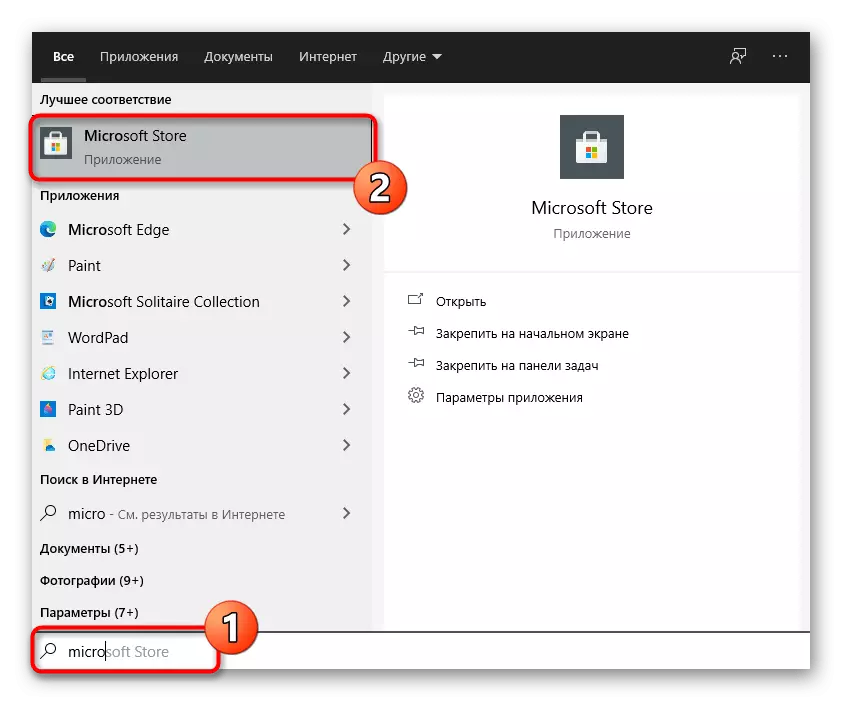
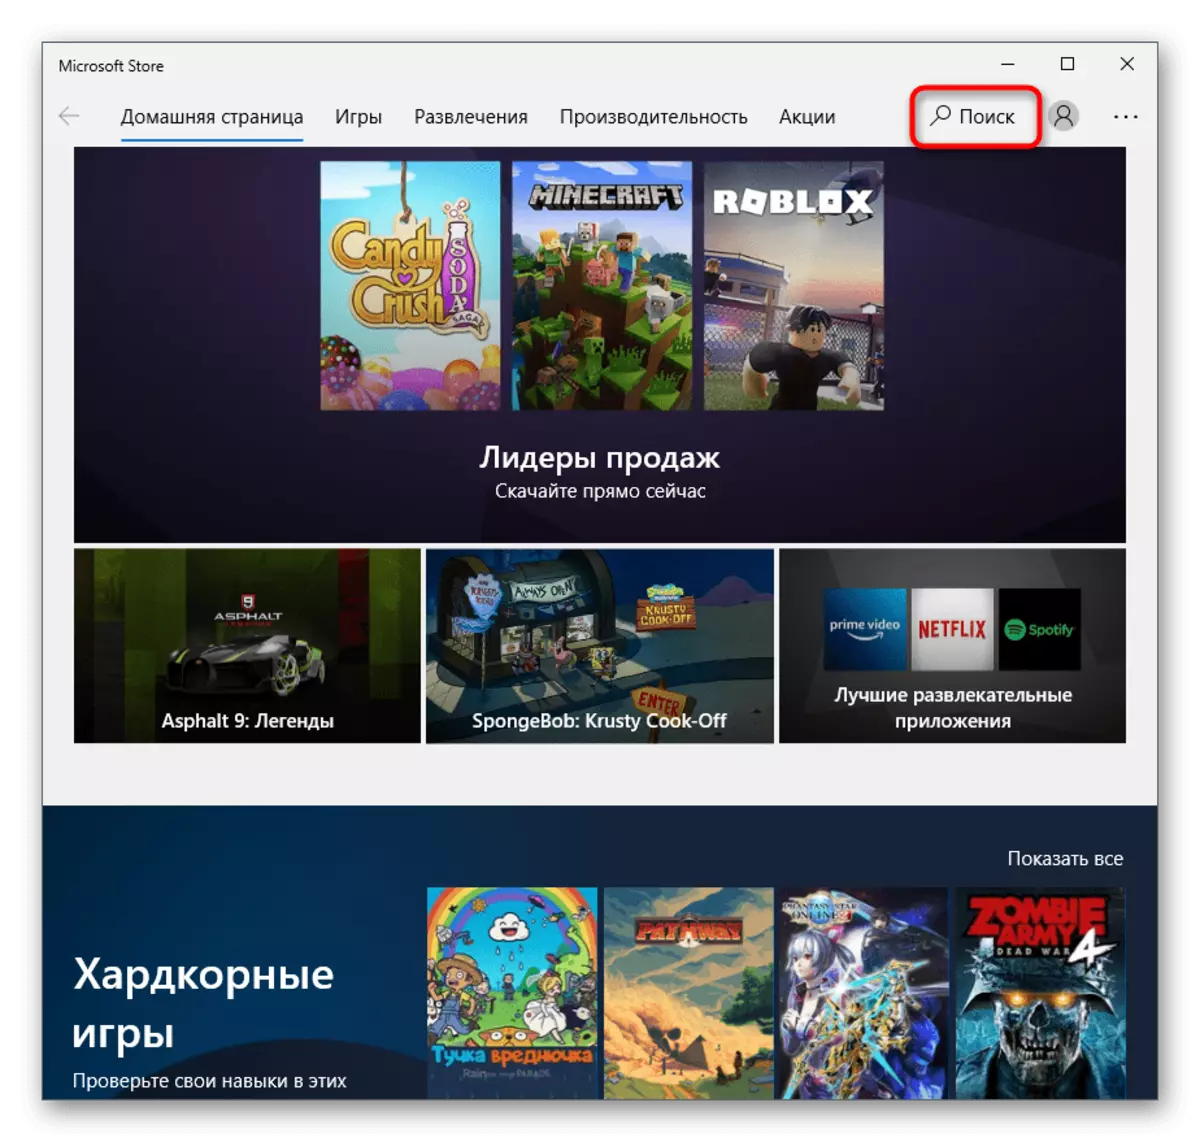
- Open the "Start" and through the search to find the Microsoft Store store built into the latest version of the operating system.
- After starting, use the search if you already know the name of the application and want to make sure that it is really installed from this source.
- In the Field, write the name of the program and find the appropriate result in the drop-down list.
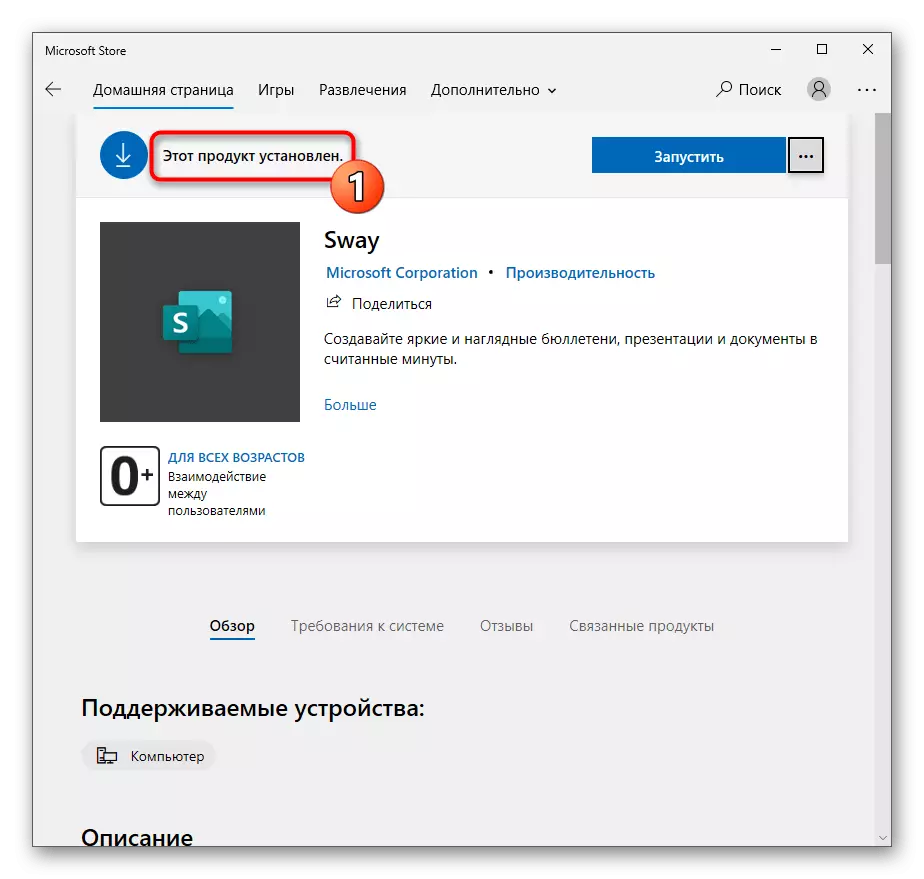
- If the "This product is installed" is displayed on the game or application page, it means that it is present on the computer and you can delete it.
- To get the list of all settings, click the menu Call icon and click on the "My Library" line.
- All names in the list with the "Run" button are installed on the PC, and not just added to the library, so they can be safely removed if nobody uses them.


Method 1: Start menu
The easiest option to delete programs from the standard store is their search in the Start menu and using the uninstall button. Especially this method is relevant in those situations when you need to get rid of everything from one application, and not from several.
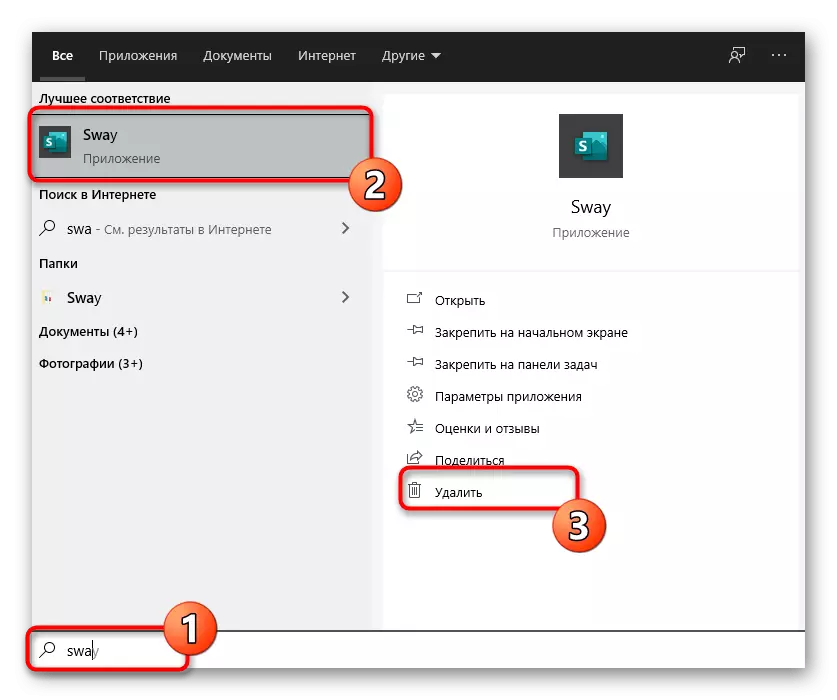
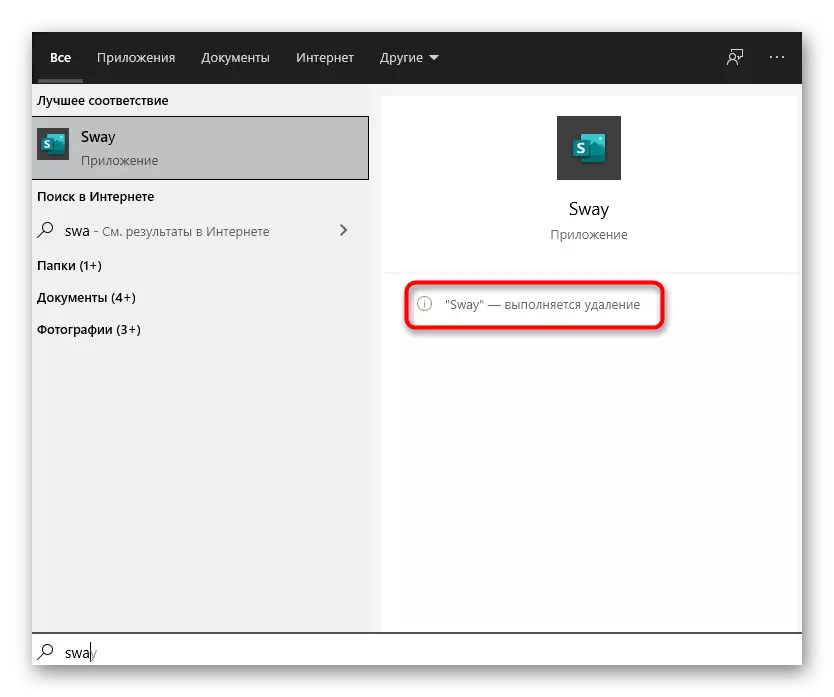
- Open the "Start" and start entering the name of the application from the keyboard. The search string will appear immediately, and with it the results will appear on the screen. As soon as the required application is found, pay attention to the action menu on the right, where you should select "Delete".
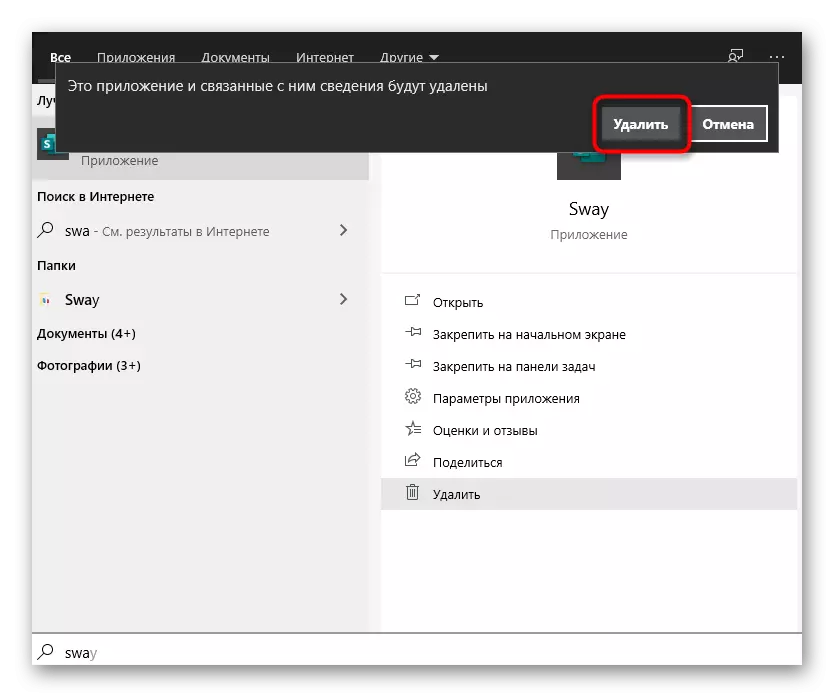
- Accept the removal warning, re-pressing the button with the appropriate name.
- You will be notified of the start of uninstallation, and upon completion, the product will disappear from the list.
- Once again, enter its name in the "start" to make sure there are no related folders with files or get rid of them, if any.

For subsequent detection of applications from the Microsoft Store, in the same way, enter their names and perform similar actions until you get rid of all unnecessary. However, with mass uninstallation, we advise you to use the following method simpler in this situation.
Method 2: Appendix "Parameters"
In one of the sections of the System Application "Parameters" there is a page with all software installed on your computer, including from Microsoft Store. We specify that the software obtained from other sources can be removed via the "Control Panel" and the "Programs and Components" menu, but the applications from the store are not displayed there, so it remains only "Parameters".
- In the Start menu, click the gear icon to go to "Parameters".
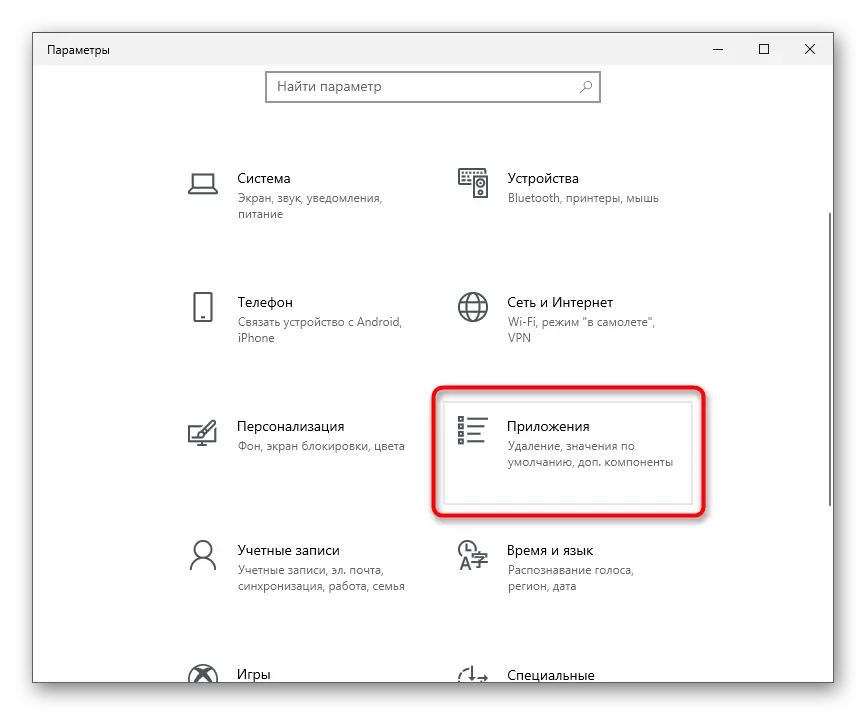
- In a new window, click on the tile with the name "Application".
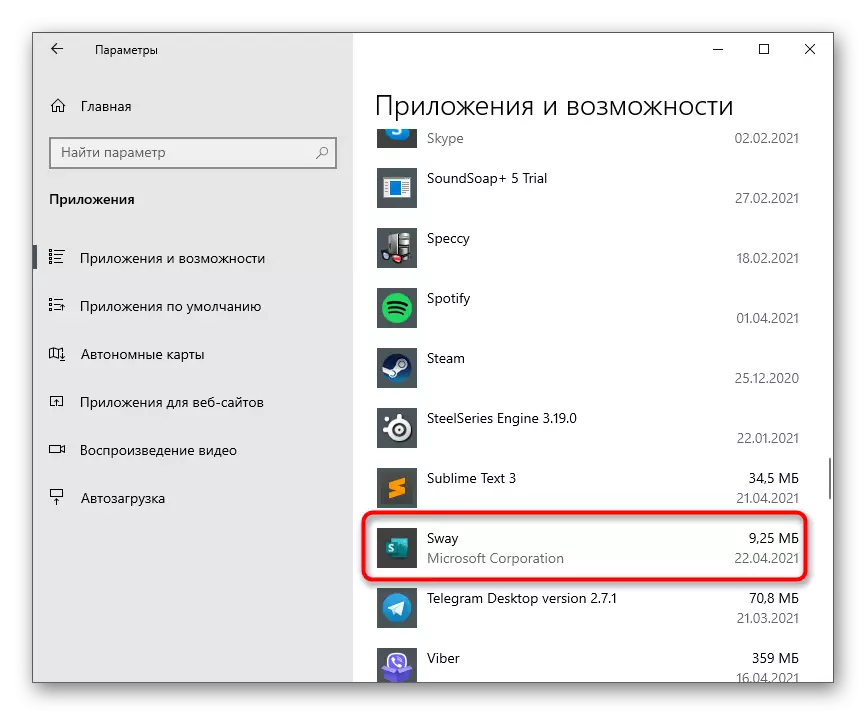
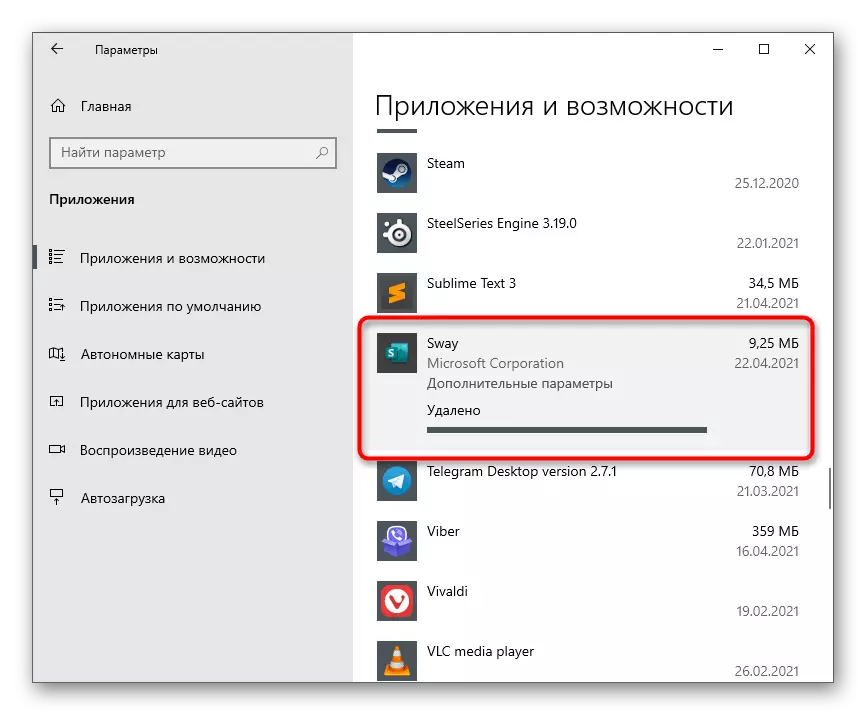
- Run by the list by finding the game or the program to delete. Press the LCM on the line to display the action buttons.
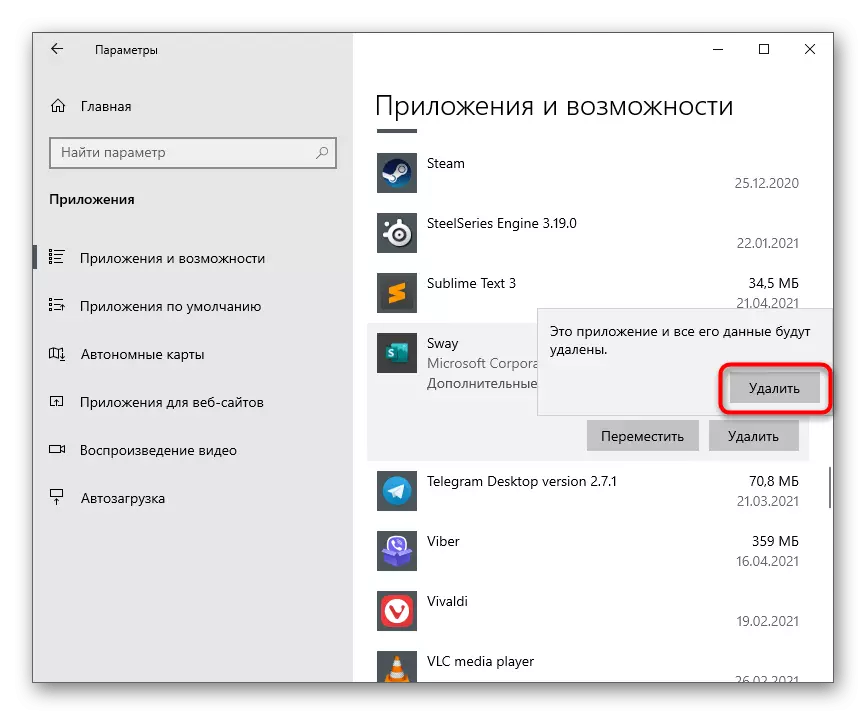
- Click on "Delete" to start uninstallation.
- In the pop-up window, confirm your actions again.
- Wait until the end of the removal and appearance of the inscription "deleted".


Method 3: third-party programs
Third-party programs are more suitable for removing standard Microsoft applications that appeared on the PC immediately after installing Windows or after the time. However, for manually mounted solutions, these funds will also be suitable. Let's consider this process in detail on the example of one popular tool.
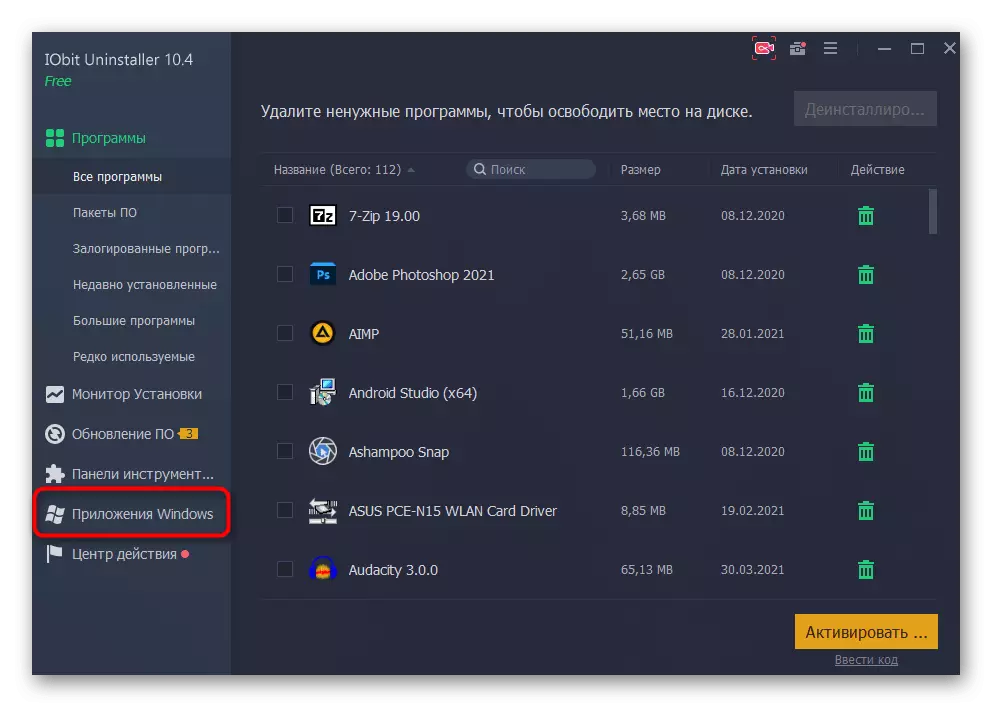
- After installing, run the program and go to the "Windows Applications" section.
- Initially, the Windows application list is hidden, so you should click on it for disclosure.
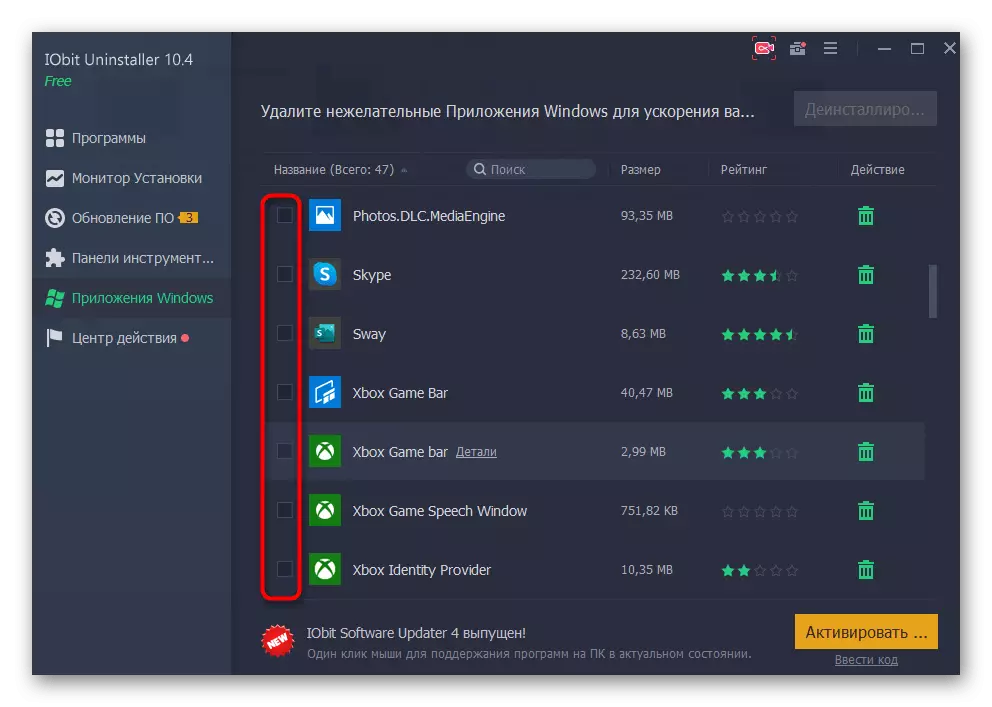
- In it, find all the programs from which you want to get rid of, and highlight them with checkmarks.
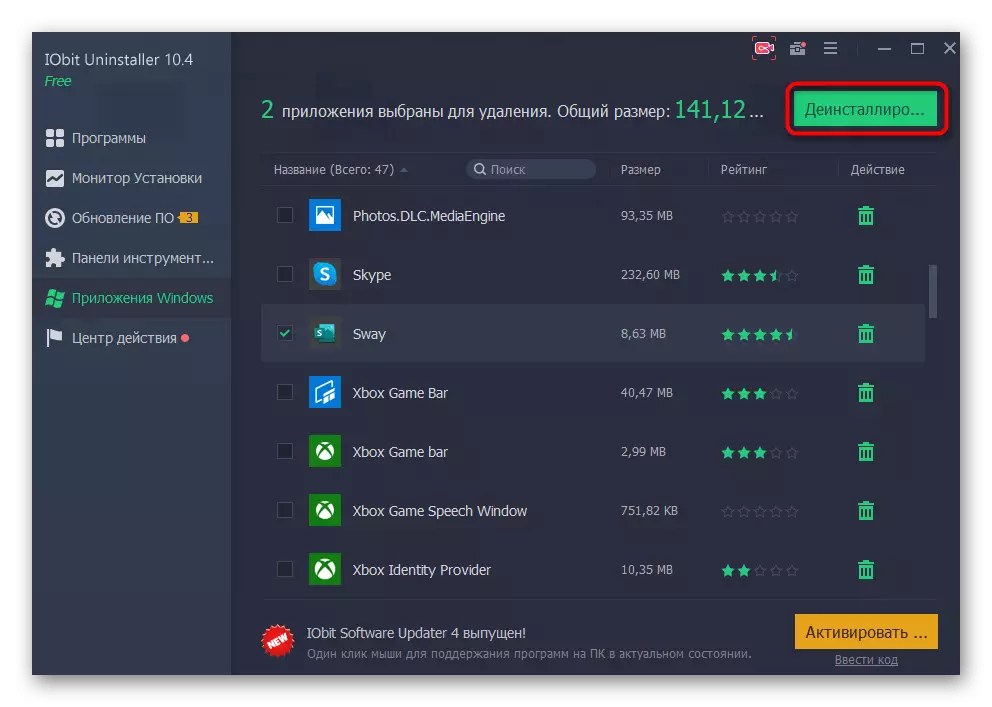
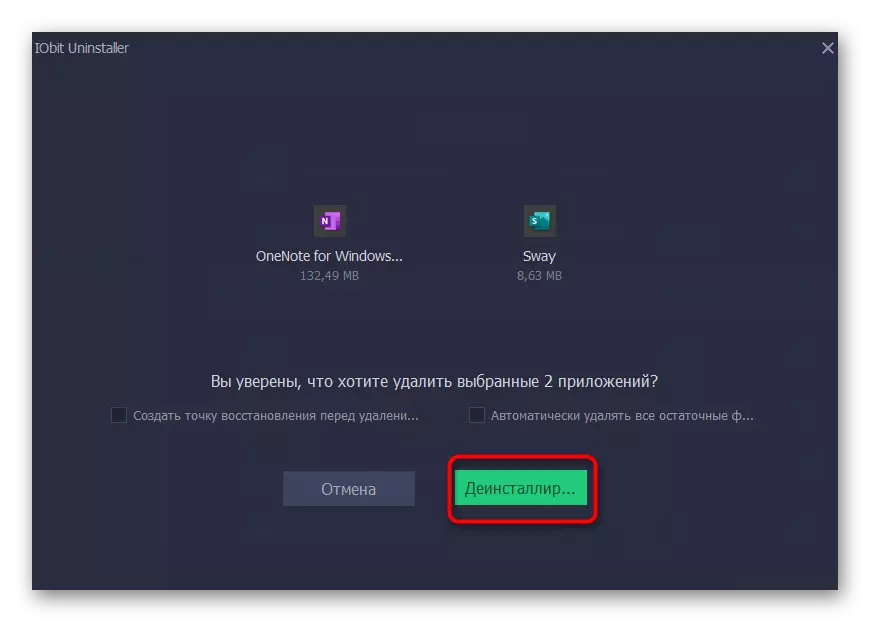
- Click on the green button "Uninstall".
- If necessary, create a Windows Recovery point and check the permissions parameter to remove residual files, then confirm the cleaning.
- Play the end of the uninstallation and the appearance of the appropriate notification.


During operation, you may notice that there are quite a few standard programs installed by default in Windows. Some of them are important, and the other is not used in principle. Because of this, the question appears whether such applications should be stored at all. The answer to it can be found in another article on our website by going to the following link.
Read more: Selecting standard Windows 10 applications to remove
Hiding purchased products in the library
All purchased and previously installed applications in Microsoft Store always fall into the library and display there. You can hide unnecessary lines so that they do not interfere when working. This parameter affects the library exclusively, since except in it purchased games and programs are no longer displayed anywhere.
- Open the Microsoft Store through the "Start".
- Call the menu and click on the "My Library" string.
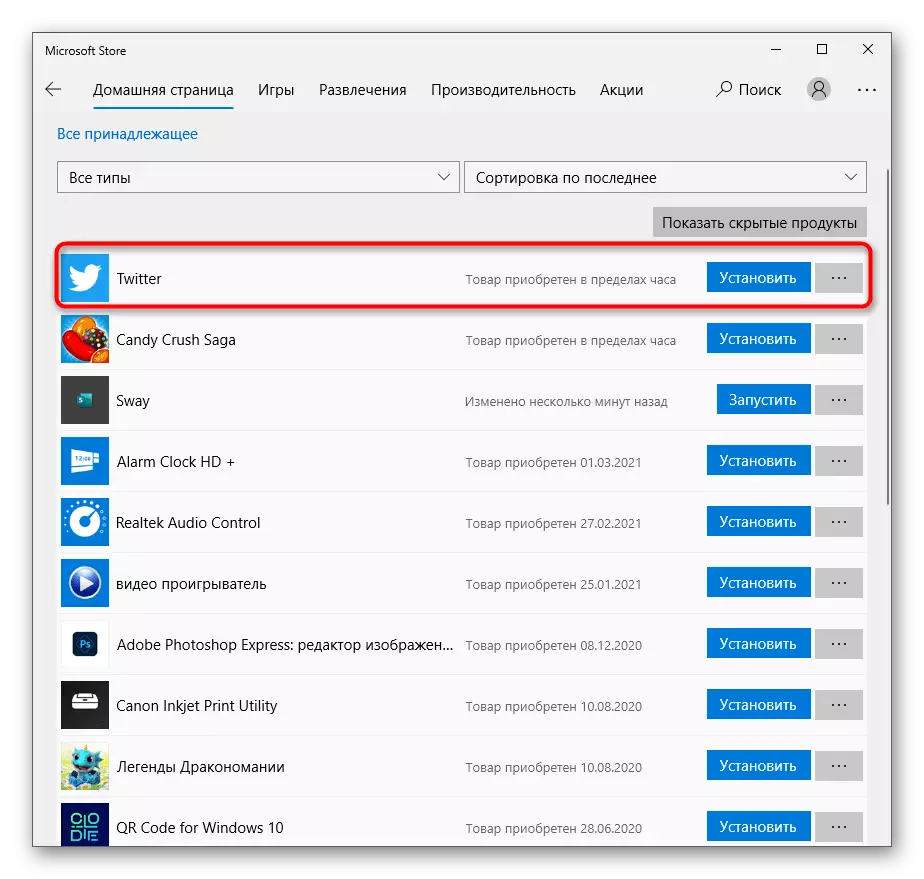
- Find a list of purchased applications and select those you want to hide.
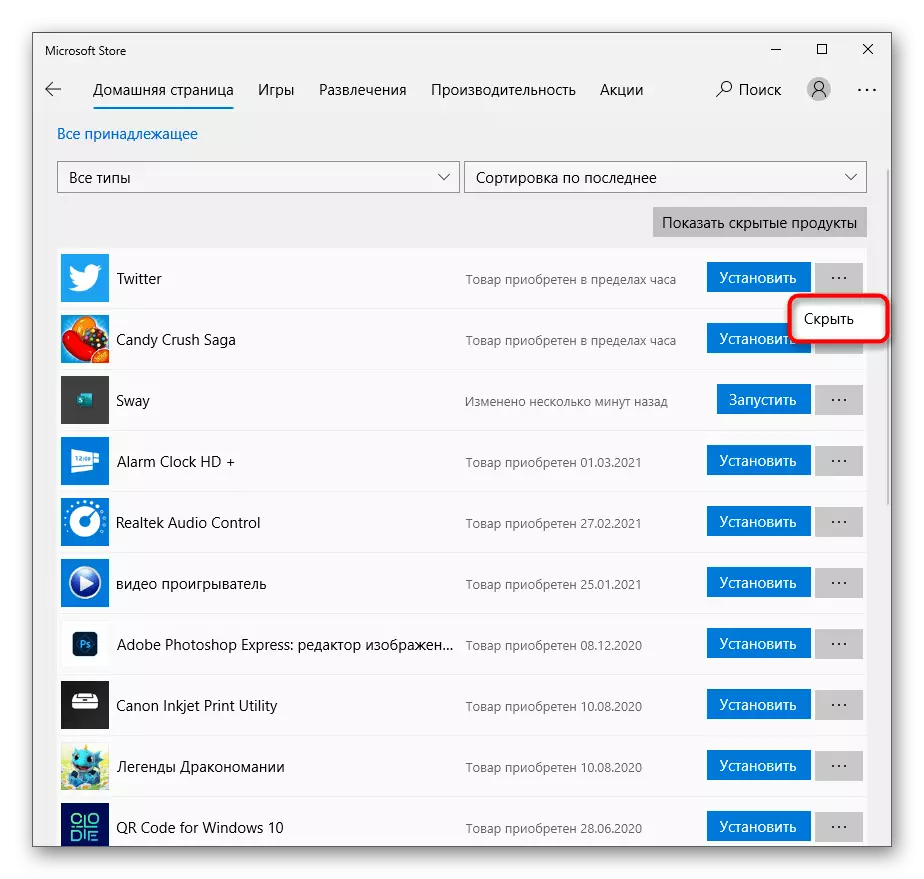
- When you click on the button with three points to the right of the software, the "Hide" string will appear, which is responsible for this action.
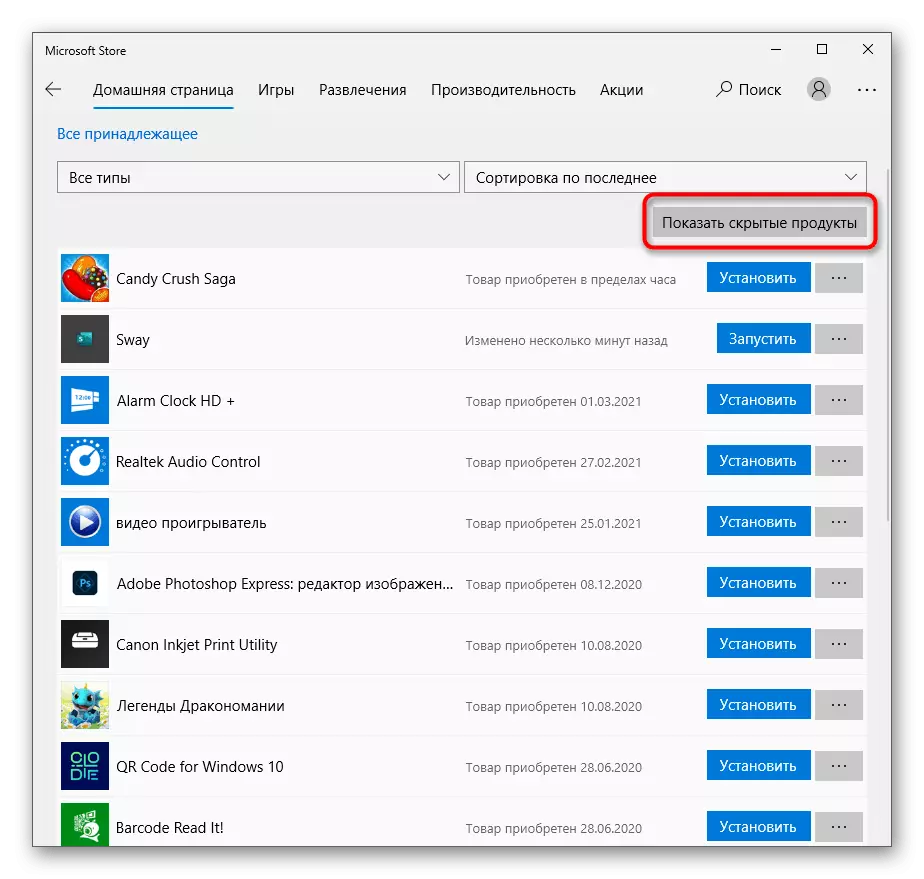
- Now hidden applications are not visible in the list, but will appear if you press "show hidden foods".