
Each storage medium can be a haven for malware. As a result, you may lose your valuable data and run the risk of infecting your other devices. Therefore it is better as soon as possible to get rid of it all. Than you can check and remove viruses from your drive, we will look at next.
How to check the viruses on the flash drive
To begin with, consider that the signs of viruses on the removable drive. The main ones are:- A file with the name «autorun»;
- A file with the extension «.tmp»;
- appeared suspicious folders, e.g., «TEMP» or «RECYCLER»;
- USB flash drive is no longer open;
- the drive is not ejected;
- files were lost or turned into labels.
Generally defined media begins slower computer, information is copied it longer and sometimes errors may occur. In most cases, no harm will be checked and a computer that is connected to the flash drive.
To combat malicious software would be best to use anti-virus software. It could be a powerful combination products, and simple tools narrowly focused. To discover the best options.
Method 1: Avast! free Antivirus
Today, this antivirus is considered one of the most popular in the world, and it is perfect for our purposes. In order to use Avast! Free Antivirus for USB-drive clean, do the following:
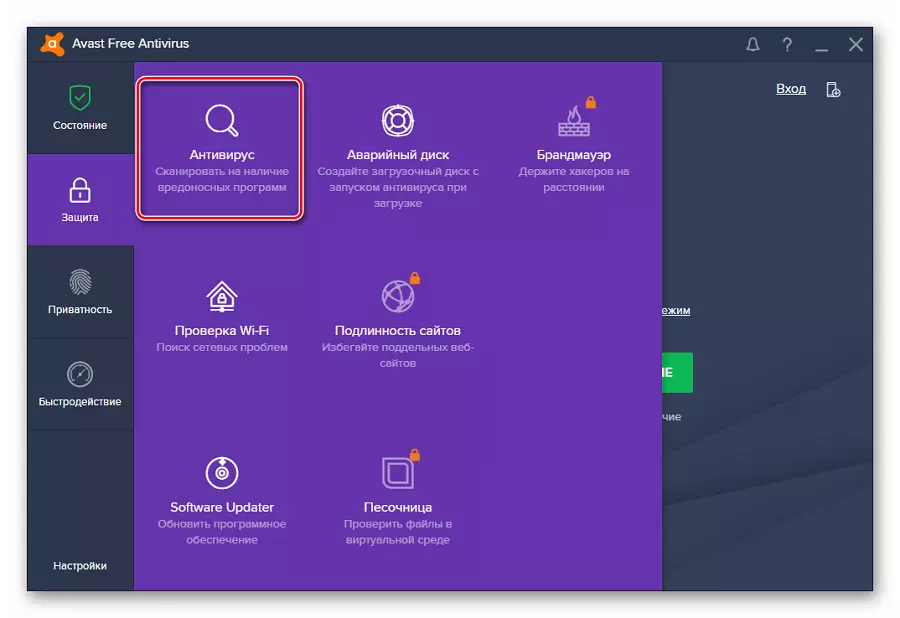
- Open the user interface, select the tab "Privacy" and go to the module "Antivirus".
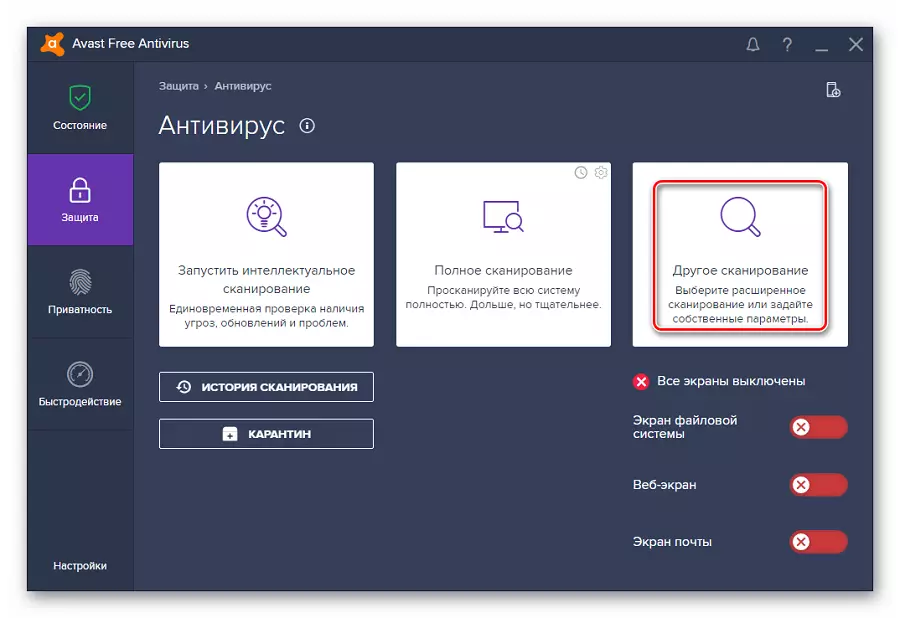
- Select "Other scanning" in the next window.
- Go to «USB / DVD Scan".
- Start a scan of all connected removable media. If viruses are found, you can send them to the "Quarantine" or just delete.

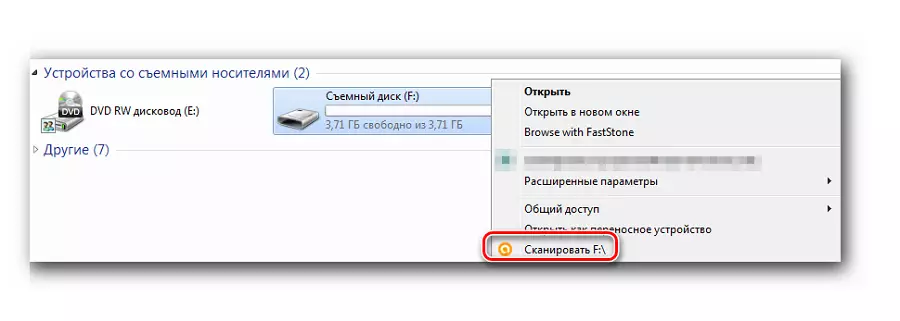
You can also scan the media through the context menu. To do this, a number of simple steps:
Click on the flash drive, right click and select "Scan".
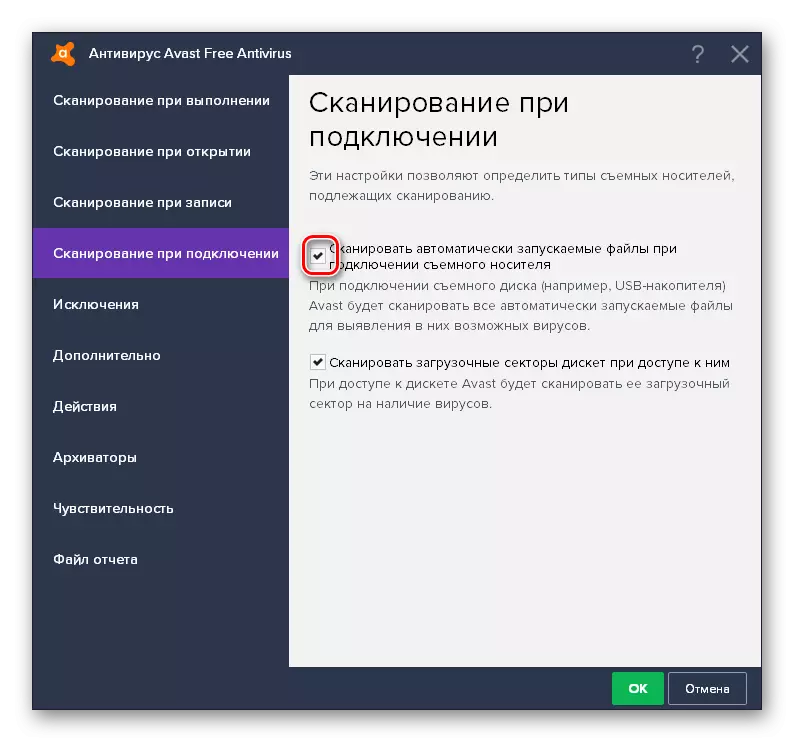
By default, avast configured for automatic detection of viruses on the connected devices. The status of this function can be checked in the following path:
Settings / Components / File System Screen Settings / Connection Scanning
See also: Formatting flash drive via the command line
Method 2: ESET NOD32 Smart Security
This embodiment with a smaller load on the system, so it is often installed on laptops and tablets. To check the removable drive for viruses using ESET NOD32 Smart Security, do the following:
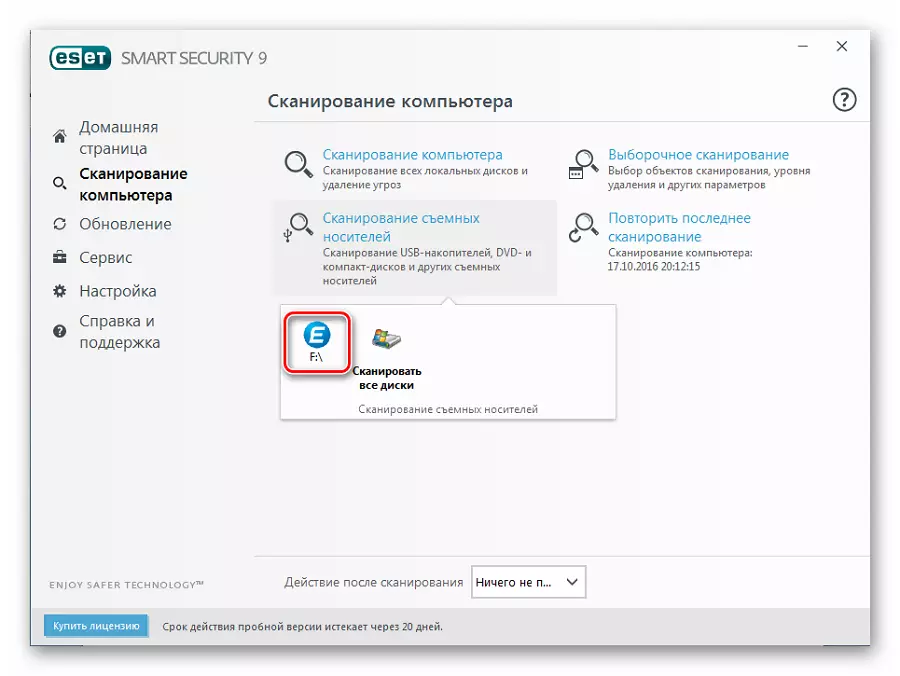
- Open the antivirus, select the tab "Scan Computer" and click "Scan removable media". In the pop-up window, click on the flash drive.
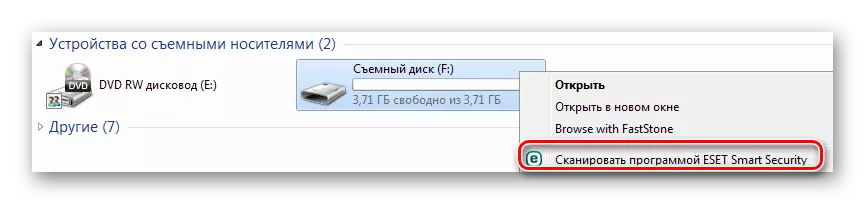
- Upon completion of the scan, you will see a message about the number of threats found and you can choose further actions. Scan information media can also be through the context menu. To do this, click on it right-click and select "Scan the ESET SMART Security program."
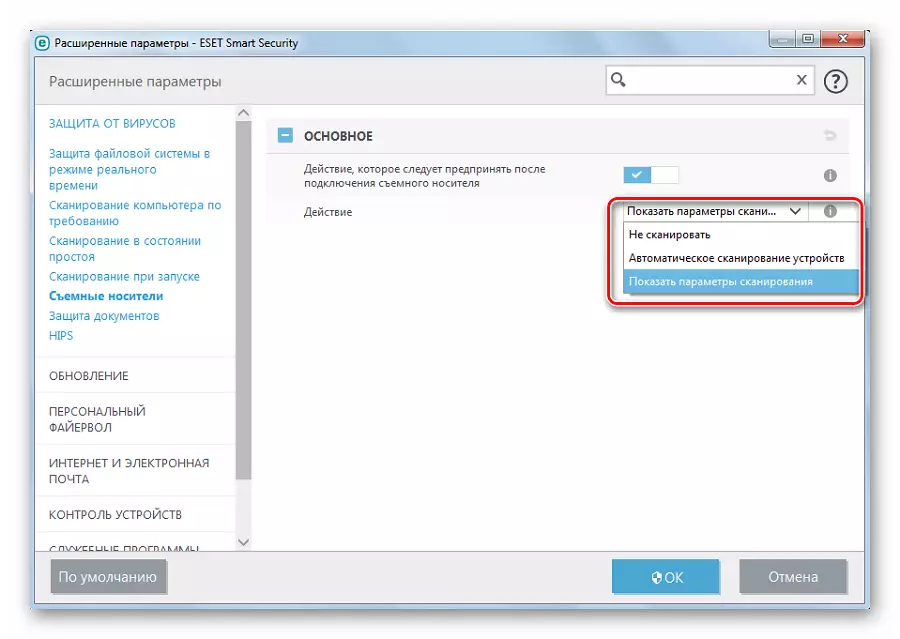
You can configure automatic scanning when the flash drive is connected. To do this, go along the way
Setup / Advanced Settings / Protection against Viruses / Removable Media
Here you can set the action produced when connected.
See also: What to do if the flash drive is not formatted
Method 3: Kaspersky Free
The free version of this antivirus will help to quickly scan any media. The instruction on its use to perform our task is as follows:
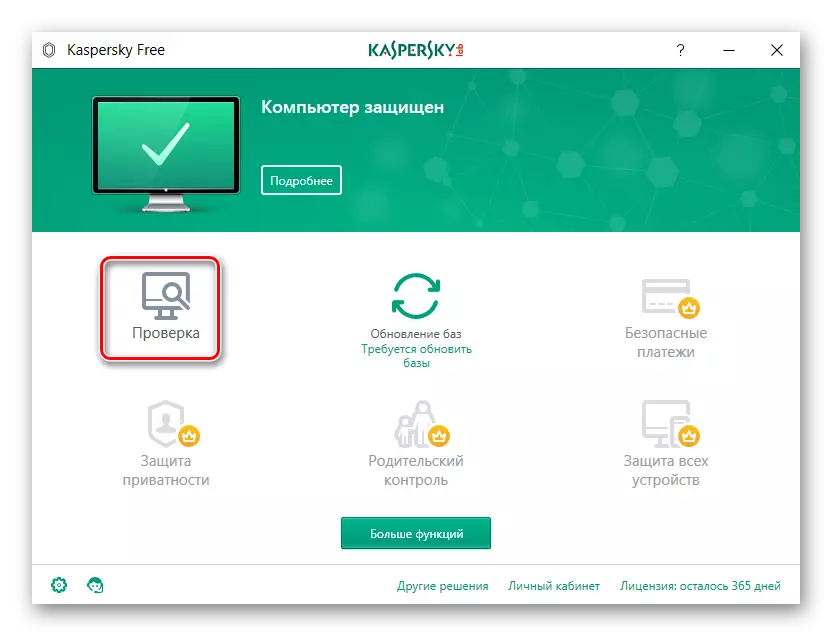
- Open Kaspersky FREE and click "Check".
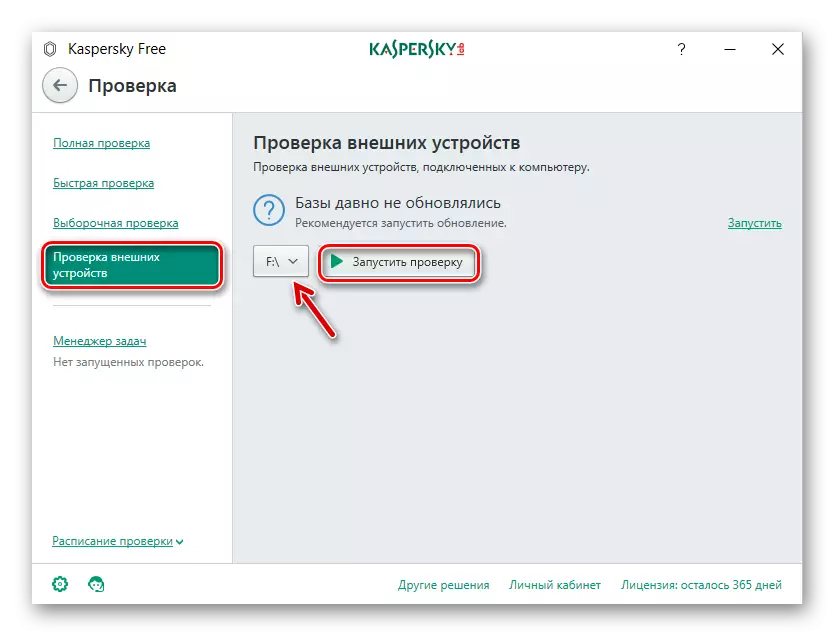
- On the left, click on the inscription "Check external devices", and in the working area, select the desired device. Click "Start Check".
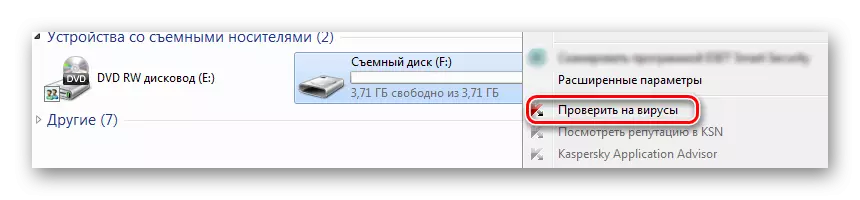
- You can also click right-click on the flash drive and select "Check for viruses".
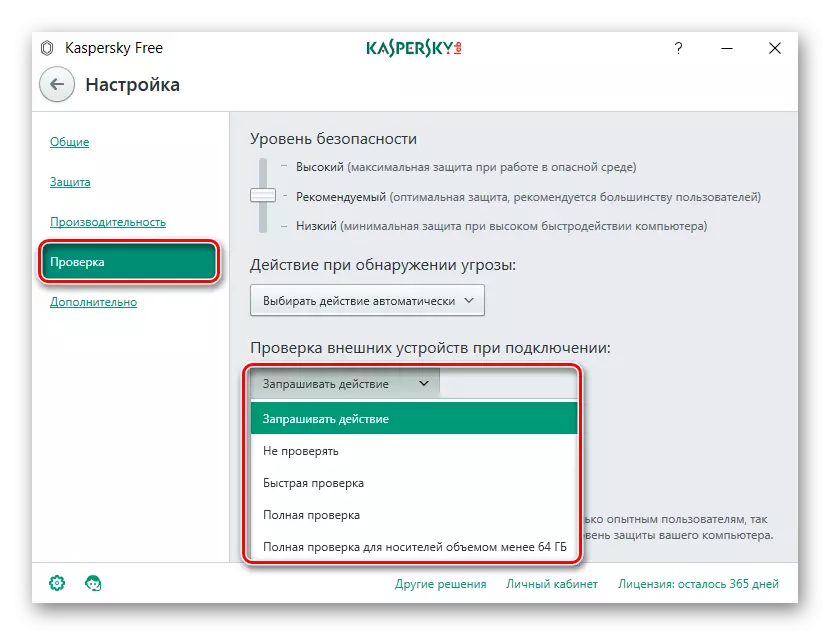
Do not forget to configure automatic scanning. To do this, go to the settings and click "Check". Here you can set the action of the antivirus when the flash drive is connected to the PC.
For reliable operation of each antivirus, do not forget about the updates of viral bases. Usually they occur automatically, but inexperienced users can cancel them or disable them at all. It is not recommended to do it.
Method 4: MalwareBytes
One of the best utilities for detecting viruses on a computer and portable devices. Instructions for using MalwareBytes consists of this:
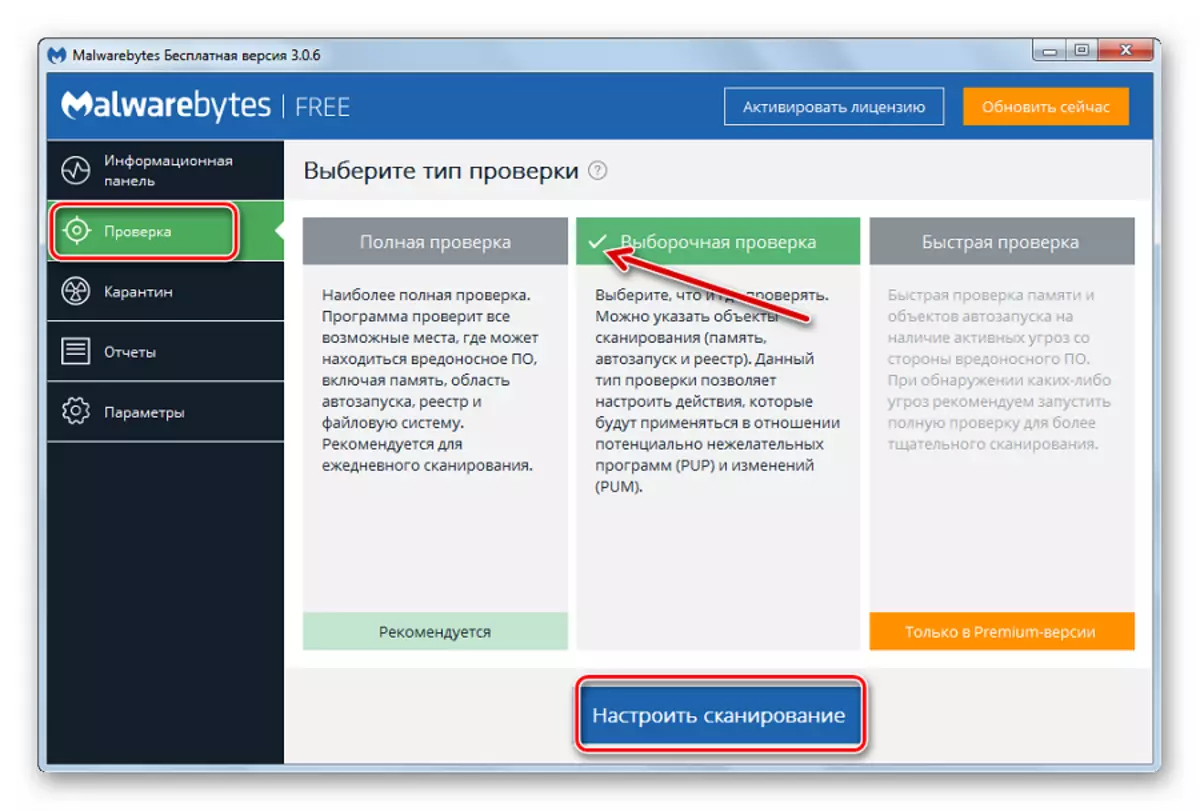
- Run the program and select the "Check" tab. Here tick the "Selective Check" and click the "Configure Scan" button.
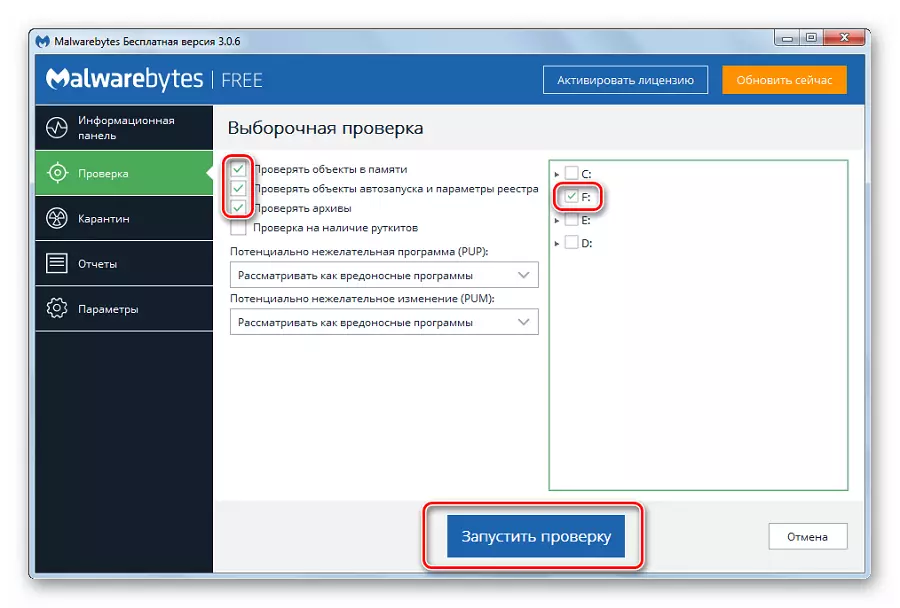
- For reliability, smear all the ticks opposite the check objects, except for rootkits. Mark your USB flash drive and click "Run Verify".
- Upon completion of the inspection, MalwareBytes will offer to put suspicious objects in Quarantine, from where they can be removed.
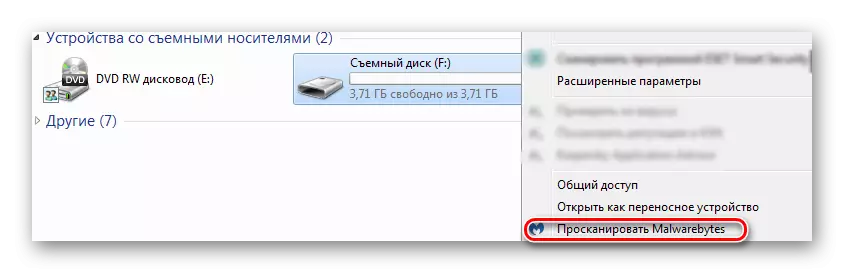
You can go to another by simply by clicking the right button on the flash drive in the computer and selecting "Scan Malwarebytes".
See also: How to record music on a flash drive to read it tape recorder
Method 5: McAfee Stinger
And this utility does not require installation, does not load the system and perfectly finds viruses if you believe feedback. Using McAfee Stinger is as follows:
Download McAfee Stinger from the official site
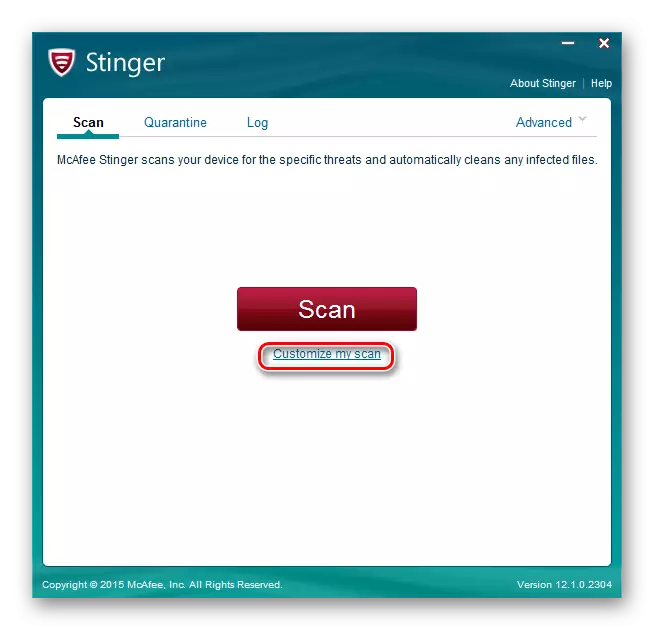
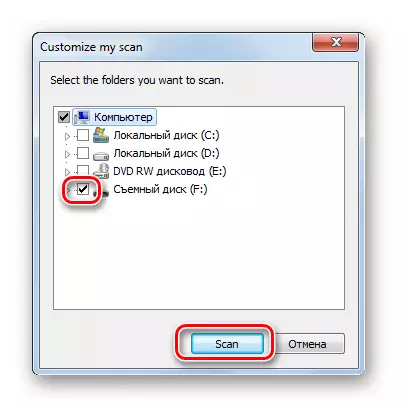
- Download and run the program. Click "Customize My Scan".
- Put the box opposite the flash drive and click the "SCAN" button.
- The program scans the Windows USB flash drive and system folders. In the end you will see the number of infected and cleaned files.
In conclusion, we can say that the removable drive is better to check for viruses more often, especially if you use it on different computers. Do not forget to configure automatic scanning that will not allow malware to make any actions when connecting a portable media. Remember that the main reason for the prevalence of malicious software is neglecting antivirus protection!