

In the modern world, technology develops so quickly that the current laptops can easily compete with stationary PCs in terms of performance. But all computers and laptops, regardless of which year they were produced, there is one common feature - they cannot work without installed drivers. Today we will tell you in detail about where you can download and how to install software for a K53E laptop produced by the world-famous ASUS company.
Factory Search for Installation
You should always remember that when it comes to loading drivers for a specific device or equipment, there are several options for performing this task. Below we will tell you about the most efficient and secure methods to download and install the software for your ASUS K53E.Method 1: ASUS website
If you need to download drivers for any device, we always recommend, first of all, look for them on the official website of the manufacturer. This is the most proven and reliable way. In the case of laptops, this is especially important, because it is on such sites that you can download a critically important software, which will be extremely difficult to find on other resources. For example, software that allows you to automatically switch between integrated and discrete video card. Let's proceed to the method itself.
- We go to the official website of ASUS.
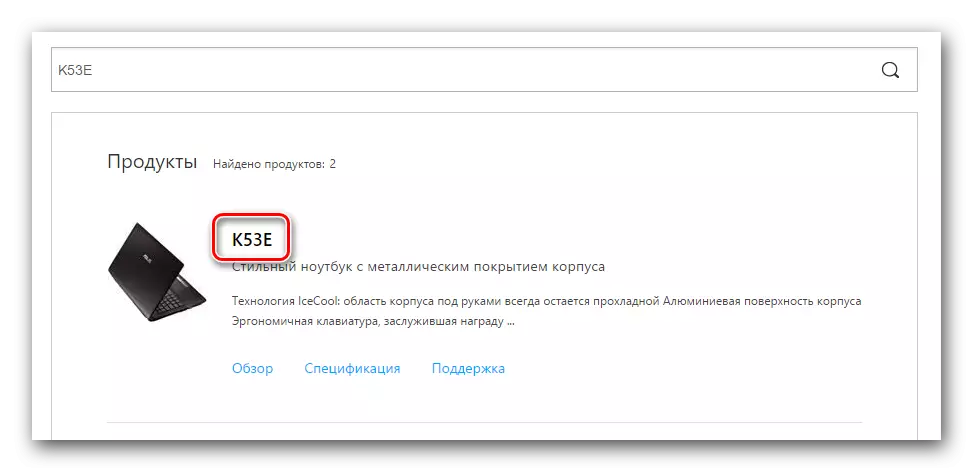
- In the upper area of the site there is a search string that will help us find by. In it we enter a laptop model - K53E. . After that, click "Enter" on the keyboard or an icon in the form of a magnifying glass that is located to the right of the row itself.
- After that, you will find yourself on the page where all search results on this request will be displayed. Select from the list (if any) the necessary model of the laptop and click on the link in the model name.
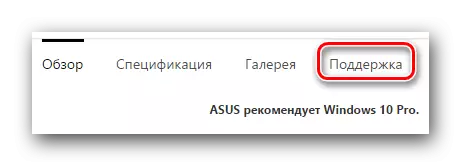
- On the page that opens you can familiarize yourself with the technical characteristics of the ASUS K53E laptop. On this page at the top you will see a subsection with the name "Support". Click on this string.
- As a result, you will see a page with subsections. There you will find manuals, knowledge base and a list of all drivers that are available for a laptop. It is the last subsection to us and need. Click on the "Drivers and Utilities" string.
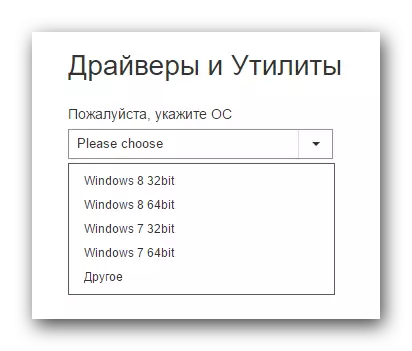
- Before you start loading drivers, you must select your operating system from the list. Please note that some software is available only if you choose a native laptop OS, and not your current. For example, if the laptop was sold from the Windows 8 installed, then first you need to view the software list for Windows 10, after which it returns to Windows 8 and download the remaining software. Also pay attention to the bit. In case you make it wrong with it, the program is simply not installed.
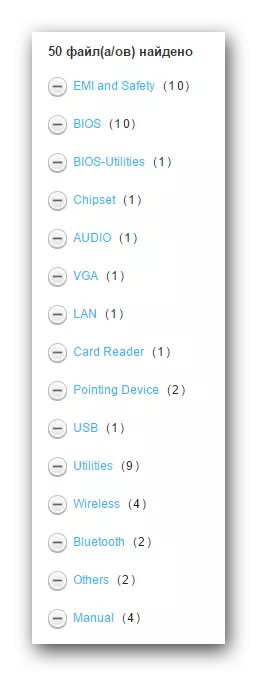
- After selecting OS below, the list of all drivers will appear on the page. For your convenience, they are all divided into subgroups by type of devices.
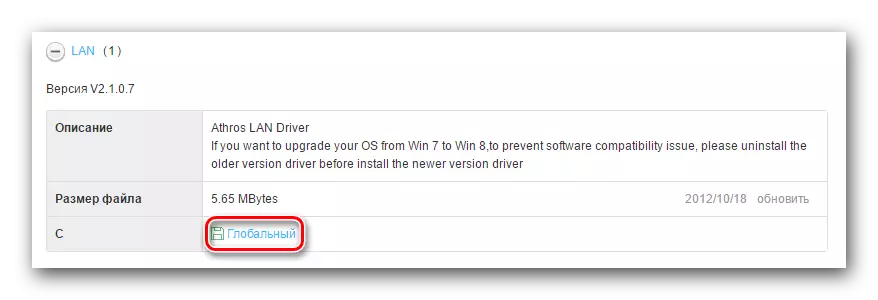
- Open the desired group. To do this, click on the icon in the form of a minus to the left of the string with the name of the section. The result will open a branch with content. You can see all the necessary information about the downloaded software. Here the file size will be specified, the driver version and the date of its release. In addition, there is a description of the program. To download the selected software, you must click on the link with the inscription "Global", next to which there is a floppy icon.
- Loading the archive will begin. At the end of this process, you will need to extract all its contents into a separate folder. After that, you need to start the file with the name "setup". The installation wizard will start and you will need only to follow its further prompts. Similarly, it is necessary to install the entire software.


This method is completed. We hope you will help you. If not, you should familiarize yourself with the rest of the options.
Method 2: ASUS Live Update Utility
This method will allow you to establish the missing software in virtually automatic mode. To do this, we need the ASUS Live Update program.
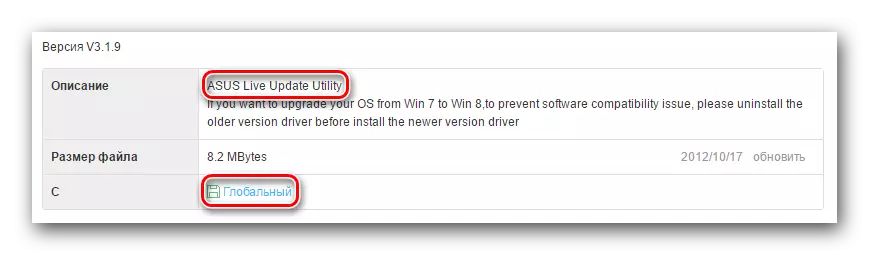
- We are looking for the above utility in the "Utilities" section on the same ASUS drivers page.
- Load the archive with the installation files by clicking the "Global" button.
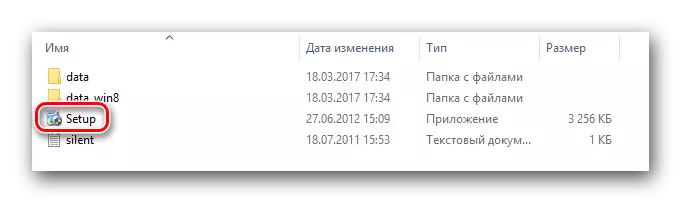
- As usual, remove all files from the archive and run "setup".
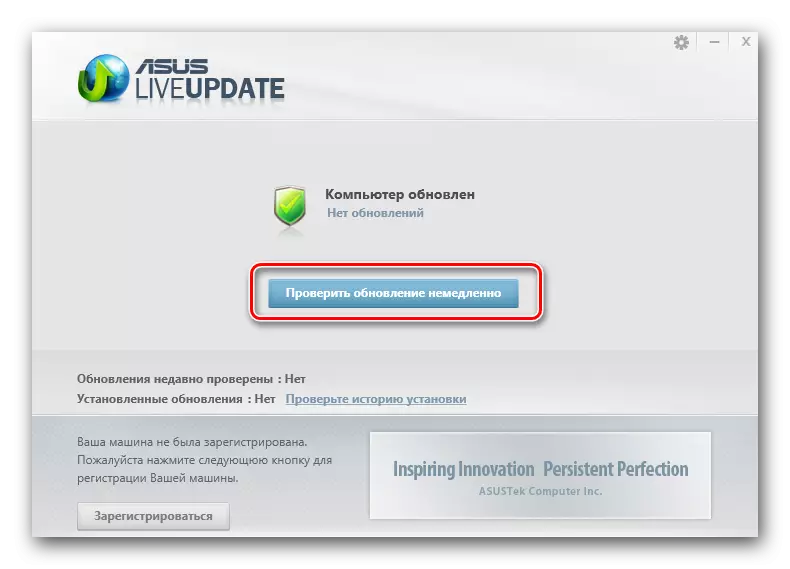
- The process of installation of software is extremely simple and will take you just a couple of minutes. We think, at this stage you have no problems. Upon completion of the installation, launch the program.
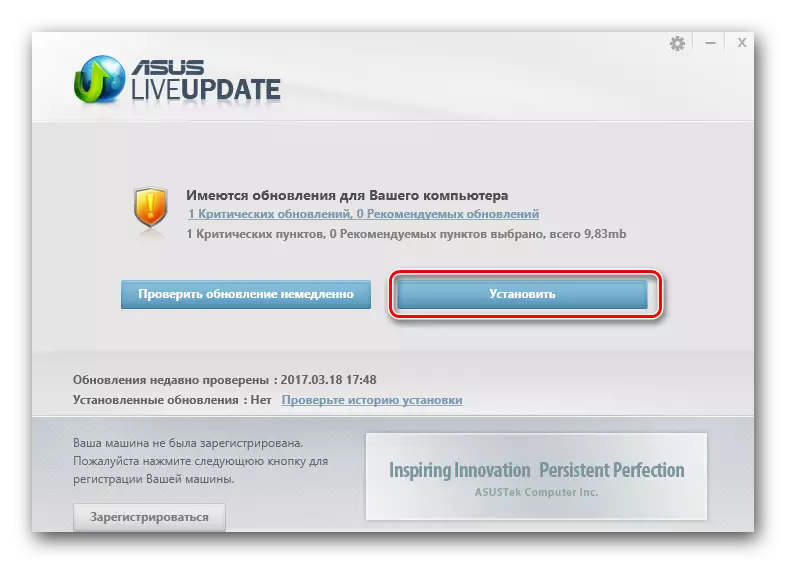
- In the main window you will immediately see the desired "Check Update" button. Click on it.
- After a few seconds, you will see how many updates and drivers must be installed. There will immediately appear the button with the corresponding name. Click "Set".
- As a result, downloading the files necessary to install the files.
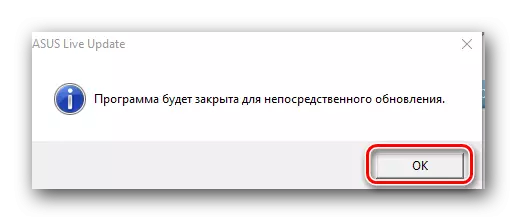
- After that, you will see a dialog box, which states the need to close the program. This is necessary to install the entire loaded software in the background. Press the "OK" button.
- After that, all the driver for the utility will be installed on your laptop.

Method 3: Auto update program
We mentioned about such utilities have already been mentioned repeatedly in the topics that are related to the installation and search for software. We published the best utilities for automatic updates in our separate lesson.
Lesson: The best programs for installing drivers
In this lesson, we will use one of these programs - DriverPack Solution. Use the online version of the utility. For this method, you will need to perform the following steps.
- We go to the official website of the software.
- On the main page we see a large button by clicking on which we will drive the executable file to the computer.
- When the file is loaded, run it.
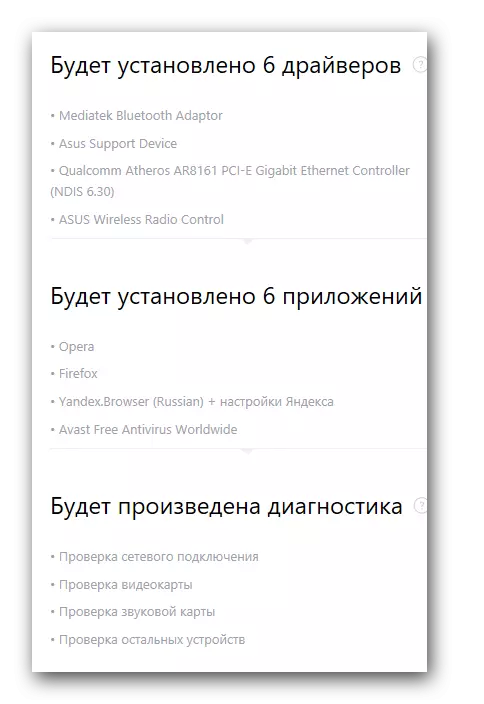
- When you start the program will immediately scan your system. Therefore, the startup process may take a few minutes. As a result, you will see the main window of the utility. You can click the "Configure Computer Automatically" button. In this case, all the drivers will be installed, as well as the software that you may not need (browsers, players, and so on).

The list of everything that will be installed, you can see on the left side of the utility.
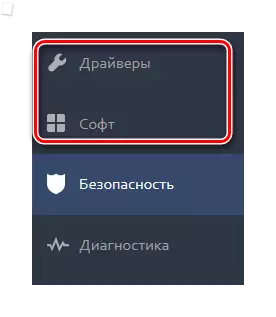
- In order not to install an excess software, you can click the "Expert Mode" button, which is located at the bottom of the DriverPack.
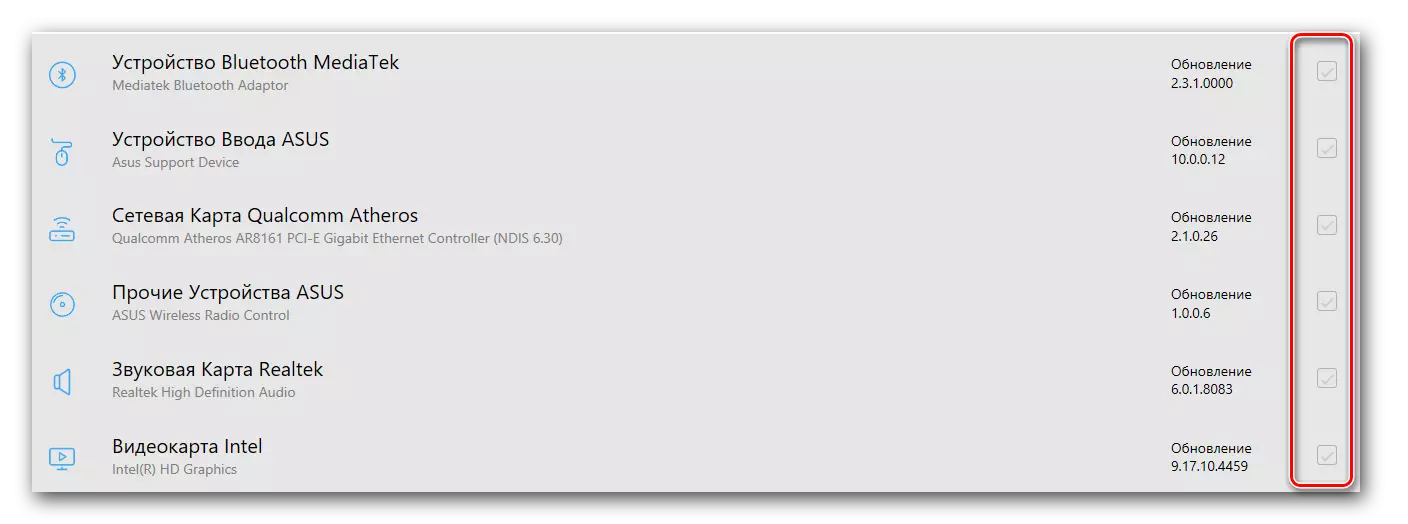
- After that, you need to check the "Drivers" and "Soft" tabs by checkmarks, which you want to install.
- Next, you need to click the "Install All" button in the upper area of the Utility window.
- As a result, the installation process of all marked components will begin. You can follow the progress in the upper area of the utility. The step-by-step process will be displayed below. A few minutes later, you will see a message that all drivers and utilities are successfully installed.


After that, this method of installing software will be completed. With a more detailed overview of the entire functionality of the program you can find in our separate lesson.
Lesson: How to update drivers on a computer using DriverPack Solution
Method 4: Search Drivers by ID
This method we devoted a separate topic in which it was described in detail what id is and how to find using this ID ID for all your devices. We only note that this method will help you in situations when you failed to install the driver by previous ways for any reason. It is universal, so it is possible to use it not only by the owners of ASUS K53E laptops.Lesson: Search for Drivers by Equipment ID
Method 5: Manual update and installation
Sometimes there are situations where the system cannot define a laptop device. In this case, it is worth using this method. Please note that it will help not in all situations, therefore, it will be preferable to use one of the four methods described above.
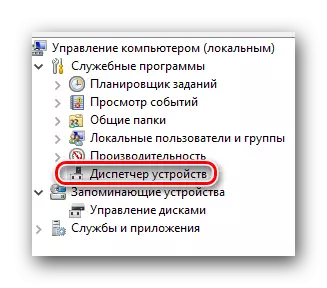
- On the desktop on the "My Computer" icon, press the "Control" in the context menu in the context menu.
- Click on the "Device Manager" string, which is located on the left side of the window that opened.
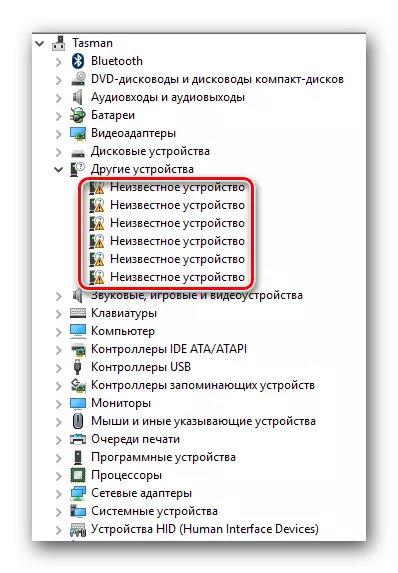
- In the Device Manager, we draw attention to the device to the left of which there is an exclamation mark. In addition, instead of the name of the device, the string "Unknown device" can stand.
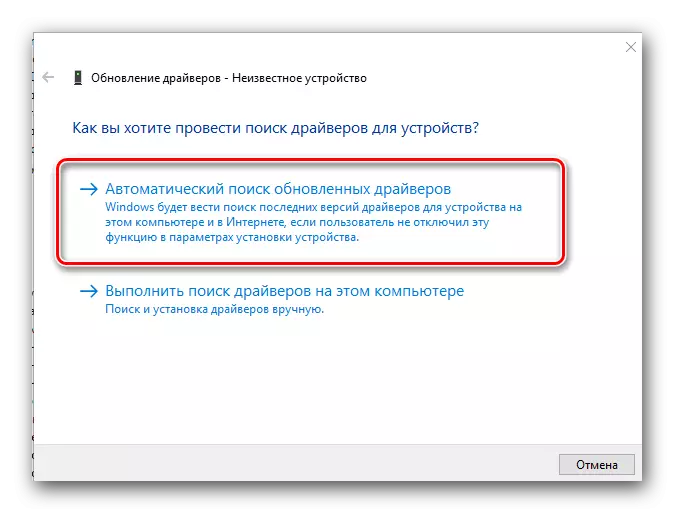
- Select a similar device and press the right mouse button. In the context menu, select the "Update Drivers" item.
- As a result, you will see a window with options for finding driver files on your laptop. Select the first option - "Automatic Search".
- After that, the system will try to find the necessary files, and, if successful, will install them independently. On this method of updating software, it will be completed by using the "Devitcher of Devices".
Do not forget that all the above methods require an active Internet connection. Therefore, we advise you to always have already downloaded drivers for ASUS K53E laptop under hand. If you have difficulty in installing the required software, describe the problem in the comments. We will try to solve the difficulties arising together.