
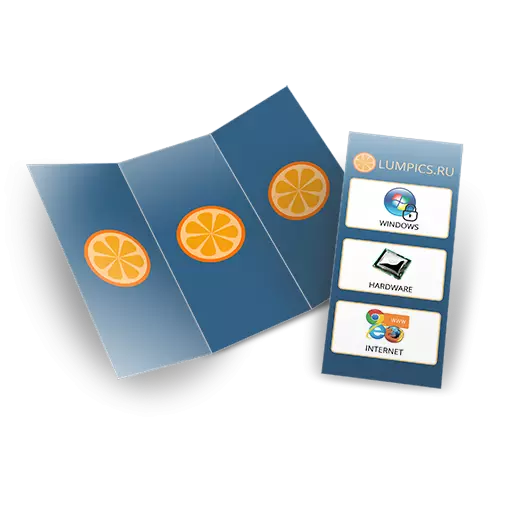
Booklet - printed edition, wearing advertising or informational nature. With the help of booklets to the audience, information about the company is coming or a separate product, event or event.
This lesson will devote to the creation of a booklet in Photoshop, from designing a layout to decoration.
Creating a booklet
Work on such editions is divided into two large stages - design layout and document design.Layout
As you know, the booklet consists of three separate parts or from two reversals, with information on the front and back side. Based on this, we will need two separate documents.
Each side is divided into three parts.
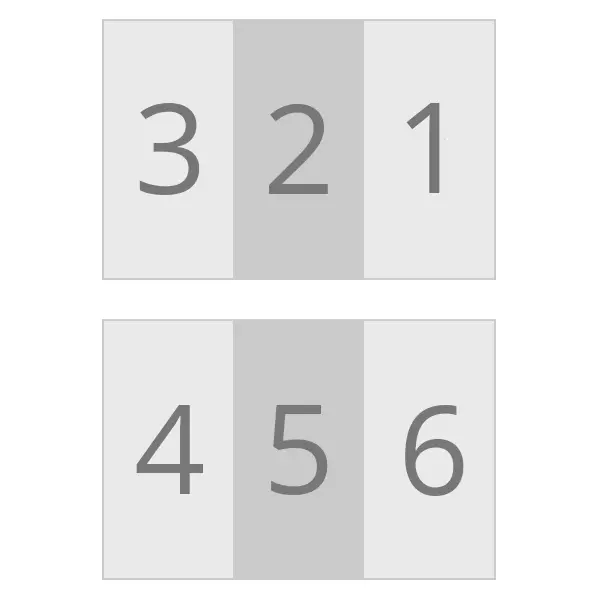
Next, you need to decide which data will be located on each side. For this, the usual sheet of paper is best. It is this "Dedovsky" method that will allow you to understand how the end result should look like.
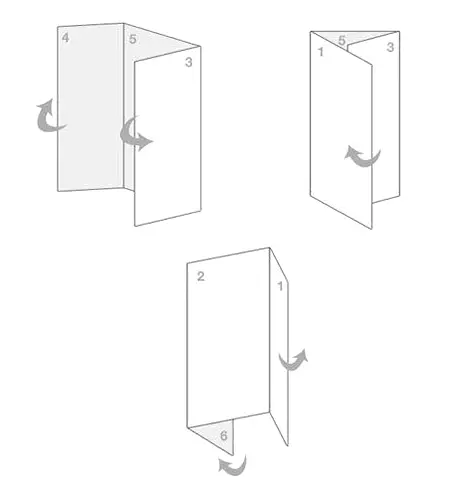
The sheet turns into the booklet, and then information is applied.
When the concept is ready, you can proceed to work in Photoshop. When designing a layout there is no unavailable moments, so be attentive as possible.
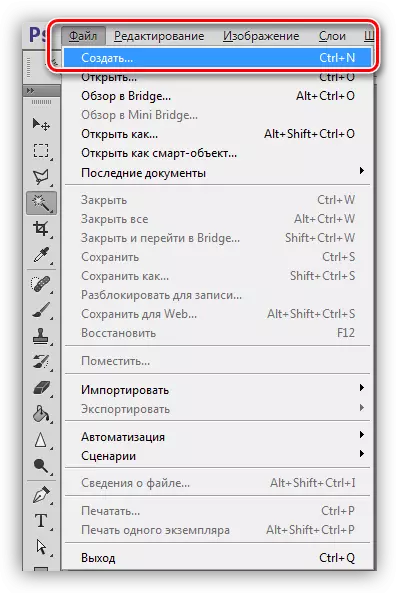
- Create a new document in the File menu.
- In the settings, indicate "International paper format", size A4.
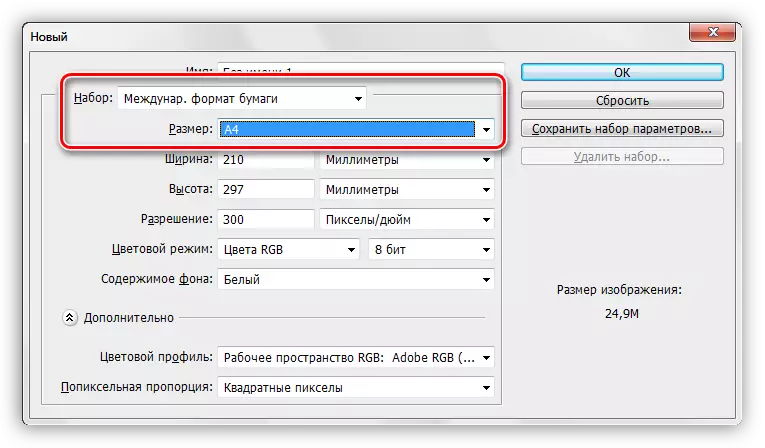
- From width and height we take 20 millimeters. Subsequently, we will add them to the document, but when printing, they will be empty. The remaining settings do not touch.

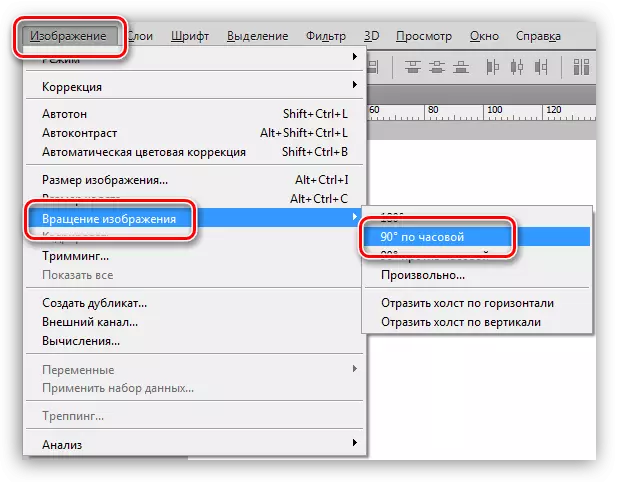
- After creating the file, we go to the "Image" menu and looking for an image "Image rotation". Turn the canvas at 90 degrees to any side.
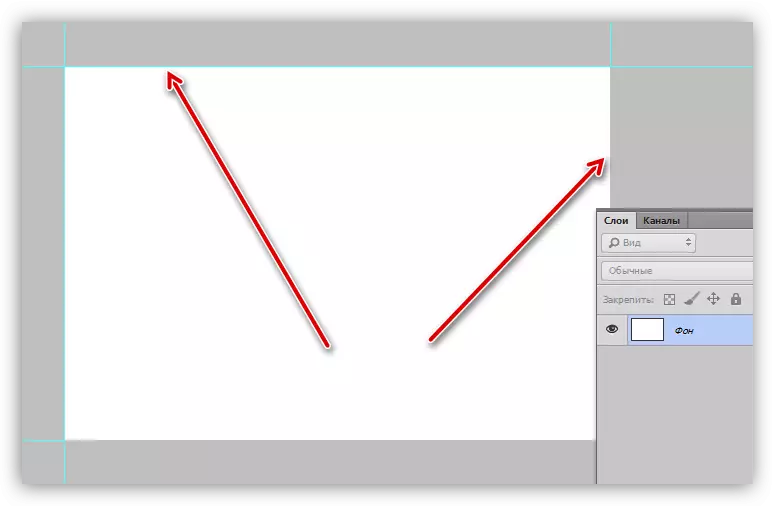
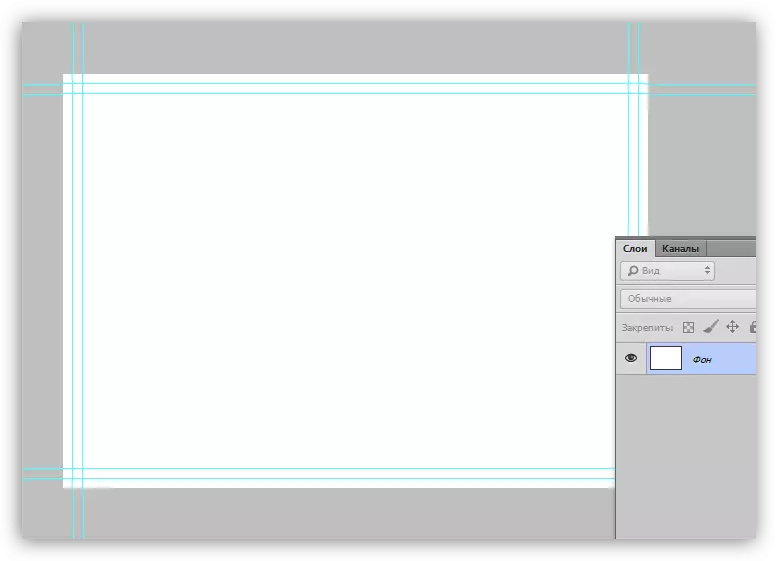
- Next, we need to identify lines that limit the workspace, that is, the field for the placement of content. I exhibit guides on the borders of the canvas.
Lesson: Application of guides in photoshop
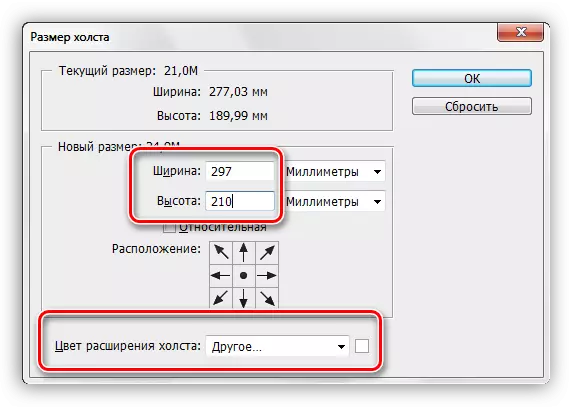
- Apply the "Image - Size of Canvas" menu.
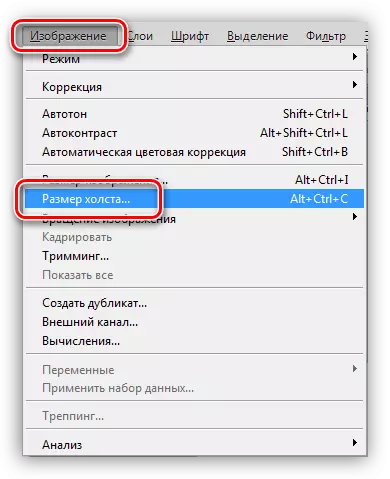
- Add previously taken millimeters to height and width. The color of the canvas extension must be white. Please note that size values may be fractional. In this case, we simply return the initial values of the A4 format.
- The current guides will play the role of the cut line. For the best result, the background image should go a little behind these boundaries. It will be enough 5 millimeters.
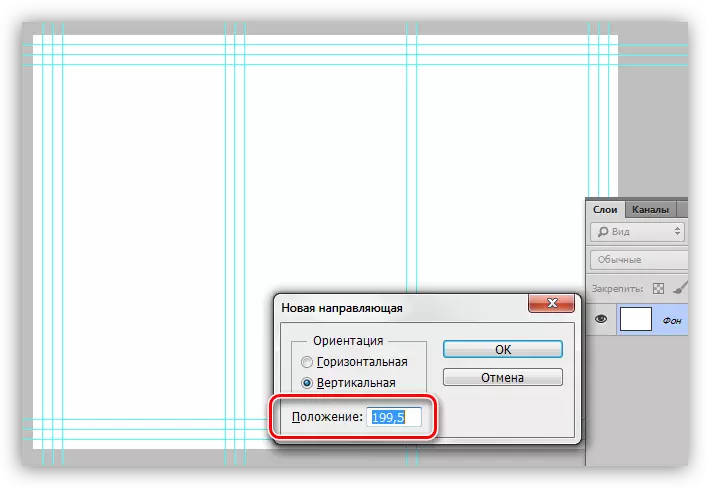
- We go to the "View - New Guide" menu.
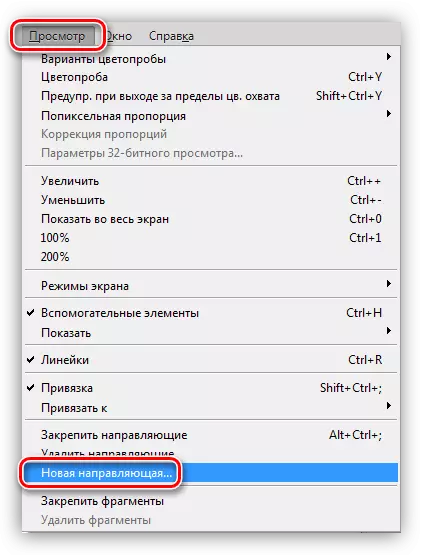
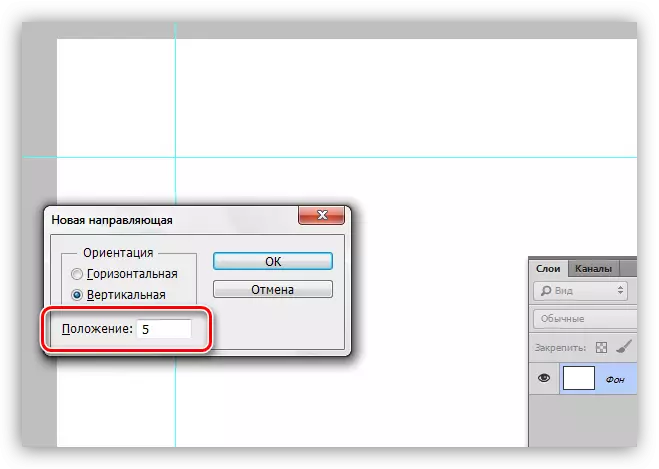
- We spend the first vertical line in 5 millimeters from the left edge.
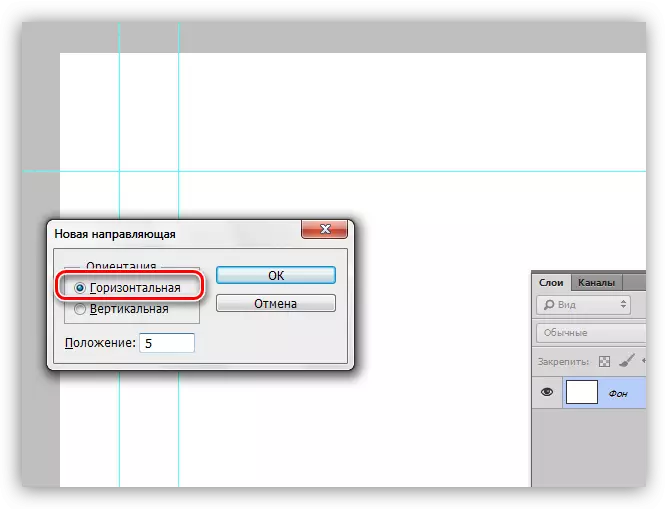
- In the same way, we create a horizontal guide.
- By non-speed calculations, we determine the position of the other lines (210-5 = 205 mm, 297-5 = 292 mm).
- We go to the "View - New Guide" menu.
- When pruning printing products, errors may be made due to various reasons, which can damage the content on our booklet. In order to avoid such troubles, you need to create a so-called "security zone", beyond the boundaries of which no items are located. The background image does not concern. Zone size also define 5 millimeters.

- As we remember, our booklet consists of three equal parts, and we have the task of creating three equal zones for content. You can, of course, armed with a calculator and calculate the exact dimensions, but it is long and uncomfortable. There is a reception that allows you to quickly divide the workspace on equal areas in size.
- Select the "Rectangle" tool on the left panel.
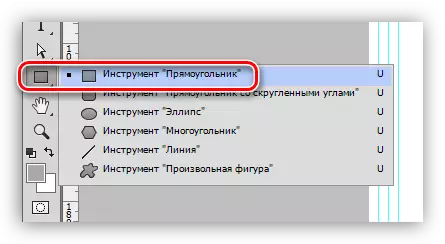
- Create a figure on canvas. The size of the rectangle does not matter, the main thing is that the total width of the three elements is less than the width of the workspace.
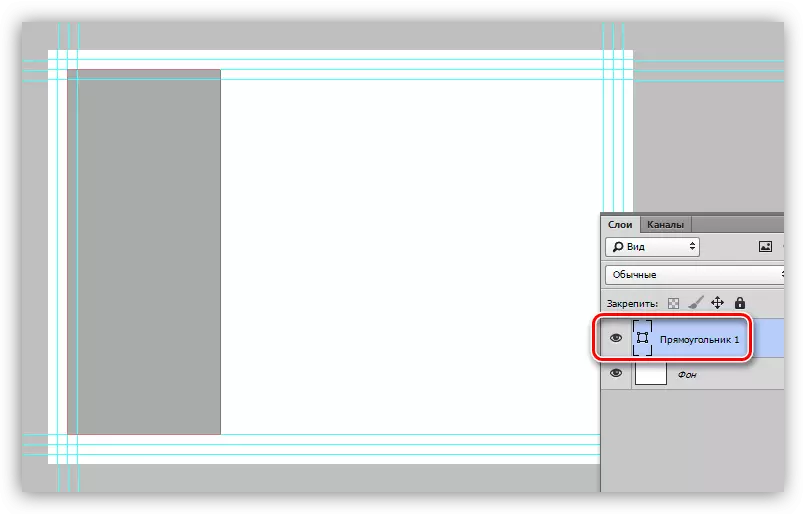
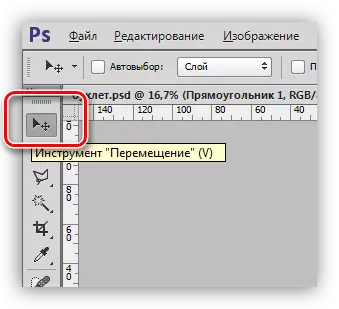
- Choose the "Move" tool.
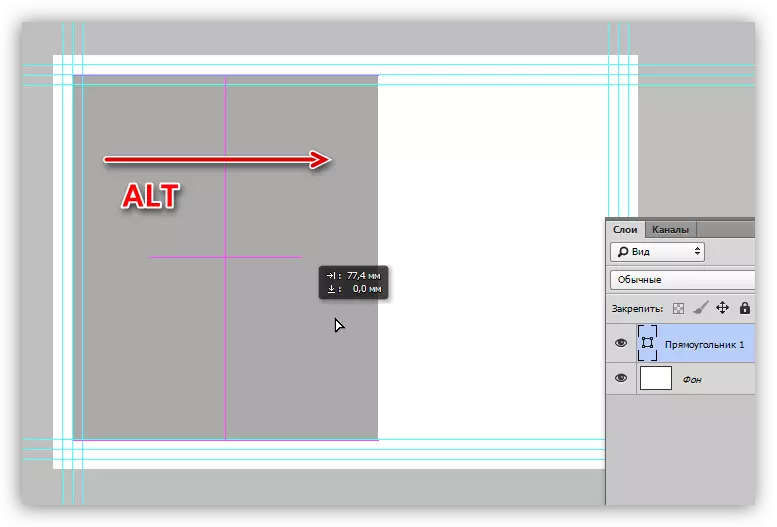
- Close the Alt key on the keyboard and drag the rectangle to the right. Together with the move, it will create a copy. Watch that there is no gap between the objects and the allen.
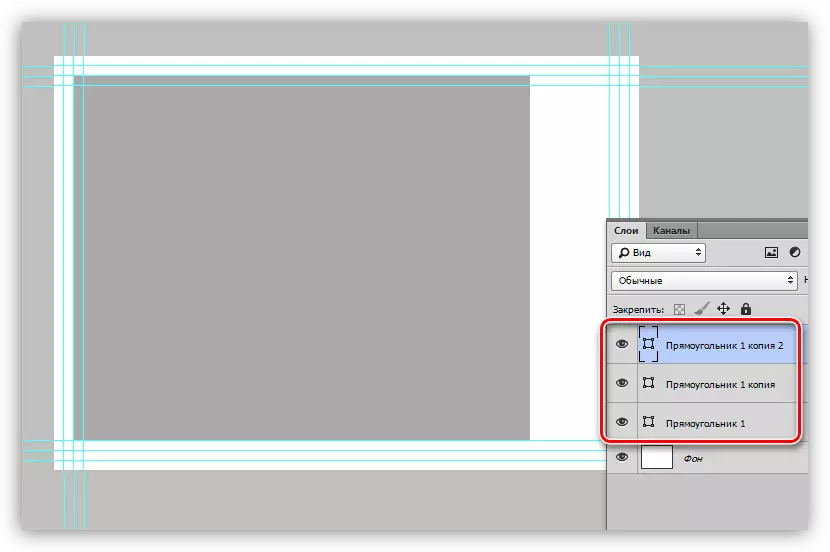
- In the same way, we make another copy.
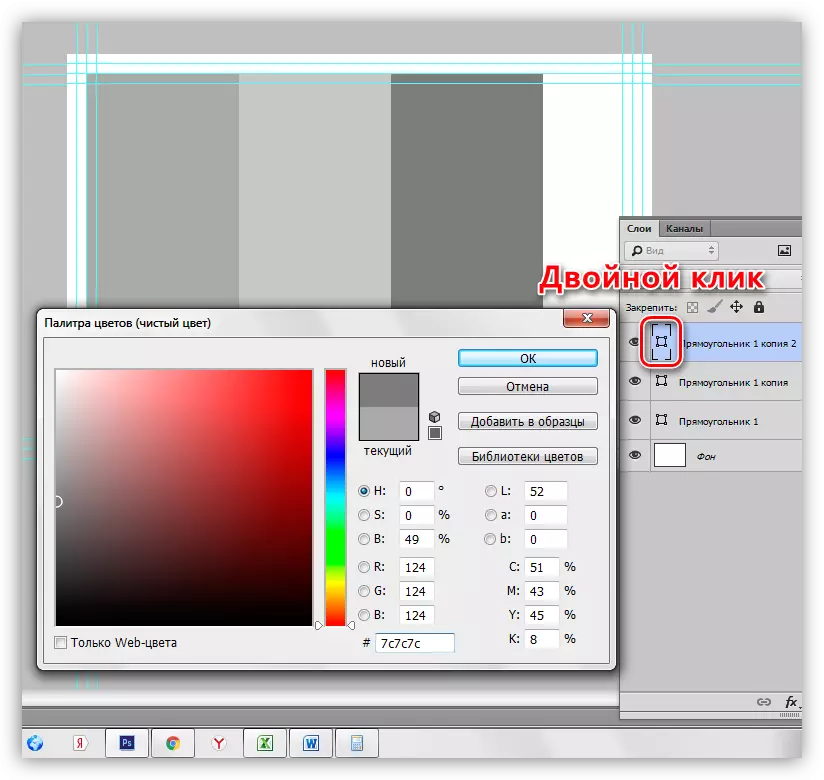
- For convenience, change the color of each copy. Made by double click on a miniature layer with a rectangle.
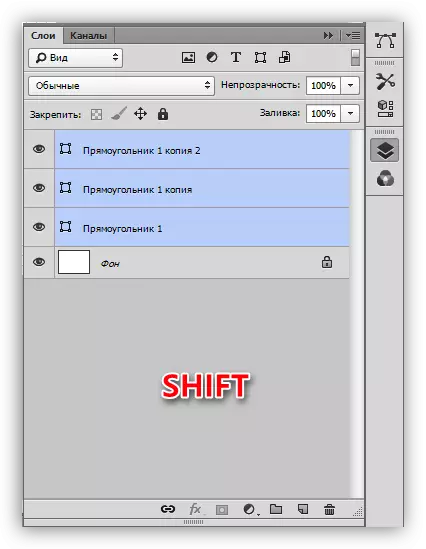
- We allocate all the figures in the palette with the SHIFT key (click on the upper layer, Shift and click on the bottom).
- By pressing the hot keys Ctrl + T, we use the "Free Transform" function. We do for the right marker and stretch rectangles to the right.
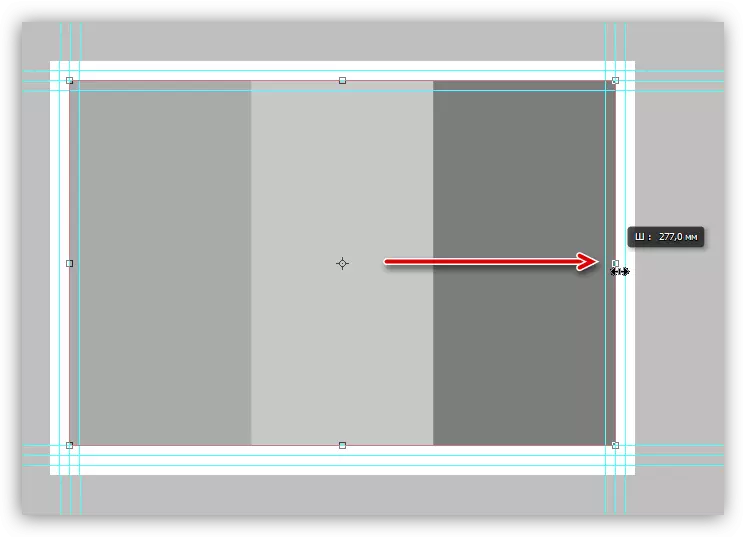
- After pressing the Enter key, we will have three equal figures.
- Select the "Rectangle" tool on the left panel.
- For accurate guides that will share the booklet on the part, you must enable bindings in the View menu.
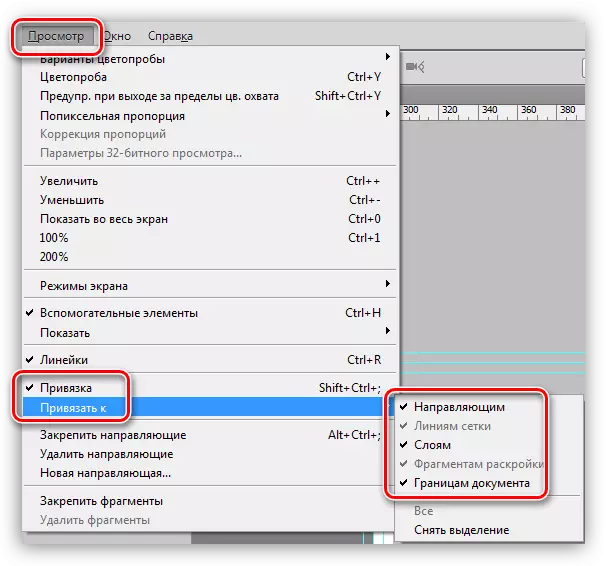
- Now new guides will "stick to" to the borders of rectangles. We no longer need auxiliary figures, you can remove them.

- As we have said earlier, a security zone is required for content. Since the booklet will bend along the lines that we have just identified, then there should be no objects on these sites. We will retreat from each guide of 5 millimeters on each side. If the value is fractional, then the separator must be comma.
- The last step will be cutting lines.
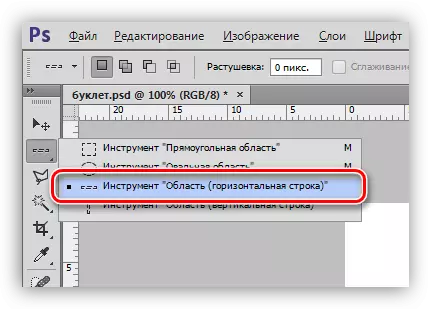
- Take the "Vertical String" tool.
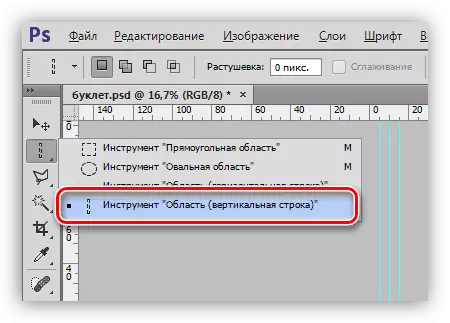
- Click on the middle guide, after which such a selection of 1 pixel will appear here:

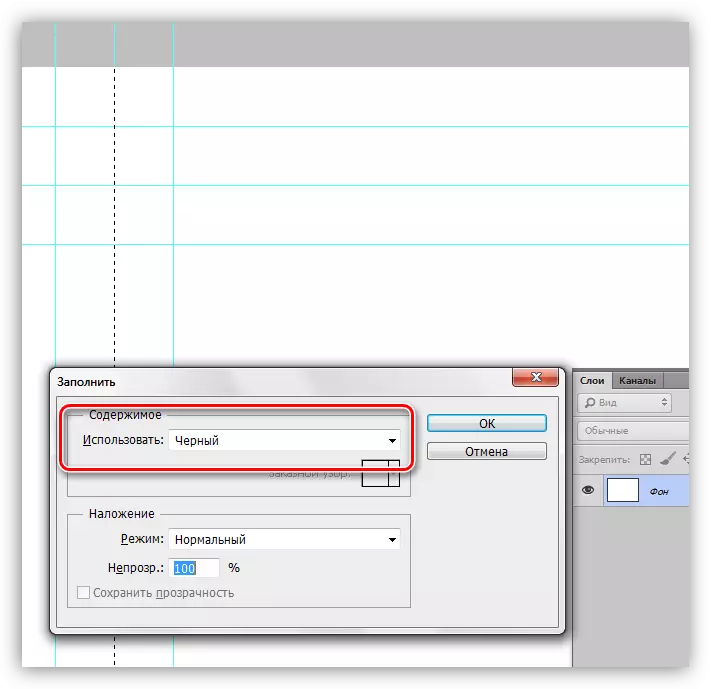
- Call the SHIFT + F5 hot key settings window, select the black color in the drop-down list and click OK. Selection is removed by a Ctrl + D combination.
- To view the result, you can temporarily hide the CTRL + H keys guides.

- Horizontal lines are carried out using the "Horizontal string" tool.
- Take the "Vertical String" tool.
This creates a booklet layout completed. It can be saved and used hereinafter as a template.
Design
Booklet design is individual. All components of the design are due or a taste or a technical task. In this lesson, we will discuss only a few moments for which attention should be paid.
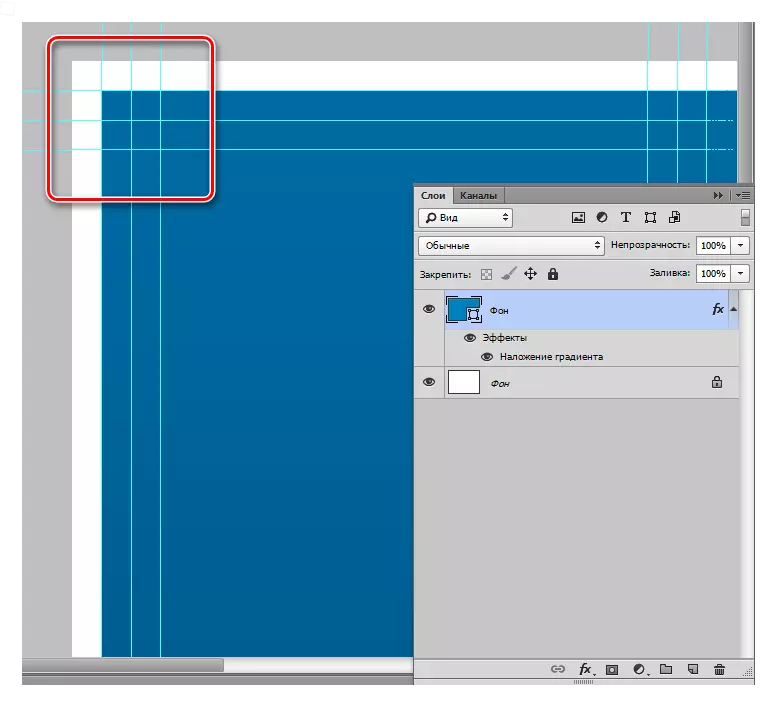
- Background image.
Previously, when creating a template, we provided an indentation from the cutting line. It is necessary so that when the paper document is pruning, white areas around the perimeter remain.
The background should reach the lines that determine this indent.
- Graphics.
All the created graphic elements must be depicted using the shapes, since the selected area on paper is filled with color may have torn edges and ladder.
Lesson: Tools for creating figures in Photoshop

- When working on the design of the booklet, do not confuse information blocks: the front - right, the second - the back side, the third block will be the first to see the reader, opening the booklet.

- This item is a consequence of the previous one. On the first block it is better to arrange the information that the most clearly reflects the main idea of the booklet. If this is a company or, in our case, the site, then it can be the main activities. It is desirable to accompany the inscription images for greater clarity.
In the third block, you can already write in more detail than we do, and information inside the booklet may, depending on the direction, have both advertising and general.
Color scheme
Before printing, it is highly recommended to translate the document scheme in CMYK, since most printers are not able to fully display the RGB colors.
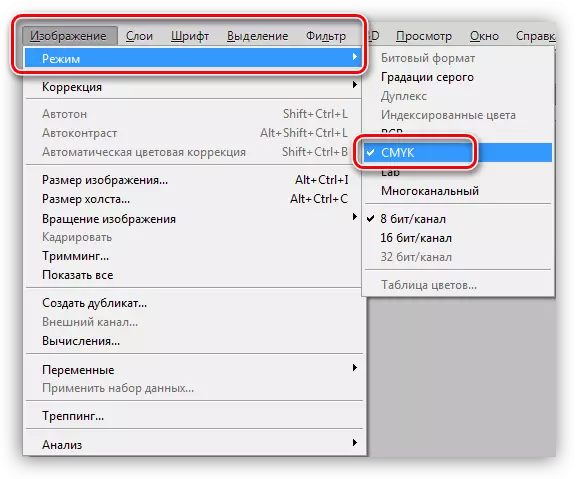
This can also be done at the beginning of work, as colors can be displayed a little differently.
Preservation
You can save such documents in both JPEG and PDF format.
On this lesson, how to create a booklet in Photoshop is completed. Strictly follow the instructions for designing a layout and at the output will receive high-quality printing.