
Photoshop, as the image editor, allows us not only to make changes to ready-made pictures, but also create your own compositions. This process can also be attributed to the simple coloring of the contours, as in children's coloring books.
Today we will talk about how to configure a program which tools and with what parameters are used for coloring, as well as we will practic a little.
Coloring in photoshop
To work, we need a special working environment, several useful tools and a desire to learn something new.Working environment
The working environment (it is still quite often referred to as the "workspace") is a specific set of tools and windows that determine the specifics of operation. For example, one set of tools is suitable for processing a photo, and to create an animation - another.
By default, the program contains some of the ready-made working media, switch between which can be in the upper right corner of the interface. How it is not difficult to guess, we need a set called "Drawing".

"From the box" environment is as follows:
All panels can be moved to any convenient place.
close (delete) by clicking the right mouse button, and selecting "Close",

Add new, using the "Window" menu.

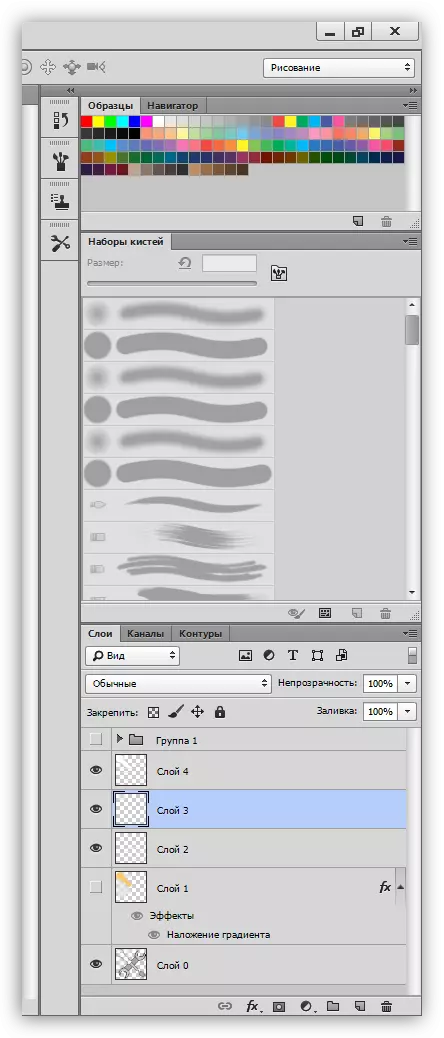
The panels themselves and their location are selected individually. Let's add the colors settings window - it is quite often for us to contact it.

For convenience, lay panel as follows:
Working space for coloring is ready, go to tools.
Lesson: Toolbar in Photoshop
Brush, pencil and eraser
These are basic drawing tools in Photoshop.
- Brushes.

Lesson: Tool "Brush" in Photoshop
With the help of brushes, we will paint various areas on our drawing, carry straight lines, create glare and shadows.
- Pencil.
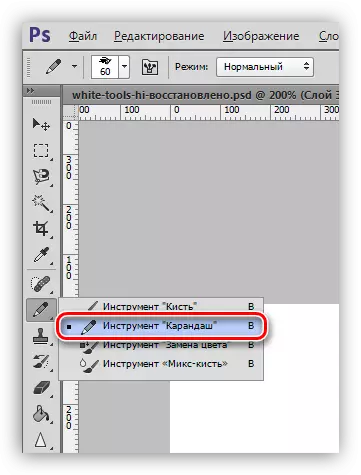
Pencil, mainly designed to stroke objects or creating contours.
- Eraser.
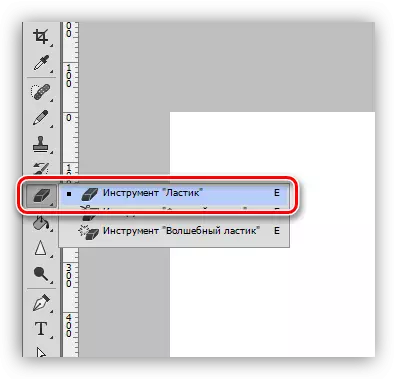
Appointment of this tool - removal (erasing) of unnecessary parts, lines, contours, fillings.
Finger and mix brush
Both of these tools are intended for "folding" of drawn elements.
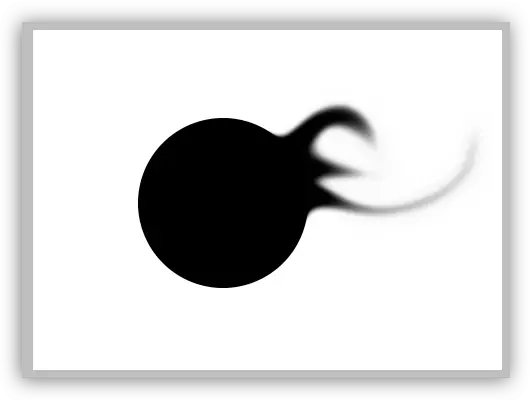
1. Finger.
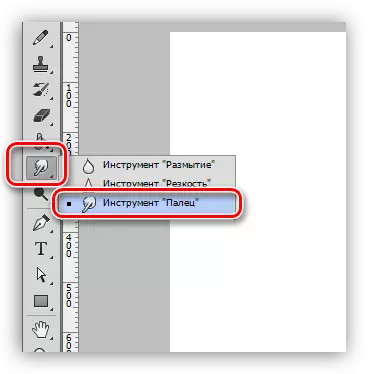
The tool "stretches" created by other fixtures of content. It works equally well and on transparent, and on a flooded color background.
2. Mix brush.

Mix brush is a special kind of brush that mixes the colors of the objects located nearby. The latter can be located both on one and on different layers. Suitable for rapid smoothing of clear boundaries. It does not work very well on clean colors.
Pen and allocation tools
With all these tools, areas restricting the fill (color) are created. They need to be used, as it allows you to carefully paint areas in the picture.
- Feather.
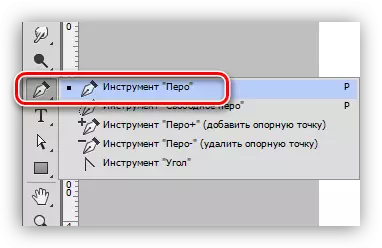
Pen - universal devices for high-precision drawing (stroke and fill) objects.
See also: Pen tool in Photoshop - Theory and Practice
Create a cartoon frame from a photo in Photoshop
- Allocation tools.
- Group "Allocation".

Tools located in this group are designed to create selected areas of oval or rectangular shape for subsequent fill or stroke.
- Lasso.
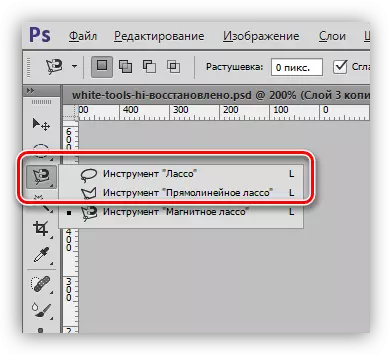
The Lasso group will help us to make an arbitrary form.
Lesson: Lasso tool in Photoshop
- Magic wand and fast selection.
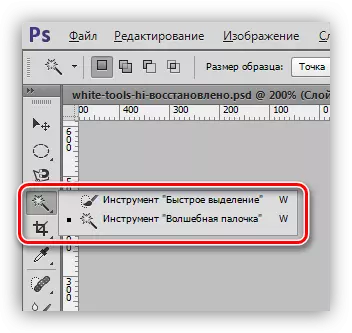
These tools allow you to quickly allocate a plot limited by one tint or contour.
- Group "Allocation".
Lesson: Magic wand in photoshop
Pouring and gradient
- Fill.
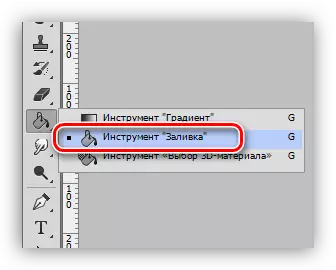
Pullet helps to paint large areas with one mouse button with one click.
Lesson: Types of fill in Photoshop
- Gradient.
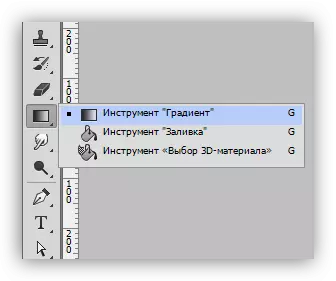
The gradient is similar to the fill with the only difference, which creates a smooth tone.
Lesson: How to make a gradient in photoshop
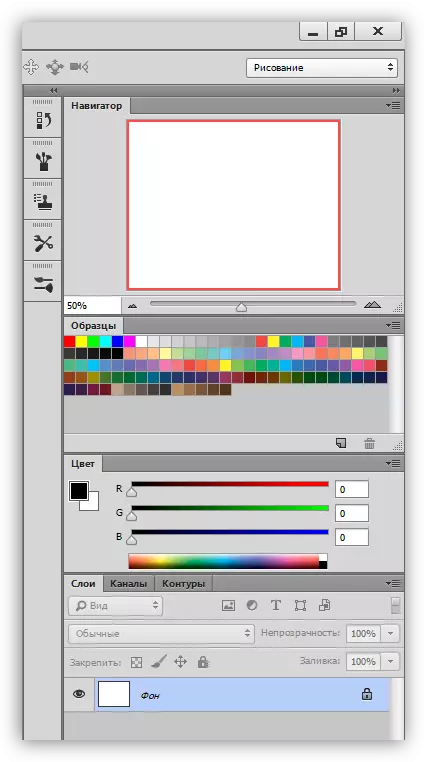
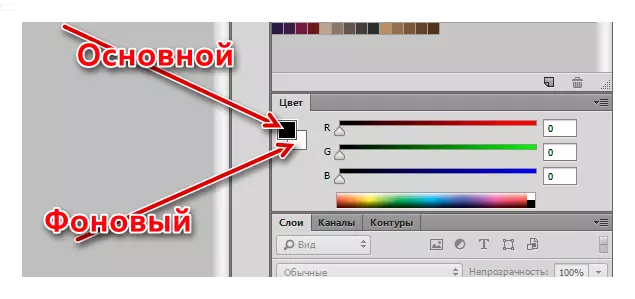
Colors and samples
The main color is so called because it is them paint tools "Brush", "Pouring" and "Pencil". In addition, this color is automatically assigned to the first checkpoint when creating a gradient.
Background color is especially important when applying some filters. This color also has a gradient's end point.
Default colors - respectively, black and white. Reset is performed by pressing the D key, and the change of the main on the background - the X keys.
Color setting is made in two ways:
- Color palette.
Click on the main color, in the window that opens with the title "Palette of Flowers", choose a shade and click OK.

In the same way, you can configure the background color.
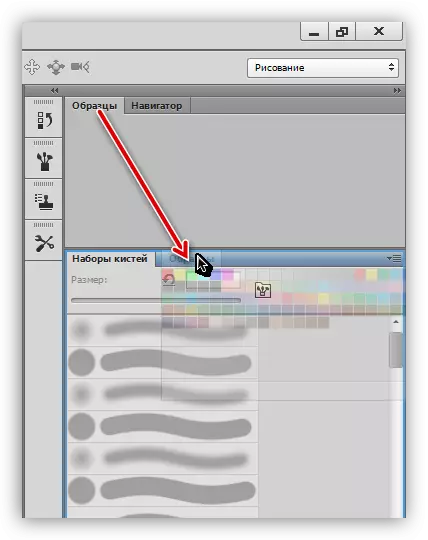
- Samples.
At the top of the workspace is the panel (we are placed there at the beginning of the lesson), containing 122 sample of various shades.
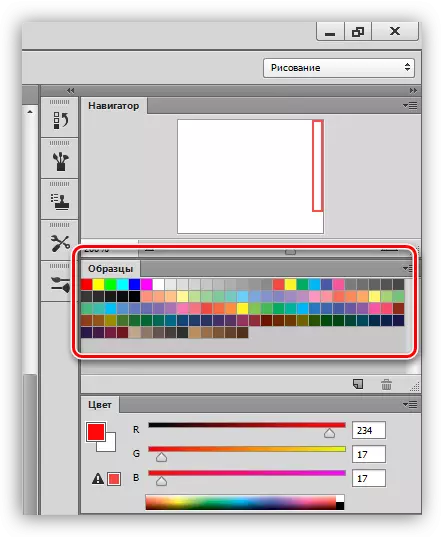
Replacing the primary color occurs after a single press on the desired sample.
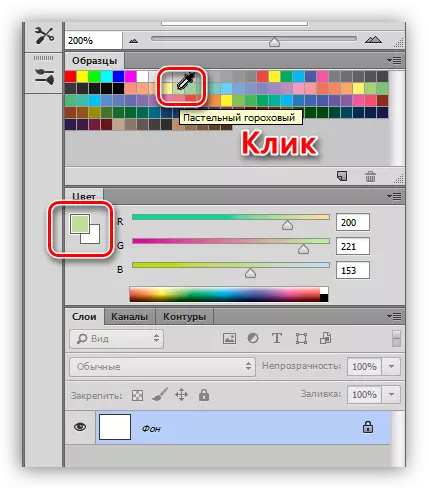
The background color is changing with a sample with a ctrl pinch.
Styles
Styles allow us to apply various effects to the elements contained on the layer. It can be a stroke, shadow, glow, laying of colors and gradients.
The settings window double click on the corresponding layer.

Examples of use of styles:
Stylization of font in photoshop
Golden inscription in photoshop
Layers
Each area to be painted, including the contour, must be placed on a new layer. This is done for the convenience of subsequent processing.Lesson: Work in photoshop with layers
An example of such a job:
Lesson: Coloring a black and white snapshot in Photoshop
Practice
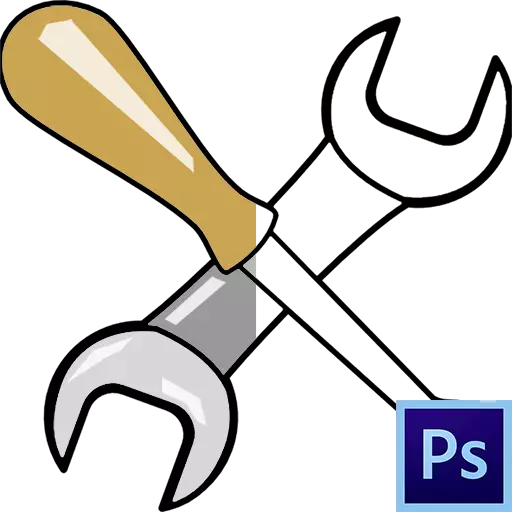
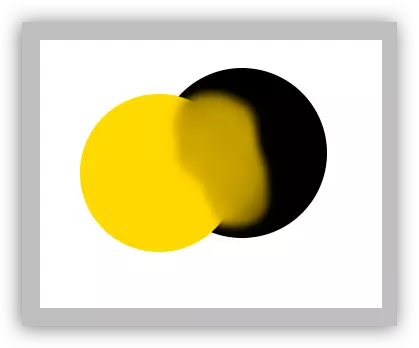
Coloring work begins with the search for contour. For the lesson, such a black and white image was prepared:

Initially, it was located on a white background, which was removed.
Lesson: Remove white background in photoshop
As you can see, there are several areas in the picture, some of which should have the same color.
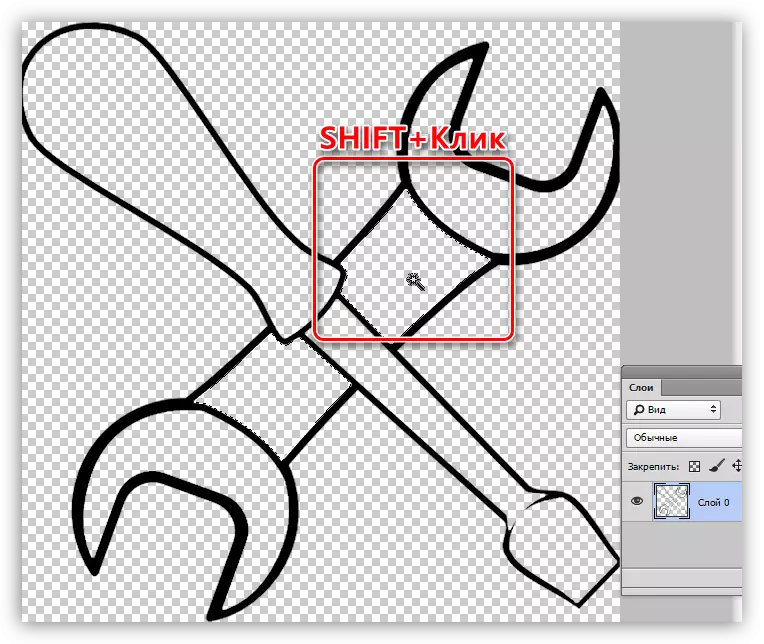
- Activate the "Magic Wand" tool and click on the spanner handle.

- Click Shift and highlight the handle on the other side of the screwdriver.
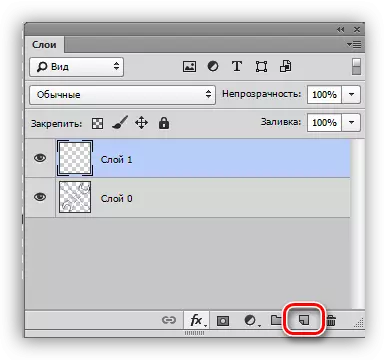
- Create a new layer.
- Configure color coloring.
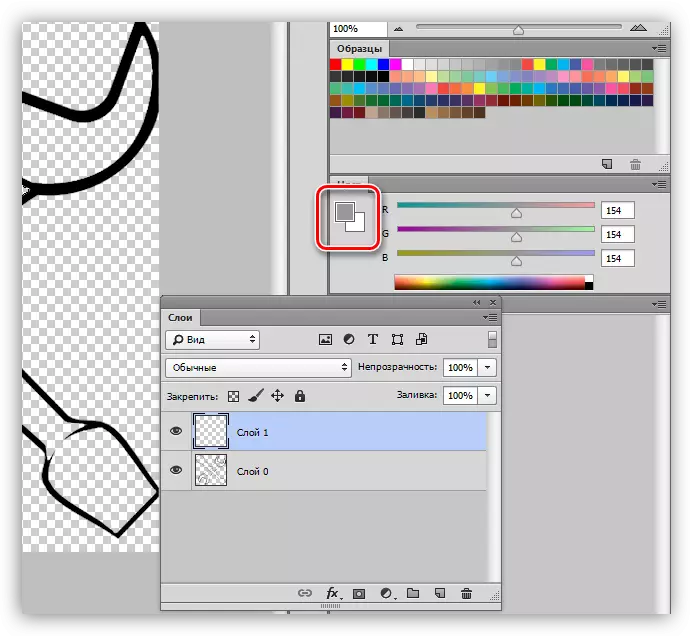
- Choose the "Fill" tool and click on any dedicated area.
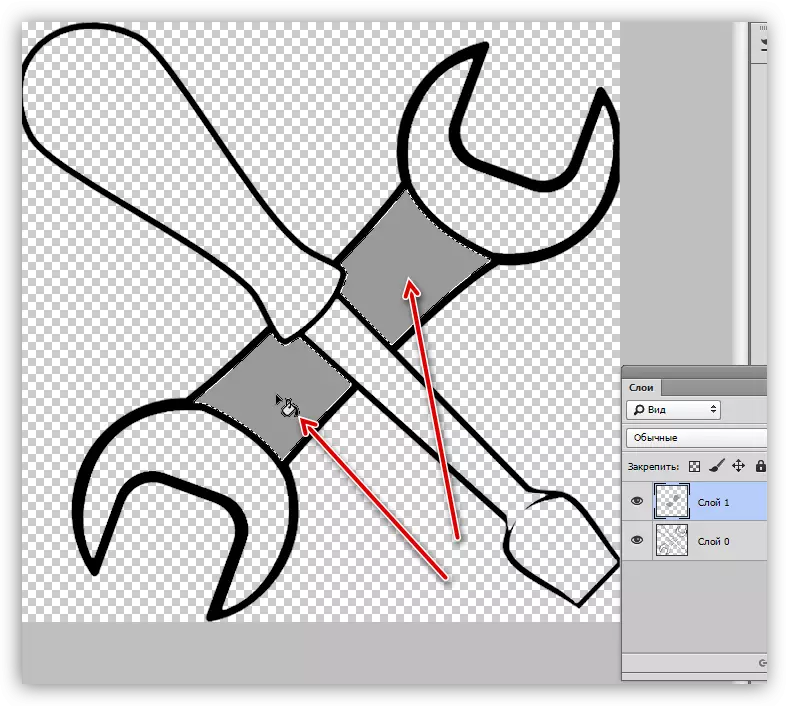
- We remove the selection using the hot keys Ctrl + D and continue to work with the rest of the contour along the algorithm specified above. Please note that the selection of the area is made on the source layer, and the pouring is on the new one.

- We work over a screwdriver handle with styles. We call the settings window, and first add an internal shadow with the following parameters:
- Color 634020;
- Opacity 40%;
- Angle -100 degrees;
- Displacement 13, tightening 14, size 65;
- Contour "on Gaussu".

The next style is an inner glow. Settings are:
- Overlay mode clarification of the base;
- Opacity 20%;
- FFCD5C color;
- Source "From Center", tightening 23, size 46.

The latter will be the overlay of the gradient.
- Angle of 50 degrees;
- Scale 115%.
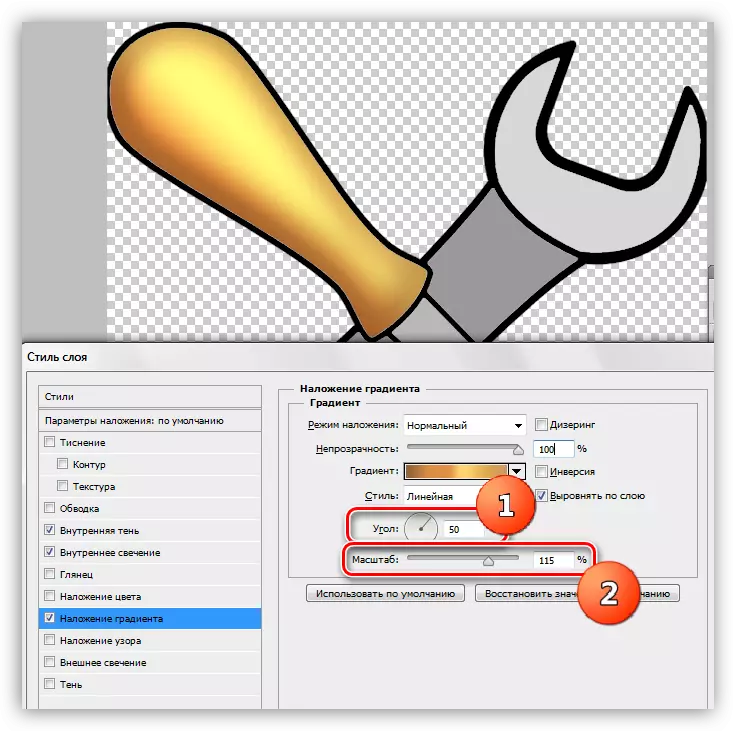
- Gradient settings, as in the screenshot below.

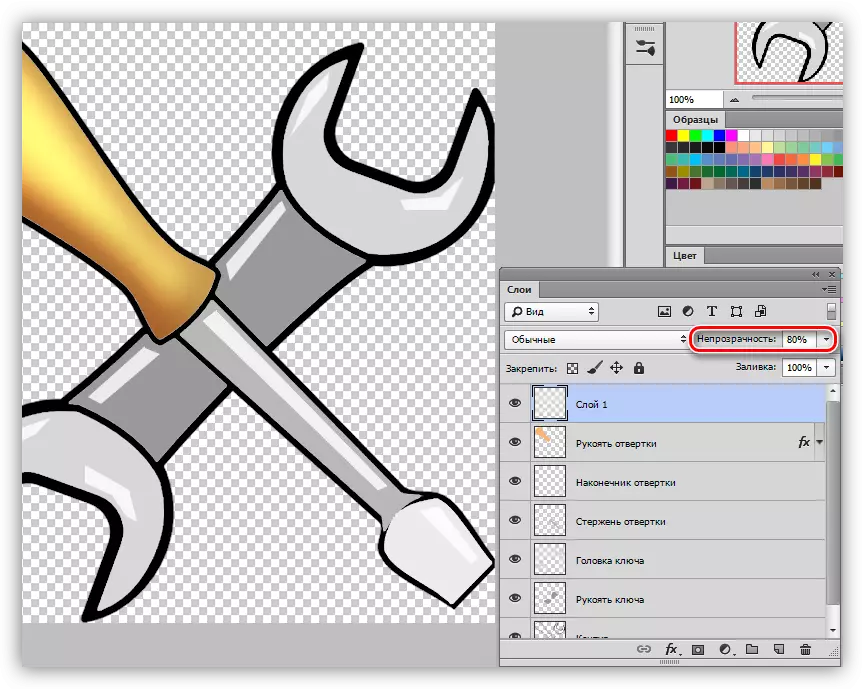
- Add highlights to metal parts. To do this, choose the "straight line lasso" tool and create a screwdriver on the rod (on the new layer) here is this selection:

- Pour a glider with white.

- In the same way, we draw on the same layer and other glare on the same layer, after which we reduce the opacity to 80%.
On this lesson on painting in Photoshop completed. If you wish, you can add shadows to our composition. It will be your homework.
This article can be considered the basis for an in-depth study of tools and photosop settings. Carefully learn the lessons that are based on the links above, and many principles and the laws of photoshop will be clear for you.