

The presence of a built-in webcam is one of the essential advantages of laptops in front of stationary computers. You do not need to buy a separate camera, in order to communicate with relatives, friends or acquaintances. However, such communication will be impossible if there are no drivers on your laptop for the device mentioned above. Today we will tell you in all the items on how to install software for a webcam on any ASUS laptop.
Ways to search and install software for webcam
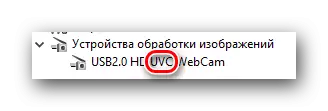
Looking a little in advance, I would like to note that not all webcams laptop ASUS require driver installation. The fact is that on some devices are installed "USB Video Class" or "UVC" format. As a rule, in the title of such devices there is a specified abbreviation, so you can easily determine such equipment in the Device Manager.
Required information before installing software
Before you start searching and installing software, you will need to find out the value of the identifier for your video card. To do this, you need to do the following.
- On the desktop on the "My Computer" icon, click on the right mouse button and in the context menu click on the "Control" string.
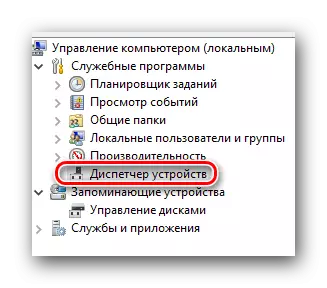
- In the left side of the window that opened by looking for a "Device Manager" string and click on it.
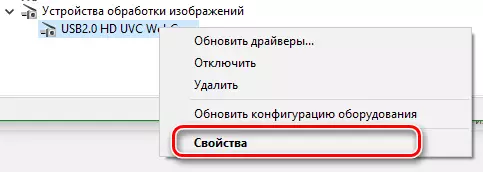
- As a result, the tree of all devices that are connected to your laptop will open in the center of the window. In this list, we are looking for a section "Image processing devices" and open it. Your webcam will be displayed here. On its name, you must click on the right mouse button and select the item "Properties".
- In the window that appears, go to the "Details" section. In this section, you will see the "Property" string. In this line, you must specify the parameter "ENDERS". As a result, you will see the name of the identifier in the field, which is located slightly below. You will need these values in the future. Therefore, we recommend not to close this window.

In addition, you will need to find out the model of your laptop. As a rule, this information is indicated on the laptop itself on the front and back side. But if the stickers do you erased, you can do the following.
- Click the "Win" and "R" buttons combination on the keyboard.
- In the window that opens, enter the CMD command.
- Next, you need to enter the following value in the Opening program "Run":
- This command will display information with the name of your laptop model.
WMic Baseboard Get Product

Now proceed to ways yourself directly.
Method 1: Official Laptop Manufacturer site
After you have an open window with the values of the webcam ID and you will know the laptop model, you must do the following steps.
- Go to the official website of ASUS.
- At the top of the page that opens, you will find the search field shown in the screenshot below. In this field, you must enter the model of your ASUS laptop. Do not forget after entering the model, press the "ENTER" button on the keyboard.
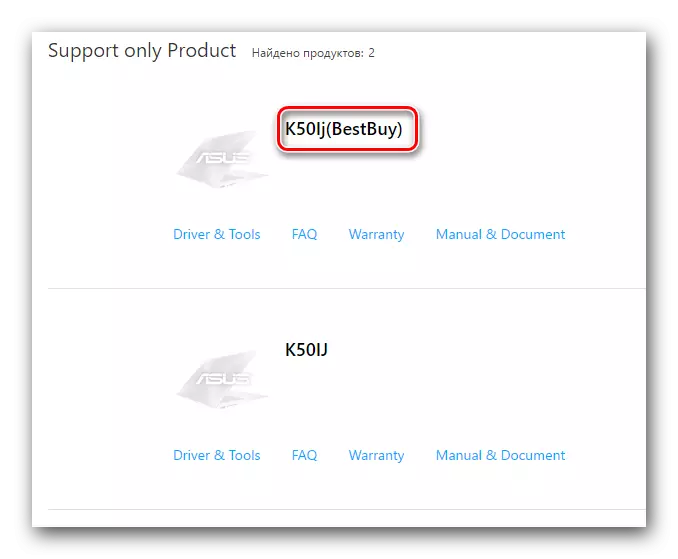
- As a result, a page with search results on your request will open. You need to select your laptop from the list and click on the link as its name.
- By clicking on the link, you will find yourself on the page with the description of your product. At this stage you need to open the "Drivers and Utilities" section.
- The next step will be the choice of the operating system installed on your laptop, and its discharge. This can be done in the corresponding drop-down menu on the page that opens.
- As a result, you will see a list of all drivers that are divided into groups for convenience. We are looking for the section "Camera" section and open it. As a result, you will see a list of everything available for your Laptop software. Please note that the description of each driver is a list of webcam IDs that are supported by the selected software. There you will need the value of the identifier you learned at the beginning of the article. You only need to find the driver, in the description of which there is an ID of your device. When this software is found, click the Global string at the bottom of the driver window itself.
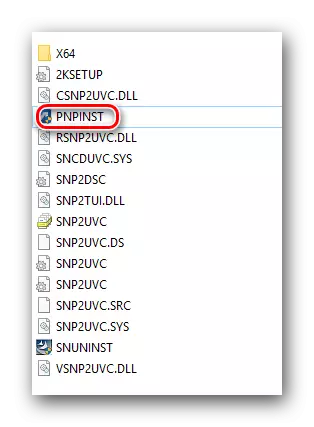
- After that, you will start downloading an archive with files that are necessary for installation. After downloading, retrieve the contents of the archive into a separate folder. It is looking for a file called "Pnpinst" and launch it.
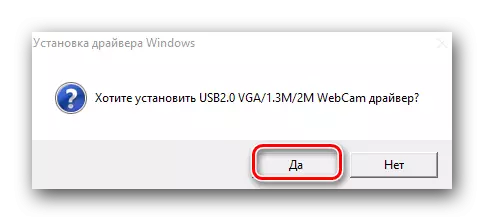
- On the screen you will see the window in which you want to confirm the launch of the installation program. Click "Yes."
- The entire further process will be held in almost automatic mode. You will need only follow further simple instructions. At the end of the process, you will see a message about the successful installation of software. Now you can fully use your webcam. This method will be completed.


Method 2: Special Program ASUS
To use this method, we will need the ASUS Live Update utility. You can download it on the page with the groups of drivers, about which we mentioned in the first way.
- In the list of sections with software for your laptop, we find the "Utilities" group and open it.
- Among the entire software present in this section, you need to find a utility marked in the screenshot.
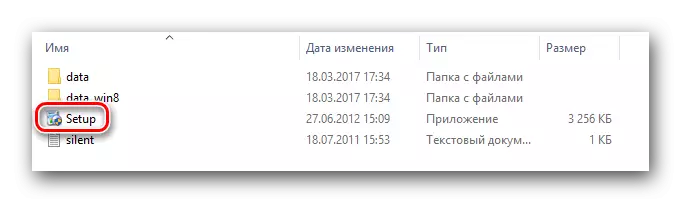
- We load it by clicking the Global string. Starting the archive with the necessary files. As usual, waiting for the end of the process and remove all the contents. After that, launch the "Setup" file.
- Installing the program you will take no more than a minute. The process is very standard, so we will not paint it in detail. However, if your questions arise - write in the comments. When the installation of the utility is completed, run it.
- After starting, you will see immediately the desired "Check Update" button, which we need to click.
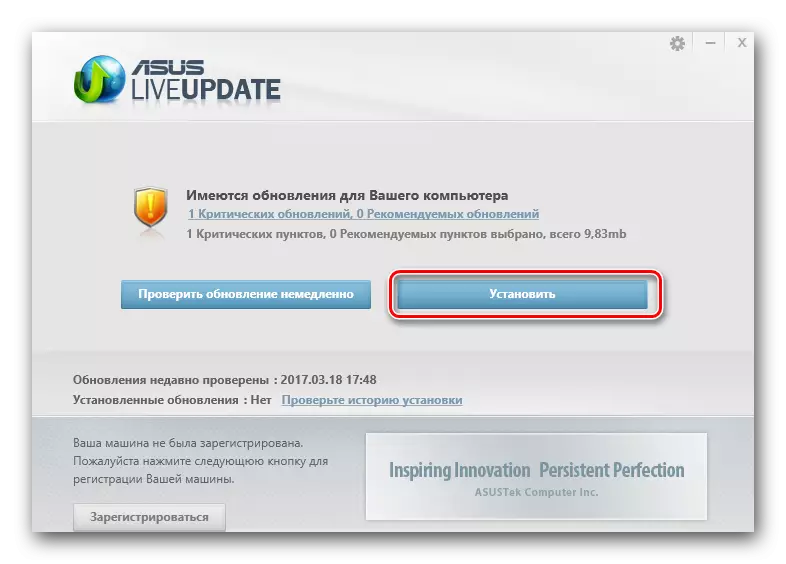
- Now you need to wait a few minutes while the program scans the system for drivers. After that you will see a window in which the number of drivers that must be installed, and the button with the corresponding name will be set. Press it.
- Now the utility will start downloading all the necessary driver files automatically.
- When the download is completed, you will see a message that the utility will be closed. This is necessary for the installation of the entire loaded software. You can only wait a few minutes until everything is installed. After that you can use a webcam.


Method 3: General solutions for updating
To install the ASUS webcam webcam drivers, you can also use any program that specializes in automatic searching and installing software, like ASUS Live Update. The only difference is that such products are absolutely suitable for any laptop and computer, and not just for the ASUS brand devices. You can read the list of the best utilities of this kind by reading our special lesson.Lesson: The best programs for installing drivers
Of all representatives of such programs, DRIVER GENIUS and DRIVERPACK SOLUTION should be highlighted. These utilities have a significantly greater database of drivers and supported equipment compared to another similar software. If you decide to stop your choice on the specified programs, then our teaching article can be useful.
Lesson: How to update drivers on a computer using DriverPack Solution
Method 4: Equipment ID
At the beginning of our lesson, we told you about how to find out your webcam ID. This information will be needed to you using this method. All you need - enter your device ID on one of the special sites, which will find the corresponding software through this identifier. Please note that you cannot detect drivers for UVC cameras. Online services simply write you that the software you need is not found. In more detail, the entire search and loading process of the driver in this way we described in a separate lesson.
Lesson: Search for Drivers by Equipment ID
Method 5: Device Manager
This method is mainly suitable for UVC webcams, which we mentioned at the beginning of the article. If you have problems with such devices, you need to do the following.
- Open the Device Manager. About how to do this, we mentioned at the beginning of the lesson.
- Open the section "Image processing devices" and press the right mouse button on its name. In the pop-up menu, select the "Properties" string.
- In the window that opens, go to the "Driver" section. In the bottom area of this section, you will see the "Delete" button. Click on it.
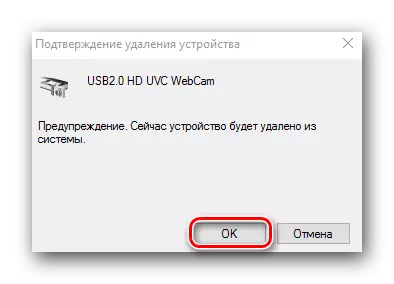
- In the next window you will need to confirm the intention to remove the driver. Press the "OK" button.
- After that, the webcam will be removed from the equipment list in the Device Manager, and after a few seconds it will appear again. In fact, it turns off and connect the device. Since the drivers for such webcams are not required, then in most cases these actions are sufficient.

Laptop webcams belong to those devices that arise relatively rare problems. However, if you faced such equipment malfunction, this article will surely help you solve it. If the problem is not fixed by the described methods, write be sure to the comments. We will analyze the situation together and try to find a way out.