

In this review - on how to launch the Windows 10 autonomous defender, as well as how to use Windows Defender Offline in earlier versions of OS - Windows 7, 8 and 8.1. See also: The best antivirus for Windows 10, the best free antivirus.
Running Windows 10 Defender offline
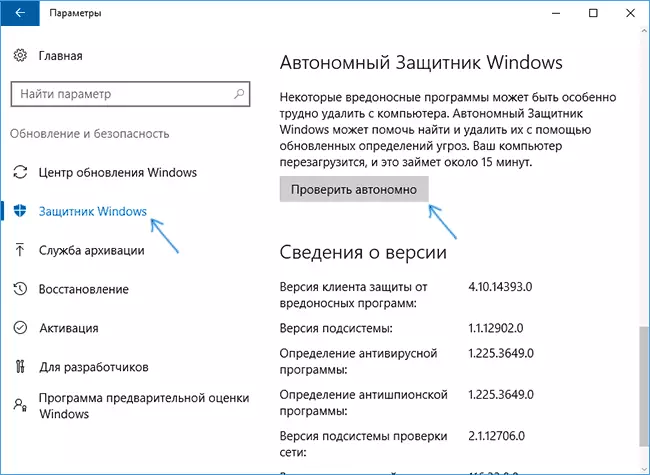
In order to use the autonomous defender, go to the parameters (Start - the gear icon or Win + i key), select "Update and Security" and go to the "Windows Defender" section.
At the bottom of the defender parameters there is an item "Autonomous Defender of Windows". To start it, click "Check autonomously" (after saving unsaved documents and data).
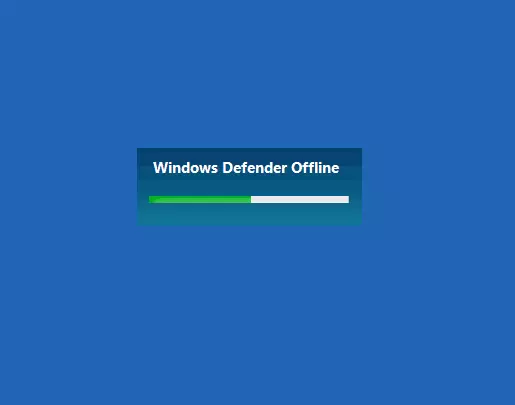
After clicking, the computer will restart and automatically check the computer to viruses and malware, the search or removal of which is difficult when Windows 10 running, but is possible before it starts (as it happens in this case).
Upon completion of the check, the computer will restart, and in the notifications you will see a report on the verification.
How to download Windows Defender Offline and write on a USB flash drive or disk
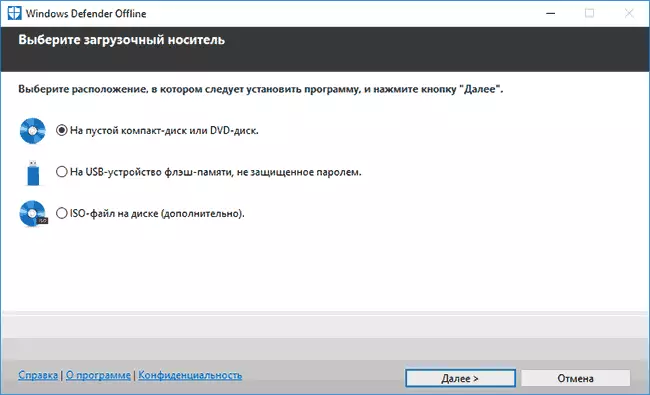
Windows Defender Offline Anti-Virus is available on the Microsoft website to download as an ISO image, a disk writing or a flash drive for subsequent booting from them and checking a computer to viruses and malicious programs offline. Moreover, in this case it is possible to use it not only in Windows 10, but also in previous versions of the OS.
You can download Windows Defender Offline here:
- http://go.microsoft.com/fwlink/?LinkId=234124 - 64-bit version
- http://go.microsoft.com/fwlink/?LinkId=234123 - 32-bit version
After downloading, run the file, agree with the terms of use and select where you want to place Windows Defender Offline - automatically write to the disk or flash drive or save as ISO image.
After that, it will only be left to wait for the completion of the procedure and use the boot drive with an autonomous Windows protector to check your computer or laptop (there is a separate article on this type of checks - anti-virus boot discs and flash drives).