
Photoshop, with all its merits, also suffers from common software diseases, such as errors, hanging, incorrect work.
In many cases, to solve problems, it is necessary to completely remove the photoshop from the computer before re-installing. In addition, if you try to install a more old version on top of a new one, you can get a lot of headaches. That is why it is recommended to take the actions described in this lesson.
Full removal photoshop
With all the seeming simplicity, the process of uninstallation can take place not so smoothly as I would like. Today we will analyze three special cases of deleting the editor from the computer.Method 1: CCleaner
To begin with, consider the option of removing photoshop with a third-party program, which will perform CCleaner.
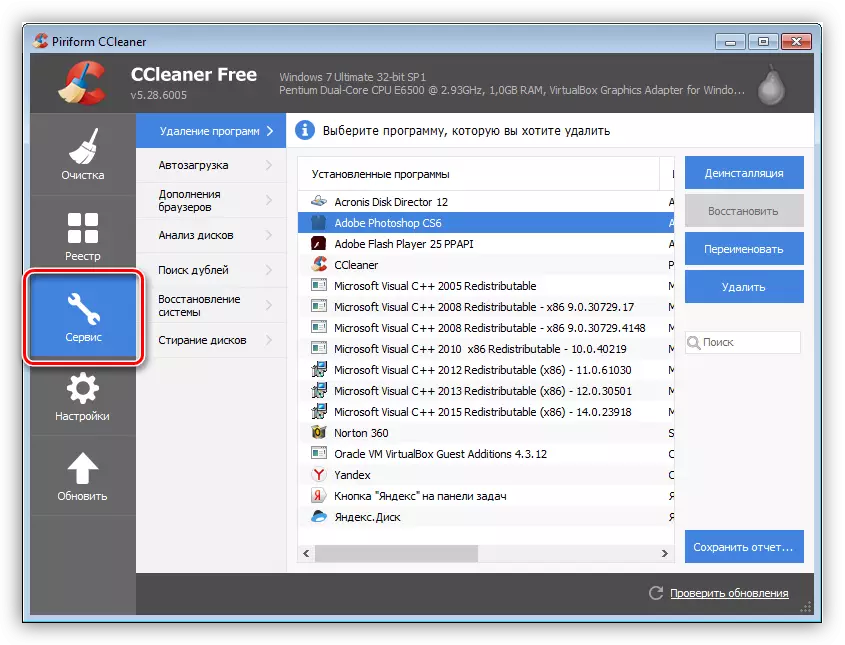
- We launch the Sicliner with a shortcut on the desktop and go to the "Service" tab.
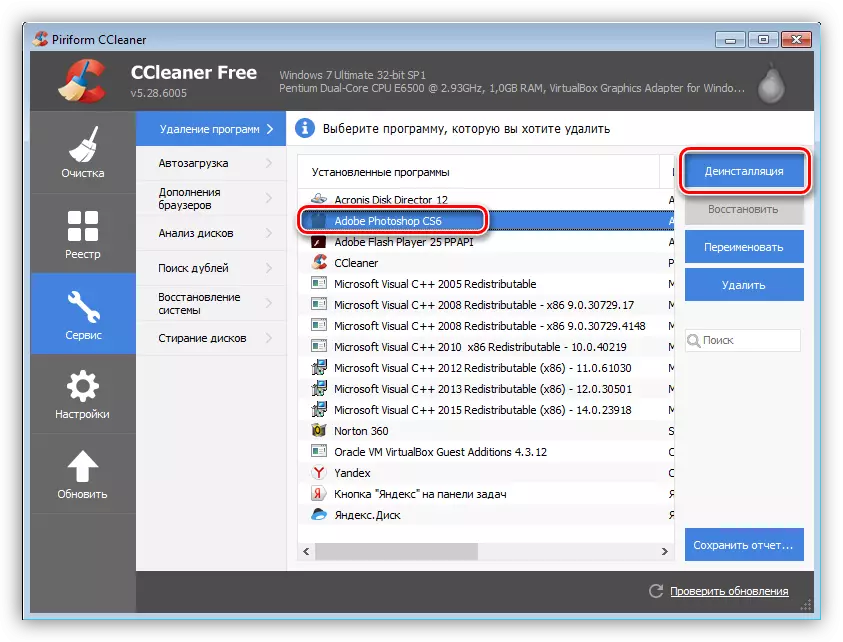
- In the list of installed programs we are looking for photoshop, and press the button with the inscription "Uninstall" on the right pane.
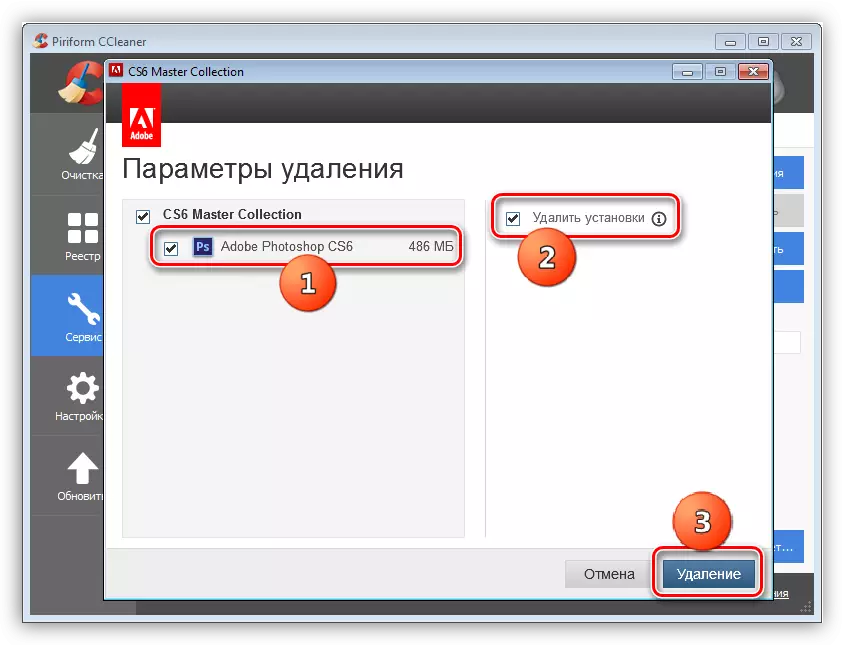
- After the above, the uninstallator of the program will start, with which Photoshop has been installed. In this case, is Adobe Creative Suite 6 Master Collection. You can have this Creative Cloud, or another distribution installer.
In the uninstallator window, select photoshop (if there is such a list) and click "Delete". In most cases, it will be proposed to delete installations. These can be the parameters of the program, saved working media, etc. Decide yourself, because if you want to simply reinstall the editor, then these settings can come in handy.
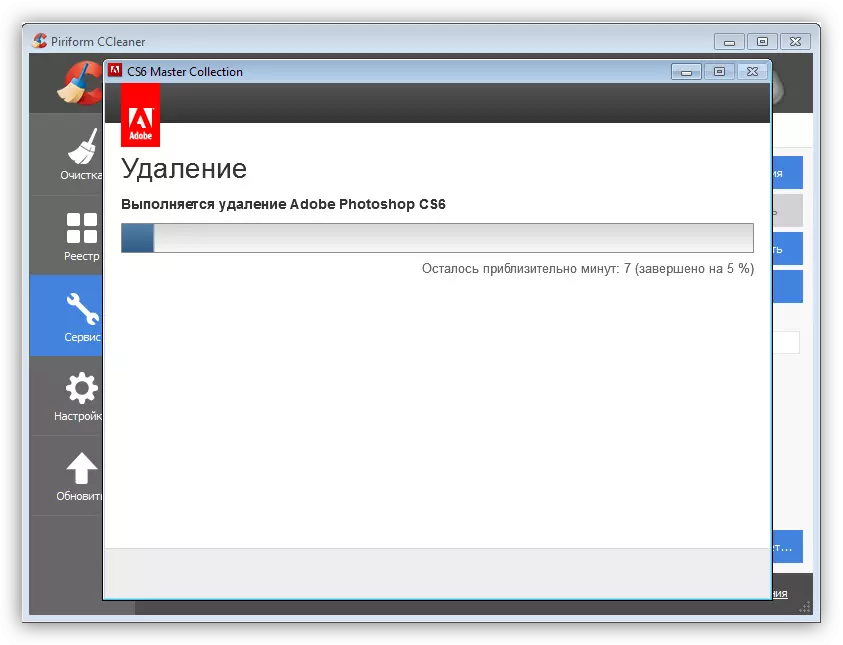
- The process began. Now nothing depends on us, it remains only to wait for its completion.
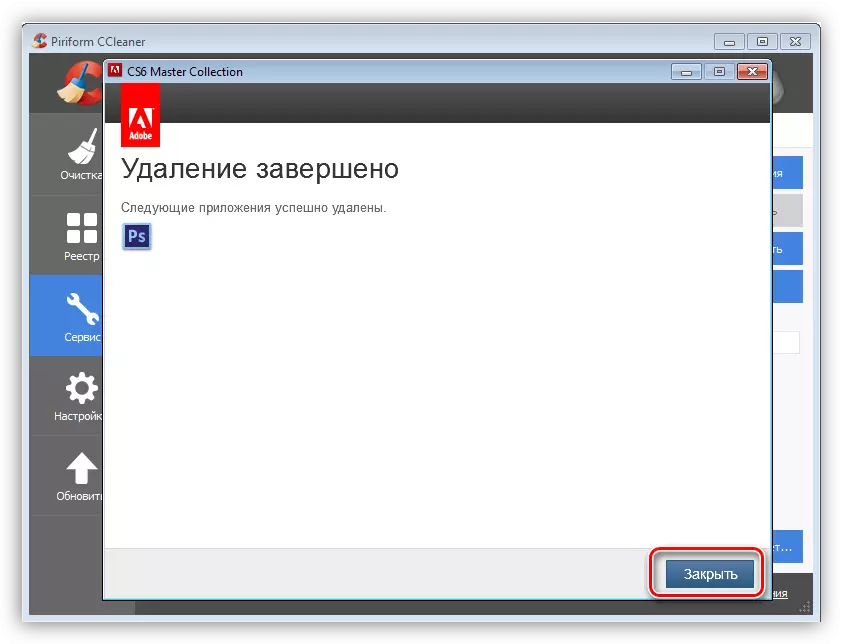
- Finish, Photoshop is removed, click "close".
After uninstalling the editor, it is strongly recommended to restart the computer, since the system registry is updated only after rebooting.
Method 2: Standard
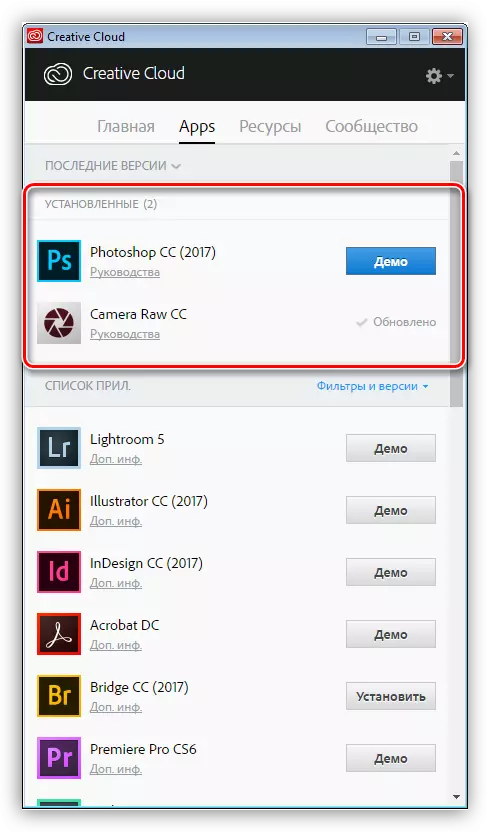
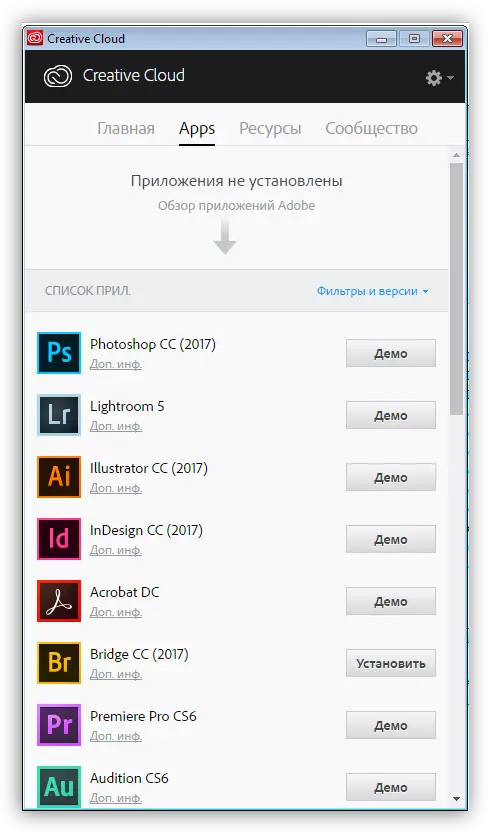
Currently, all Adobe software, except Flash Player, are installed through the Creative Cloud shell with which you can manage installed programs.
The program is launched, which appears on the desktop after its installation.
Photoshop, like most other programs installed on the computer, creates a special entry in the system registry, allowing it to get into the list of the control panel under the title "Programs and Components". Older versions of photoshop, which were installed without the participation of Creative Cloud, are removed here.
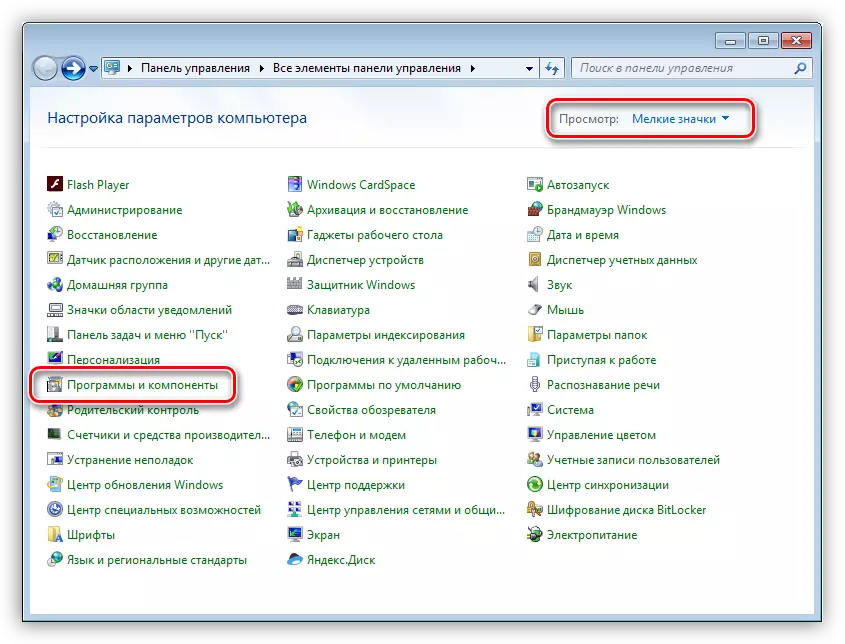
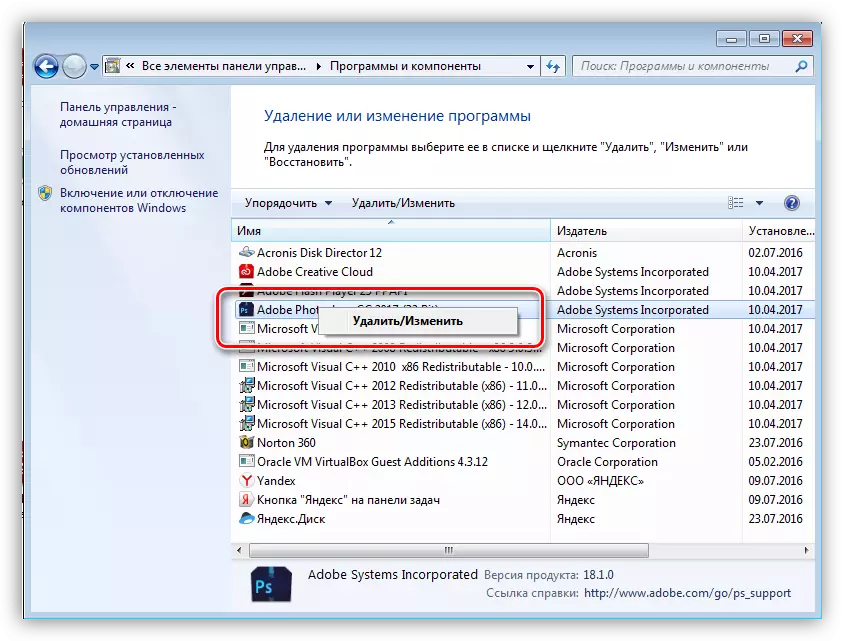
- In the list presented, we find photoshop, we allocate, right-click and select the only menu item "Delete \ Change".
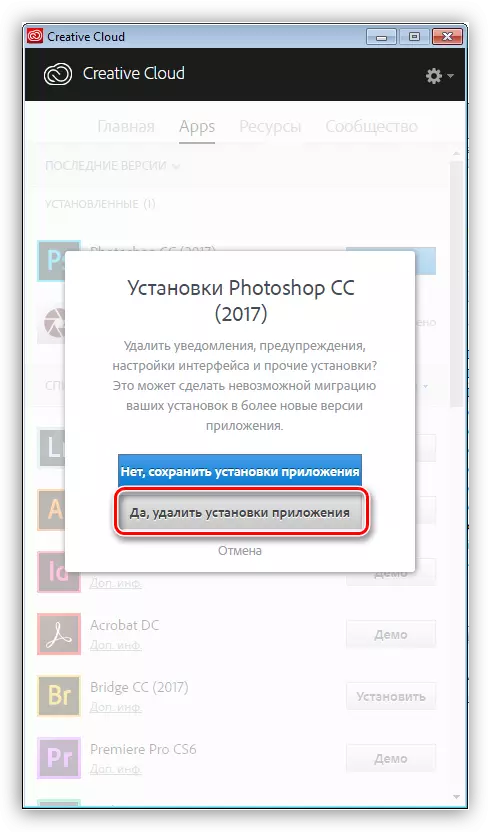
- After completed actions, the installer will open, the appropriate editorial board (version) of the program. As we said earlier, in this case it will be Creative Cloud, which will offer to save, or delete custom installations. Decide to you, but if you plan to complete photoshop removal, then this data is better erased.
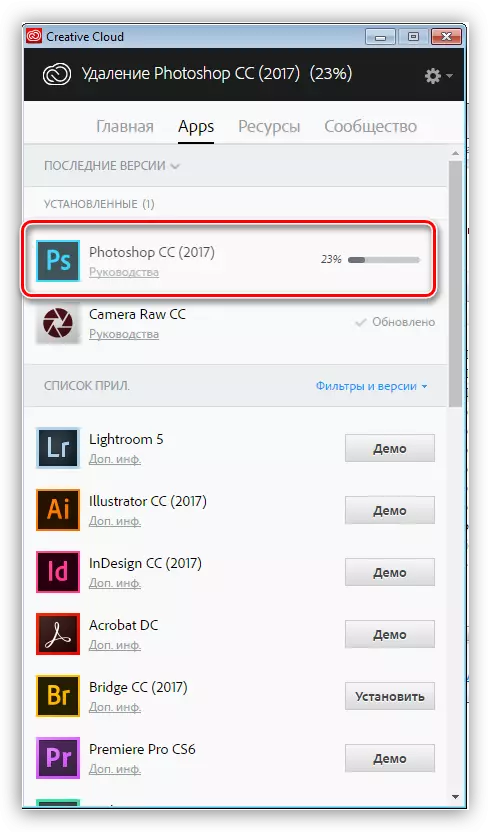
- Process progress can be observed next to the icon of the installed application.
- After removing the shell window, it looks like this:
Photoshop we removed, it is no longer, the task is made.
Method 3: Non-standard
If the program is missing in the control panel list, you will have to, as they say, a little "dance with a tambourine", since the standard photosop distribution does not contain a built-in uninstaller.
The reasons why the editor is not "prescribed" in the control panel can be different. You may have installed the program not in the folder in which it must be default, or the installation has passed incorrectly, or you (do not give God!) Pirate version of photoshop. In any case, the deletion will have to be done manually.
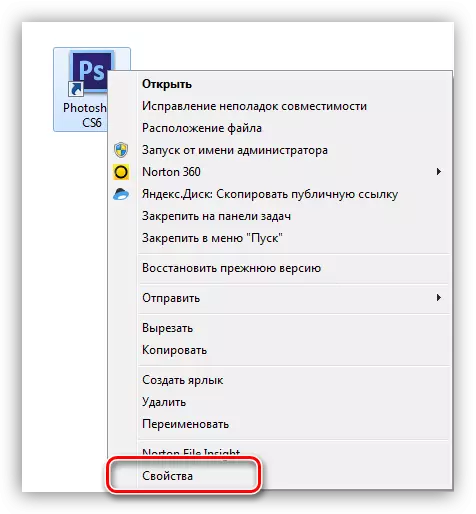
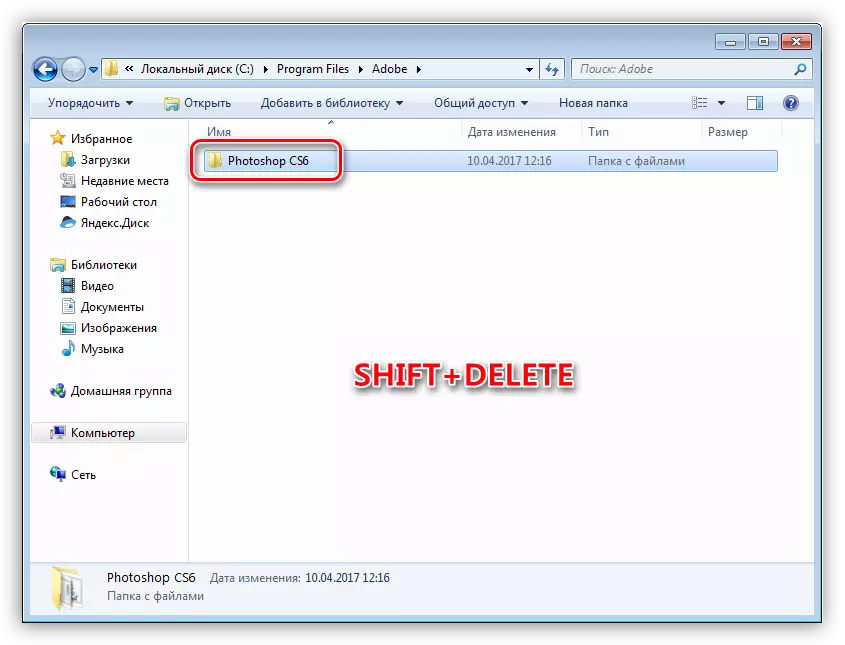
- First, delete the folder with the editor installed. You can determine its location by clicking on the program shortcut, and turning to the item "Properties".
- In the Label properties window, there is a button with the inscription "File Location".
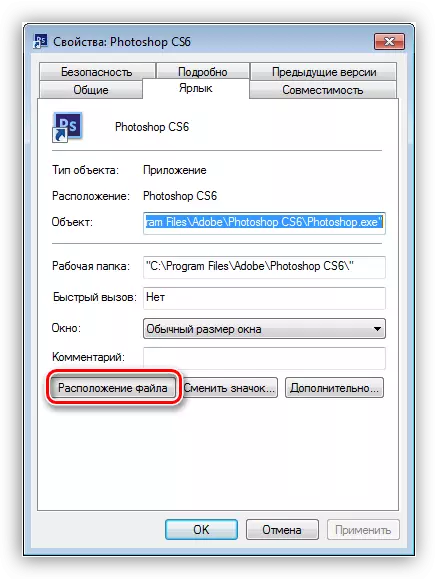
- After clicking, it will be the folder that we need to delete. It must be released from it by clicking on the name of the previous folder in the address bar.
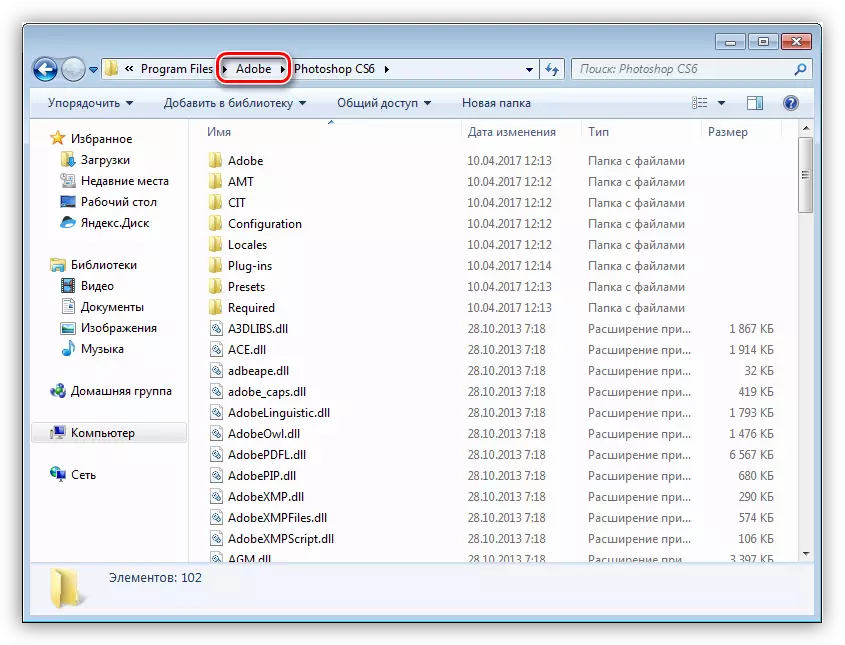
- Now you can delete the directory with photoshop. Make it better with the SHIFT + DELETE keys, bypassing the basket.
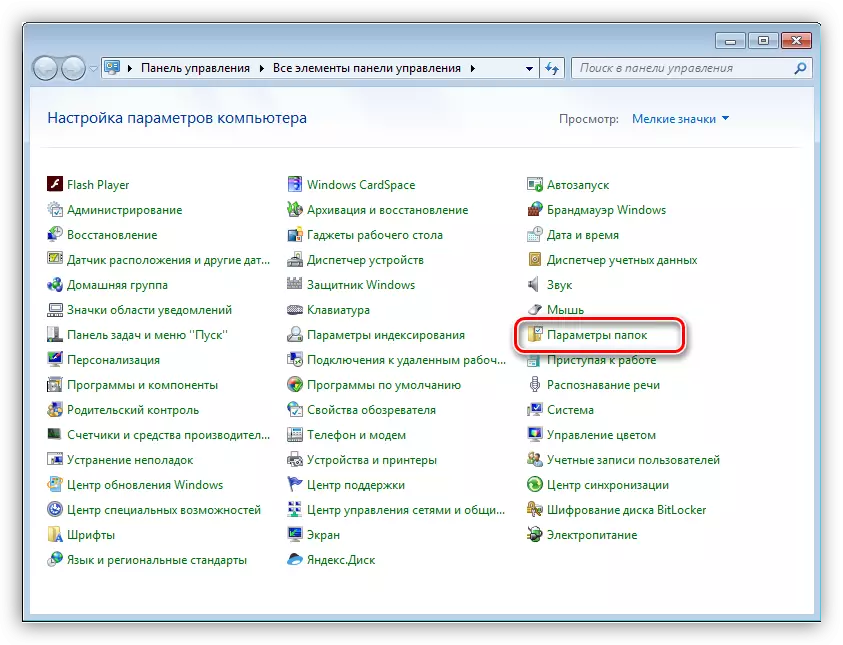
- To continue deletion, we will make invisible folders visible. To do this, go to the "Control Panel - folder parameters".
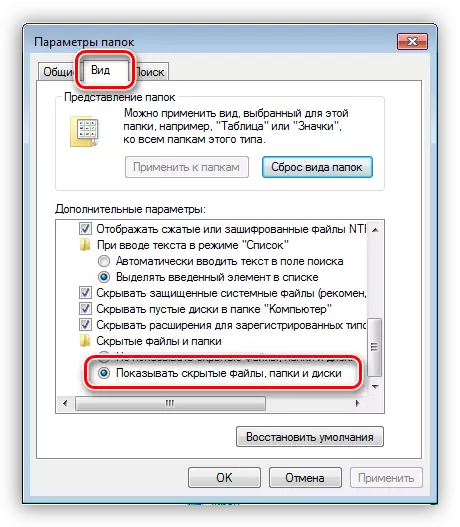
- On the View tab, turn on the "Show hidden files, folders and discs" option.
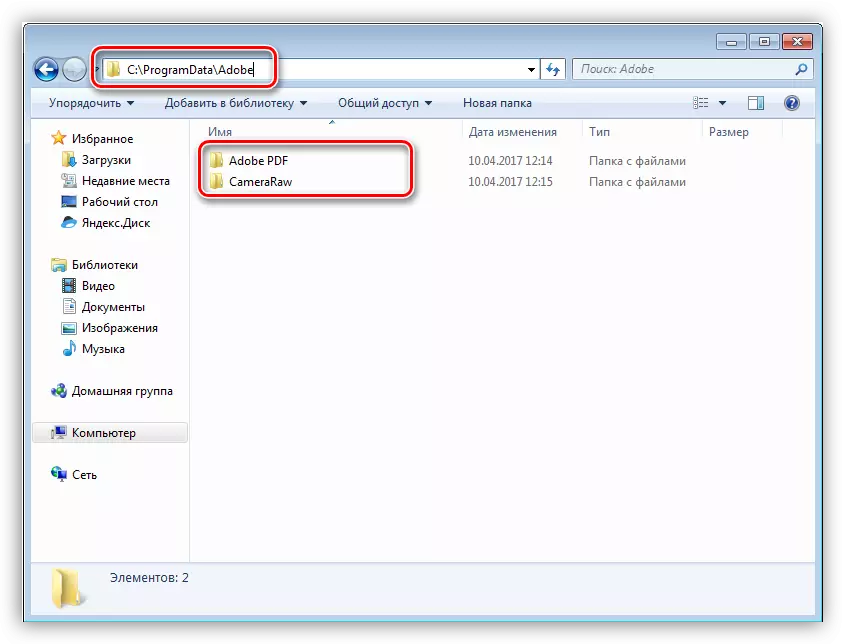
- Go to the system disk (on which the Windows folder is located), open the "ProgramData" folder.
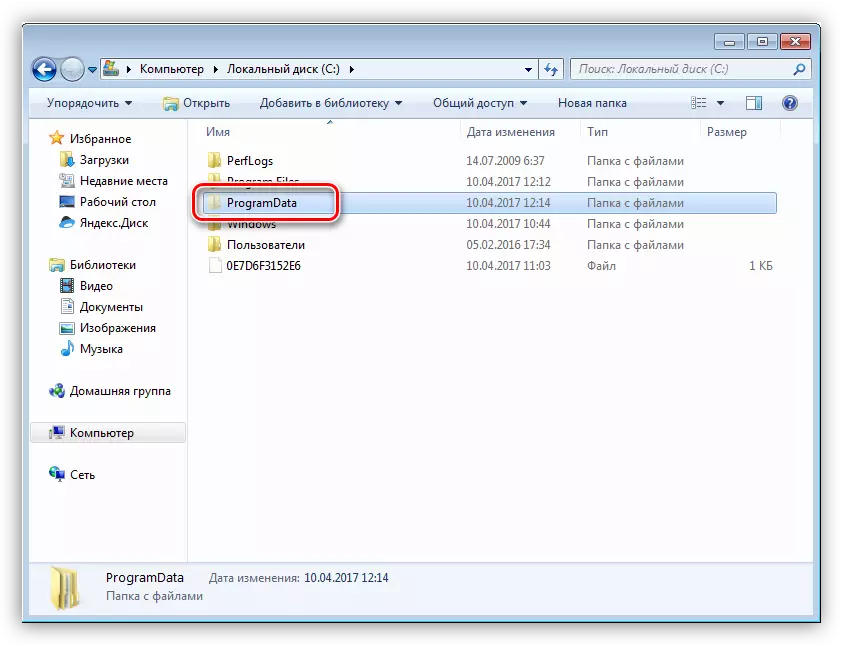
Here we turn to the Adobe directory and remove the subfolder "Adobe PDF" and "CameraraW".
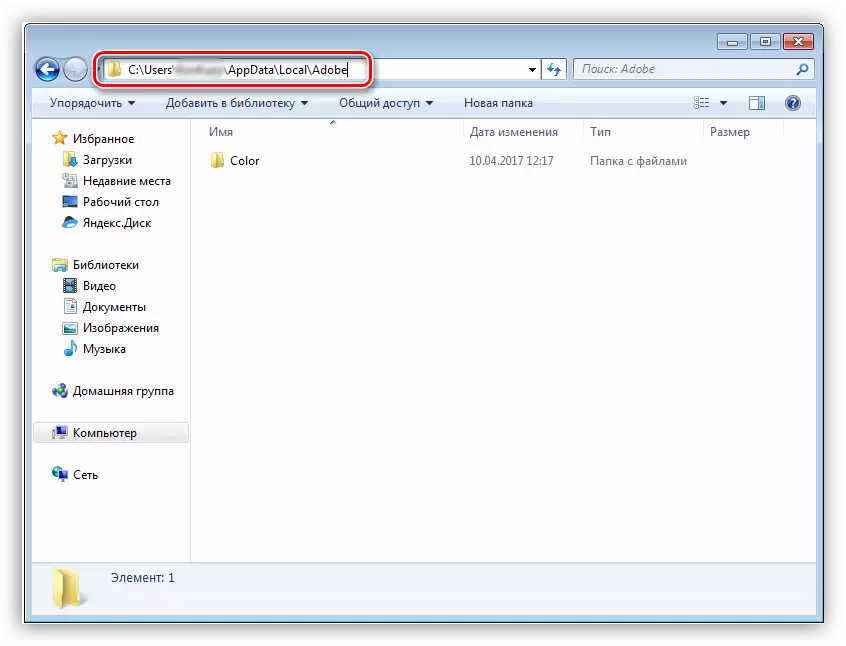
- Next we go along the way
C: \ Users \ Your Account \ APPDATA \ LOCAL \ ADOBE
And delete the Color folder.
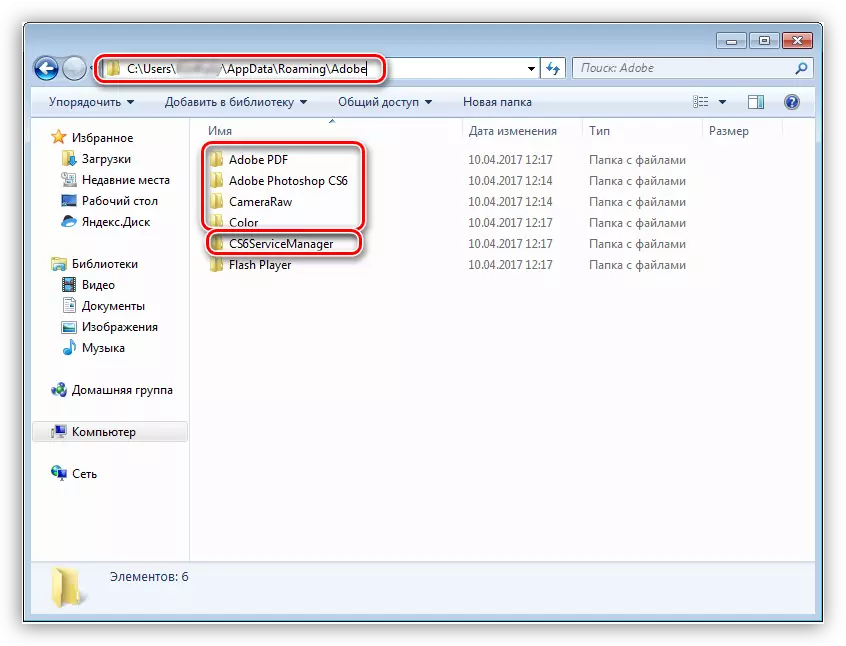
- The following "client" to delete - the contents of the folder that is located at:
C: \ Users \ Your Account \ APPDATA \ Roaming \ Adobe
Here we remove the "Adobe PDF" subfolder, Adobe Photoshop CS6, "Cameraraw", "Color". If you use other CS6 version programs, then you leave the folder "CS6ServiceManager" in place, otherwise we delete.
- Now you need to clean the system registry from the "tailings" photoshop. This, of course, can be done manually, but it is better to trust professionals who write specialized software.
Lesson: The best program for cleaning the registry
After all manipulations, a reboot should be rebooted.
These were two ways to complete photoshop removal from a computer. Regardless of the reasons that prompted you to this, information information will help to avoid some troubles related to the uninstallation of the program.