
Installing drivers - an integral part of the installation process of any operating system. When Windows reinstalling, for most devices, software is used from a common database of drivers. Despite this fact, it is preferable to install the official software that copes much better with its direct responsibilities. In this lesson, we will tell you how to find and install drivers for the NVIDIA GeForce GT 740M video card.
NVIDIA installation options
NVIDIA GeForce GT 740M - Mobile version of the graphics adapter, which is installed in laptops. We have repeatedly noted the fact that the software for laptops is preferable to download from the manufacturer's official website. However, the software for the video card is an exception to this rule, since the driver on the NVIDIA website is updated much more often than on the website of the laptop manufacturer. In addition to the official resource, there are still a number of ways to help you install the software for the GeForce GT 740M video card. Let's analyze in detail each of them.Method 1: Video Card Manufacturer Site
For this option, you need to do the following steps.
- We go to the NVIDIA site software download page.
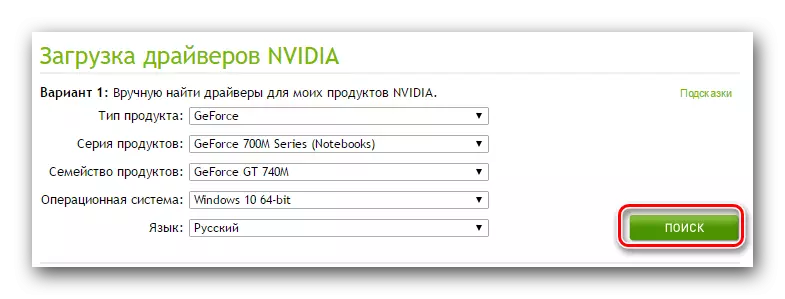
- At the very beginning of the page, you will see the fields that you need to fill out the appropriate information about your adapter, which will help to find the most appropriate driver. You must specify the following values:
- Type of product - GeForce.
- Product Series - GeForce 700m Series (Notebooks)
- Product family - GeForce GT 740m.
- Operating system - Indicate the version and the discharge of your OS
- Language - Select the preferred language of the installer


Lesson: problem solving options when installing the NVIDIA driver


Introducted at this stage to run various 3D applications at this stage, as in the process of installing the video card driver, they may simply hang, and you lose all progress.


Method 2: Special service NVIDIA
This method is not very popular among users of GeForce video cards. However, it is quite a worker and can help you with the installation of the necessary drivers. That's what needs to be performed.
- Go to the provided link to the official page of the brand online service page.
- You need to wait a bit while the service checks your system for the NVIDIA video card and recognizes its model. After that, you will be offered the most recent driver, which is supported by your adapter.
- You only need to click the "Download" button in the lower right corner.
- As a result, you will find yourself on the page with a list of supported devices and overall information about software. You can return to the first way and start from the fourth point, since all further actions will be absolutely identical.
- Please note that during your system scanning, a window can appear on the screen with a Java script launch confirmation. In such a window, click the "Run" or "Run" button.
- It is worth noting that to perform this method, you need to be needed on a Java computer and a browser that will support scenarios data. In this case, you should not use Google Chrome, as with the 45 version of the utility ceased to support this technology.
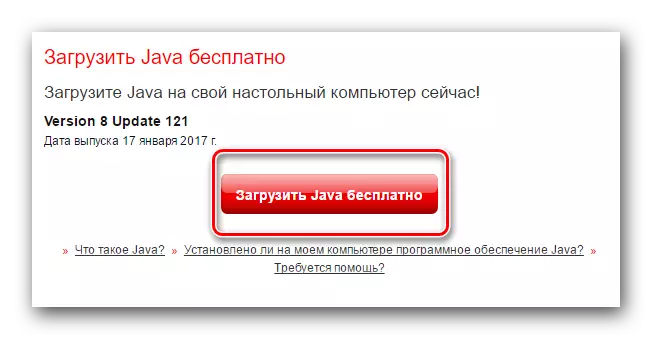
- If the NVIDIA online service detects that Java is missing on your system, you will see the following picture.
- As stated in the message, you only need to click on the Java logo icon to go to the download page. On this page, click the Download Java button for free, which is located in the center.
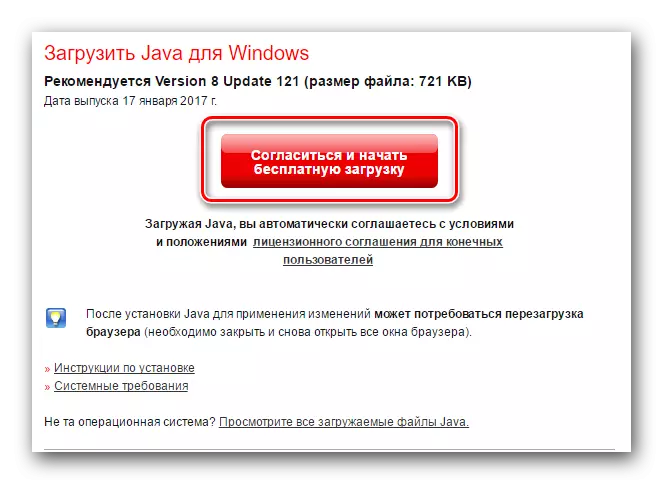
- After that you will find yourself on the page where you will be asked to read the license agreement. You can not do this, as to continue you only need to click the "Accept and start loading" button.
- Now it will start loading the Java installation file. You just need to wait for the download and install Java. It is extremely easy and only takes a couple of minutes. Therefore, you will not stop at this point in detail. After installing Java, it will be necessary to return to the NVIDIA service page and restart it.
- These are all the nuances that you need to know if you select this method.


Method 3: GeForce Experience program
This method will be useful to you, provided that the GeForce Experience utility has already been installed on your computer. By default, it is in the following folders:
C: \ Program Files \ Nvidia Corporation \ Nvidia GeForce Experience - 32 Bit
C: \ Program Files (x86) \ Nvidia Corporation \ Nvidia GeForce Experience - for 64 Bit OS
Your actions for this method must be as follows.
- Run from the NVIDIA GeForce Experience utility from the folder.
- We wait for the download of the main window and go to the "Drivers" section. If a new version of software is available for your adapter, you will see the appropriate message in the top area of the "Drivers" tab. Opposite this message there will be a "Download" button, which must be pressed.
- After clicking on this button, download the necessary file. In the same area, a string appears in which you can track the progress of loading.
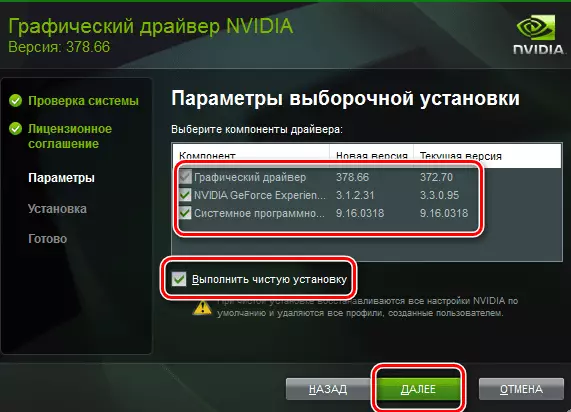
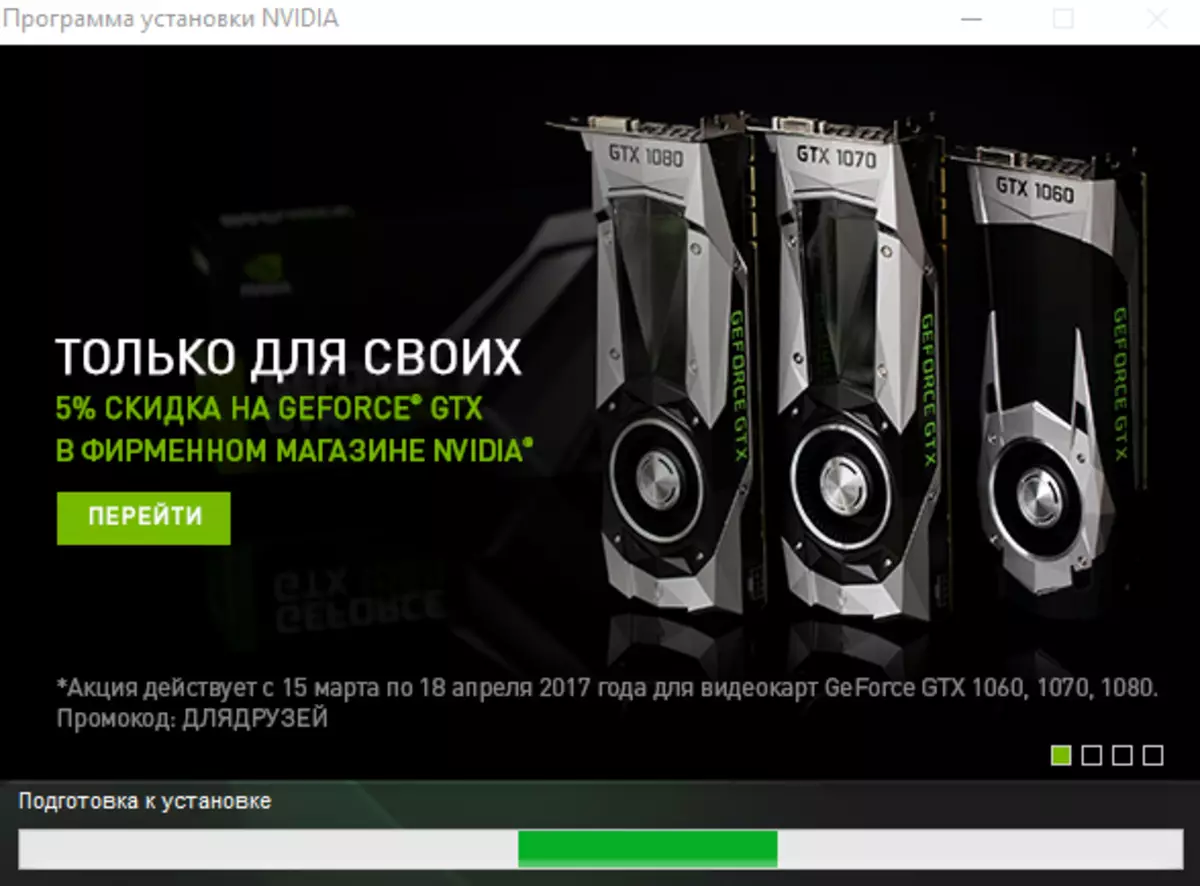
- At the end of the download instead of this line, you will see the buttons that are responsible for the driver installation options. There will already be familiar to you "Express" and "selective installation" modes, which we told in detail in the first way. Click the option you need and just wait for the end of the installation.
- If the installation passes without errors, you will see the following message on the screen. It remains only to close the window by pressing the button of the same name at its lower area.
- Despite the fact that during this method there will be no notice of the need to reboot the system, we strongly recommend that it.
- This described method will end.


Method 4: Global Utilities
We have repeatedly talked about software that specializes in automatic searching and software installation for your devices. You can use such programs in this situation. To do this, you will need to choose one of the similar utilities suggested today. The overall review of the best software of this kind we published in one of our training articles.Lesson: The best programs for installing drivers
In principle, absolutely any utility from the list will fit. However, we recommend using DriverPack Solution due to frequent program updates and a very extensive base of supported devices. In order to avoid difficulties when using DriverPack Solution, we advise first to read the learning lesson.
Lesson: How to update drivers on a computer using DriverPack Solution
Thus, using a similar utility, you can install all available drivers for your equipment, including for the GeForce GT 740M video card.
Method 5: Search for the identifier of the video card
To this method, we devoted a separate big lesson in which all the details were told about all the nuances of searching and installing software using the device identifier.
Lesson: Search for Drivers by Equipment ID
To use this method, the most important step is to define the value of the video card ID. The NVIDIA GeForce GT 740M adapter is as follows:
PCI \ Ven_10de & Dev_1292 & Subsys_21Ba1043 & Rev_a1
PCI \ Ven_10de & Dev_1292 & Subsys_21Ba1043
PCI \ Ven_10DE & DEV_1292 & CC_030200
PCI \ Ven_10de & Dev_1292 & CC_0302
You only need to copy any of the proposed values and insert it on a specific online service. We told about such resources in mentioned above lesson. They will find your device ID and offer a download driver compatible with it. You will only have to download the desired files and install software on a laptop. In fact, the method is very elementary and will not require any special knowledge and skills.
Method 6: Search on the computer
This way is not in vain in the latest place. He is the most intimate of all that were previously offered. Despite this, in situations where problems arise with the definition of the video card, it can very care. To use this method, you need to do the following.
- Open the "Device Manager" by any way known to you. The list of such methods we published earlier in one of our training lessons.
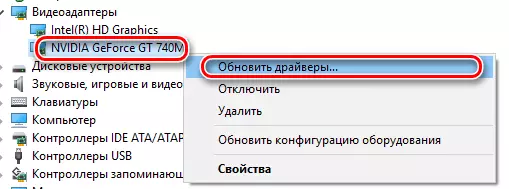
- Among the groups of devices are looking for the section "Video adapters" and open it by simply by clicking on the title. In this section, you will see two devices - an integrated Intel adapter and the GeForce video card. Select the adapter from NVIDIA and press the right mouse button on the equipment name. In the context menu that opens, click on the "Update Drivers" string.
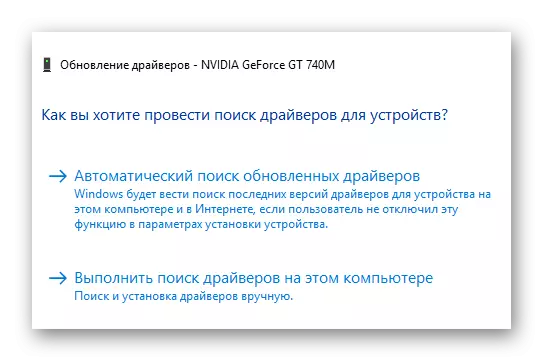
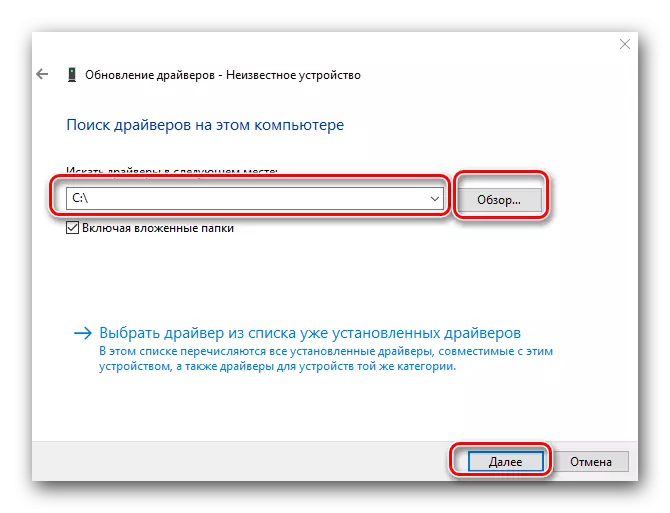
- In the next window, you must select how to search on the computer - automatically or manually.
- If you do not have the necessary files - click on the "Automatic Search" string. The "Manual Search" option can be selected only if you have previously downloaded files that will help the system to recognize your adapter. In this case, you will need to specify the path to the folder in which these files are stored and click the Next button.
- No matter what type of search you have selected, in the end result you will see the window with the result of installation.
- As we mentioned above, only basic files will be installed in this case. Therefore, we advise after this method to use one of those described above.
Lesson: Open the Device Manager in Windows
Thanks to the way methods, you can install the driver for the NVIDIA GeForce GT 740M video card without much effort and problems. After that you can fully use games and applications, enjoying a smooth picture and high adapter performance. If you still encounter any difficulties in the installation process, write about similar cases in the comments. We will try to answer all the questions and help solve the problems arising.