
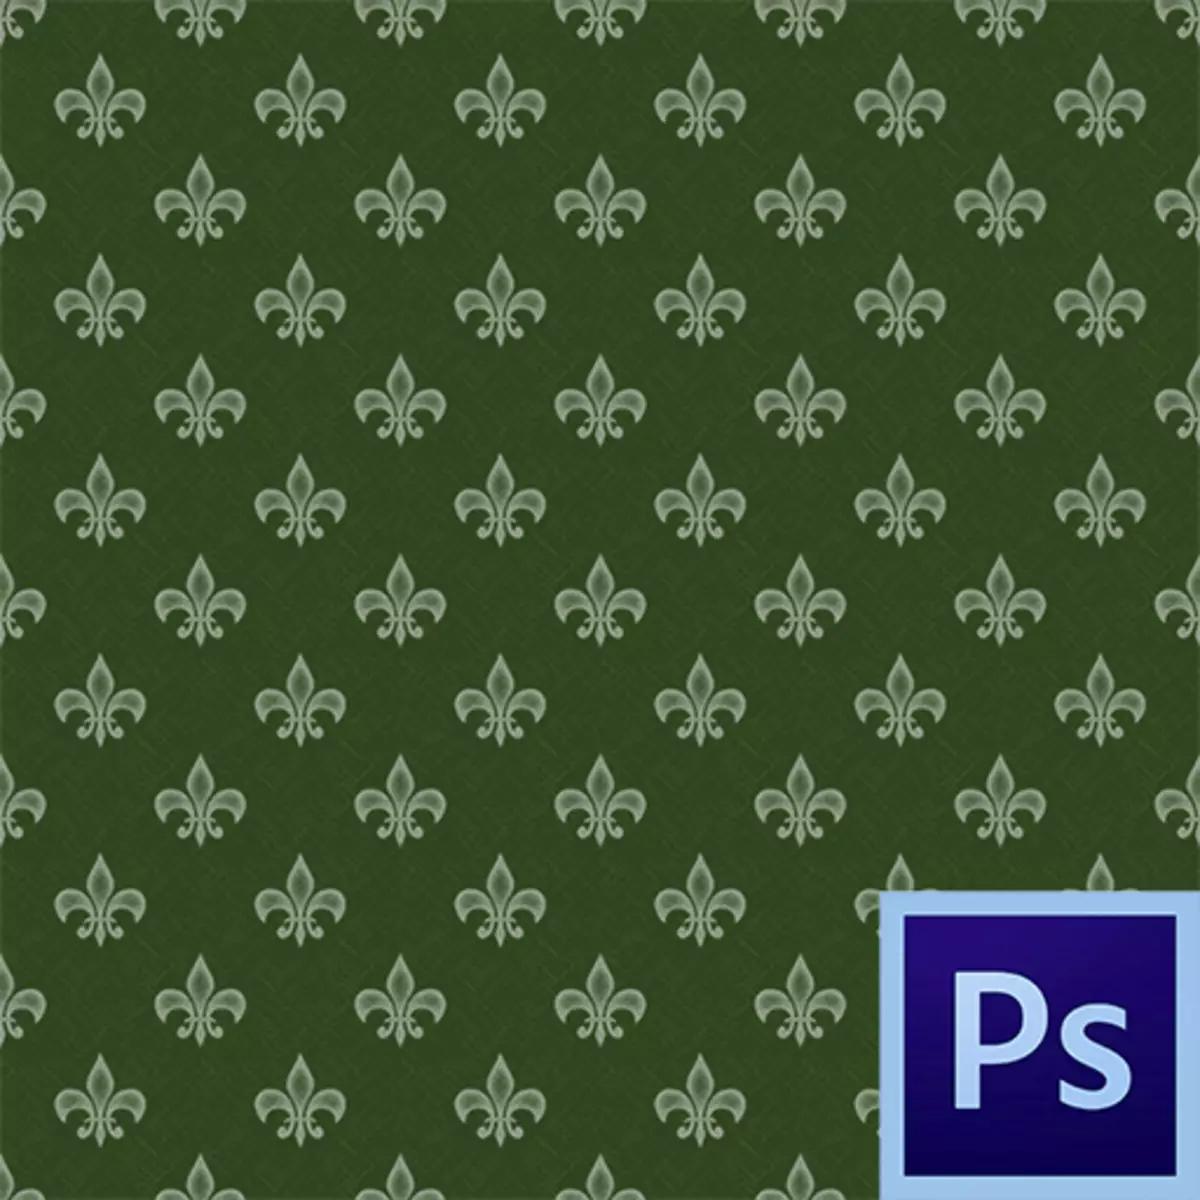
Patterns or "patterns" in Photoshop - fragments of images designed to fill the layers with a solid repeating background. Due to the characteristics of the program, you can also pour masks, and dedicated areas. With such a fill, the fragment is automatically cloned according to both axes of coordinates, until the element is completely replaced to which the option is applied.
Patterns are mainly used when creating backgrounds for compositions.
The convenience of this function of photoshop is difficult to overestimate because it saves a huge amount of time and strength. In this lesson, let's talk about patterns, how to install them, apply, and how you can create your own repeating backgrounds.
Patterns in photoshop
The lesson will be divided into several parts. First, let's talk about the uses, and then how to use seamless texture.Application
- Setting up fill.
Using this feature, you can fill the pattern with an empty or background (fixed) layer, as well as a selected area. Consider the method on the example of the selection.
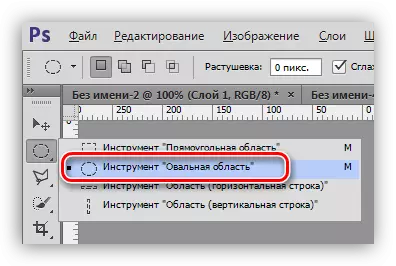
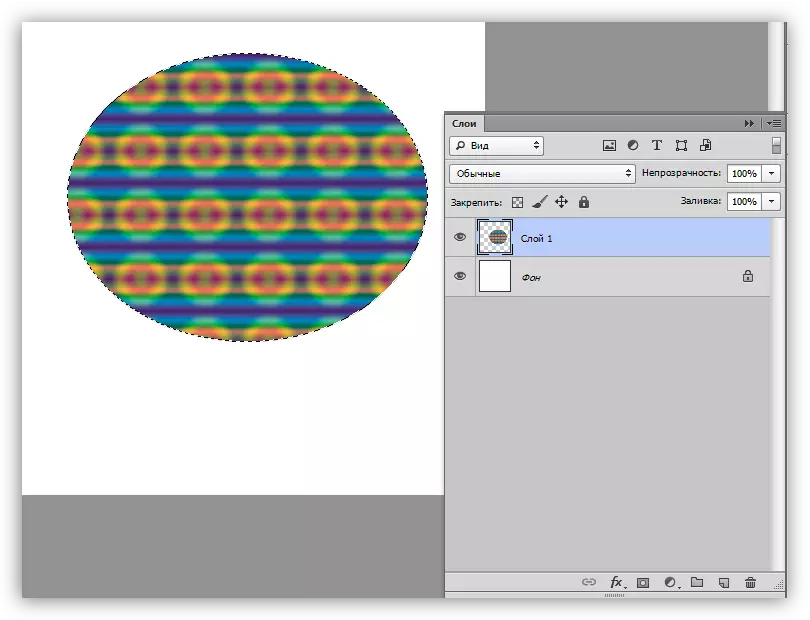
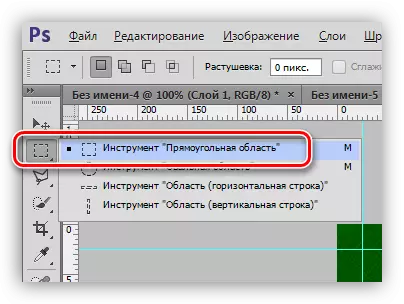
- We take the oval area tool.
- We highlight the area on the layer.

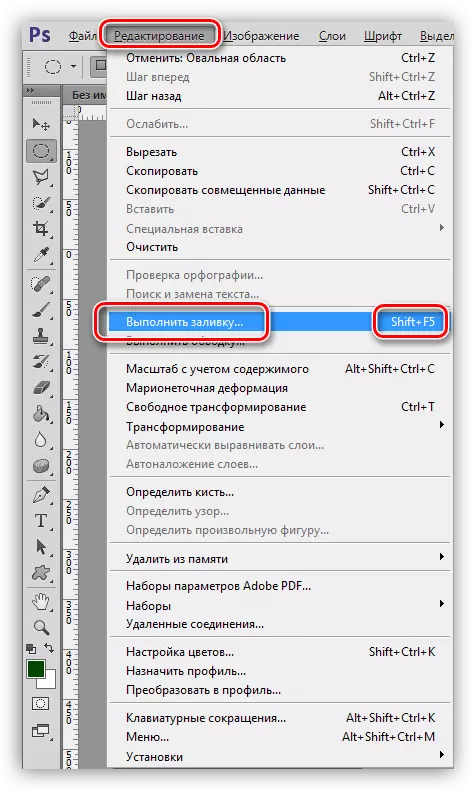
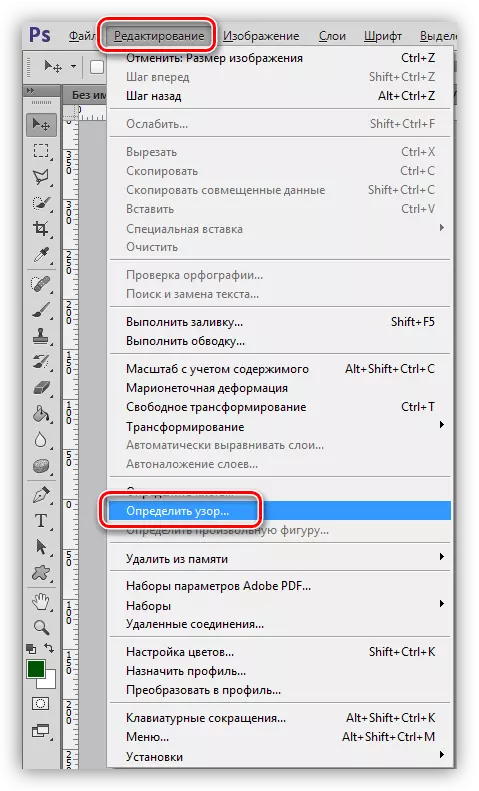
- We go to the "Editing" menu and click on "Run Fill". This feature can also be caused by the SHIFT + F5 key combination.
- After activating the function, the setup window opens with the name "Fill".
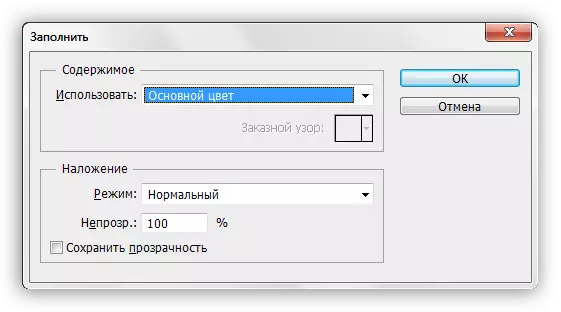
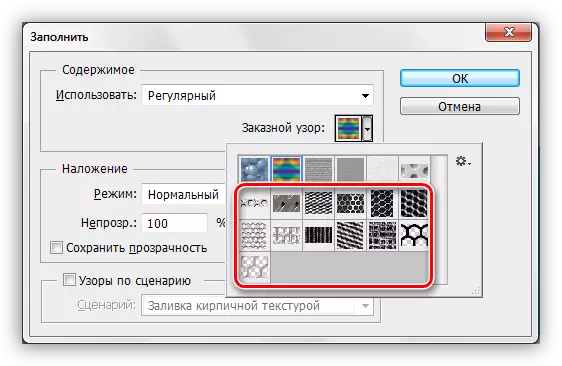
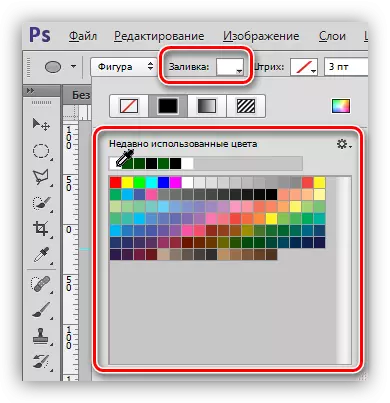
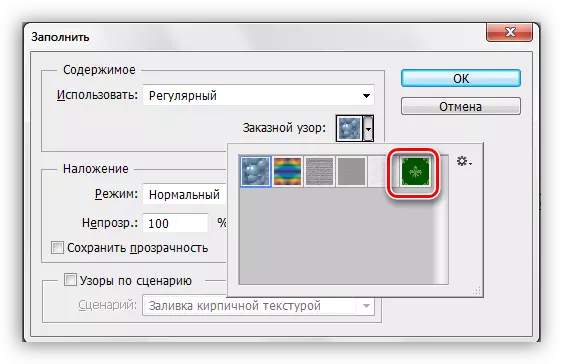
- In the section with the title "Content", in the "Use" drop-down list, select "Regular".
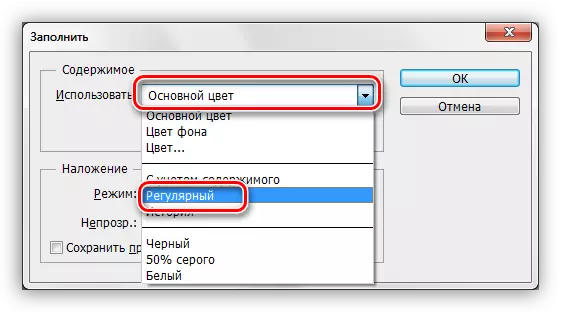
- Next, open the "Custom Pattern" palette and in the opened set, choose the one that we consider it necessary.
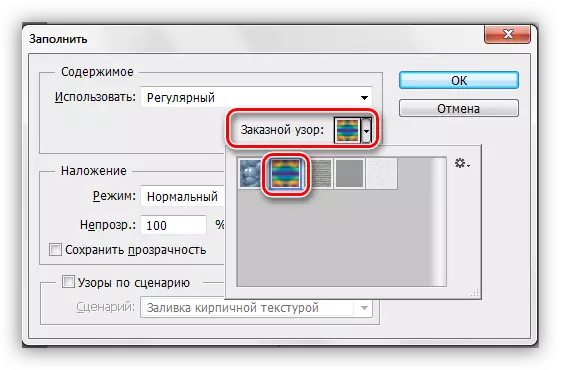
- Click OK button and look at the result:
- We take the oval area tool.
- Filling with layer styles.
This method implies the presence of any object or solid fill on a layer.
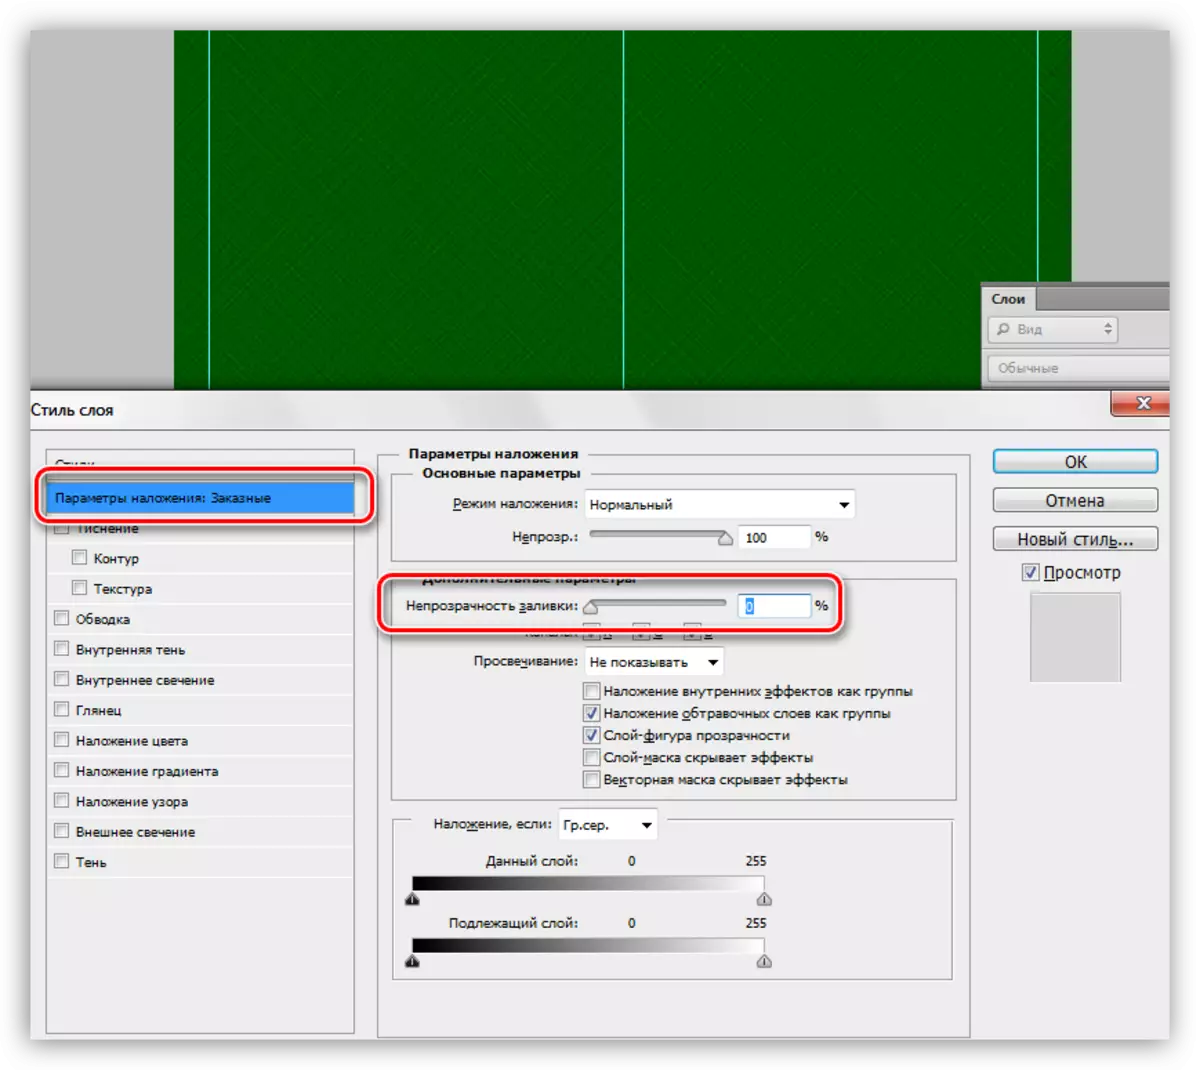
- Click PCM on the layer and select the "Overlay Settings" item, after which the style settings window opens. The same result can be achieved by clicking twice with the left mouse button.
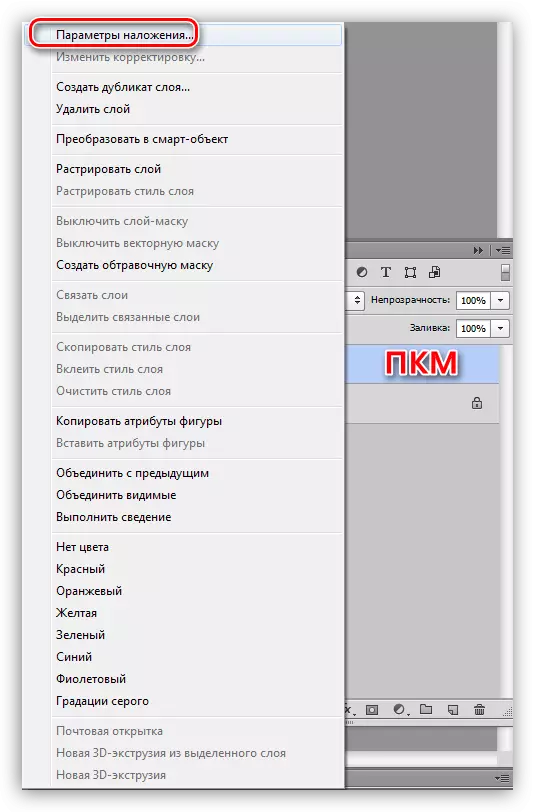
- In the settings window, go to the section "Pattern".
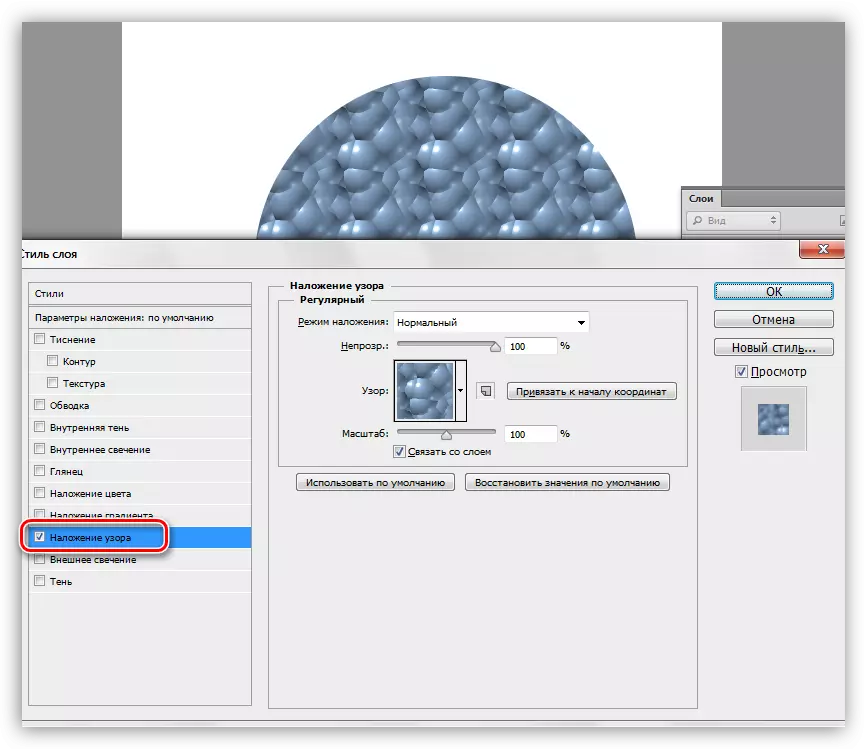
- Here, by opening the palette, you can select the desired pattern, the imposition of the pattern to the existing object or fill, set the opacity and scale.

- Click PCM on the layer and select the "Overlay Settings" item, after which the style settings window opens. The same result can be achieved by clicking twice with the left mouse button.
Custom backgrounds
In Photoshop, the default is a standard set of patterns that you could see in the fill and styles settings, and it is not the limit of dreaming a creative person.
The Internet provides us with the opportunity to enjoy other people's work and experience. There are many sites with custom figures, brushes and patterns. To search for such materials, it is enough to drive in Google or Yandex such a request: "Patterns for photoshop" without quotes.
After downloading the samples you like, we, most often, we obtain an archive containing one or more files with the PAT extension.
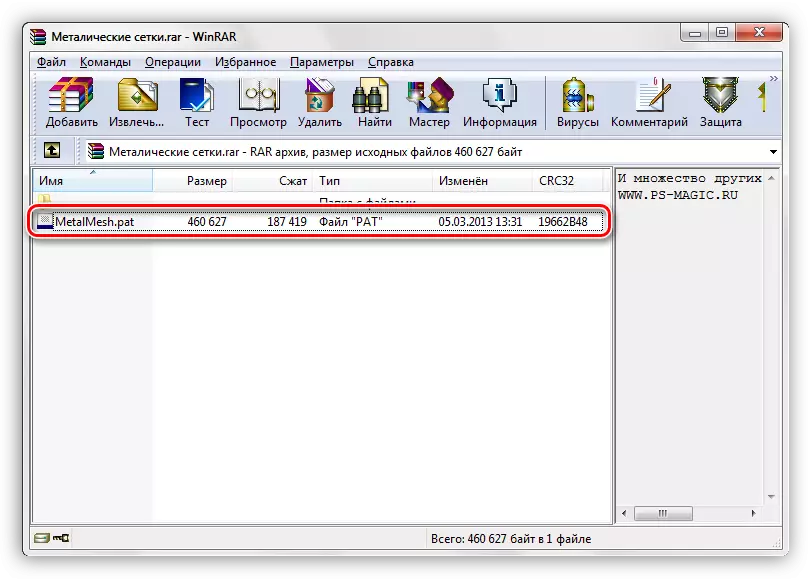
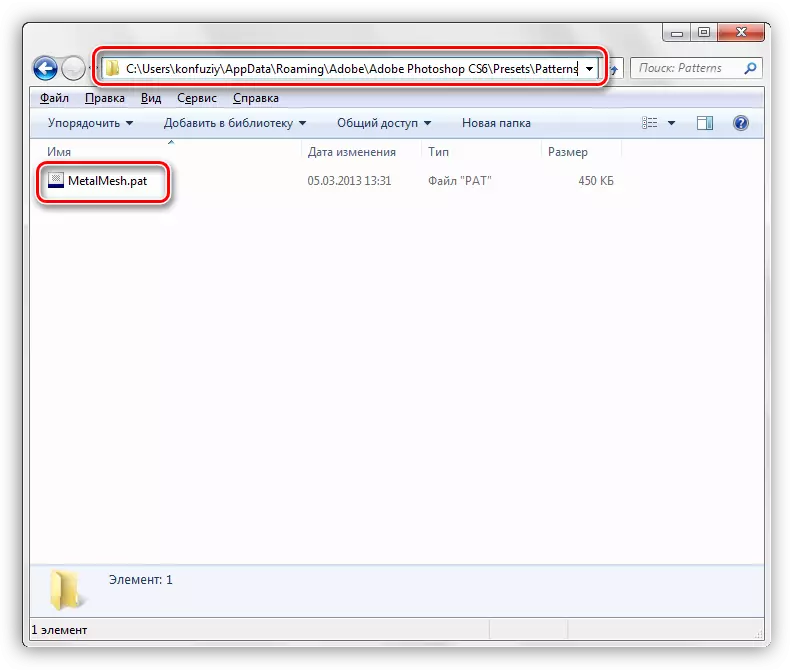
This file must be unpaved (drag) to the folder
C: \ Users \ Your Account \ APPDATA \ Roaming \ Adobe \ Adobe Photoshop CS6 \ PRESETS \ Patterns
It is this directory that opens by default when attempting to load patterns in Photoshop. A little later you will realize that this place unpacking is not mandatory.
- After calling the "Fill" function and the appearance of the "Fill" window, open the "Custom Pattern" palette. In the upper right corner, click on the gear icon, opening the context menu in which you find the "Upload patterns" item.
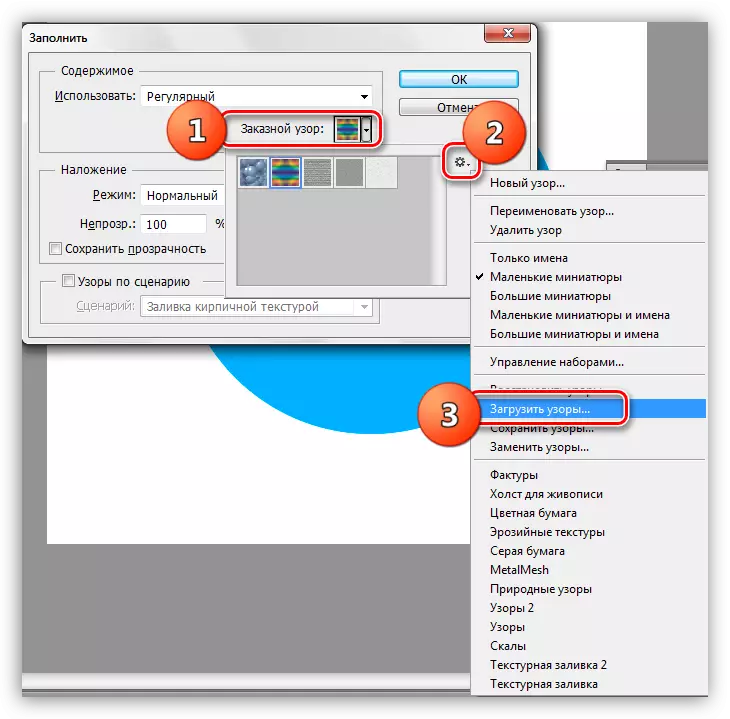
- The folder will open about which we talked above. In it, choose our unpacked PAT file before and click the "Download" button.
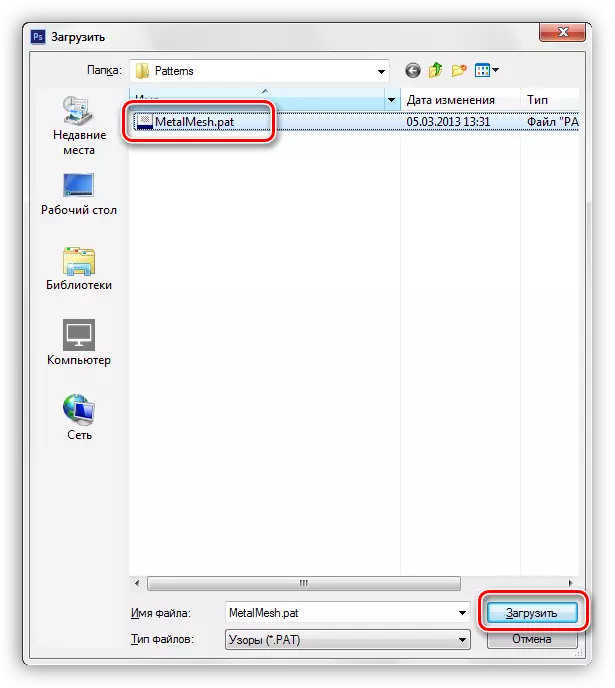
- Uploaded patterns will automatically appear in the palette.
As we have said a little earlier, it is not necessary to unpack the files into the "Patterns" folder. When loading patterns, you can search for files on all discs. For example, you can start a separate directory in a safe place and fold the files there. For these purposes, an external hard disk or flash drive is quite suitable.
Creating a pattern
On the Internet you can find many user patterns, but what to do, if none of them fit us? The answer is simple: create your own, individual. The process of creating seamless texture creative and interesting.
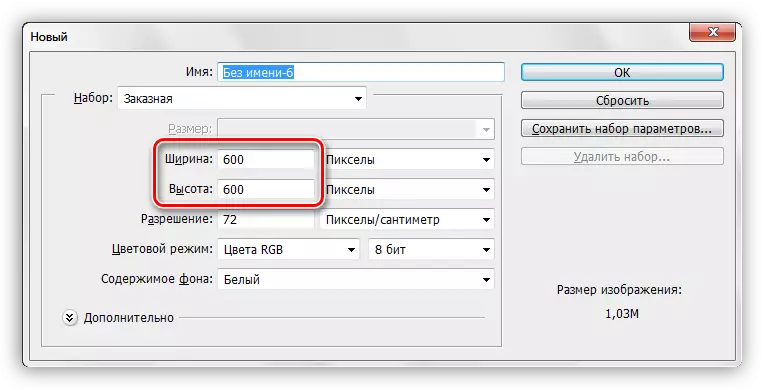
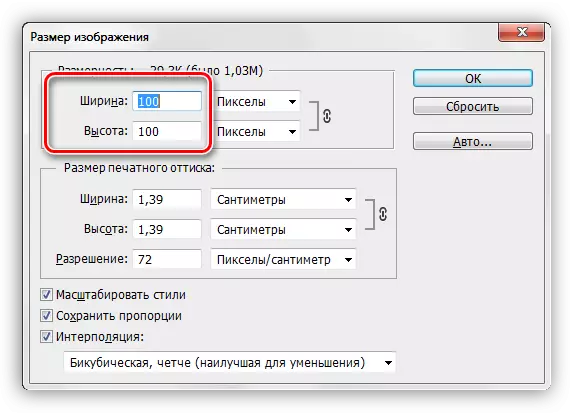
We will need a document of a square form.
When creating a pattern, it is necessary to know that when the effects and application of filters are applied, a light or dark color can appear on the canvas boundaries. These artifacts when applying the background will turn into a line that are very stronger. In order to avoid similar troubles, it is necessary to expand the canvas slightly. From that and begin.
- We limit the canvas guides from all sides.
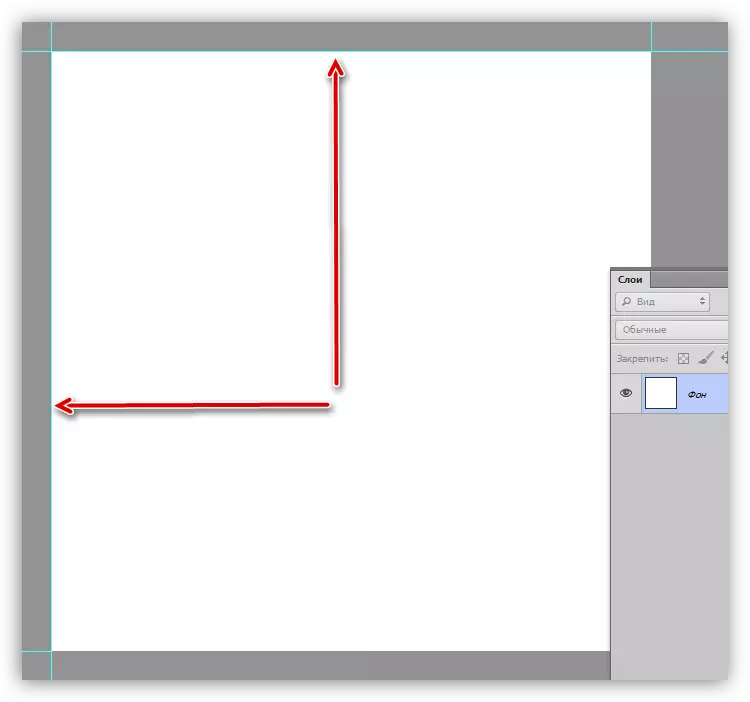
Lesson: Application of guides in photoshop
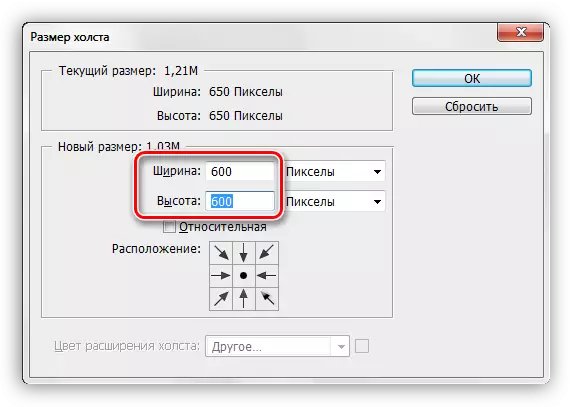
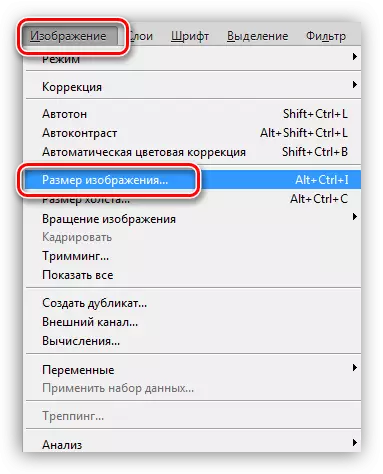
- Go to the "Image" menu and click on the "Canvas size" item.
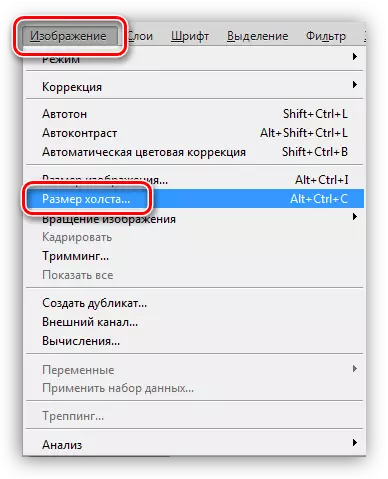
- We add 50 pixels to the size of the width and height. The color of the canvas expansion is chosen neutral, for example, light gray.
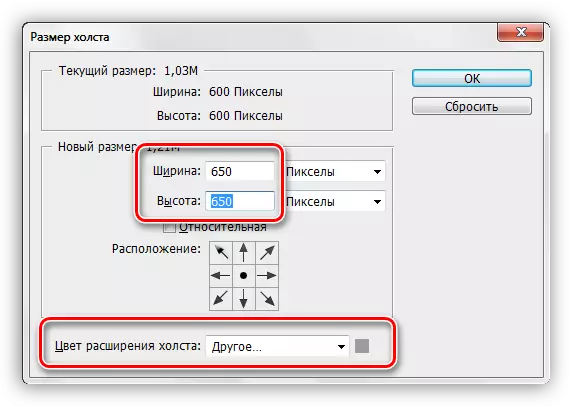
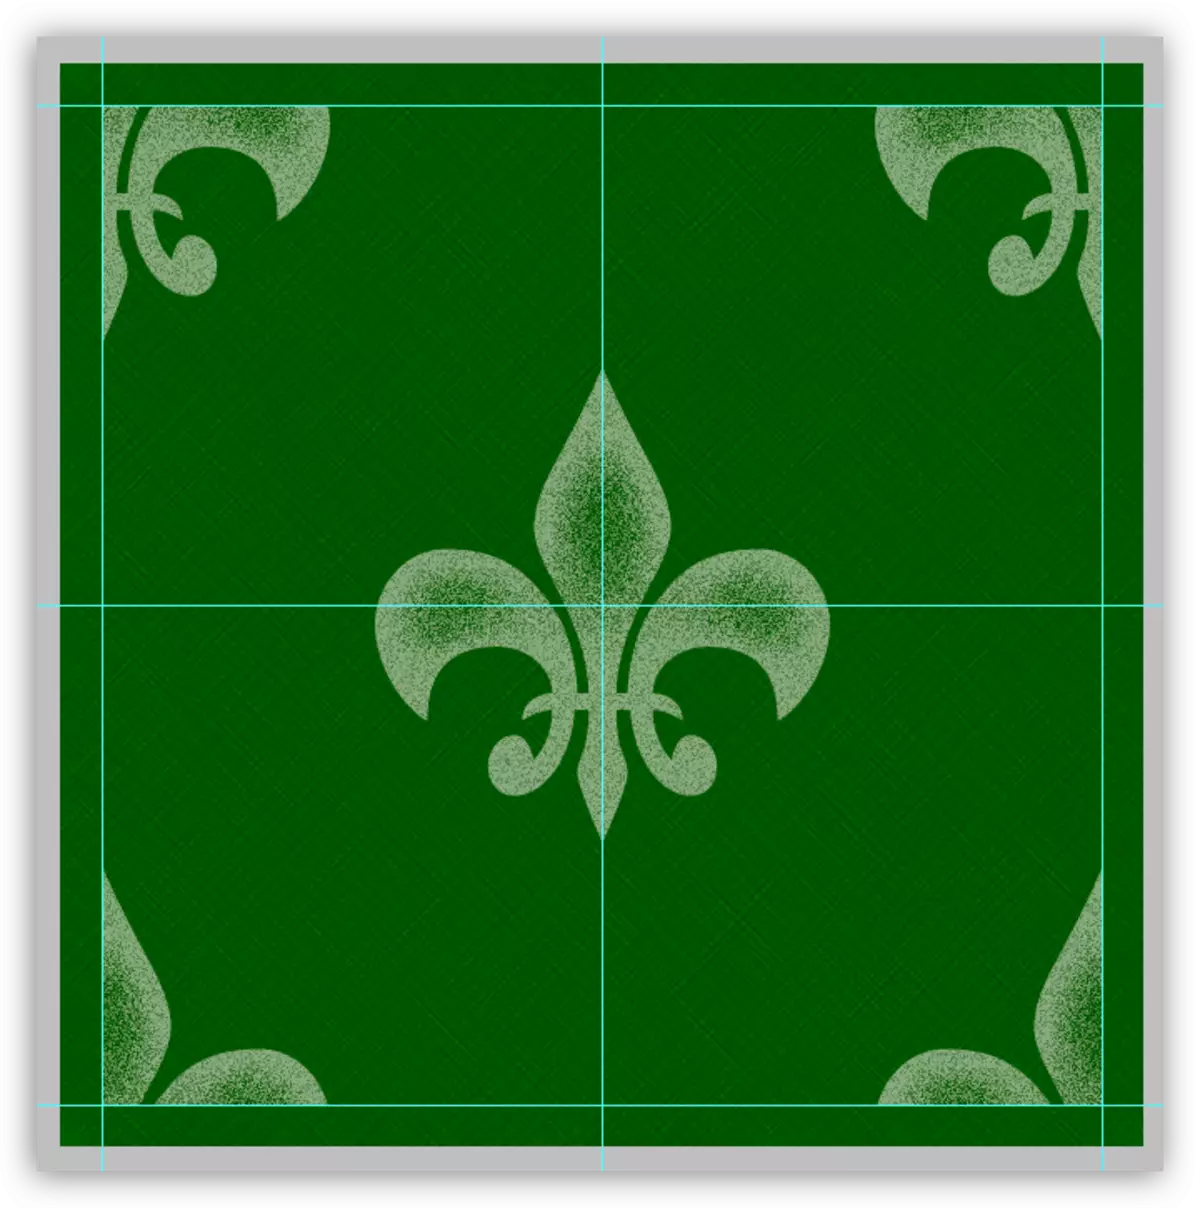
These actions will lead to the creation of such a zone, the subsequent trimming of which will allow us to remove possible artifacts:
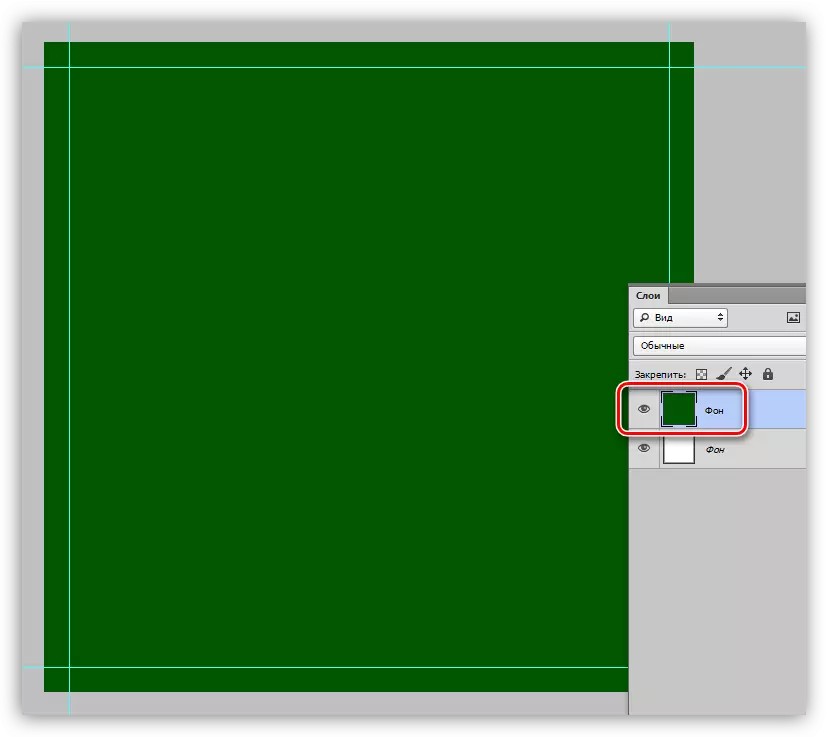
- Create a new layer and pour it dark green.
Lesson: How to pour a layer in photoshop
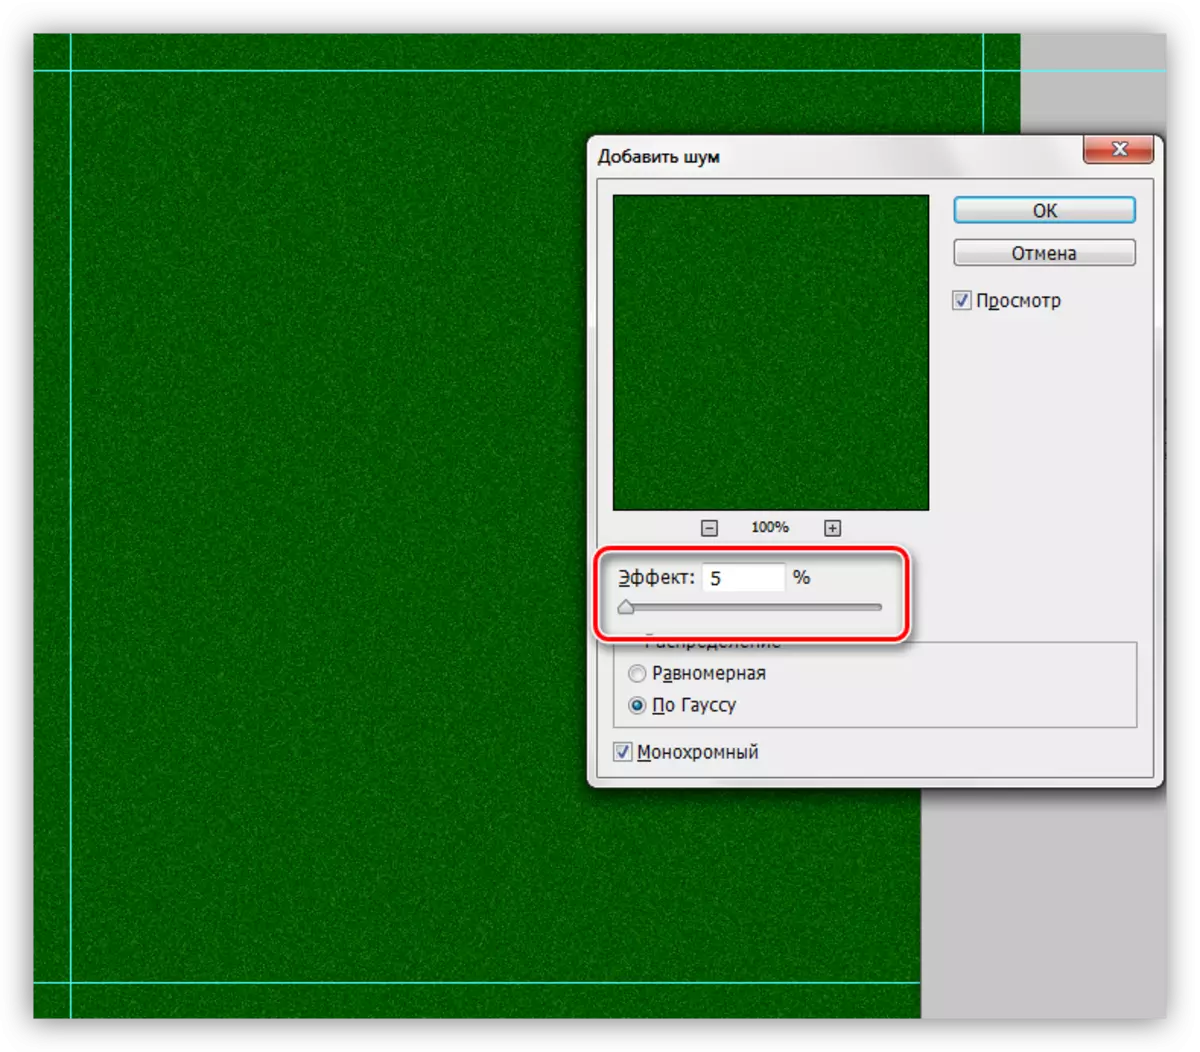
- Add our background a little grain. To do this, refer to the "Filter" menu, open the "Noise" section. The filter you need is called "add noise".
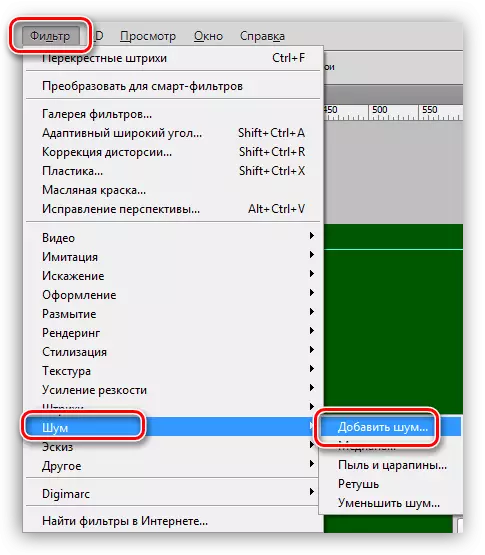
Grain size is chosen at its discretion. From this depends on the severity of the texture that we will create in the next step.
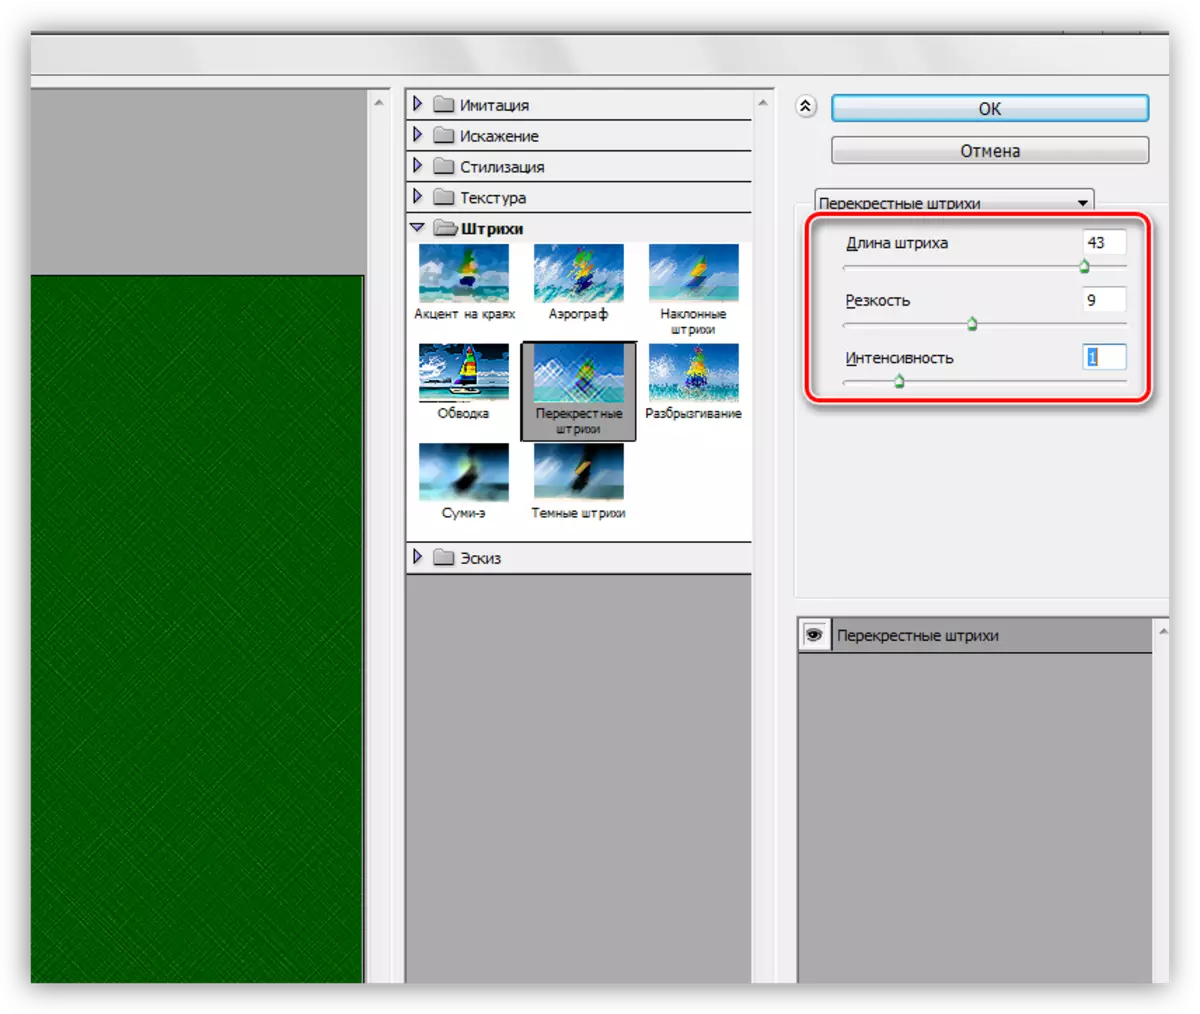
- Next, apply the "Cross Strokes" filter from the corresponding Filter menu block.
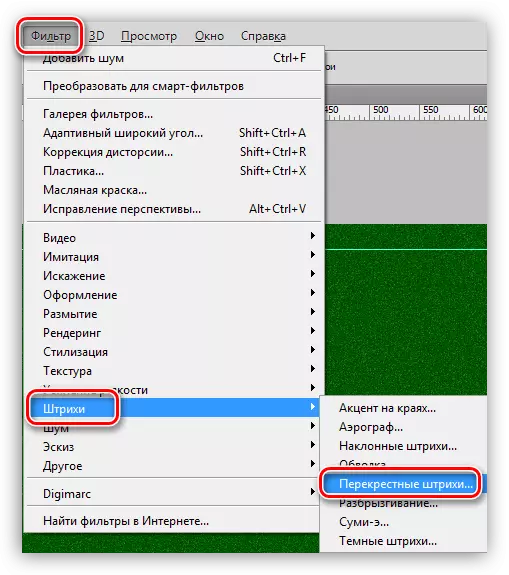
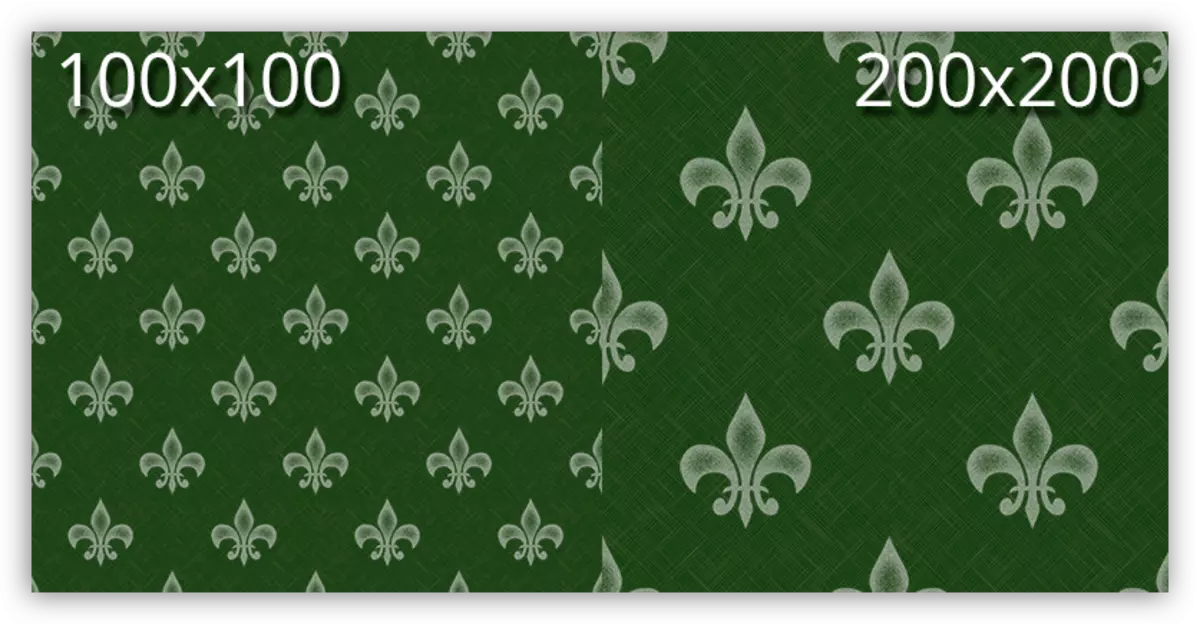
Customize the plugin also "on the eye". We need to get a texture similar to not very high quality, coarse cloth. It should not be fully similarity, since the image will be reduced several times, and the texture will only be guessing.
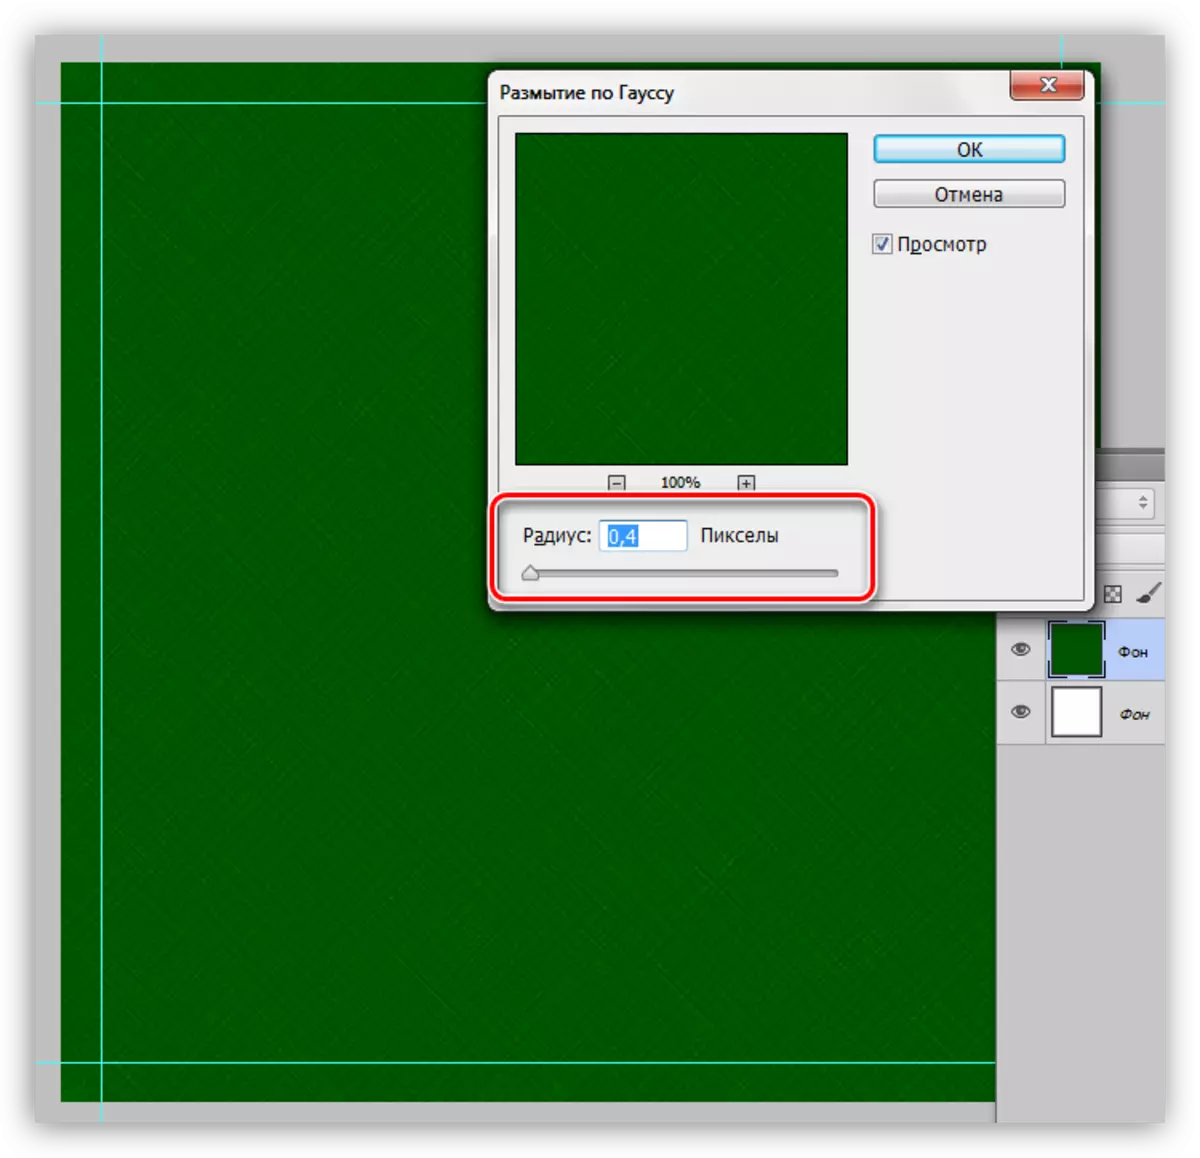
- Apply another filter to the background called "Gaussian Blur".
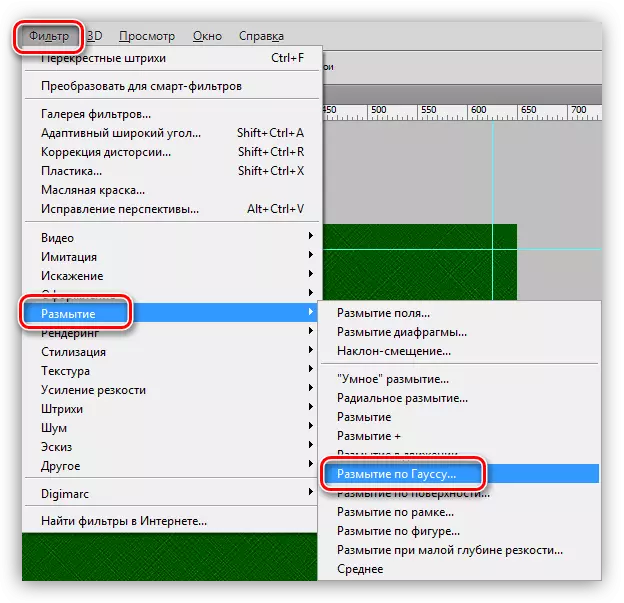
Blur radius exhibit minimal so that the texture does not really suffer.
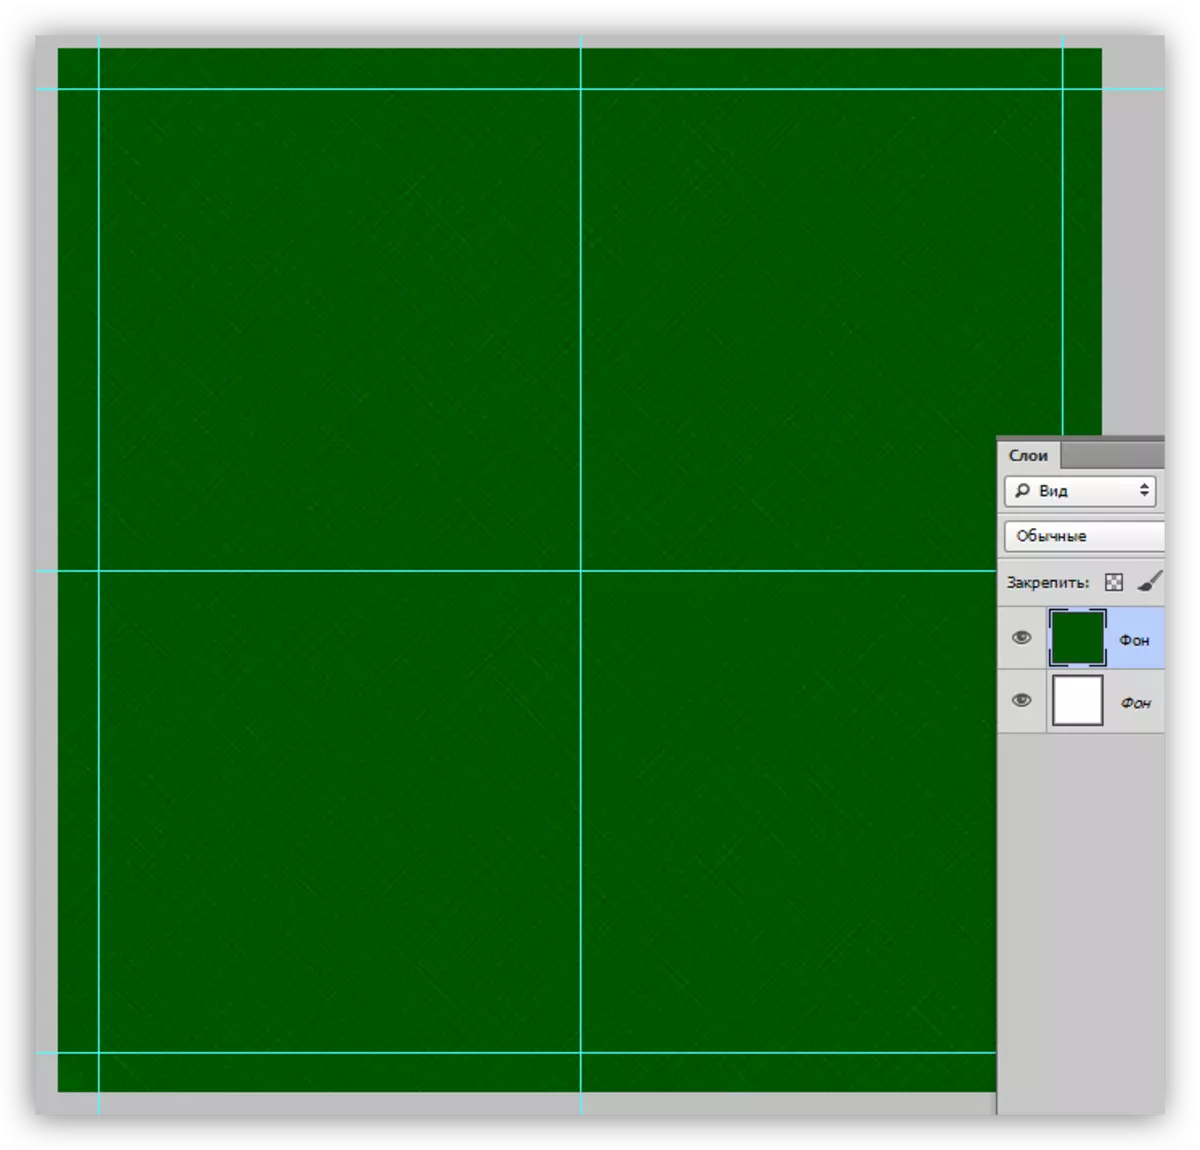
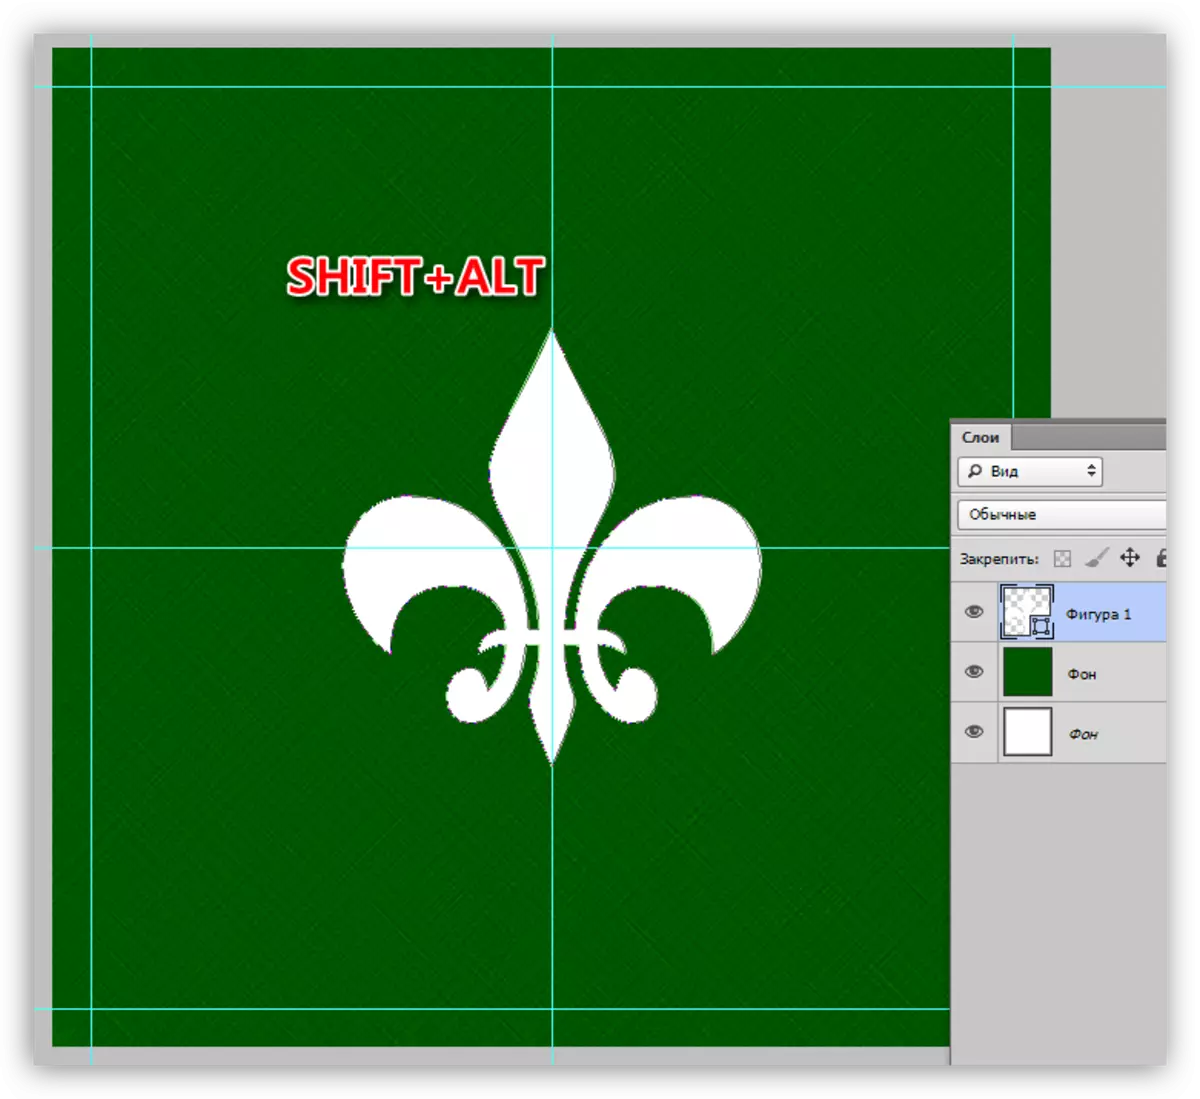
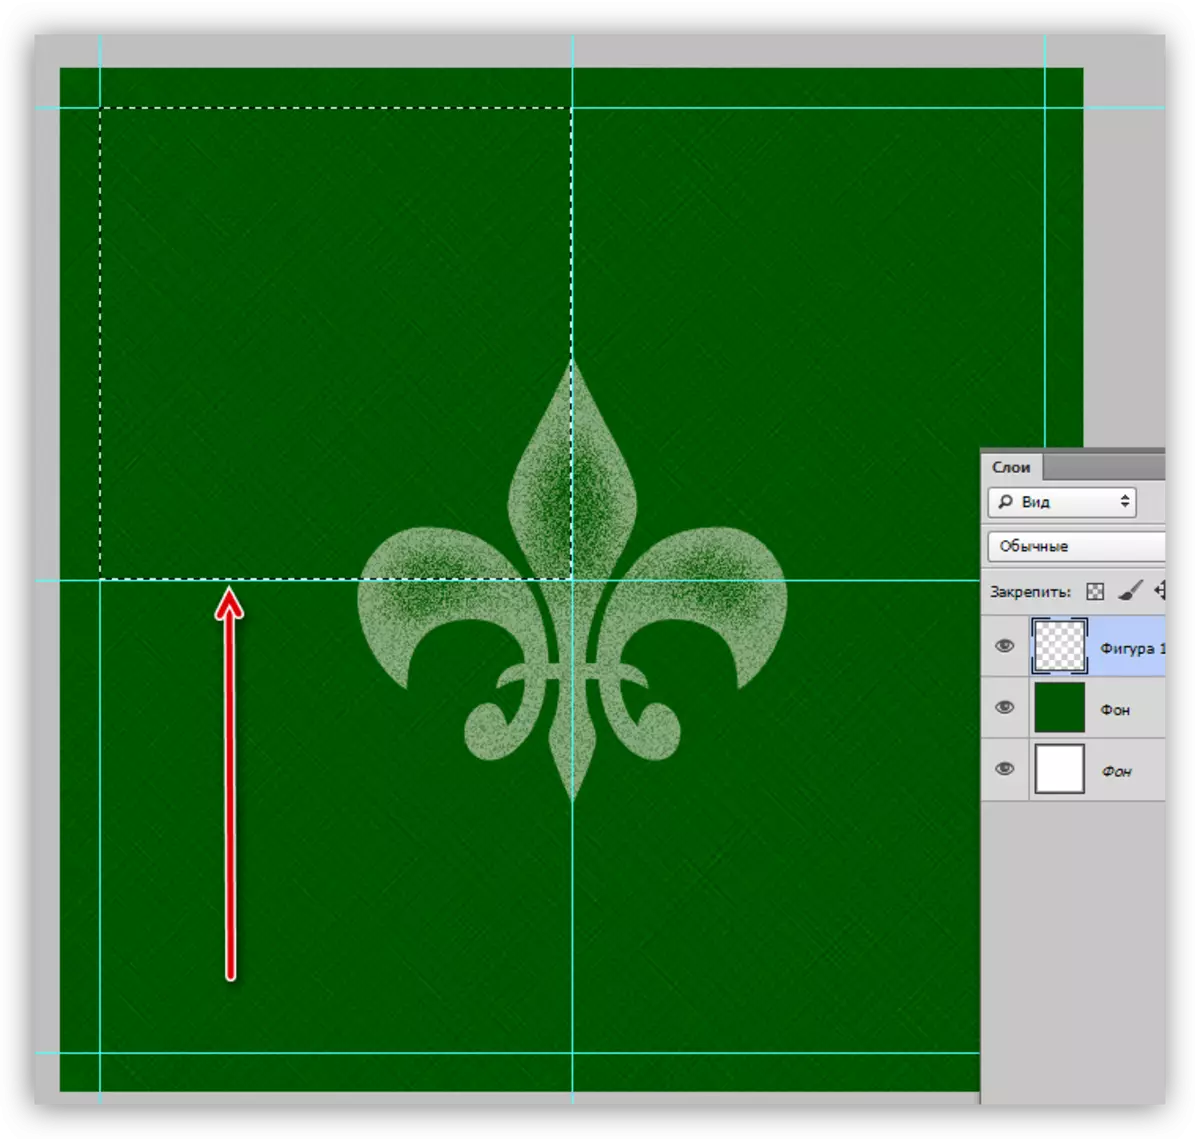
- We hold two more guides that define the center of the canvas.
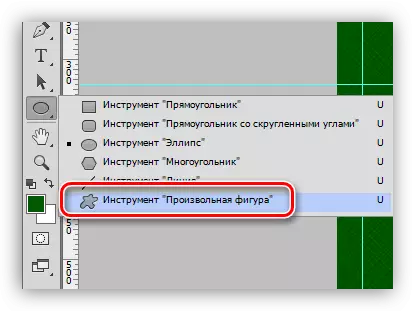
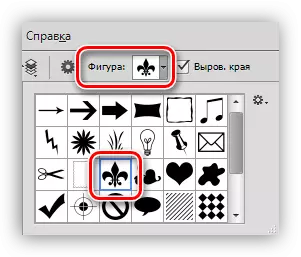
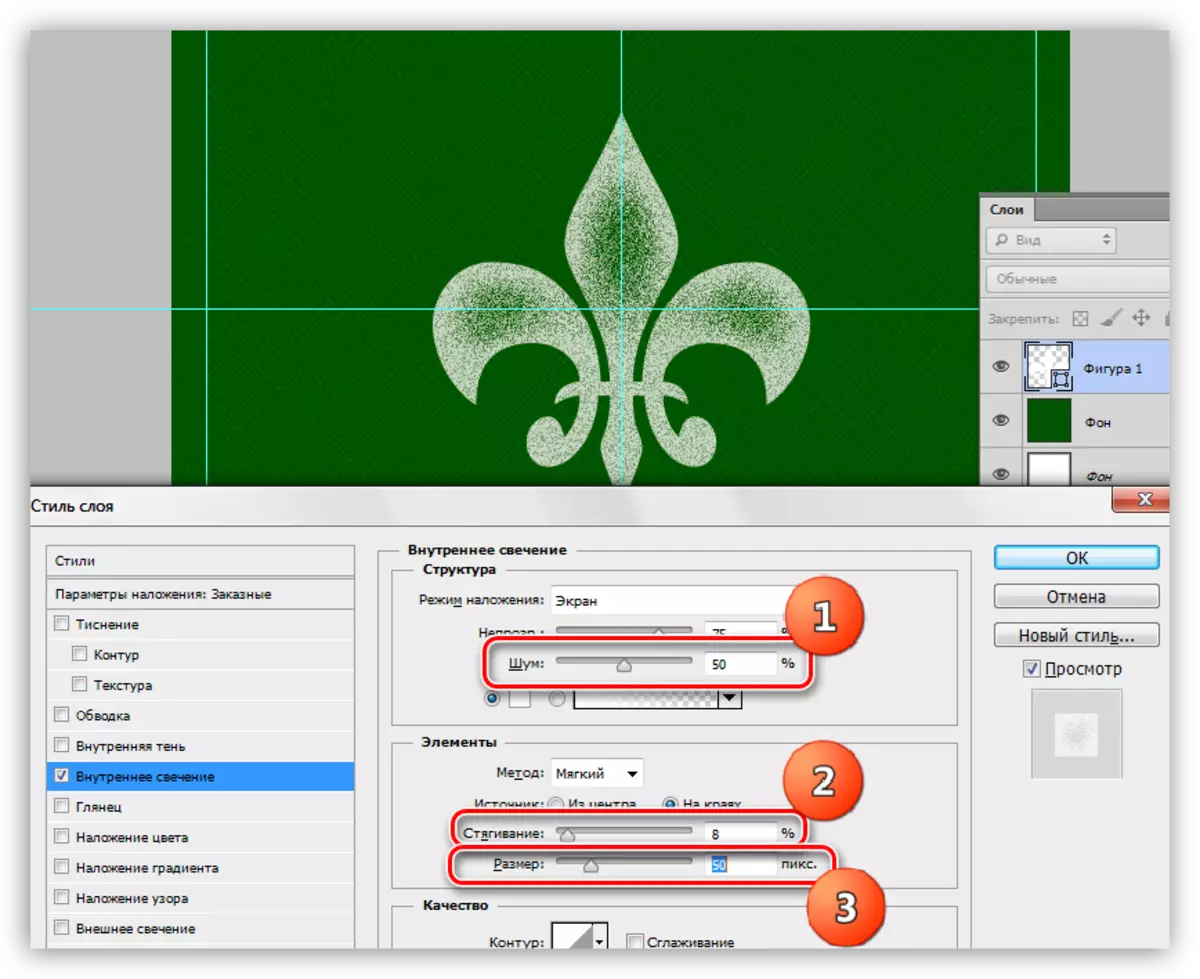
- Activate the "Arbitrary Figure" tool.
- On the top panel of the parameters, we adjust the fill with white.
- Choose this figure from the standard photo stitch set:
Next, go to the section "Inner glow". Here we configure noise (50%), tightening (8%) and size (50 pixels). On this style setting is completed, click OK.
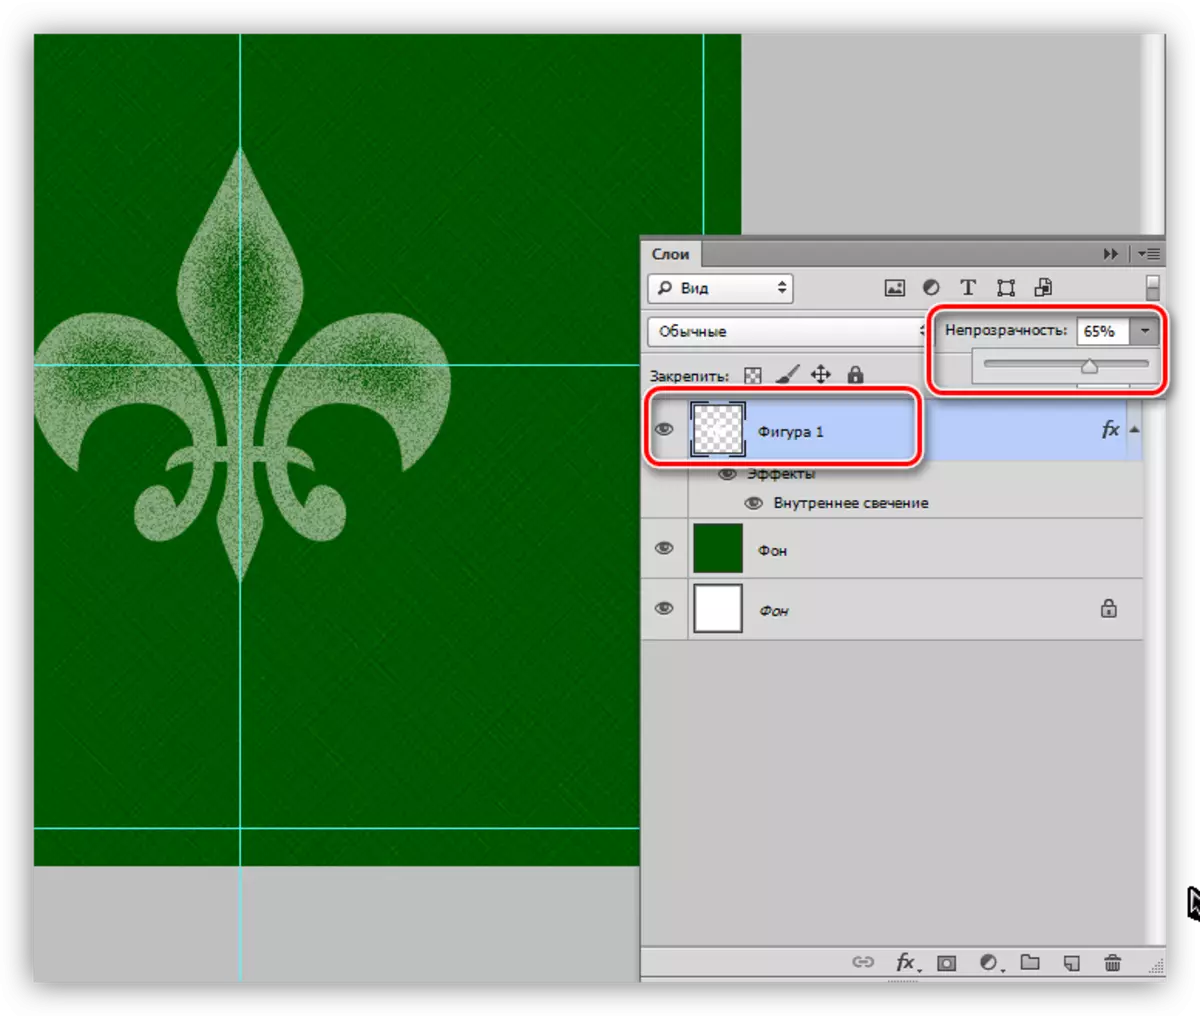
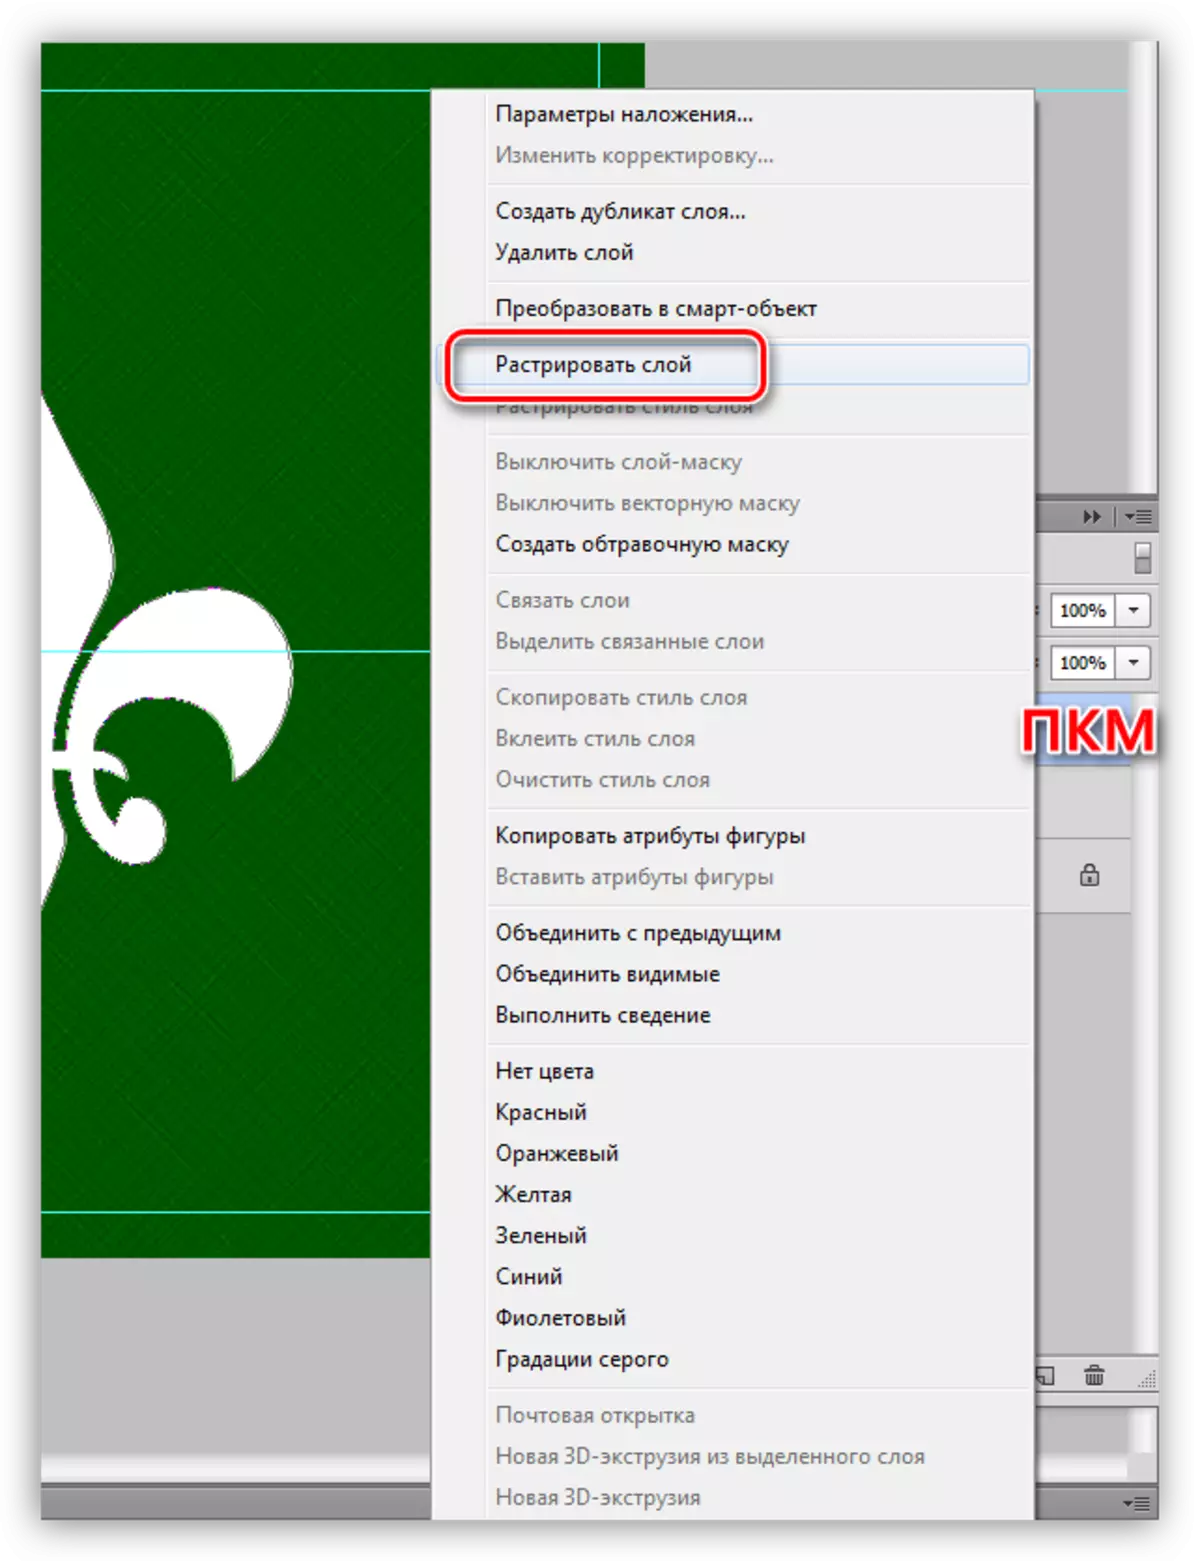
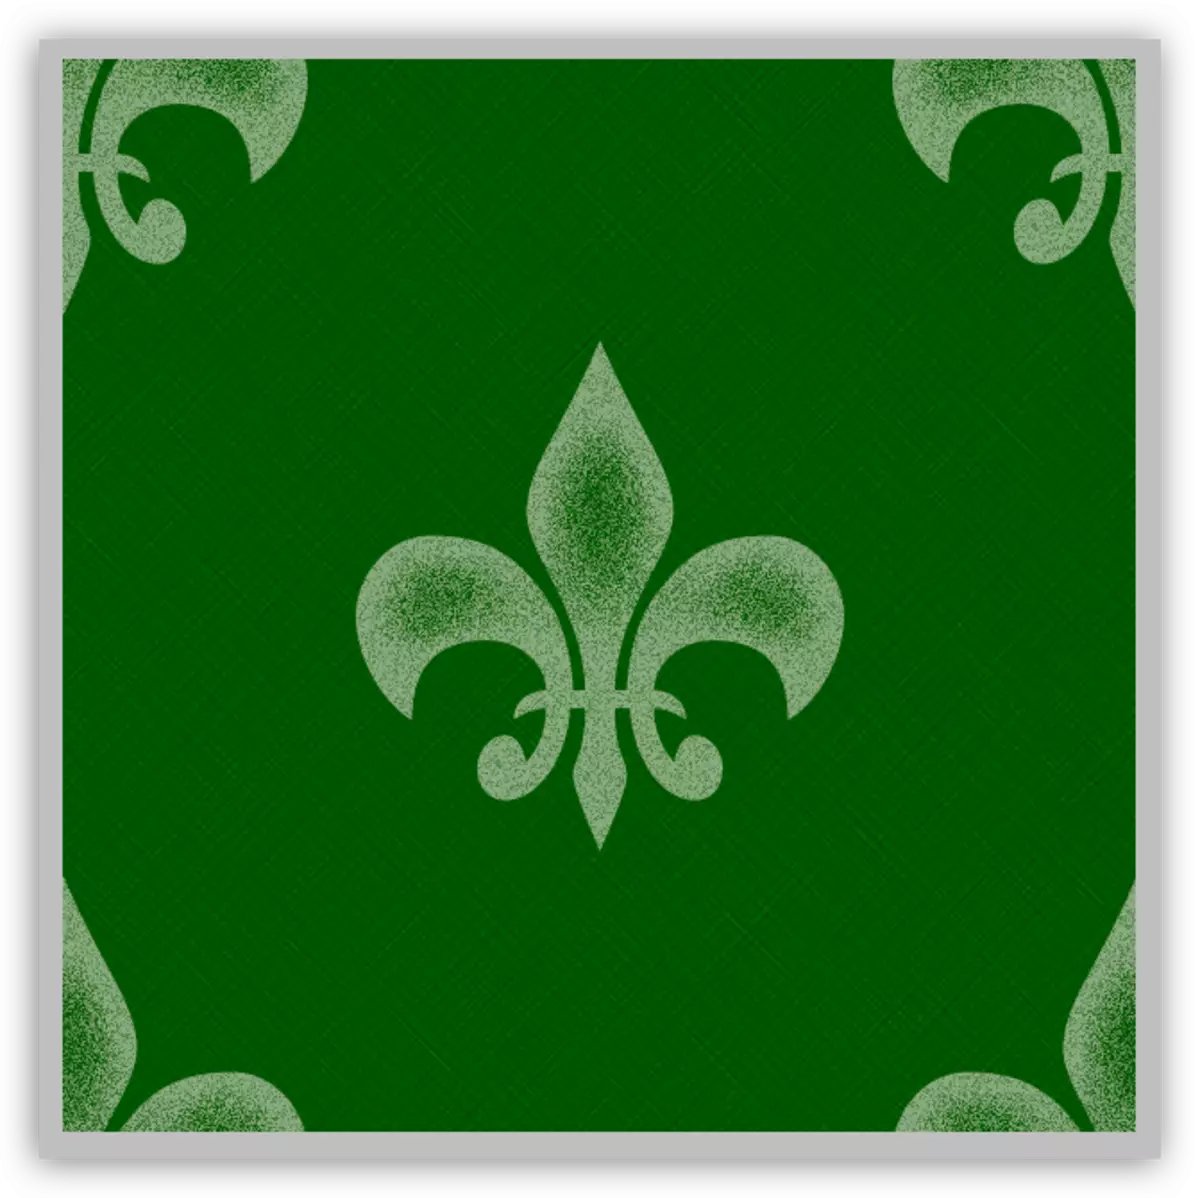
We allocate one of the square sites limited by the guides.
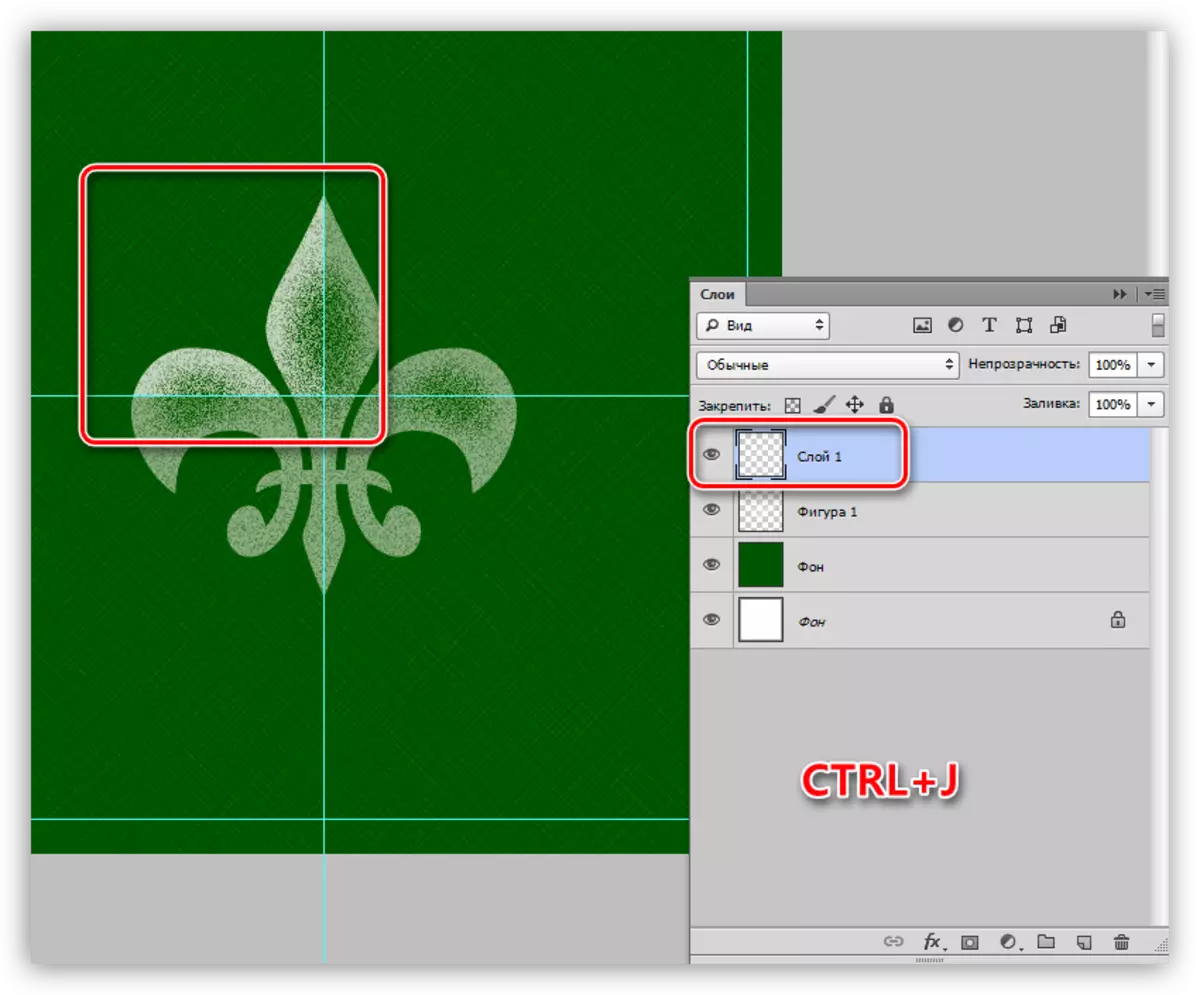
We get this workpiece:
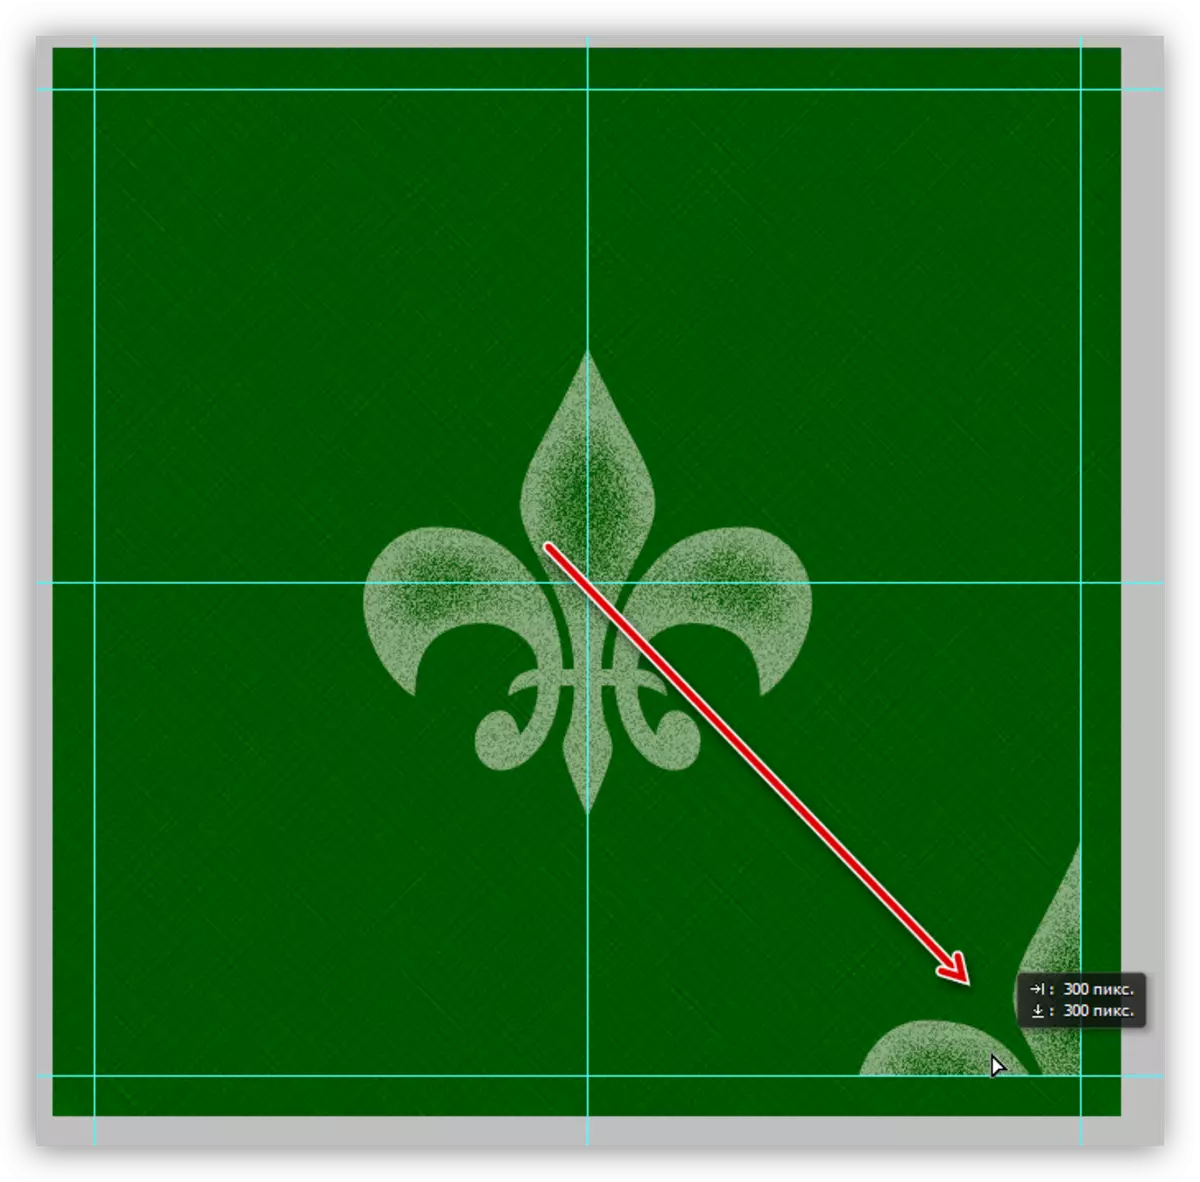
Depends on further action, how small (or large) we get the pattern.
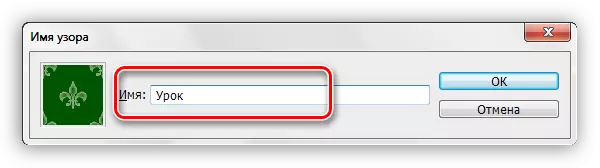
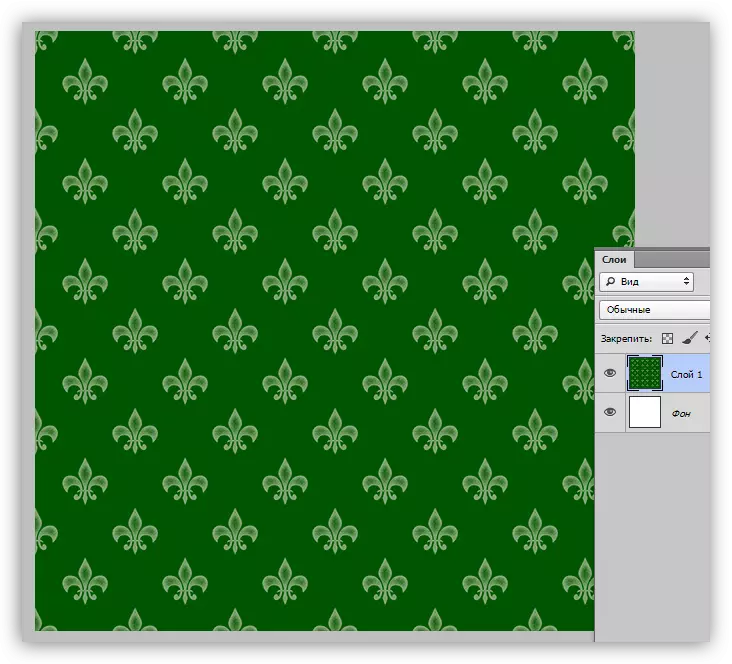
We give the pattern the name and click OK.
Now we have a new one in the set, the methodically created pattern.
It looks like this:
As we can see, the texture is very poorly expressed. Fix it can be enhanced by the impact of the "Cross Stroke" filter on the background layer. The final result of creating a custom pattern in Photoshop:
Saving a set with patterns
So we created several own patterns. How to save them for descendants and our own use? Everything is quite simple.
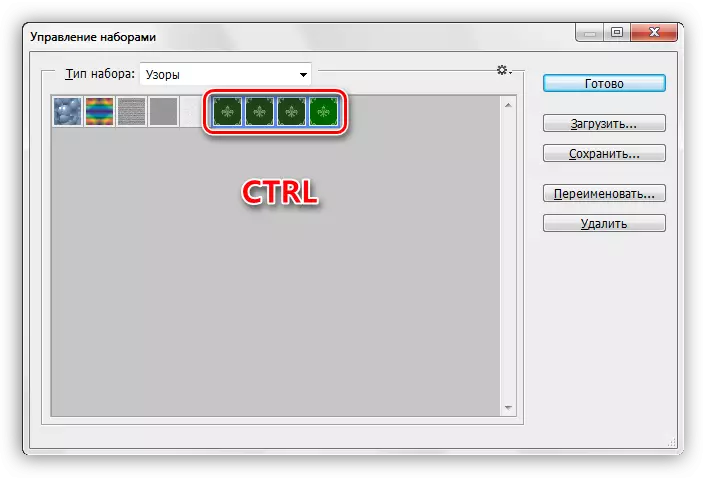
- You need to go to the "Editing - Sets - Settings" menu.
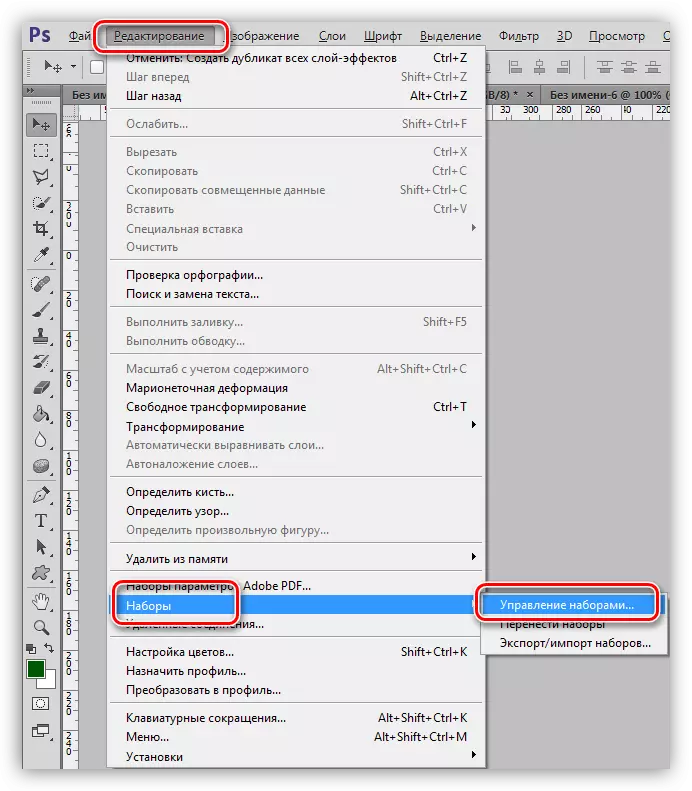
- In the window that opens, select the type of setting "patterns",
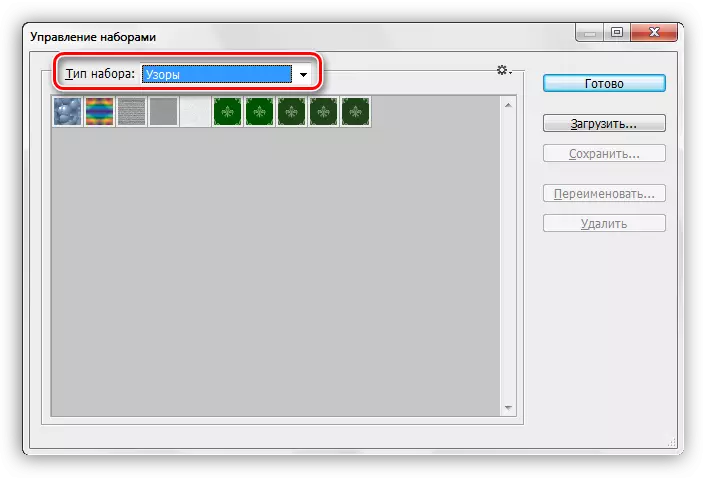
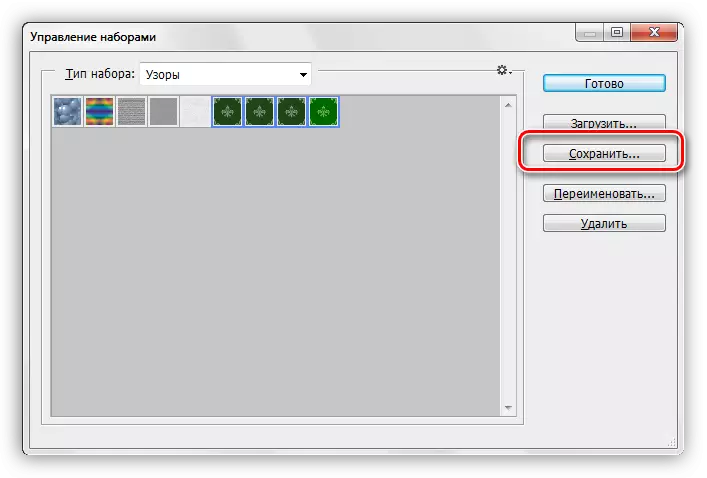
Click Ctrl and highlight the desired patterns in turn.
- Press the "Save" button.
Select a place to save and file name.
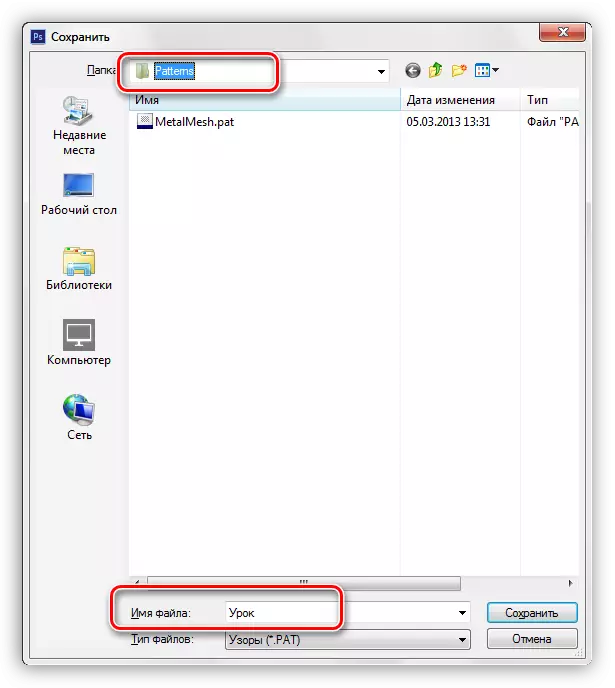
Ready, a set with patterns is saved, now it can be transferred to a friend, or use himself without fear that in vain will disappear several hours.
On this we will finish the lesson to create and use seamless textures in Photoshop. Make your own backgrounds not to depend on other people's tastes and preferences.