
Sometimes there is a situation when you need a flash drive, and it is not at hand. For example, for the work of some accounting and reporting programs requires an external drive. In such a situation, you can create a virtual information storage device.
How to create a virtual flash drive
Using special software, it can be done in several ways. Consider each of them step by step.Method 1: OSFMOUNT
This small program is very helped when there is no flash drive. It works in any version of Windows.
Official site Osfmount
After you downloaded the program, do this:
- Install OSFMOUNT.
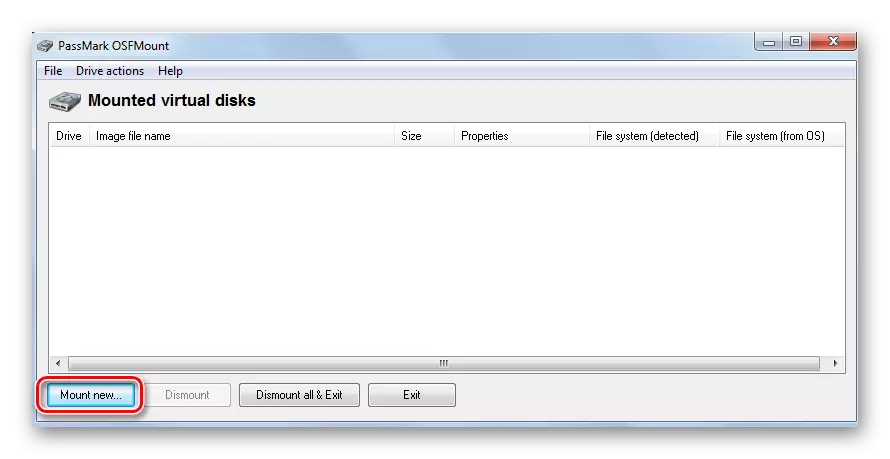
- In the main window, click on the "Mount New ..." button to create a carrier.
- In the window that appears, configure the settings for mounting a virtual volume. To do this, follow a few simple actions:
- In the "Sourse" section, select "Image File";
- In the "Image File" section, specify the path with a specific format;
- Settings in the Volume Options section, skip (it is used to create a disk or download image);
- In the "Munt Options" section in the DRIVE Letter window, specify the letter for your virtual flash drive, enter "Flash" below in the DRIVE TYPE field;
- Below select the Mount As Removable Media option.
Click OK.
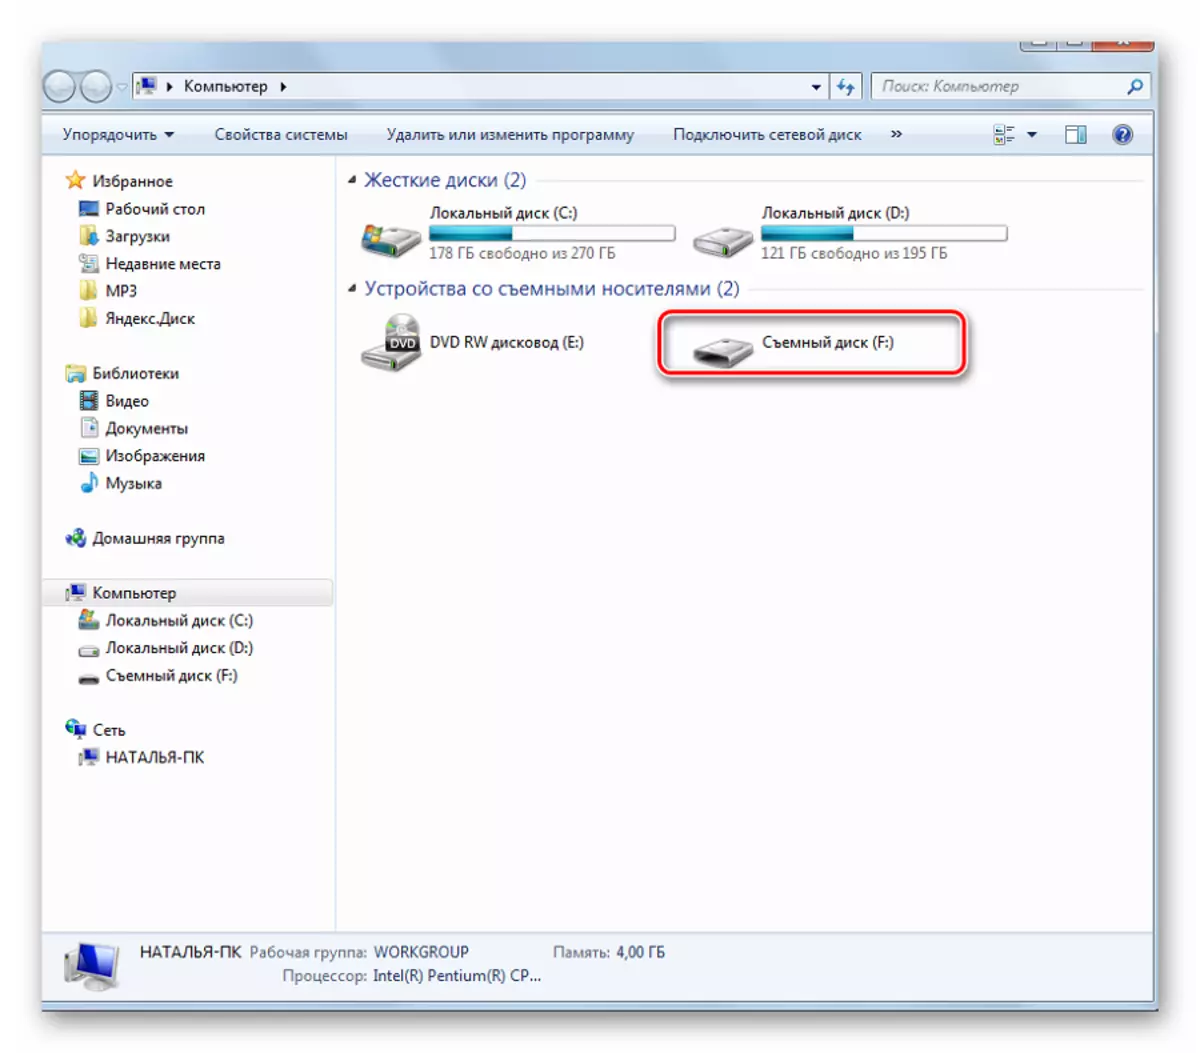
- Virtual flash drive created. If you enter the "Computer" folder, it will determine the system as a removable disk.

In this program, additional functions may be required. To do this, you need to enter the main window to the "Drive Actions" item. And then it will be possible to use the following options:
- DISTOUNT - unmount volume;
- Format - volume formatting;
- Set Media Read-Only - puts a ban on recording;
- Extendsize - expands the size of the virtual device;
- SaveToimageFile - serves to save in the desired format.
Method 2: Virtual Flash Drive
A good alternative to the method described above. When creating a virtual flash drive, this program allows you to protect information on it using a password. The advantage of it is its performance in old versions of Windows. Therefore, if you have a Windows XP version on your computer or below, this utility will help quickly prepare a virtual information drive on a computer.
Download Virtual Flash Drive for free
Instructions for using this program looks like this:
- Download and install Virtual Flash Drive.
- In the main window, click the Mount New button.
- The Create New Volume window appears, specify the path in it to create a virtual media and click "OK".

As you can see, the program is very simple in circulation.
Method 3: ImDisk
This is one of the most popular programs for creating a virtual diskette. Using the image file or computer memory, it creates virtual disks. When using special keys when loading it, a virtual removable disk will appear flash media.
Official IMDISK page
- Download and install the program. When installing, the IMDisk.exe console program is installed in parallel and the application for the control panel.
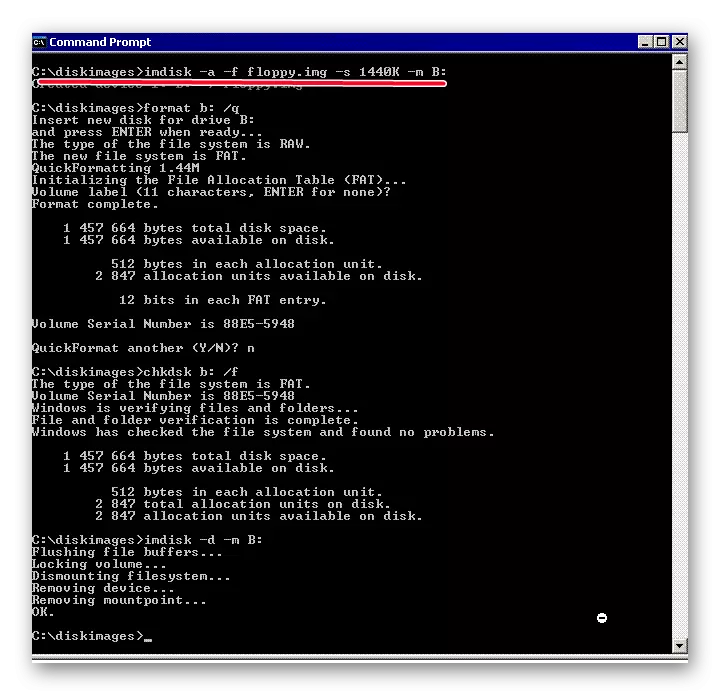
- To create a virtual flash drive, use the program running from the console string. Type the imdisk -a -f -f c: \ 1st.vhd -m f: -o rem, where:
- 1st.vhd - disk file to create a virtual flash drive;
- -m f: - Tom for mounting, a Virtual Drive F is created;
- -o is an additional parameter, and Rem is a removable disk (flash drive), if this parameter is not specified, the hard disk will be mounted.
- To disable such a virtual media, simply make the right click on the created drive and select "UNMOUNT IMDISK".
Method 4: Cloud Storage
The development of technologies allows you to create virtual flash drives, and store information on them on the Internet. This method is a folder with files that is available to a specific user from any computer connected to the Internet.
Such data warehouses include Yandex.Disk, Google Drive and Mail.ru cloud. The principle of using these services is the same.
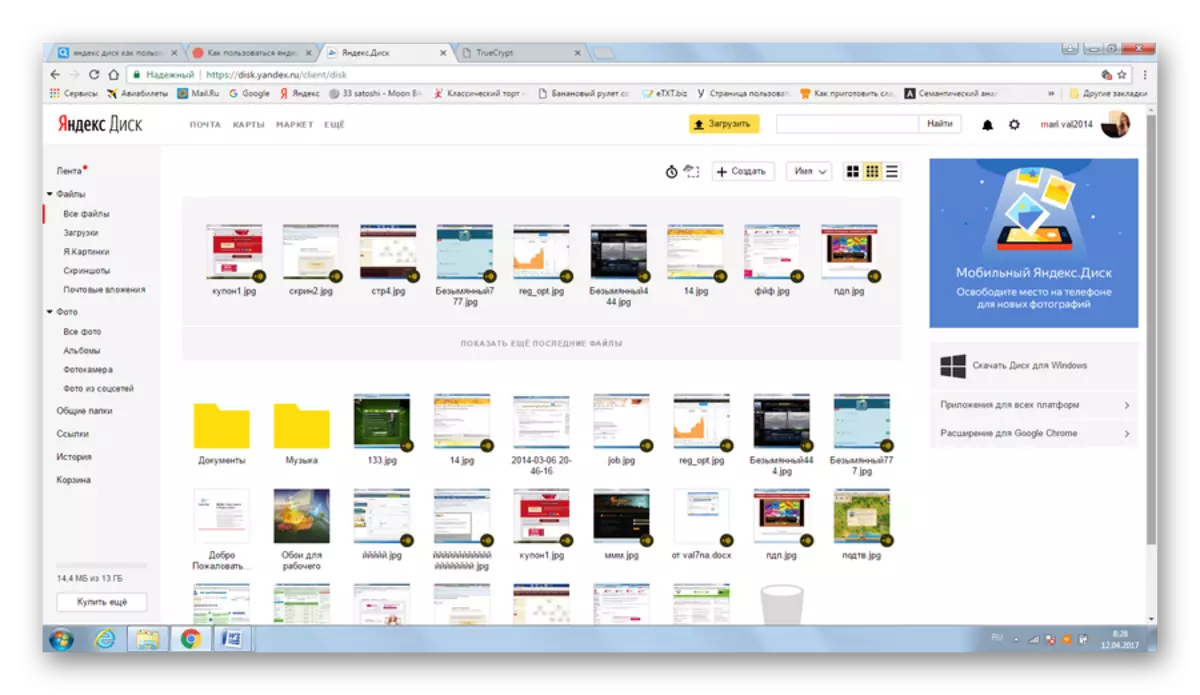
Consider how to work with Yandex disk. This resource allows you to store information to 10 GB for free.
- If you have a mailbox on Yandex.ru, then enter it and find the "Disc" item in the top menu. If the mail is not, then log in to the Yandex Disc page. Click "Login". When you first visited, you need a registration.
- To download new files, click the Upload button at the top of the screen. A window will appear to select data. Wait for the end of the download.
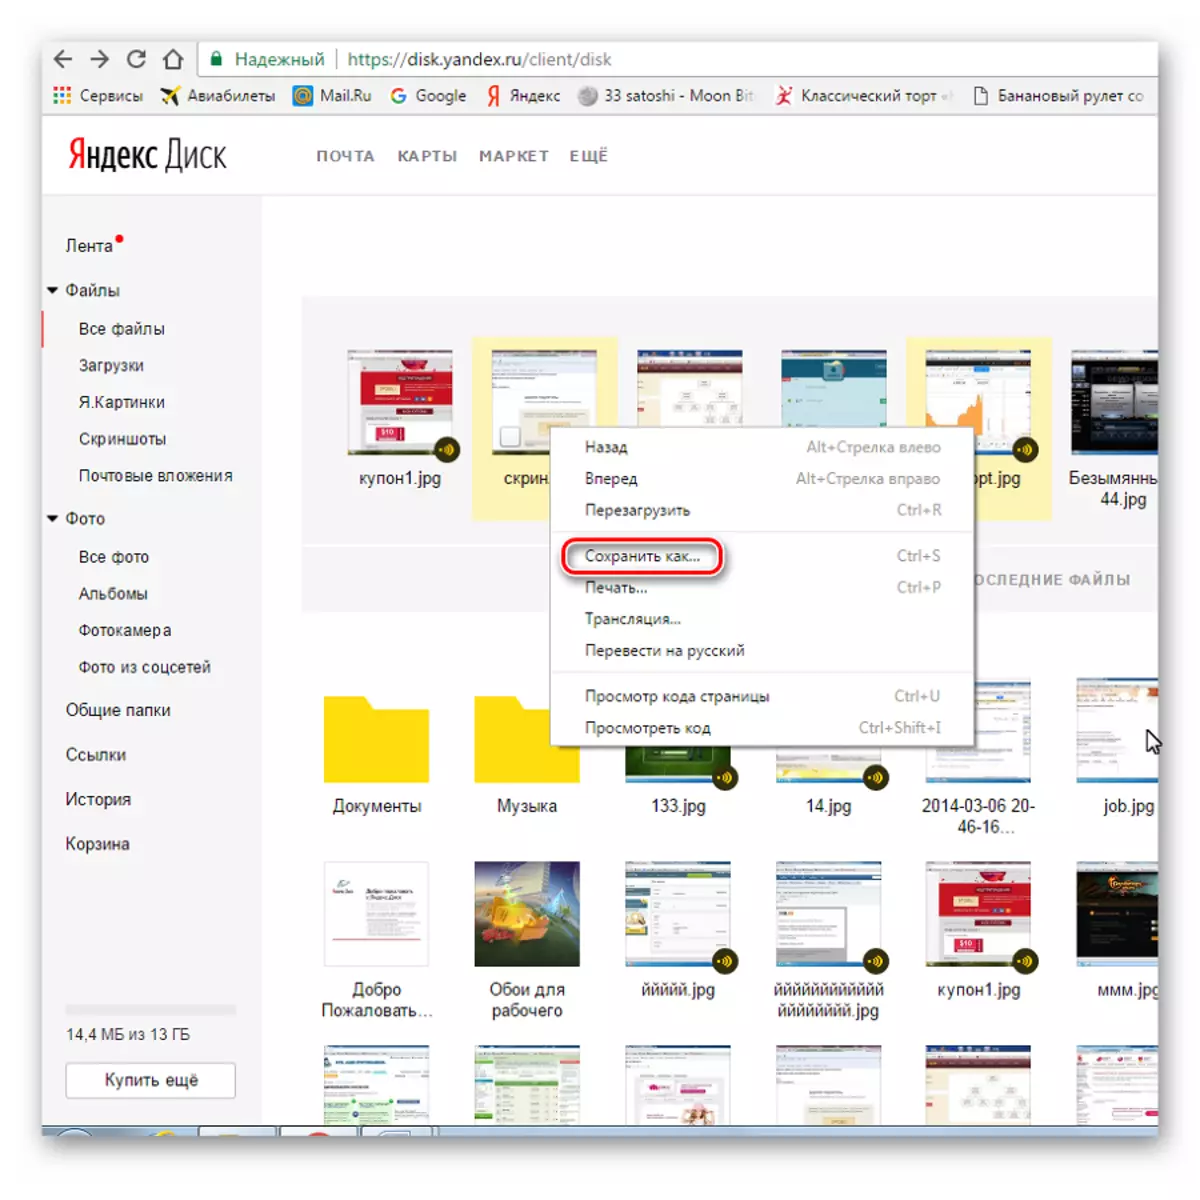
- To download information from Yandex Disc, select the file you are interested in, click on it right mouse button and click "Save As". In the menu that appears, specify a place in the computer to save.

Working with such a virtual information media allows you to fully manage your data: group them in folders, delete unnecessary data and even share links to them with other users.
See also: How to use Google disk
As you can see, you can easily create a virtual flash drive and successfully use it. Good work! If you have any questions, just ask them in the comments below.