

When working with spreadsheets, it is sometimes necessary to increase their dimensions, since the data in the resulting result is too small, which makes it difficult to read. Naturally, each more or less serious text processor has in its arsenal tools to increase the table range. So it is not at all surprising that they are in such a multifunctional program as Excel. Let's figure it out how in this application you can enlarge the table.
Increase tables
You must immediately say that it is possible to increase the table with two main ways: an increase in the size of its individual elements (strings, columns) and by applying scaling. In the latter case, the table range will be increased proportionally. This option is divided into two separate methods: scaling on the screen and on printing. Now consider each of these methods in more detail.Method 1: Increase individual elements
First of all, consider how to increase individual items in the table, that is, strings and columns.
Let's start with increasing lines.
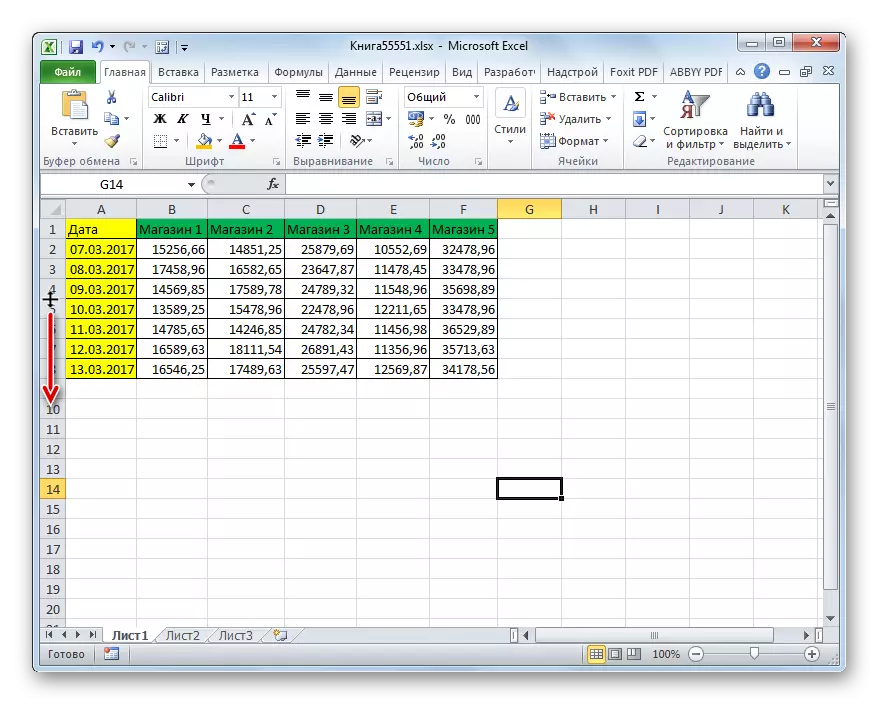
- We establish the cursor on the vertical coordinate panel at the bottom limit of the string that we plan to expand. In this case, the cursor must convert into a bidirectional arrow. Close the left mouse button and pull down until the set size of the line does not satisfy us. The main thing is not to confuse the direction, because if you pull it up, then the string is narrowed.
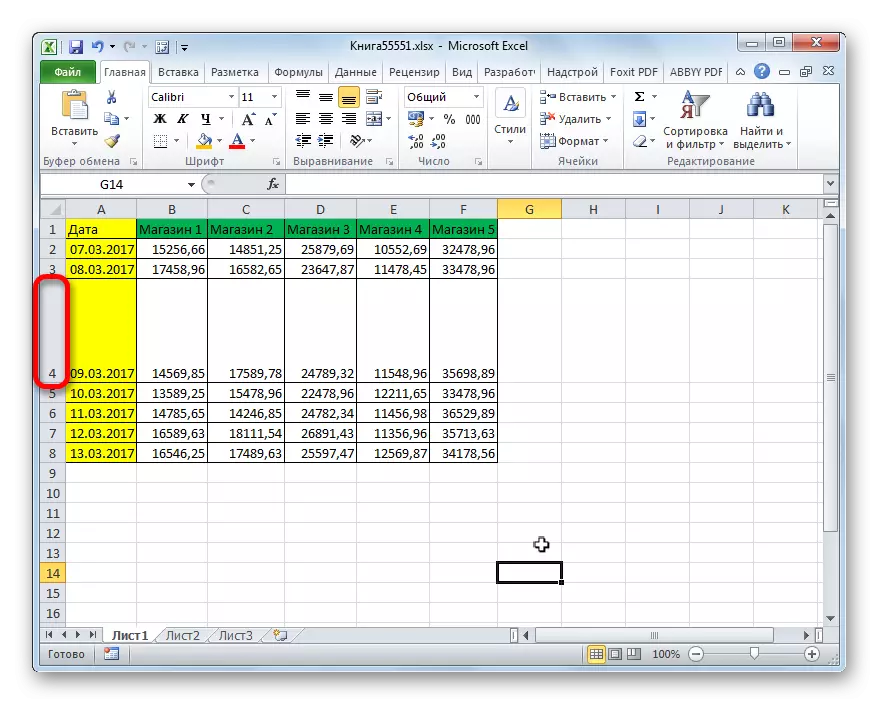
- As you can see, the string has expanded, and with it it also expanded the table as a whole.
Sometimes it is required to expand not one line, and several rows or even all lines of a table array of data, for this we carry out the following steps.
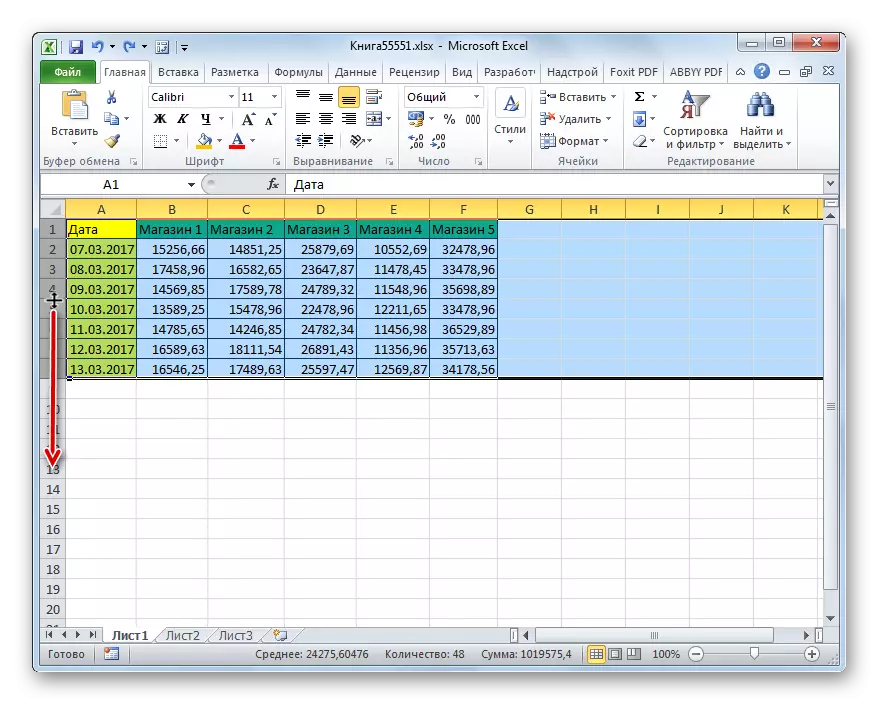
- Press the left mouse button and select the sector coordinates on the vertical panel of those lines that we want to expand.
- We establish the cursor to the lower limit of any of the selected rows and, by holding the left mouse button, stretch it down.
- As we can see, not only the line expanded, abroad we pulled, but all other allocated lines. In specifically, our case is all lines of the table range.


There is also another option to expand strings.
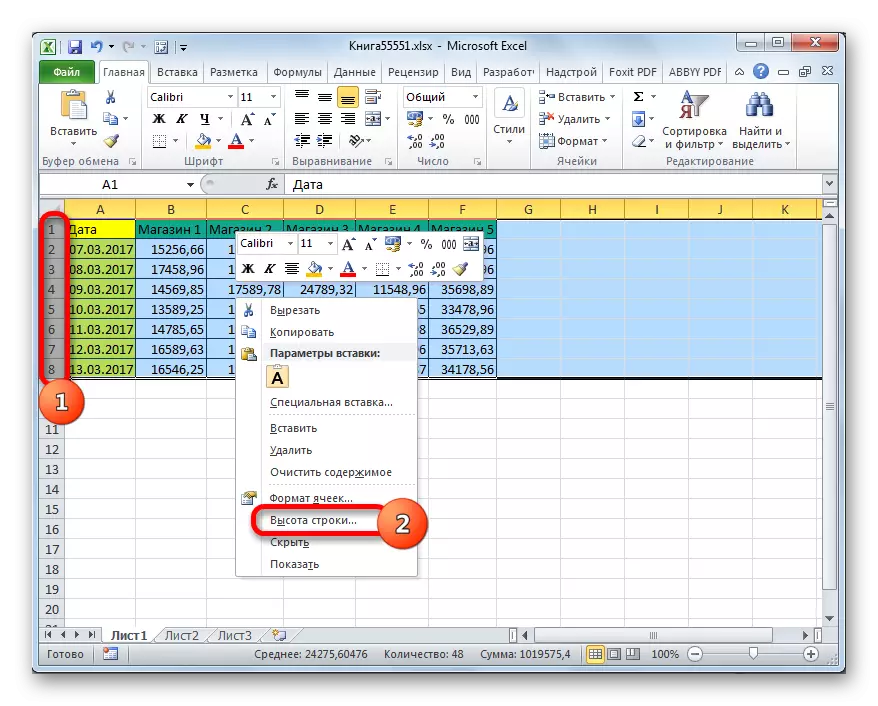
- We highlight on the vertical coordinate panel of the sector of the row or group of the strings that you want to expand. Click on highlighting the right mouse button. The context menu is launched. Choose the item "Line height ...".
- After that, a small window is launched, which indicates the current height of the selected items. In order to increase the height of the strings, and, consequently, the size of the table range, you need to install in the field any value greater than the current one. If you do not know exactly how to increase the table, then in this case, try to set an arbitrary size, and then see what happens. If the result does not satisfy you, the size can then be changed. So, we specify the value and click on the "OK" button.
- As we see, the size of all selected lines has been increased by a given value.

We now turn to the options for increasing the table array by expanding columns. As you can guess, these options are similar to those with which we have slightly increased the height of the lines.
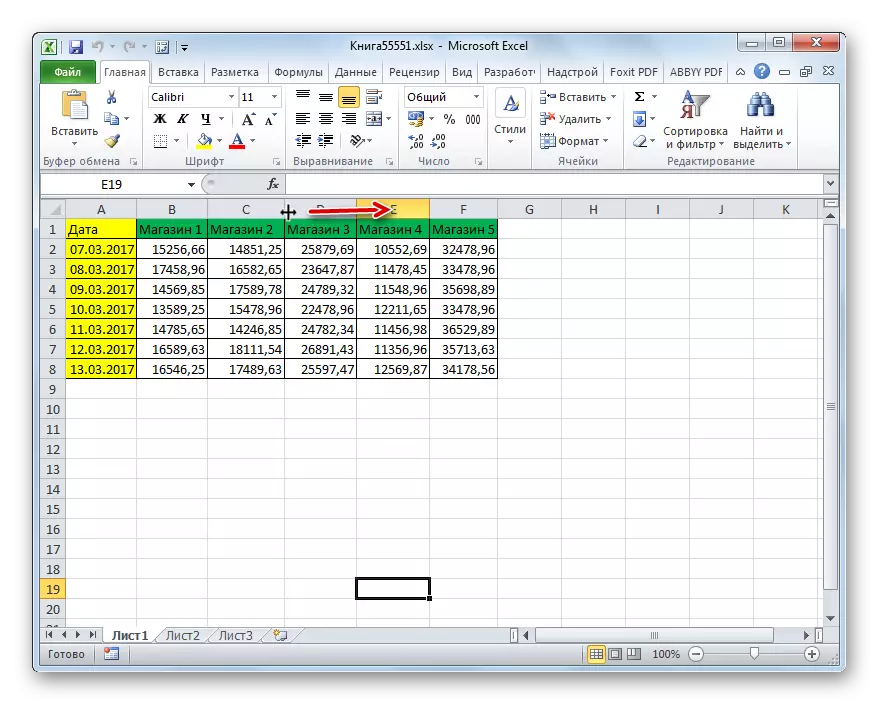
- We establish the cursor on the right border of the sector of the column that is going to expand on the horizontal coordinate panel. The cursor must convert into a bidirectional arrow. We produce clamp the left mouse button and pull it to the right until the size of the column is satisfied.
- After that we release the mouse. As we can see, the column width was increased, and at the same time the size of the table range increased.

As in the case of lines, there is a variant of a group increase in the column width.
- Click the left mouse button and select the coordinate on the horizontal panel with the cursor of the sector of those columns that we want to expand. If necessary, you can select all the table columns.
- After that, we become on the right border of any of the selected columns. We produce clamp left mouse button and pull the border to the right to the desired limit.
- As you can observe, after that, the width was increased not only to the column, with the boundary of which the operation was carried out, but also all other selected speakers.


In addition, there is an option to increase columns by introducing their specific quantity.
- Select column or group of columns that need to be increased. Allocation We produce in the same way as at the previous action. Then click on highlighting the right mouse button. The context menu is launched. Click in it on the "column width ...".
- It opens almost exactly the same window that was running when the row height changes. It needs to specify the desired width of the selected columns.
Naturally, if we want to extend the table, then the width size must be specified more than the current one. After you specified the required value, click on the "OK" button.
- As we can see, the selected columns were expanded to the specified value, and the size of the table increased with them.


Method 2: Scaling on the monitor
Now learn how to increase the size of the table by scaling.
Immediately, it should be noted that it is possible to scale the tabular range on the screen, and you can on the printed sheet. First consider the first of these options.
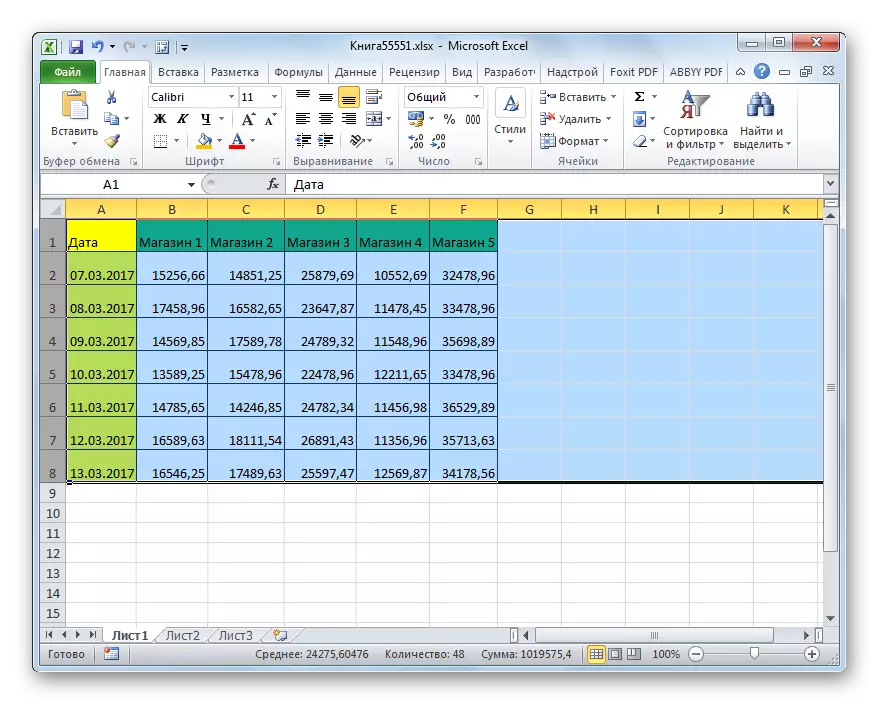
- In order to enlarge the page on the screen, you need to move the scale slider to the right, which is located in the lower right corner of the Excel status string.

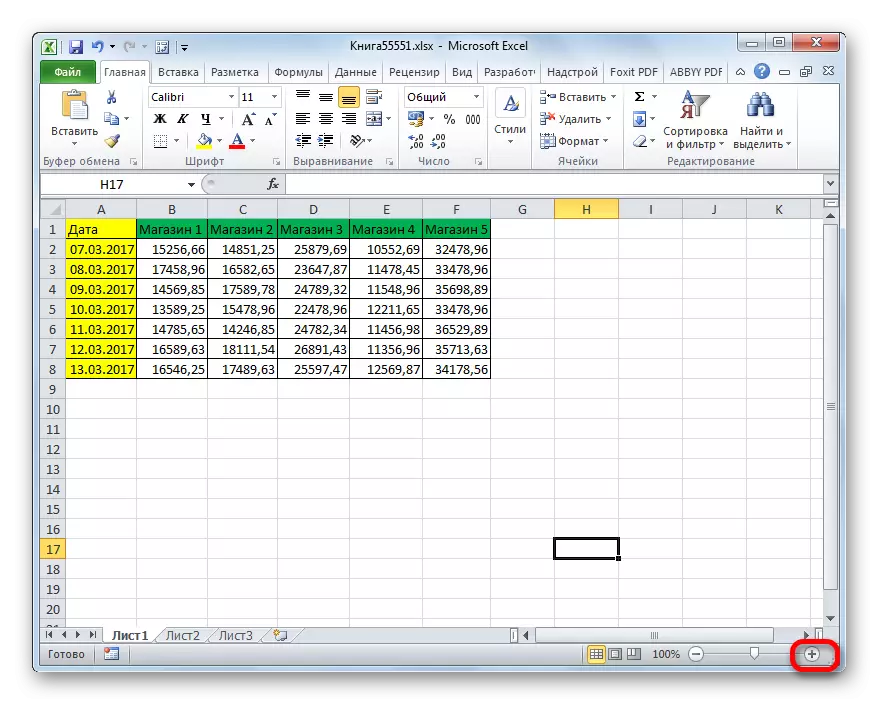
Or press the button in the form of a "+" sign to the right of this slider.
- This will increase the size not only the table, but also all other elements on the sheet is proportional. But it should be noted that these changes are intended only to display on the monitor. When printing on the size of the table, they will not affect.

In addition, the scale displayed on the monitor can be changed as follows.
- We move to the "View" tab on Excel Ribbon. Click on the button "Scale" in the tool group of the same name.
- A window opens in which there are pre-installed variants of scale. But only one of them is more than 100%, that is, the default magnitude. Thus, by selecting only the option "200%", we will be able to increase the size of the table on the screen. After selecting, press the "OK" button.

But in the same window there is the ability to install your own, user scale. To do this, it is necessary to set the switch to the "arbitrary" position and in the field opposite this parameter, the numeric value in percent, which will display the scale of the table range and the sheet as a whole. Naturally, in order to increase you must enter a number exceeding 100%. The maximum threshold of the visual increase in the table is 400%. As in the case of using preset options, after making settings, click on the "OK" button.
- As you can see, the size of the table and the sheet as a whole has been increased to the value specified in the scaling settings.


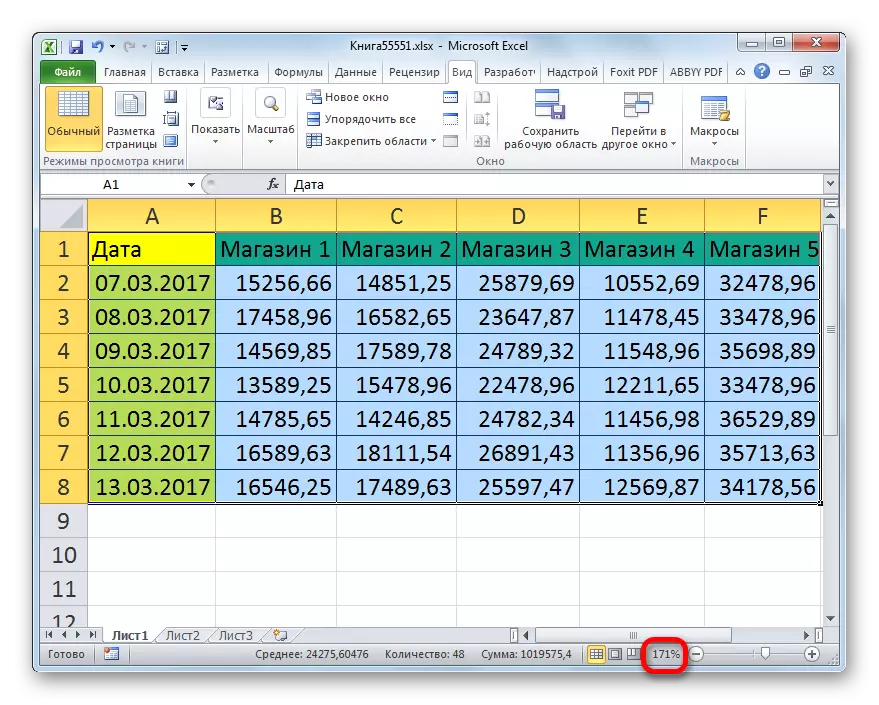
Quite useful is the "scale of dedicated" tool, which allows you to increase the scale of the table exactly so that it is fully fitted in the Excel window area.
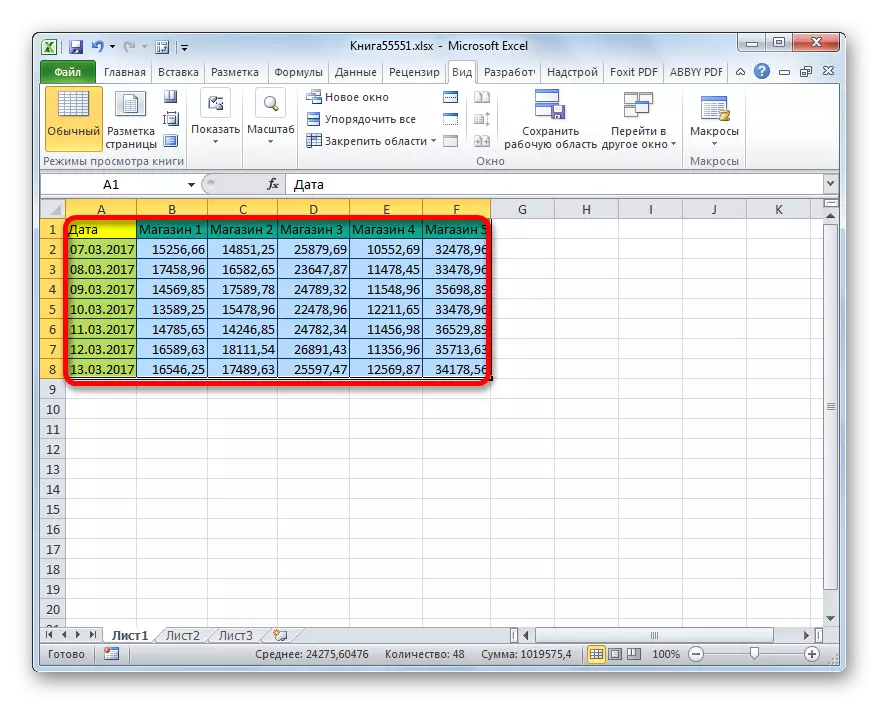
- We produce table range to be enlarged.
- We move to the "View" tab. In the "Scale" group, click on the "Scale Via Selected" button.
- As you can see, after this action, the table was increased exactly enough to fit into the program window. Now, in specifically, our scale has reached a value of 171%.

In addition, the scale of the table range and the entire sheet can be enlarged by holding the Ctrl button and srolling the mouse wheel forward ("from ourselves").
Method 3: Change the scale of the table on the print
Now let's see how to change the actual size of the table range, that is, its size is on the seal.
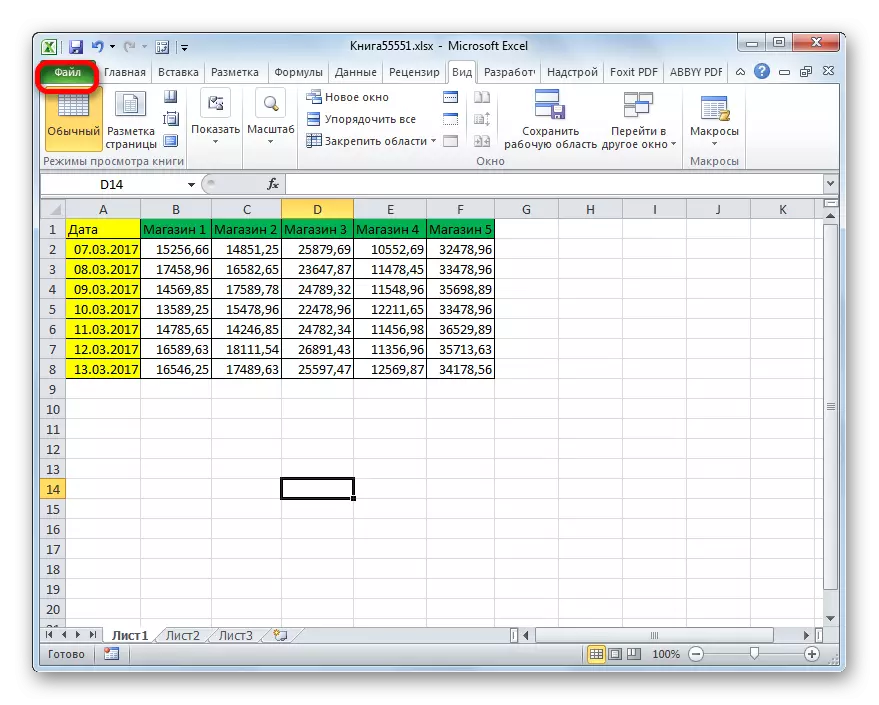
- Move into the "File" tab.
- Next, go to the "Print" section.
- In the central part of the opening window, the print settings are located. The lowest of them is responsible for scaling to print. By default, the "Current" parameter must be set. Click on this item.
- A list of action options opens. Select the position "Settings of the custom scaling ...".
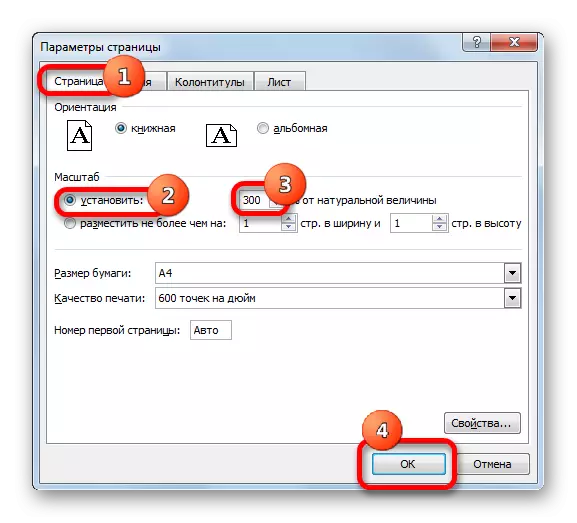
- The page settings window starts. By default, the page tab must be opened. She needs us. In the "Scale" block, the switch must be set to the "Install" position. In the field opposite it needs to enter the desired scale. By default, it is 100%. Therefore, to increase the table of the table, we need to specify a larger number. The maximum boundary, as in the previous method, is 400%. We establish the magnitude of the zoom and click the "OK" button at the bottom of the page Parameters window.
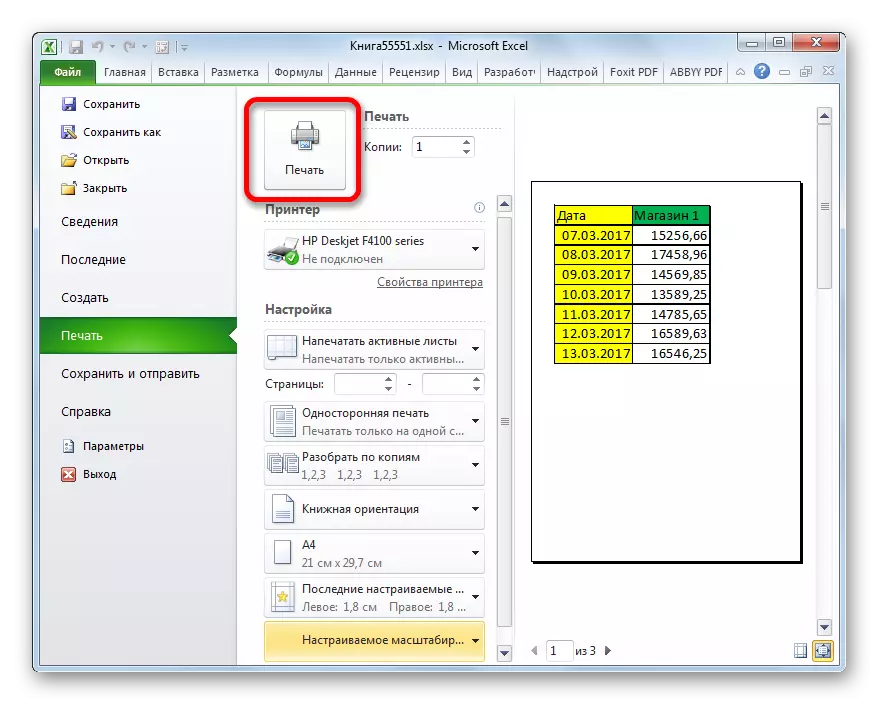
- After that, automatically returns to the print parameters page. How the enlarged table will look like, you can view in the preview area, which is located in the same window to the right of the print settings.
- If everything suits you, you can feed the table to the printer by clicking on the "Print" button placed above the print settings.


Change the scale of the table when printing can be both different.
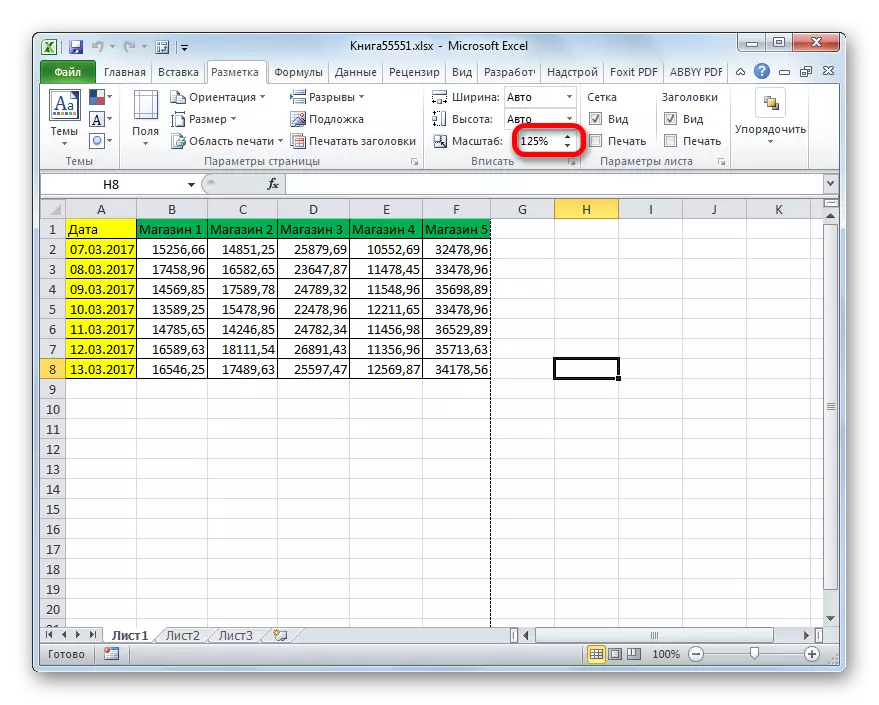
- Move into the "Markup" tab. In the "Find" toolbar on the tape there is a "scale" field. By default, there is a value "100%". In order to increase the size of the table when printing, you need to enter a parameter from 100% to 400% in this field.
- After we did it, the sizes of the table range and the sheet were increased to the specified scale. Now you can move to the "File" tab and start printing in the same way that was previously stated.

Lesson: How to Print Page in Excel
As you can see, you can enlarge the table in Excel in different ways. Yes, and under the concept of increasing the table range may be due to completely different things: expanding the size of its elements, increasing the scale on the screen, increasing the scale to print. Depending on the fact that the user is currently necessary, it must choose a specific action option.