
Sometimes when printing an Excel book, the printer prints not only the pages filled with data, but also empty. This can happen for various reasons. For example, if you in the area of this page, inadvertently put any character, even a space, it will be captured for printing. Naturally, it negatively affects the wear of the printer, and also leads to loss of time. In addition, there are cases when you do not want to print a certain page filled with data and want to not feed it to print, but remove. Let's look at the options for deleting a page in Excel.
Page Delete Procedure
Each sheet of Excel book is divided into printed pages. Their borders simultaneously serve as the borders of the sheets that will be shown on the printer. You can view exactly how the document is divided into pages, you can go to the markup mode or to the Excel page mode. Make it is quite simple.
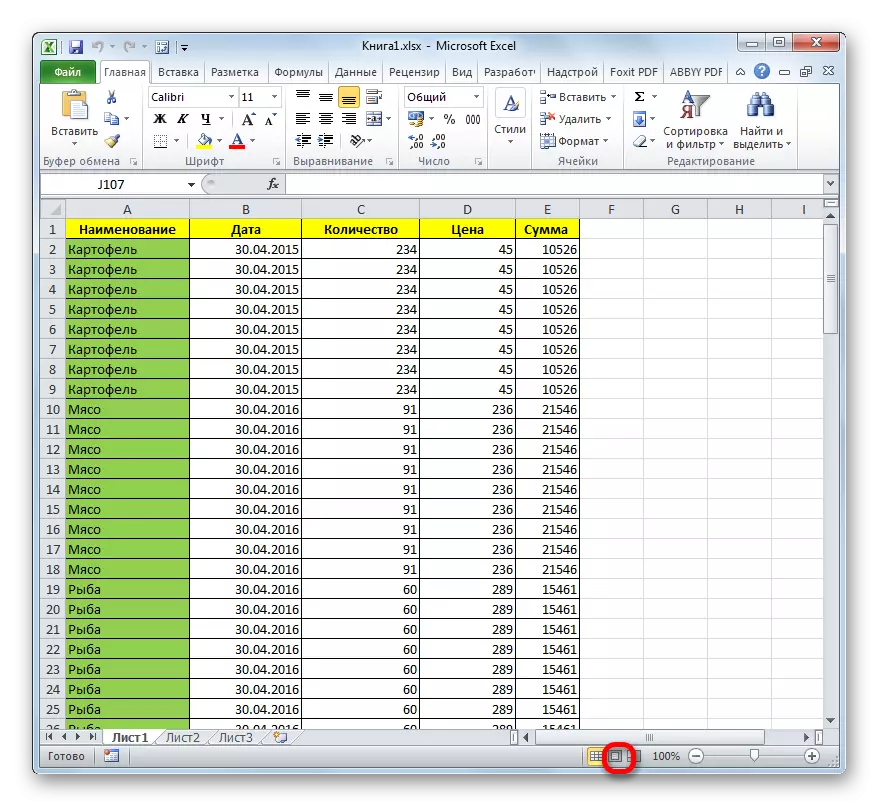
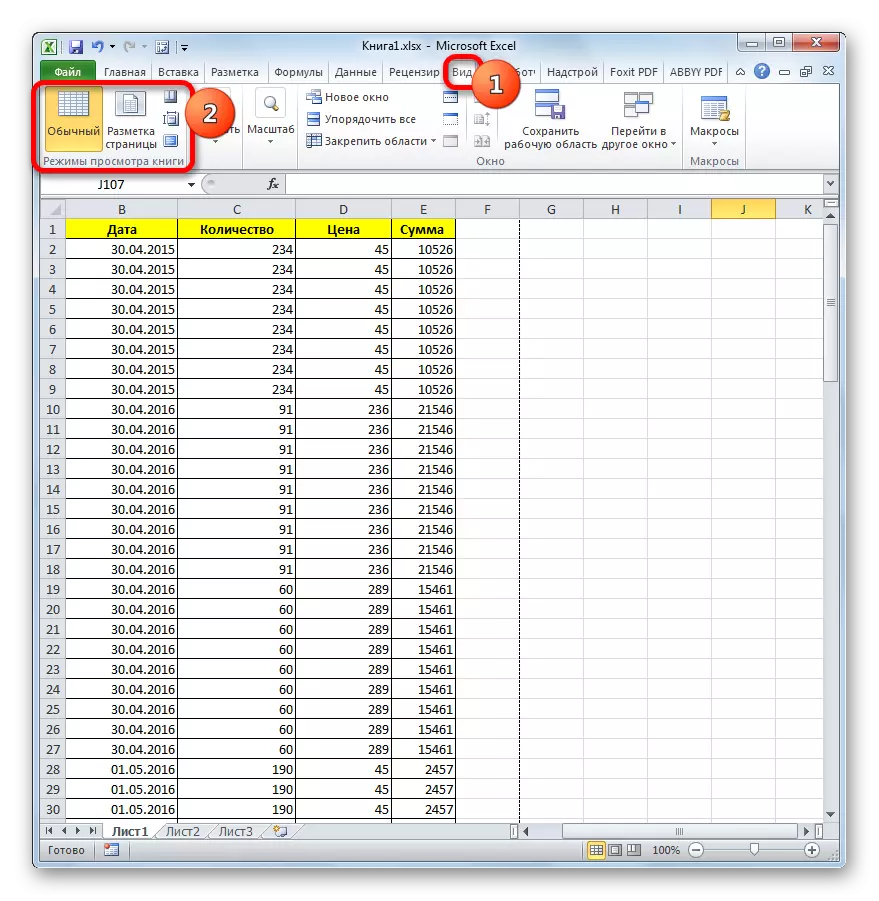
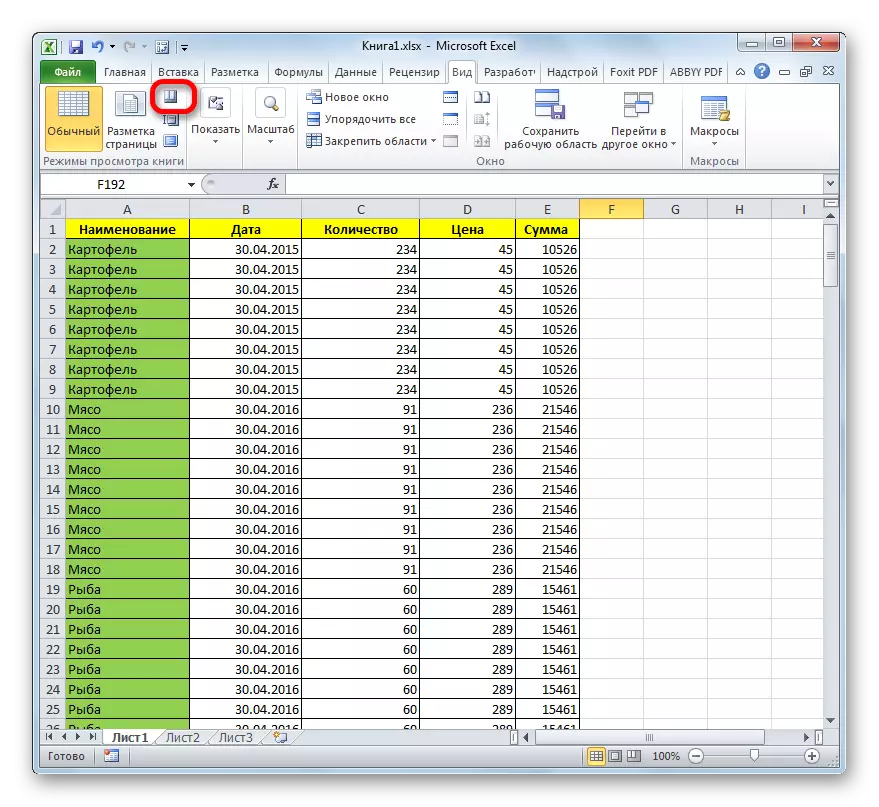
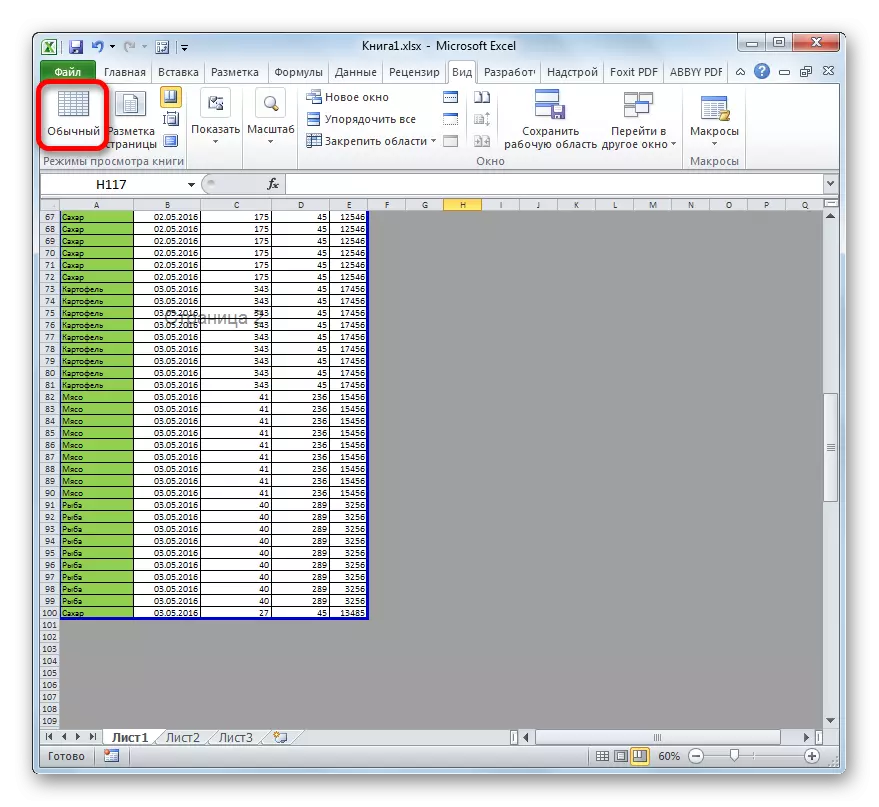
On the right side of the status string, which is located at the bottom of the Excel window, are icons for changing the document viewing mode. By default, the usual mode is enabled. The icon corresponding to it, the leftmost of the three icons. In order to switch to the page markup mode, click on the first icon to the right of the specified icon.
After that, the page markup mode is turned on. As you can see, all pages are separated by empty space. To go to the page mode, click on the right button in the row of the above icons.
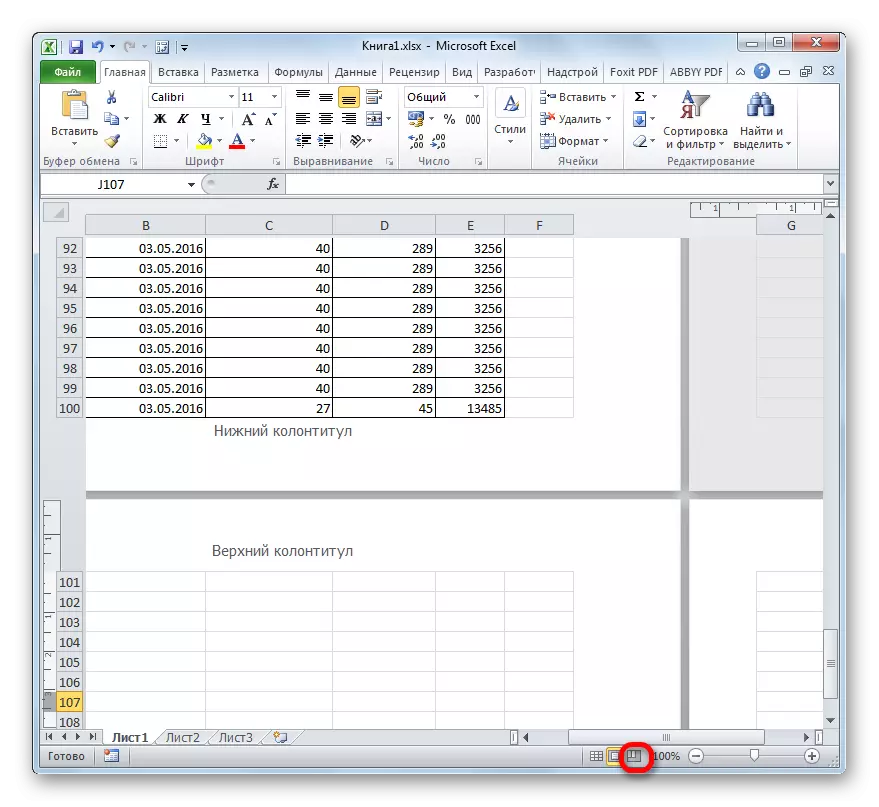
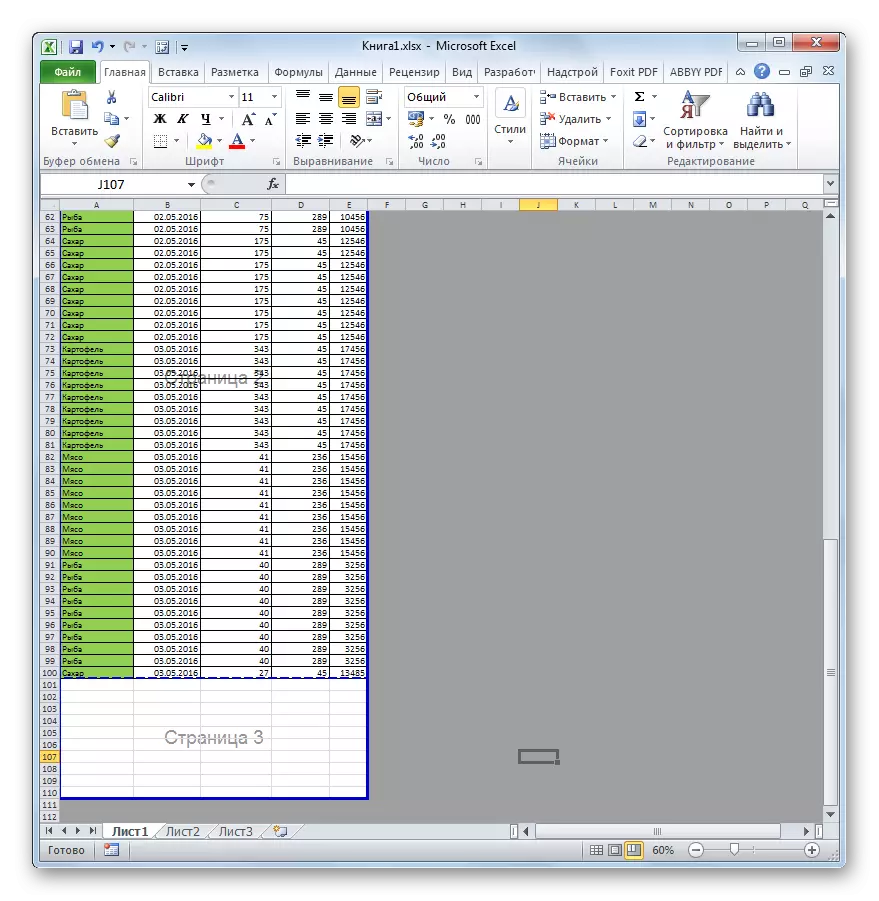
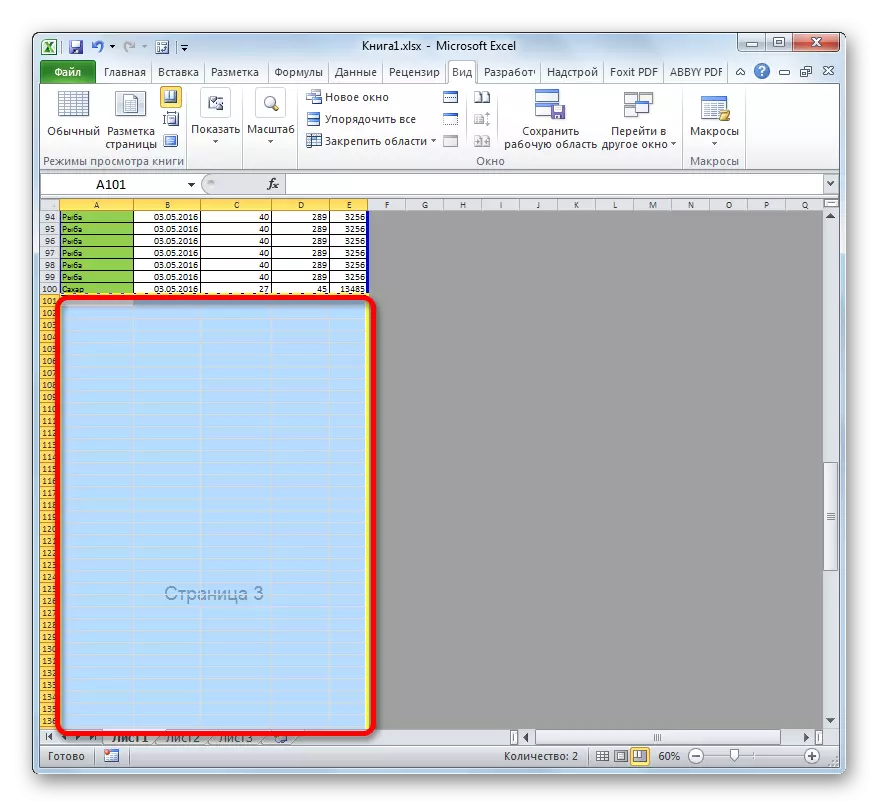
As you can see, in the page mode, not only the pages themselves are visible, the boundaries of which are denoted by dotted line, but also their numbers.
Also, switching between viewing modes in Excel can be performed by going to the "View" tab. There, on the tape in the "Book View Modes" block, the mode of switching modes that correspond to the icons on the status panel will be.
If when using the page mode is numbered the range in which the visually nothing is displayed, then an empty sheet will be released on print. It is over, it is possible by setting up printing a page of pages that does not include empty items, but it is best to remove these unnecessary elements. So you do not have to do the same additional actions when printing. In addition, the user can simply forget to produce the necessary settings, which will lead to a printout of empty sheets.
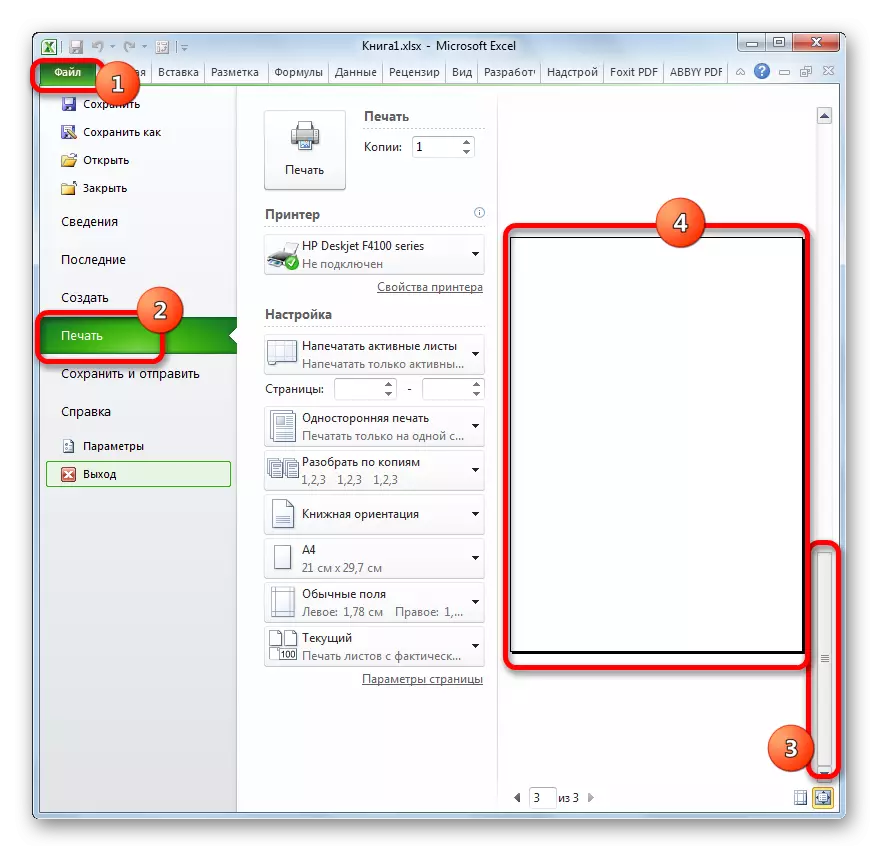
In addition, there are empty items in the document, you can find out through the preview area. In order to get there to move to the "File" tab. Next, go to the "Print" section. In the extreme right of the opening window, the area of previewing the document will be located. If you scroll through the scroll bar before the bottom and detect in the preview window, that there are no information on some pages at all, it means that they will be printed in the form of empty sheets.
Now let's specifically understand which ways you can delete empty pages from the document, in case of detection, when performing the above actions.
Method 1: Purpose Printing Area
In order not to be pretended by empty or unnecessary sheets, you can assign a print area. Consider how it is done.
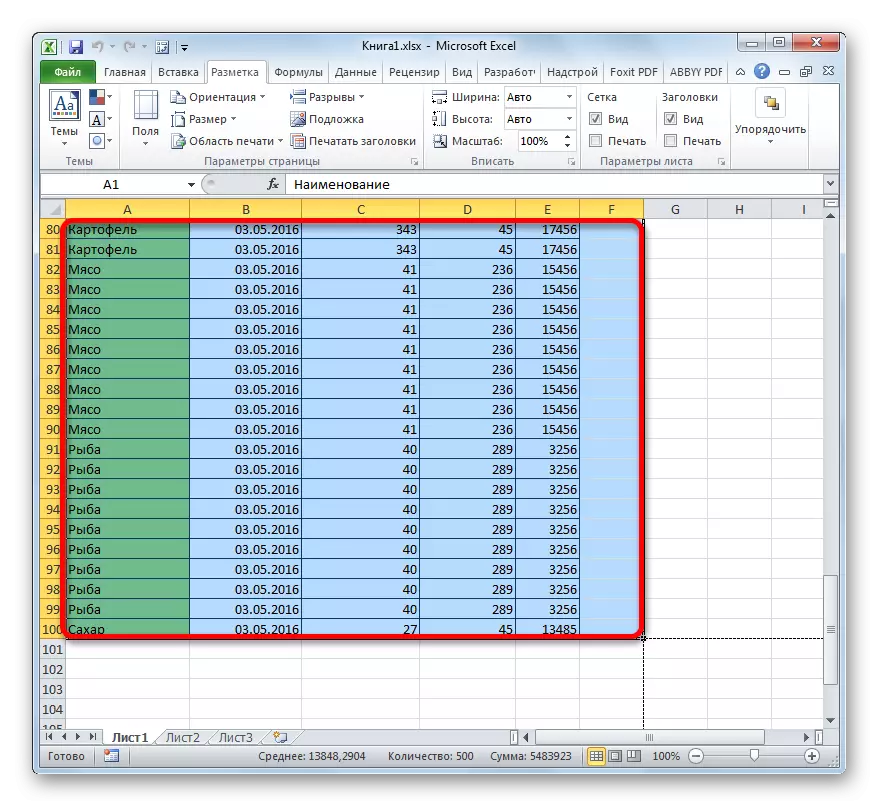
- Select the range of data on the sheet to be printed.
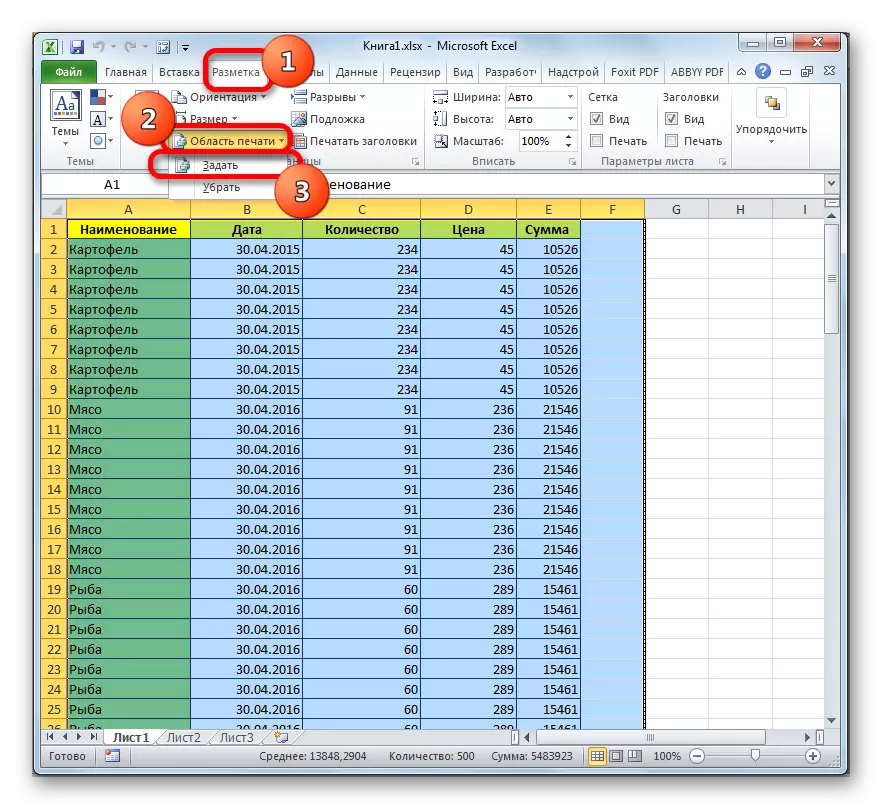
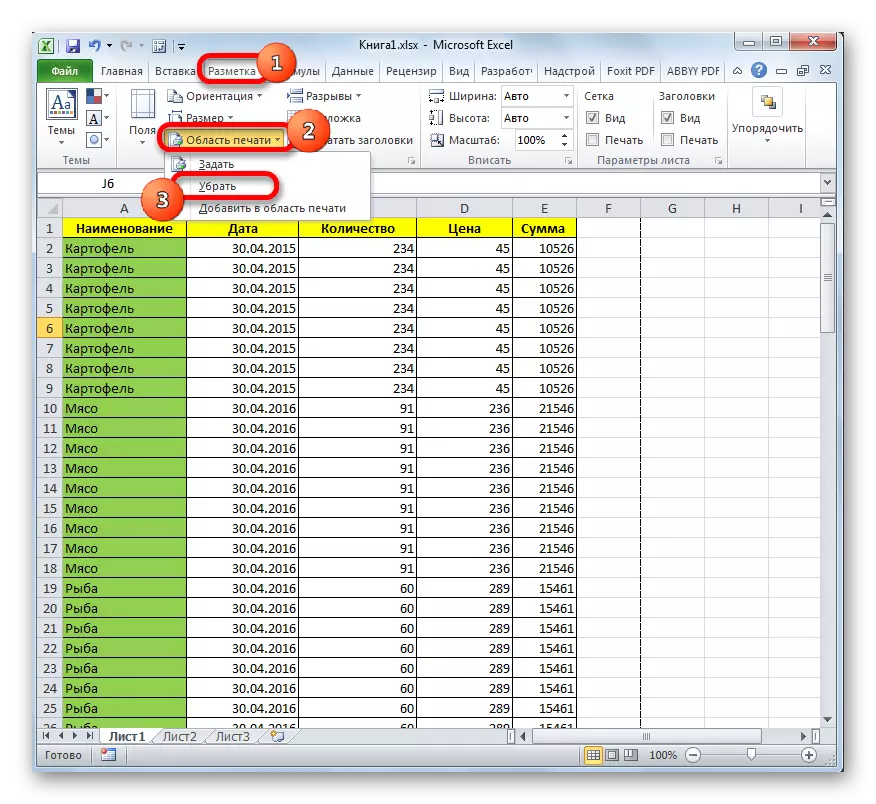
- Go to the "Page Markup" tab, click on the "Print Region" button, which is located in the "Page Settings" toolbar. A small menu opens, which consists of only two points. Click on the item "Set".
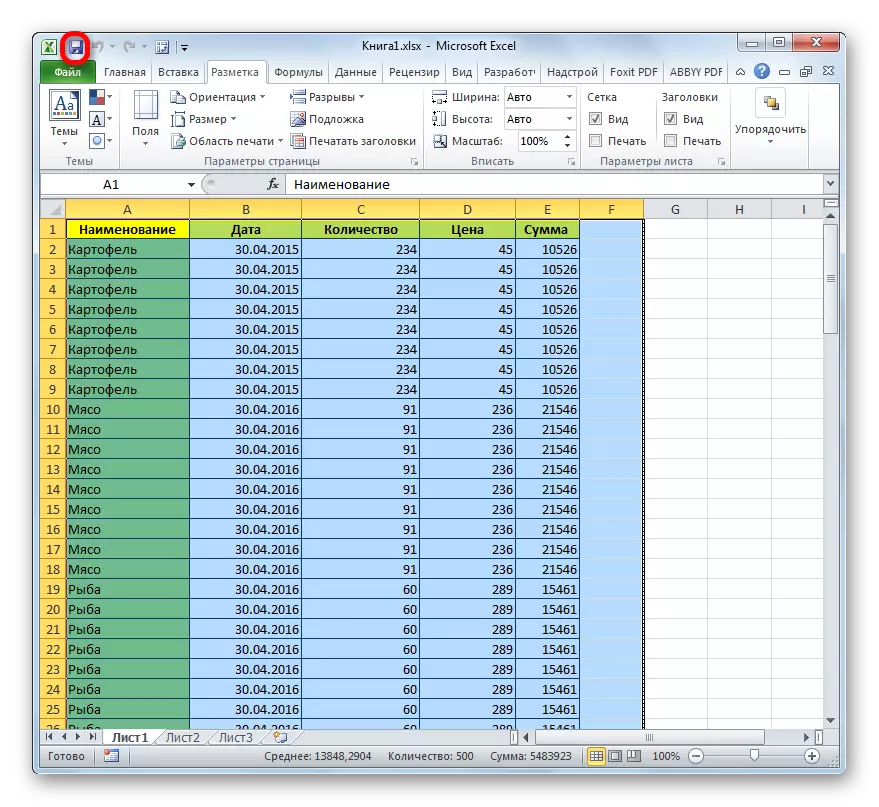
- We save the file with the standard method by clicking the icon in the form of a computer floppy disk in the upper left corner of the Excel window.
Now always when trying to print this file, only the area of the document you have been sent to the printer will be supplied. Thus, empty pages will simply "cut off" and their printout will not be carried out. But this method has flaws. If you decide to add data to the table, you will have to change the print area to print back to the table, since the program will only be sent to the printer that you specified in the settings.
But another situation is possible when you or another user asked the print area, after which the table was edited and lines were removed from it. In this case, empty pages that are fixed as a print area will still be sent to the printer, even if there were no symbol in their range, including a space. To get rid of this problem, it will be enough just to remove the print area.
In order to remove the print area even allocate the range is not needed. Just go to the "Markup" tab, click on the "Print Region" button in the "Page Settings" block and select "Remove" in the menu that appears.
After that, if there are no spaces or other characters in the cells outside the table, empty bands will not be considered part of the document.
Lesson: How to set a print area in Excele
Method 2: Full page deletion
If the problem is still not that the print area with an empty range was assigned, and the reason that empty pages are included in the document, consists in the presence of spaces or other extra characters on the sheet, then in this case, the forced purpose of the print area It is only a semi-dimensional.
As mentioned above, if the table is constantly changing, the user will have to set new printing parameters every time during printing. In this case, a more rational step will be a complete deletion from the Book of a range containing unnecessary spaces or other values.
- Go to the page viewing of a book by any of those two ways that we described earlier.
- After the specified mode is running, allocate all the pages that we do not need. We do this by circulating them with the cursor with the left mouse button.
- After the elements are highlighted, click on the Delete button on the keyboard. As you can see, all unnecessary pages are removed. Now you can go to normal viewing mode.
The main reason for the presence of empty sheets during printing is to install a space in one of the free range cells. In addition, the reason may be an incorrectly specified print area. In this case, you just need to cancel it. Also, to solve the problem of printing empty or unnecessary pages, you can set the exact print area, but it is better to do it, just removing empty bands.