
The wide distribution of modified Android firmware, as well as various additional components that expand the capabilities of devices, has become possible largely due to the appearance of custom recovery. One of the most convenient, popular and functional solutions among the similar time today is Teamwin Recovery (TWRP). Below will deal in detail with how to flash the device through TWRP.
Recall, any change in the programmatic part of the android apparatuses not provided by the device manufacturer in methods and methods is a kind of burglary of the system, which means that certain risks carries.
Important! Each user action with its own apparatus, including following the instructions below, is carried out by their own risk. For possible negative consequences, the user is responsible independently!
Before switching to the steps of the firmware procedure, it is strongly recommended to make a system backup and / or backup of user data. How to properly conduct these procedures from the article:
Lesson: how to make a backup Android device before firmware
Installation TWRP Recovery.
Before moving directly to the firmware through a modified recovery environment, the latter must be installed in the device. There is a sufficiently large number of installation methods, the main and most effective of them are discussed below.Method 1: Android application Official TWRP App
The TWRP developer team recommends that you set your own solution in Android devices using the Official TWRP App. This is really one of the easiest ways to install.
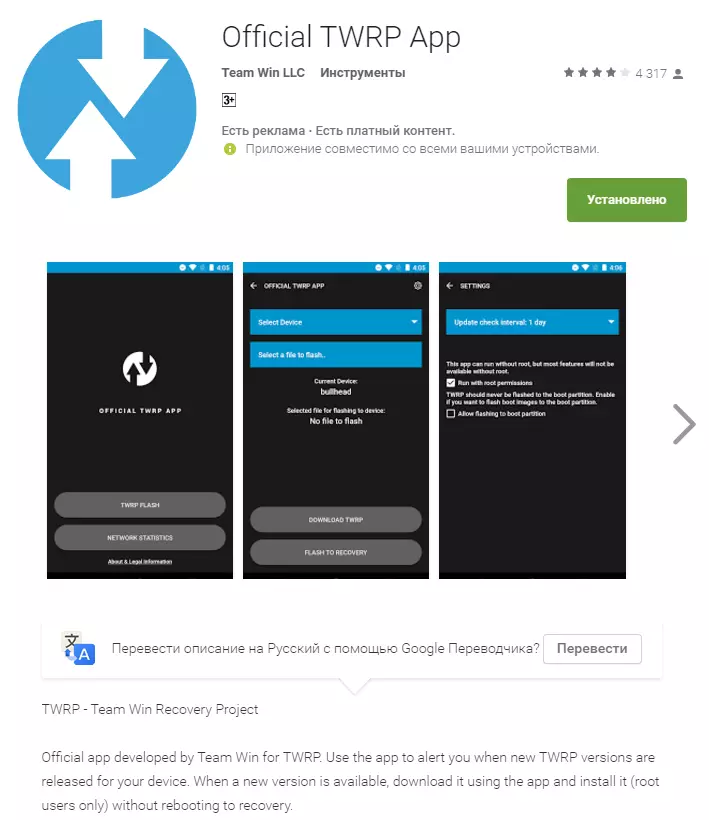
Download Official TWRP App to Play Market
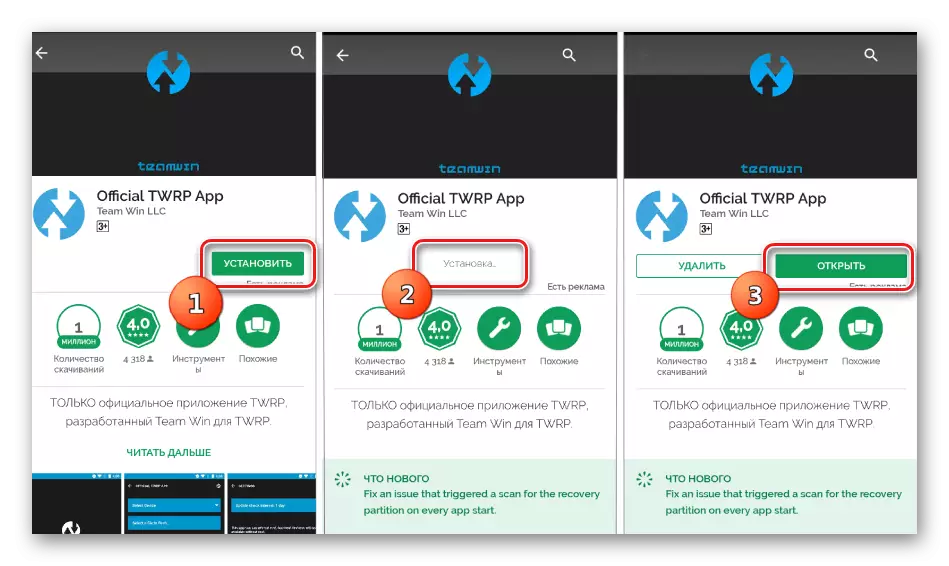
- We download, install and run the application.
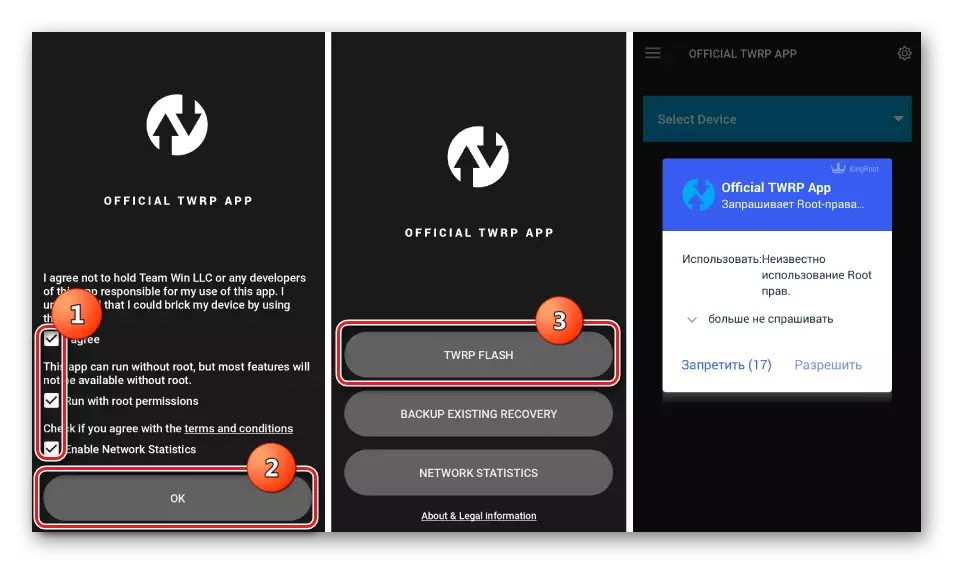
- When you first start, you need to confirm the risk awareness when conducting future manipulations, as well as give consent to the provision of superuser's rights. Install the corresponding checkboxes in the check boxes and click the "OK" button. In the next screen, select the "TWRP Flash" item and provide the root-right app.
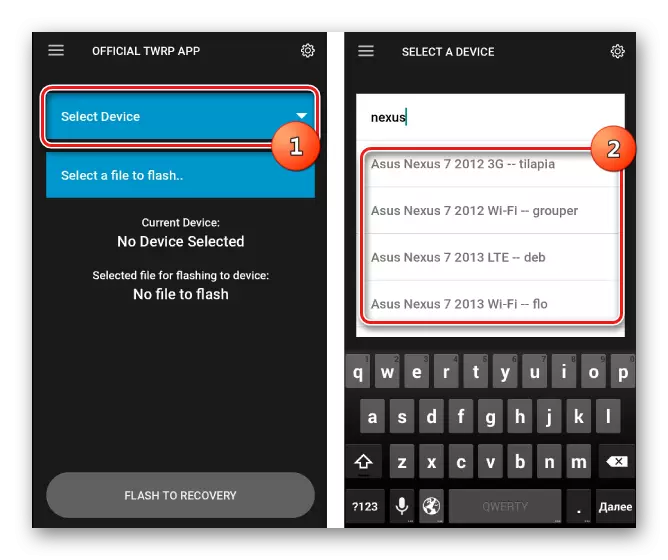
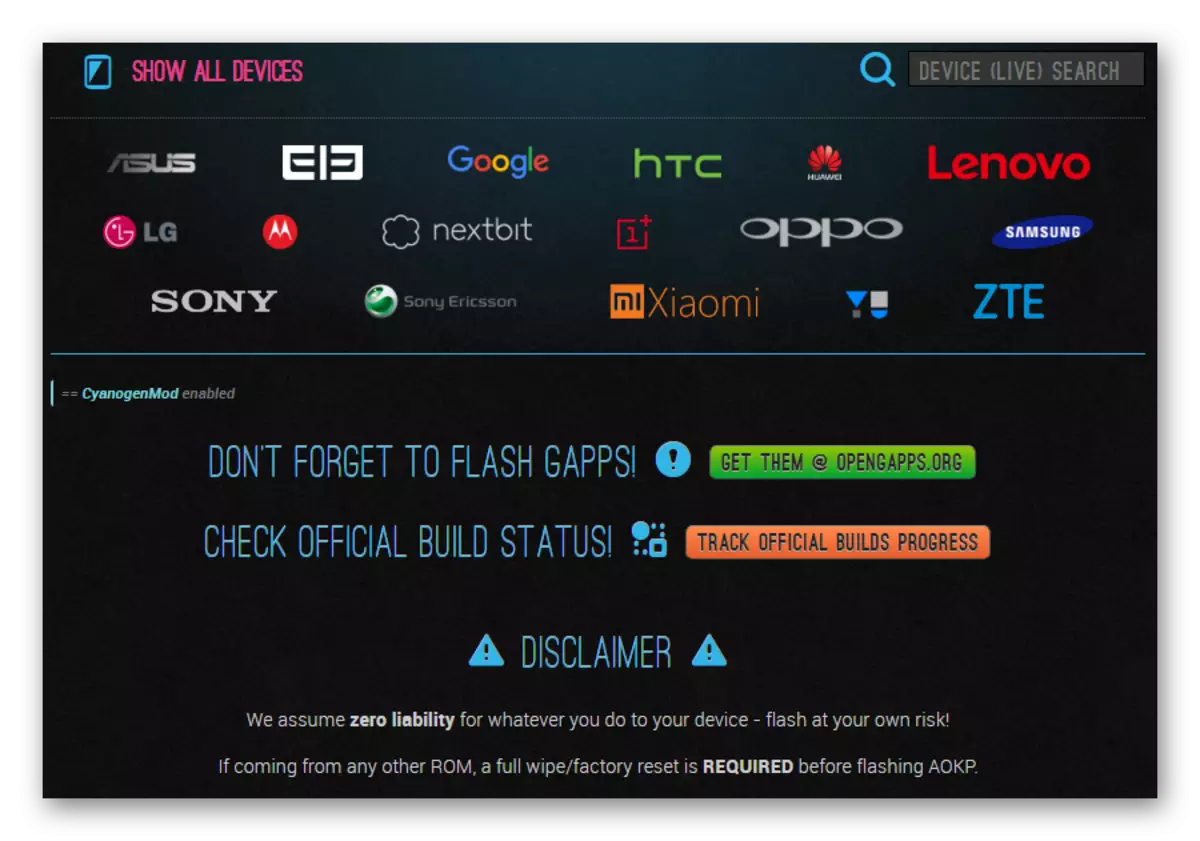
- On the main screen of the application, the SELECT DEVICE drop-down list is available in which you want to find and select the device model for installing the recovery.
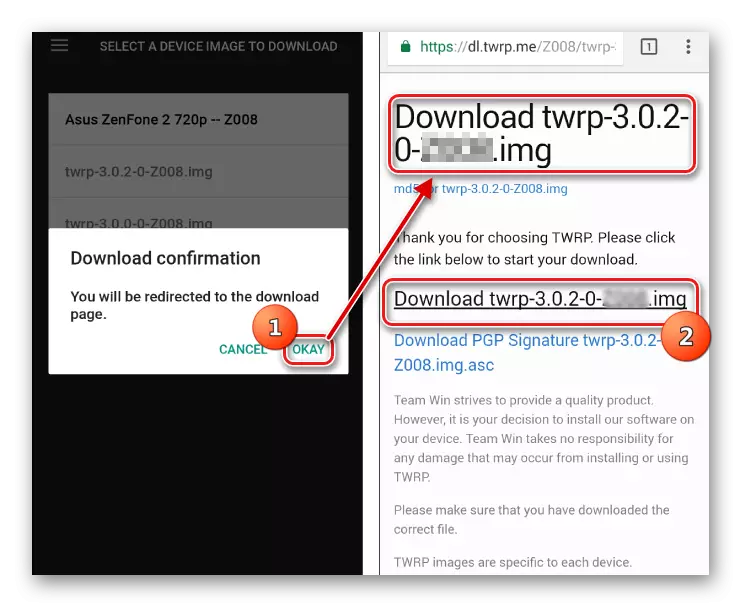
- After selecting the device, the program redirects the user to the web page to download the corresponding image file image of the modified recovery environment. Download the proposed file * .img..
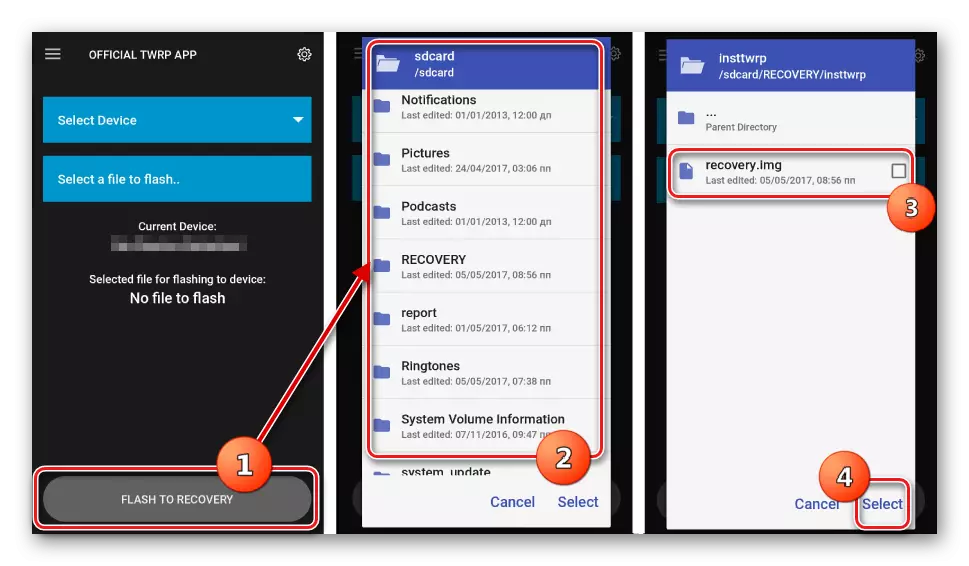
- After loading the image, we return to the Official TWRP App Screen and click the "Select a file to flash" button. Then you specify the program path to which the file downloaded in the previous step.
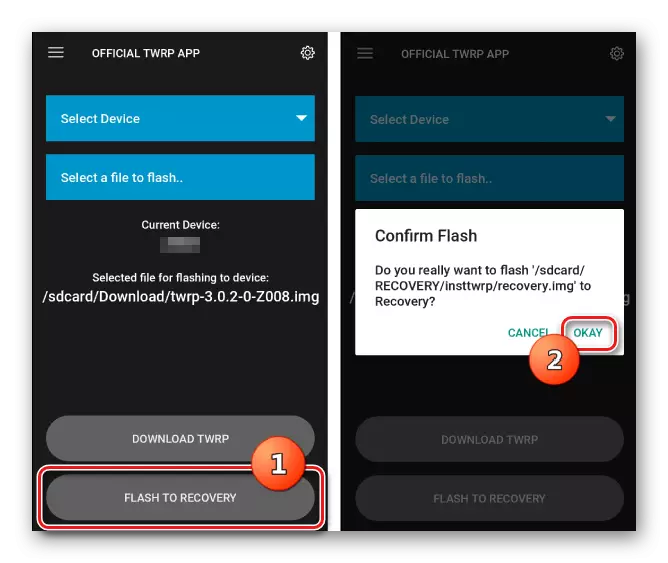
- After completing the addition of the image file to the program, the preparation process for recovery recording can be considered complete. Click the "Flash to Recovery" button and confirm the readiness for the beginning of the procedure - Tabay "Okay" in the Question window.
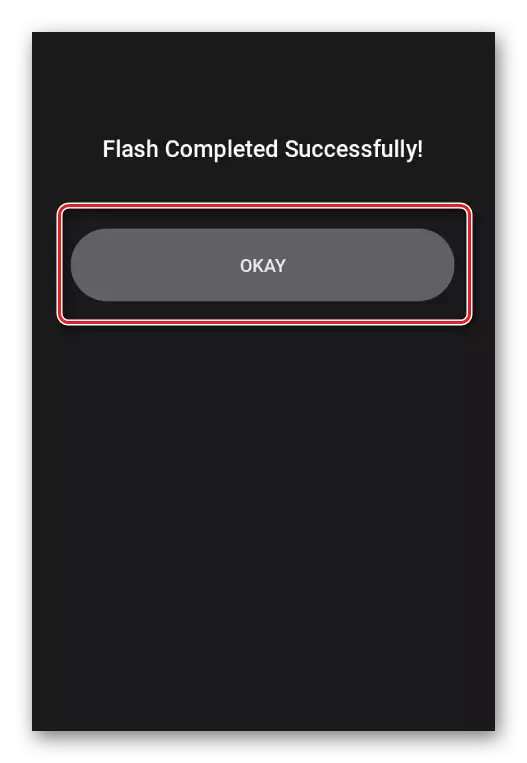
- The recording process passes very quickly, after its completion, the message "Flash Compled SuccsessFULY!" Appears. Click "Okay". The TWRP installation procedure can be finished.
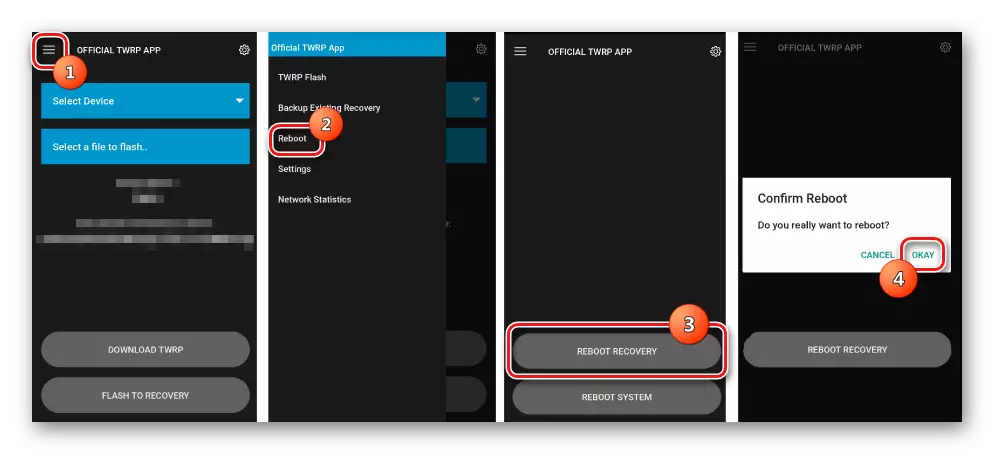
- Additionally: To restart into recovery, it is convenient to use a special item in the Official TWRP App menu, accessible by pressing the three stripes button in the upper left corner of the main screen of the application. We reveal the menu, select the "reboot" item, and then tap the "Reboot Recovery" button. The device will restart on the recovery environment automatically.
Method 2: for MTK apparatuses - SP Flashtool
In the event that the TWRP installation through the official TeamWin application is impossible, you will have to use the Windows application to work with the device memory sections. The owners of the MEDIATEK processor database can use the SP Flashtool program. About how to install recovery, with the help of this decision, is told in the article:Lesson: Firmware Android devices based on MTK via SP Flashtool
Method 3: For Samsung Devices - Odin
Holders of devices issued by Samsung can also use all the advantages of the modified recovery environment from the TeamWin command. To do this, you need to install the TWRP recovery, the method described in the article:
Lesson: SAMSUNG Android Device Firmware through ODIN Program
Method 4: TWRP installation via FastBoot
Another practically universal method of installing TWRP is the firmware of the image of the recovery via FastBoot. Details of action carried out to install the recovery in this way are described by reference:Lesson: how to flash the phone or tablet via fastboot
Firmware via TWRP.
Despite the seeming simplicity of the following actions below, it must be remembered that the modified recovery is a powerful tool, the main purpose of which is to work with the sections of the device's memory, so it is necessary to act neatly and thoughtfully.
In the following examples, a microSD card of the Android device is used to store files used, but TWRP allows you to use the internal memory of the device and OTG for such purposes. Operations when using any of the solutions are similar.
Installing zip files
- Download the files that need to be flashing into the device. In most cases, these are firmware, additional components or patches in format * .zip. but TWRP allows you to record in the memory sections and file format * .img..
- Carefully read information at the source from where files for firmware were received. It is necessary to clearly and unambiguously find out the purpose of the files, the consequences of their use, possible risks.
- In addition to other things, there are possessing packages in the network creators of modified software may noted the requirements for renaming the files of their solutions before the firmware. In general, firmware and add-ons distributed in format * .zip. Unpacking the archiver does not need! TWRP manipulates exactly this format.
- Copy the necessary files to the memory card. It is advisable to arrange everything in folders with short clear names, which will avoid confusion in the future, and the main random recording of a "not the" data packet. It is also not recommended to use Russian letters and spaces in the names of folders and files.
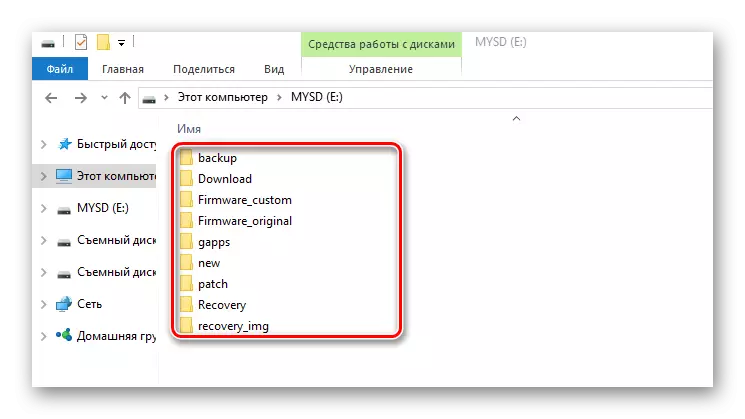
To transfer information to the memory card, it is advisable to use a PC card or laptop card reader, and not the device itself connected to the USB port. Thus, the process will occur in many cases much faster.
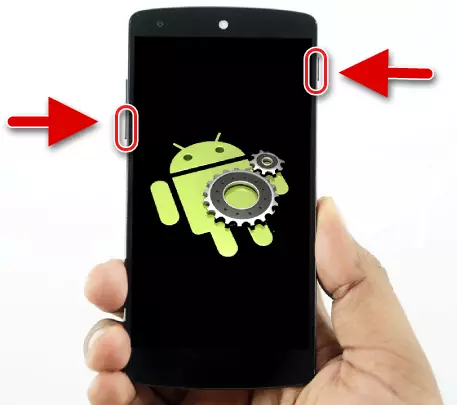
- Install the memory card into the device and go to TWRP recovery in any convenient way. In a large number of Android devices, a combination of hardware keys on the "Volume" device + "Power" is used. On the disabled, you climb the "Volume-" button and holding it down, the "Power" key.
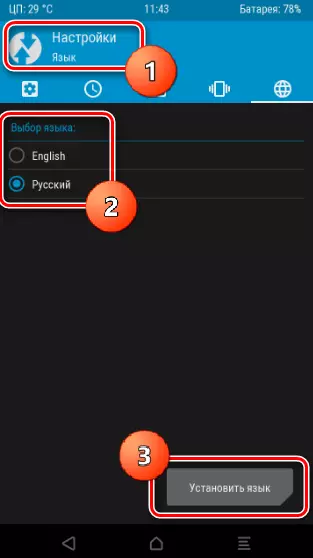
- In most cases, today, users are available versions of TWRP with the support of the Russian language. But in the old versions of the recovery environment and informal assemblies of the recovery, the Russification may be absent. For greater universality of the application of instructions, the operation in the English-language version of TWRP is demonstrated below, and in brackets, when describing actions, the names of items and buttons in Russian are shown.
- Very often, the developers of the firmware are recommended to perform the so-called "wipe" before the procedure, i.e. Cleaning, sections "Cache" and "Data". This will delete all user data from the machine, but avoids a wide range of errors in software, as well as other problems.
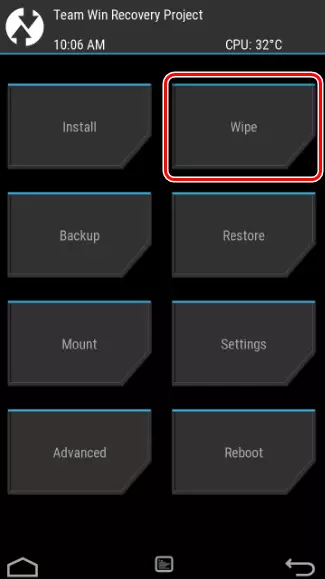
To perform the operation, press the "WIPE" button ("Cleaning"). In the discontinuous menu, we move the special unlocking driver of the "Swipe to Factory Reset" procedures ("Swile to confirm") to the right.
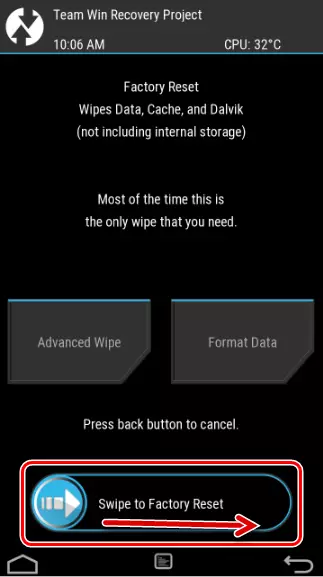
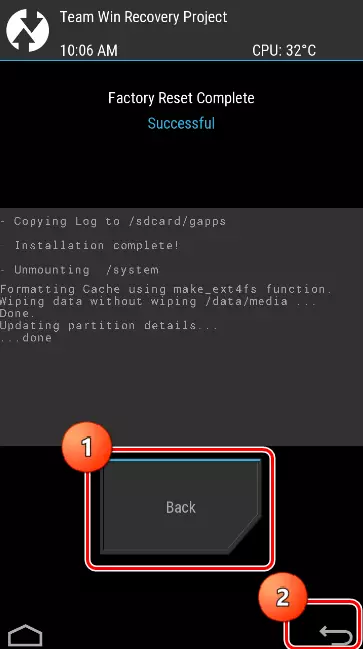
Upon completion of the cleaning procedure, "Succsessful" ("Finish") appear. Press the button "Back" ("Back"), and then the button on the right at the bottom of the screen to return to the TWRP main menu.
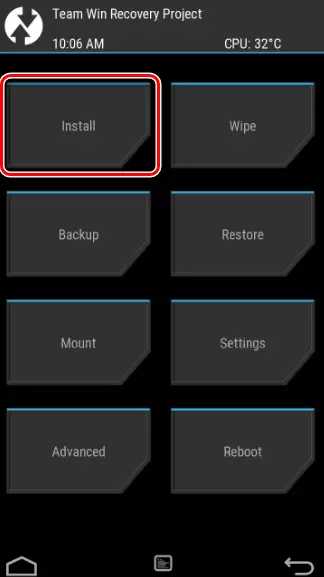
- Everything is ready for the start of the firmware. Press the "Install" button.
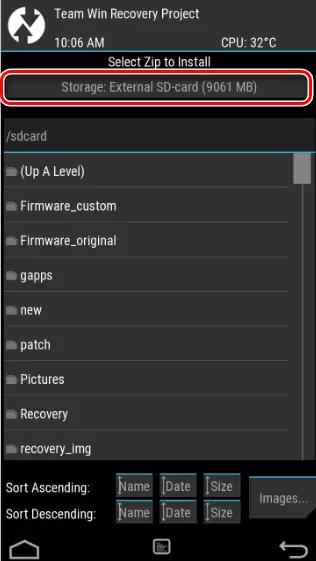
- The file selection screen is displayed - improvised "conductor". At the very top there is a "Storage" button ("Selecting a drive"), allowing you to switch between memory types.
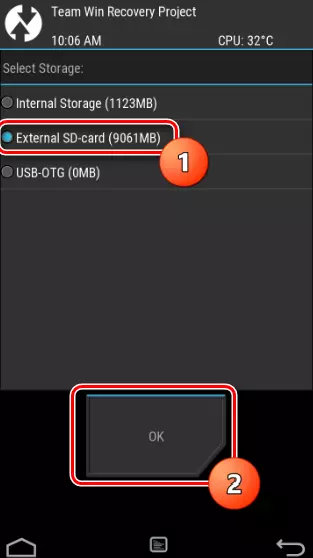
- Select the repository in which the files planned to be installed. List Next:
- "INTERNAL STORAGE" ("device memory") - internal storage of the device;
- "EXTERNAL SD-CARD" ("MicroSD" - memory card;
- "USB-OTG" is a USB storage device connected to the device through an OTG adapter.
After deciding, we set the switch to the desired position and click the "OK" button.
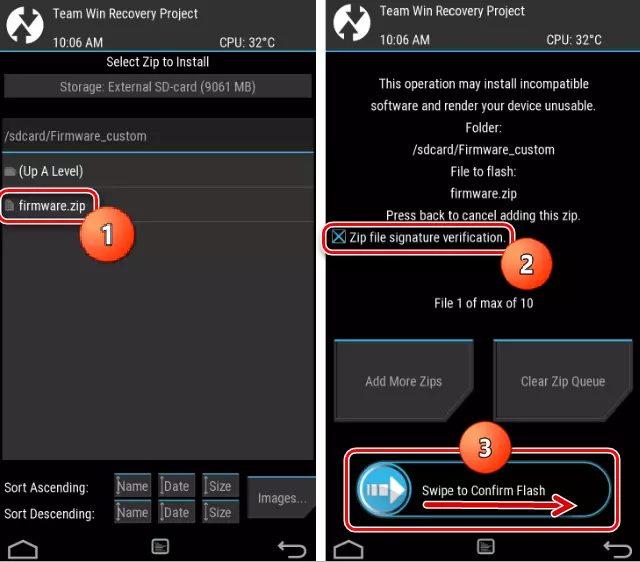
After all the parameters are defined, you can move to the firmware. To begin with, we move a special unlocker "Swipe to Confirm Flash" procedures ("Swipe for firmware") to the right.
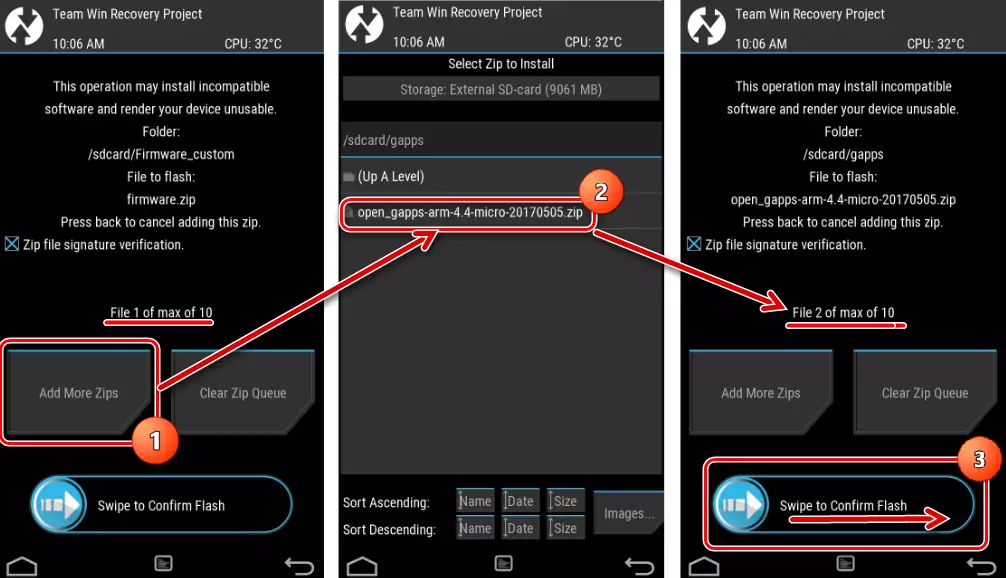
The batch installation is recommended only with complete confidence in the performance of each individual component of the software contained in the file that will be recorded in the device's memory!
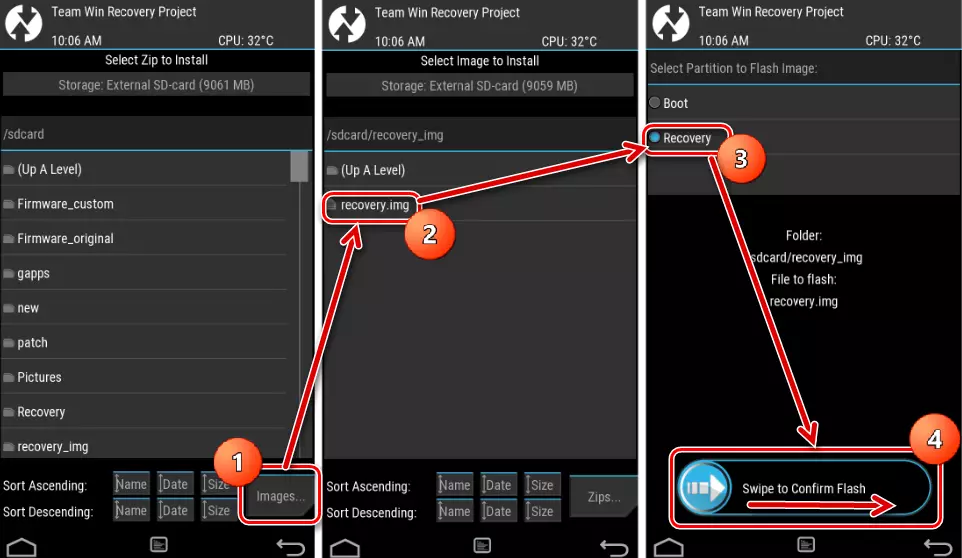
Install IMG images
- To install firmware and components of the system distributed in the format of image files * .img. Through the TWRP recovery, the same actions are required as a whole as when installing Zip-packets. When a file is selected for the firmware (paragraph 9 of the instructions above), you must first press the "Images ..." button (Installing IMG).
- After that, the selection of IMG files will be available. In addition, before recording information, it will be prompted to select the device's memory section to which the image will be copied.
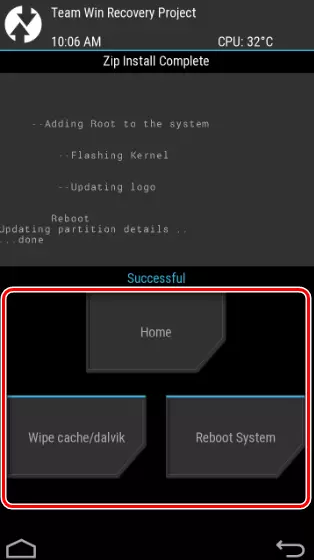
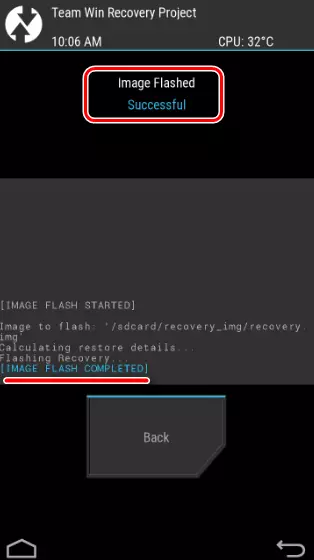
- Upon completion of the recording procedure * .img. We observe the long-awaited inscription "Succsessful" ("ready").
In no case cannot be aligned in the memory partitions inappropriate images! This will lead to the impossibility of loading the apparatus almost with a 100% probability!
Thus, the use of TWRP for the firmware of android apparatuses as a whole is simple and does not require multiple action procedures. Success largely predetermines the correctness of the user's choice for firmware, as well as the level of understanding the objectives of the manipulation and their consequences.