
Microsoft PowerPoint is a powerful set of tools for creating presentations. In the first study of the program it may seem to create a demonstration here really simply. Maybe so, but most likely will be quite a primitive option, which is suitable for the most minor shows. But to create something more comprehensive, you need to dig in the functionality.
Beginning of work
First of all, you need to create a presentation file. Here are two options.
- The first - right-click in any arrangement (on the desktop, in the folder) and select the "Create" item in the pop-up menu. It also remains to click on the "Microsoft PowerPoint Presentation" option.
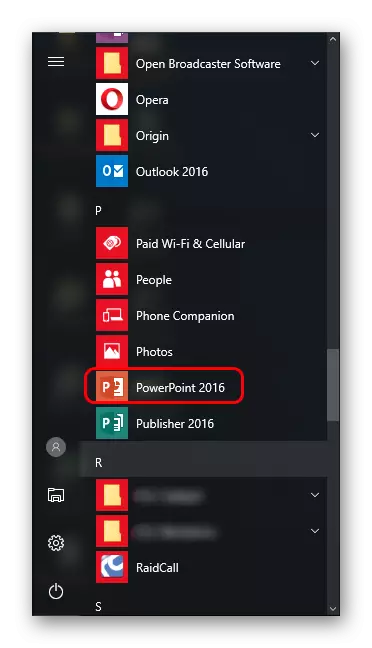
- The second is to open this program through the "Start". As a result, you will need to save your job by selecting the address path to any folder or on the desktop.

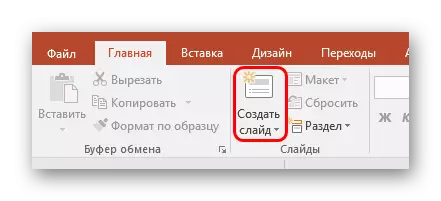
Now that PowerPoint works, you need to create slides - frames of our presentation. To do this, use the "Create Slide" button in the Home tab, or the combination of hot keys "Ctrl" + "M".
Initially, a capital slide is created, which will demonstrate the name of the presentation theme.
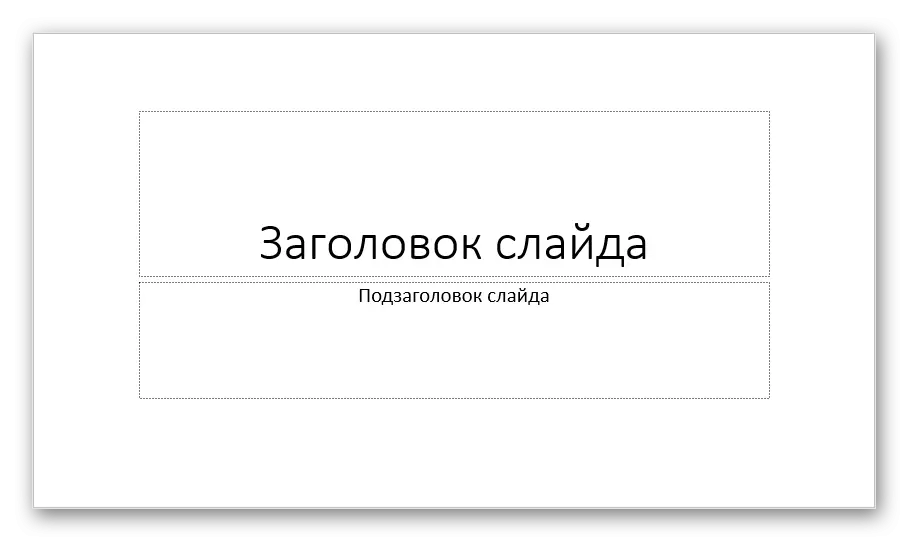
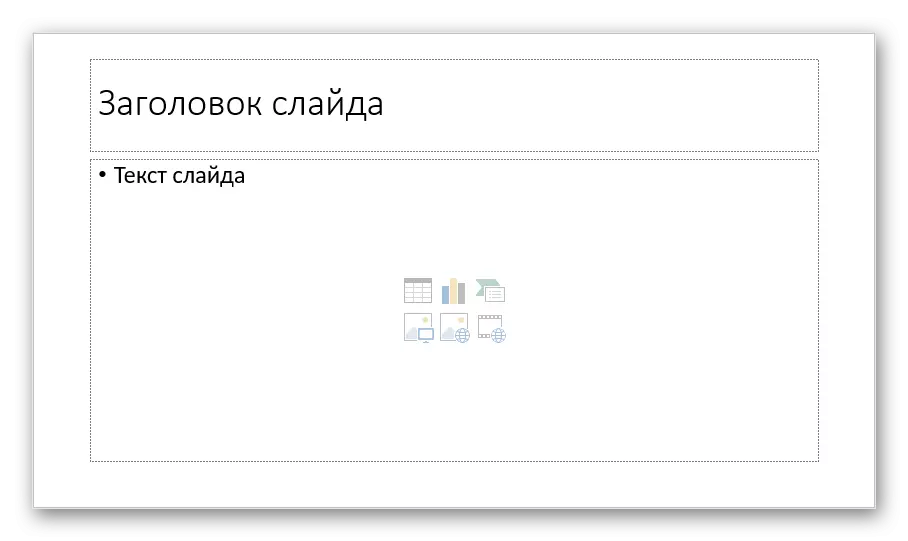
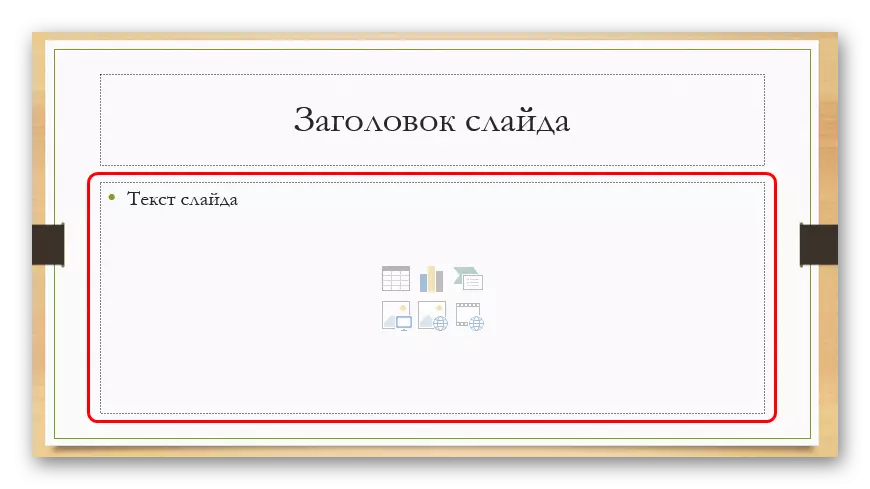
All further frames will be standard by default and have two areas - for header and content.
A start. Now you should only fill your presentation by data, change design and so on. The procedure for execution is not particularly important, so that further steps do not necessarily perform consistently.
Setting up external look
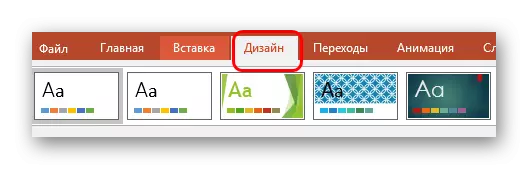
As a rule, before the start of filling in the presentation, the design is configured. For the most part, this is done because after setting up the appearance already available elements of sites may not look very good, and you have to seriously process the finished document. Because most often do it immediately. To do this, serves the same tab in the header of the program, it is the fourth on the left.
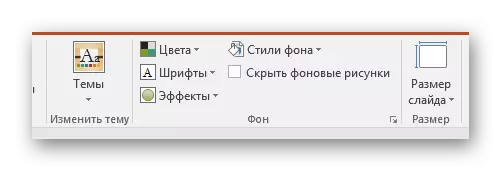
To configure you need to go to the "Design" tab.
There are three main areas here.
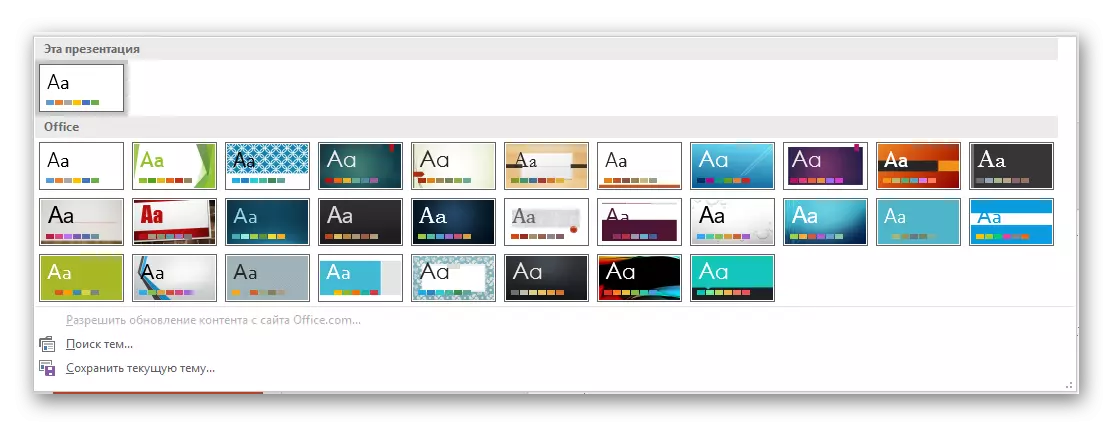
- The first is "themes". There are several built-in design options that imply a wide range of settings - the color and font of the text, the location of the areas on the slide, background and additional decorative elements. They do not change the presentation, but they still differ from each other. It is necessary to learn all the available topics, it is likely that some perfectly suitable for the future show.

When you click on the appropriate button, you can deploy the entire list of design templates available.
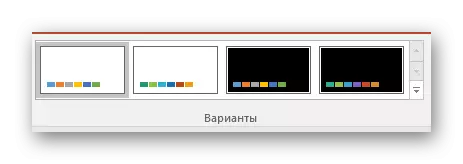
- Next in PowerPoint 2016 there is an area "Options". Here is a variety of topics expands, offering several color solutions for the selected style. They differ from each other only in coloring, the location of the elements does not change.
- "Configure" offers the user to change the size of the slides, and manually adjust the background and design.
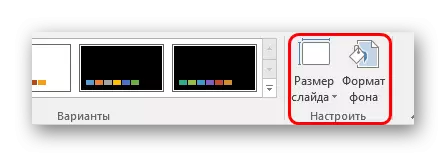
About the last option worth telling a little more.
The "Background Format" button opens an additional side menu to the right. Here, in the case of setting any design there are three bookmarks.
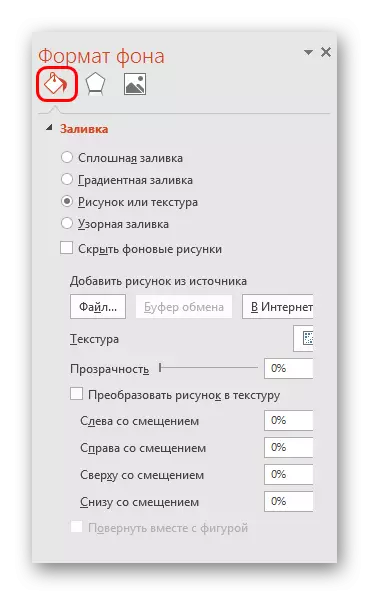
- "Filling" offers setting up background image. You can fill in one color or pattern, and insert any image with its subsequent additional editing.
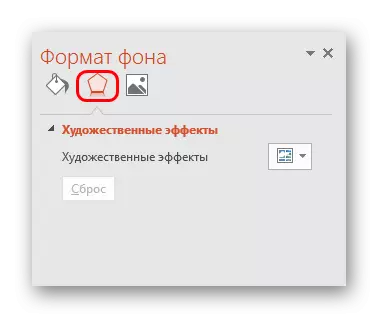
- "Effects" allows you to apply additional artistic techniques to improve visual style. For example, you can add the effect of the shadow, outdated photos, magnifiers and so on. After selecting the effect, it will also be possible to configure it - for example, change the intensity.
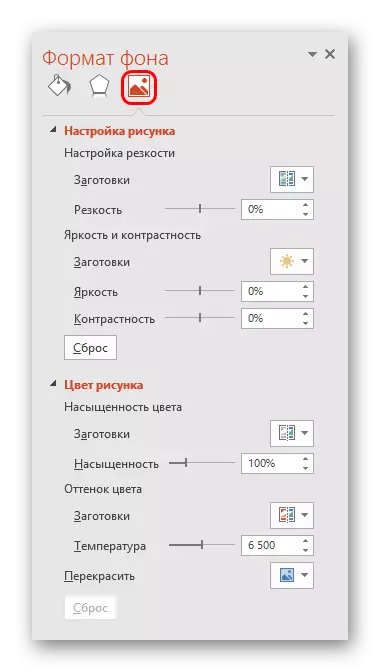
- The last item is "Figure" - works with an image installed on the background, allowing you to change its brightness, sharpness, and so on.
Tool data is quite enough to make the presentation design not only colorful, but also completely unique. If a given standard style is selected by this moment, the "Filling" menu will be selected in the presentation, then the "Filling" menu will be in the "Format" menu.
Setting up layout slides
As a rule, the format is also configured before filling the presentation. For this there is a wide set of patterns. Most often no additional settings of layouts are required, since the developers are provided for a good and functional range.
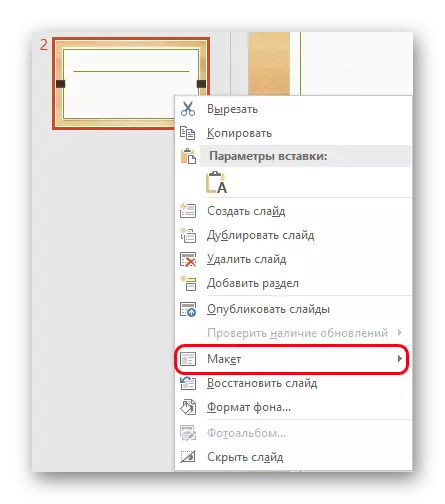
- To select a blank for a slide, you need to click on it with the right mouse button in the left side frame list. In the pop-up menu you need to enable the "layout" option.
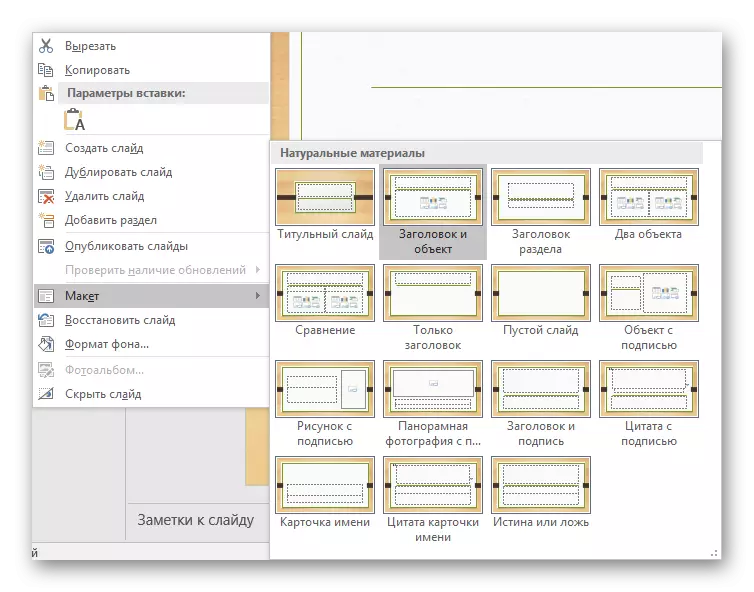
- On the side of the pop-up menu will display a list of available templates. Here you can choose any of the most suitable for the essence of a particular sheet. For example, if you plan to demonstrate a comparison of two things in the pictures, the option "Comparison" is suitable.
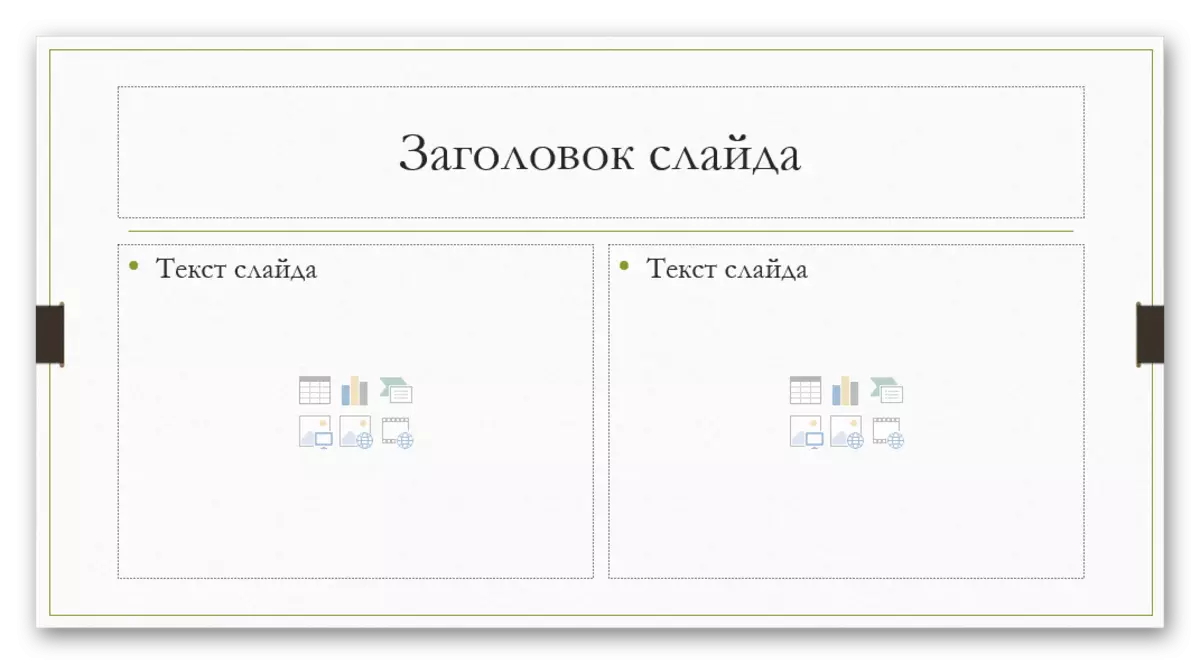
- After selecting, this billet will be applied and the slide can be filling.
If nevertheless arises the need to create a slide in the layout that is not provided for by standard templates, then you can make your billet.
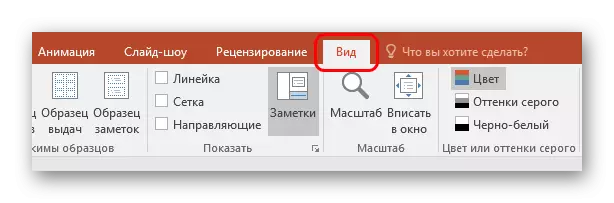
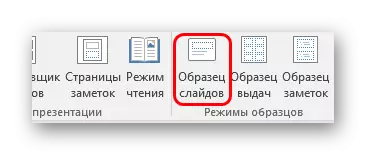
- To do this, go to the "View" tab.
- Here we are interested in the "Slide Sample" button.
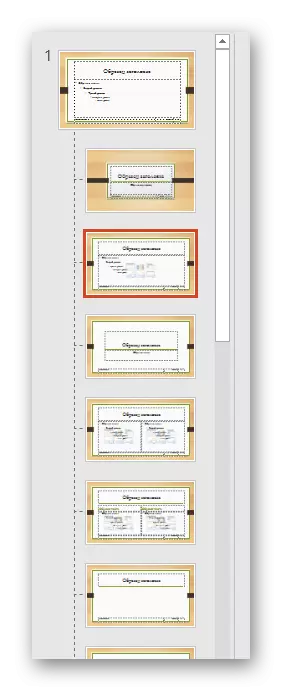
- The program will switch to the mode of working with templates. The hat and functions will be completely changed. On the left now there will be no already existing slides, but a list of templates. Here you can choose both available for editing and create your own.
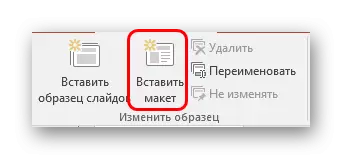
- For the last option, the "Insert layout" button is used. A completely empty slide will be added systemically, the user will need to add all the fields for the data itself.
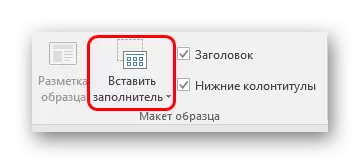
- To do this, use the "Insert Filter" button. There is a wide selection of areas - for example, for header, text, media files, and so on. After selecting, you will need to draw the window on the frame in which the selected content will be located. You can create as many areas.
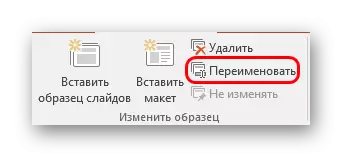
- After completing the creation of a unique slide, it will not be superfluous to give him his own name. To do this, serves the "Rename" button.
- The remaining functions here are designed to configure the appearance of templates and edit the size of the slide.
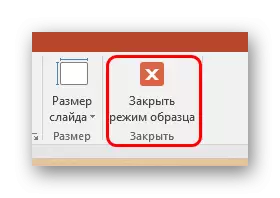
At the end of all works, click the "Close Sample Mode" button. After that, the system will return to work with the presentation, and the template can be applied to the slide described above.
Configuring data
Whatever is described above, the main thing in the presentation is filling it with information. In the show, you can insert anything anything, if only harmoniously combined with each other.
By default, each slide has its heading and the separate area is assigned to it. Here you should enter the name of the slide, the topic, as described in this case, and so on. If the slide series indicates the same, then you can either delete the title, or it's just not to write there - the empty area is not displayed when the presentation is displayed. In the first case, you need to click on the border of the frame and click the "DEL" button. In both cases, the slide will not have the names and the system will label it as "Unnamed".
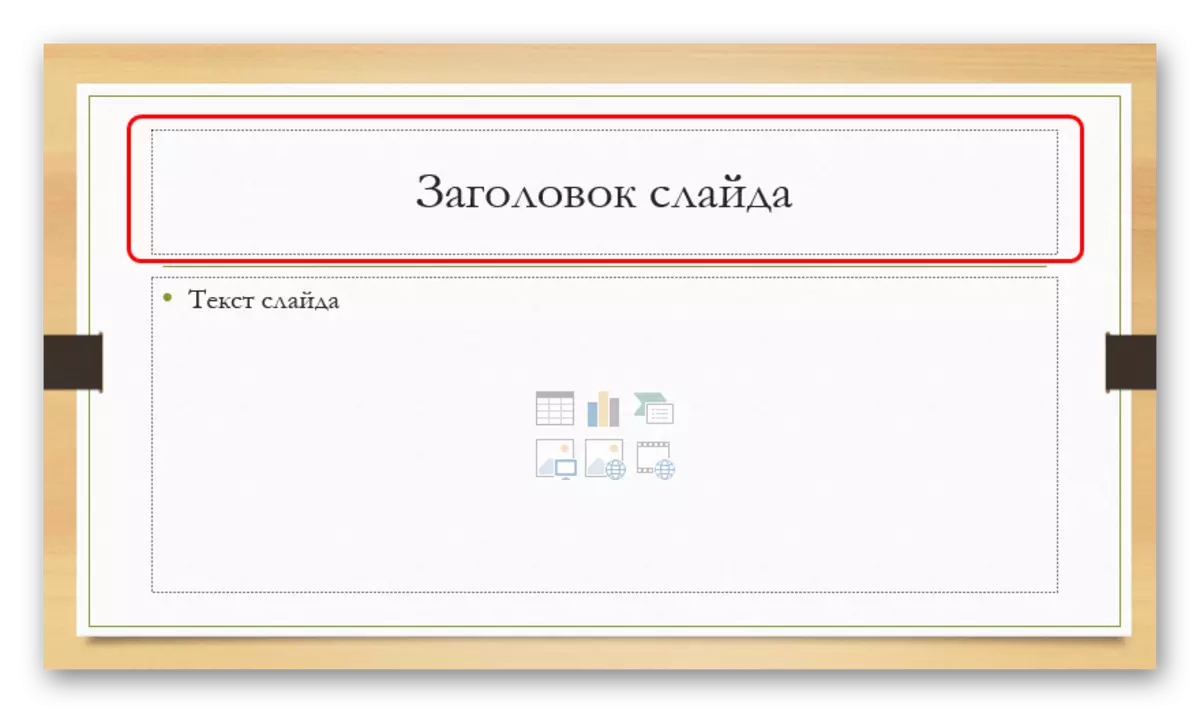
Most of the slides layouts for entering text and other data formats use "Content Area". This plot can be used both to enter text and insert other files. In principle, any content introduced to the site automatically tries to occupy this particular slot, adjusting to the size of themselves.
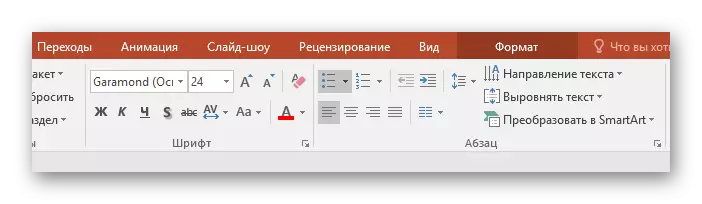
If we talk about the text, it is calmly formatted by the standard Microsoft Office tools, which are also present in other products of this package. That is, the user can freely change the font, color, sizes Special effects and other aspects.
As for adding files, the list is wide here. It can be:
- Pictures;
- Gif animation;
- Videos;
- Audio files;
- Tables;
- Mathematical, physical and chemical formulas;
- Diagrams;
- Other presentations;
- Schemes Smartart and others.
To add all this, a variety of ways are used. In most cases, this is done through the "Insert" tab.

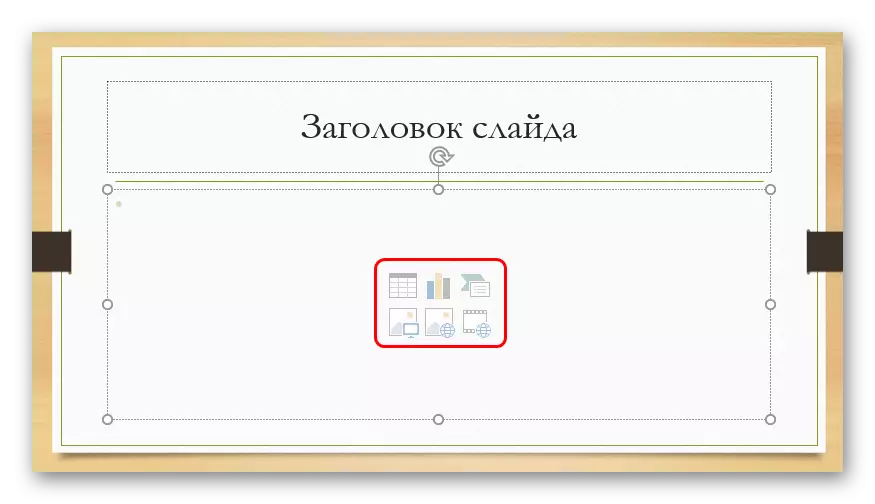
Also, the content itself contains 6 icons to quickly add tables, diagrams, SmartArt objects, pictures from a computer, images from the Internet, as well as video files. To insert, you need to click on the appropriate icon, after which the toolkit or the browser opens to select the desired object.
Inserted items can be freely moved by slide using the mouse, choosing the necessary layout already by manually. No one also prohibits changing the size, position priority and so on.
Additional functions
There is also a wide range of different features that allow you to improve the presentation, but are not mandatory for use.Setting the transition
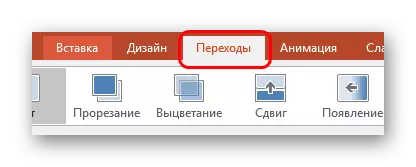
This item is half refers to the design and appearance of the presentation. It does not have such paramount importance as the external setting, so it is not necessary to do at all. There is this toolkit in the "Transitions" tab.
In the "Transition to this Slide" area, a wide selection of various animation compositions will be presented to be used for transitions from one slide to another. You can choose the most you like or suitable for the presentation, as well as use the setup feature. For this, the "Effect Parameters" button is used, there for each animation there is a set of settings.

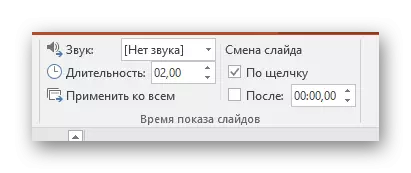
The "Time Slide Time" area is no longer relevant to visual style. Here the duration of viewing one slide is configured, provided that they will change without a team of the author. But it is also worth noting here an important button for the past point - "Apply to all" allows you to not apply the transition effect between slides for each frame manually.
Setting the animation
To each element, whether text, a media file or anything else, you can add a special effect. It is called "Animation". Settings for this aspect are in the appropriate tab in the program header. You can add, for example, the animation of the appearance of a particular object, as well as the subsequent disappearance. Detailed instructions for creating and configuring animation is in a separate article.Lesson: Creating Animation in PowerPoint
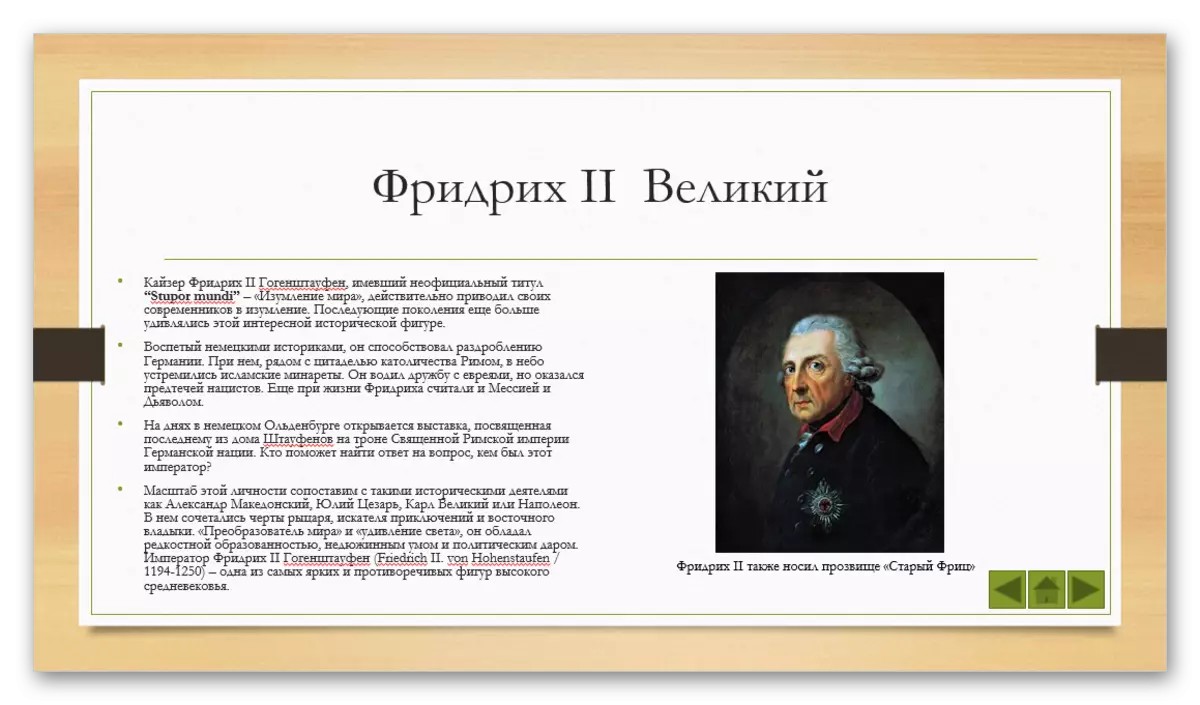
Hyperlinks and control system
Many serious presentations also configure control systems - control keys, slides menu, and so on. For all this uses the setting of hyperlinks. Not in all cases, such components should be, but in many examples it improves perception and systematizes a presentation, practically turning into a separate manual or a program with an interface.
Lesson: Creating and configuring hyperlinks
Outcome
Based on the foregoing, you can come to the next most optimal algorithm for creating a presentation consisting of 7 steps:
- Create the right amount of slides
Not always the user can say in advance about what duration will be at the presentation, but it is best to have a presentation. This will help in the future harmoniously distribute the entire amount of information, configure various menus and so on.
- Customize visual design
Very often, when creating a presentation, the authors face that the already entered data is poorly combined with further design options. So most professionals recommend to develop a visual style in advance.
- Distribute clock layout options
For this, already existing templates are either selected, or new, and then distributed for each slide separately, based on its destination. In some cases, this step may also precede the visual style setting so that the author can adjust the design parameters just under the selected location of the elements.
- Make all data
The user makes all the necessary text, media or other data types in the presentation, distributing the slides in the desired logical sequence. Immediately edit and formatting all information.
- Create and configure additional items
At this stage, the author creates control buttons, various content menus and so on. Also, often individual moments (for example, the creation of the slide control buttons) are created by the framework of framework, so that you should not manually add the buttons each time.
- Add Secondary Components and Effects
Setting the animation, transitions, musical accompaniment, and so on. Usually done at the last stage, when everything else is ready. These aspects affect the finished document and you can always refuse them, because they are still engaged in the last.
- Check and fix shortcomings
It remains only to double-check, running the view, and make the necessary adjustments.
Additionally
At the end, I would like to specify a couple of important points.
- Like any other document, the presentation has its own weight. And it is larger than the more objects inserted inside. This is especially true of music and video files in high quality. So once again take care of adding optimized media files, since a multi-birthbate presentation not only provides difficulties with transportation and transmission to other devices, but it can be extremely slow.
- There are various requirements for the design and filling of the presentation. Before starting work, it is best to know the regulations for the leadership in order to be exactly not mistaken and not to come to the need to completely redo the ready-made work.
- According to professional presentations, it is recommended not to make large jets of text for those cases when the work is designed to accompany the performances. Read this all will not be, the entire basic information should pronounce the announcer. If the presentation is intended for individual studies by the recipient (for example, instruction), then this rule does not apply.
As can be understood, the procedure for creating a presentation includes much more features and steps than it may seem from the very beginning. No tutorial teachs to create demonstrations better than simply experience. So you need to practice, try various elements, actions, search for new solutions.