
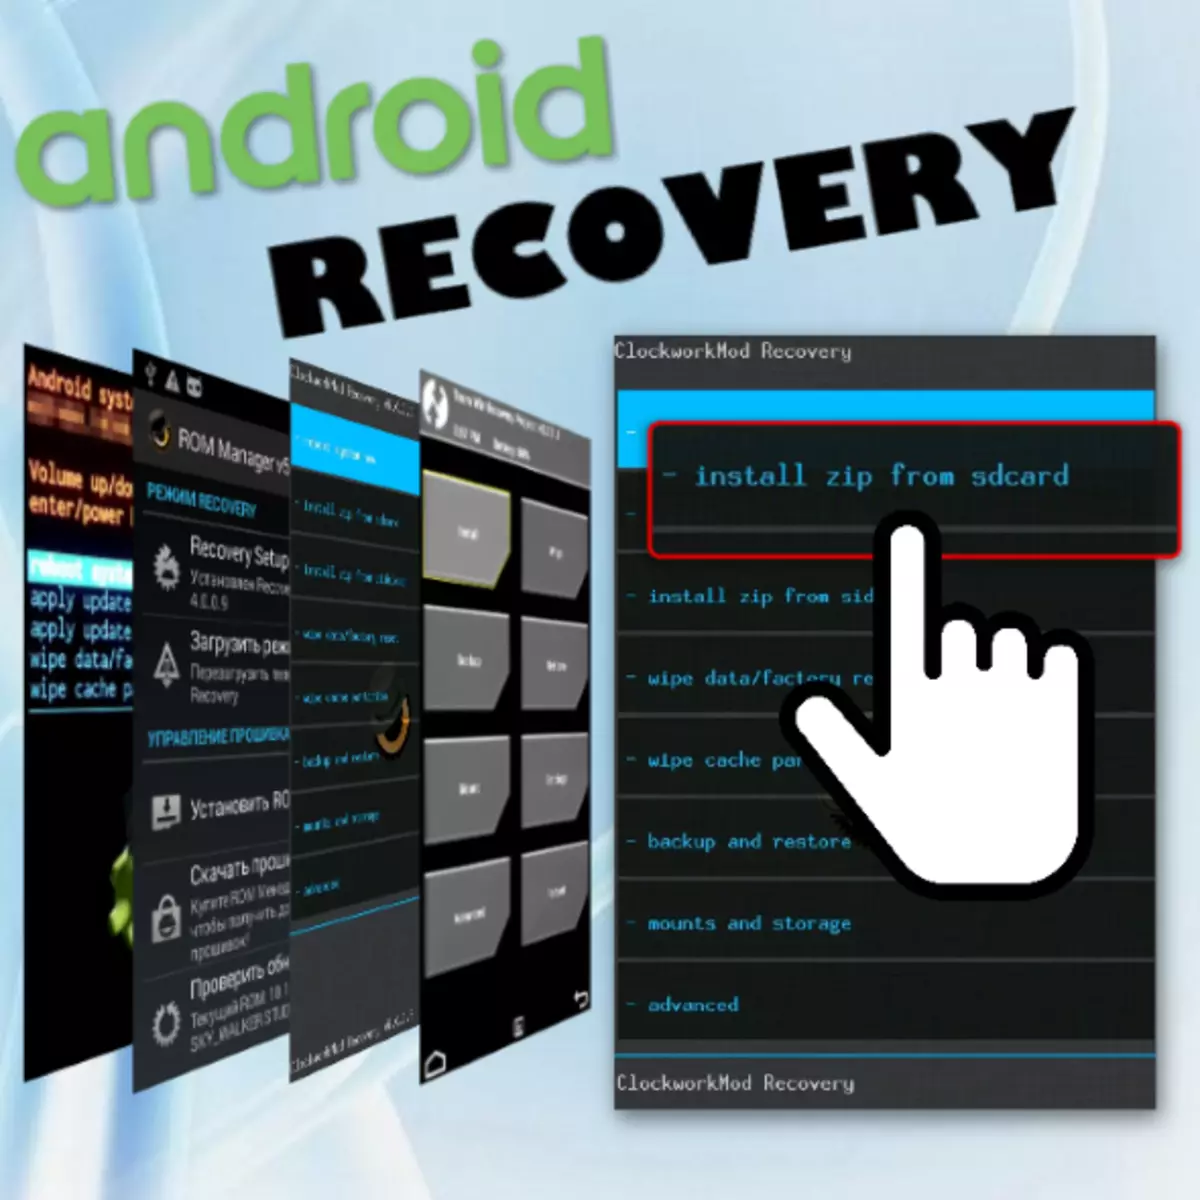
Anyone who makes the first steps in the study of the Android-devices firmware procedure, initially draws attention to the most common way to implement the process - firmware through the recovery. Android Recovery - Recovery Wednesday, access to which in fact there are almost all users of android devices, regardless of the type and model of the latter. Therefore, the firmware method through the recovery can be considered, as the simplest way to update, change, restore, or completely replace the device's software.
How to flash the Android apparatus through the factory recovery
Almost every device running android is equipped with a manufacturer of a special recovery environment that provides to some extent, including ordinary users, the possibilities of manipulation with the internal memory of the device, or rather its sections.
It should be noted that the list of operations, which is available through the "native" recovery, installed in the devices by the manufacturer, is very limited. As for the firmware, the installation of only official firmware and / or their updates is available.
In some cases, through the factory recovery, you can establish a modified recovery environment (custom recovery), which in turn will expand the possibilities of working with firmware.
At the same time, the main actions for restoring health and update to produce through the factory recovery is quite possible. To install the official firmware or update distributed in format * .zip. , Perform the following steps.
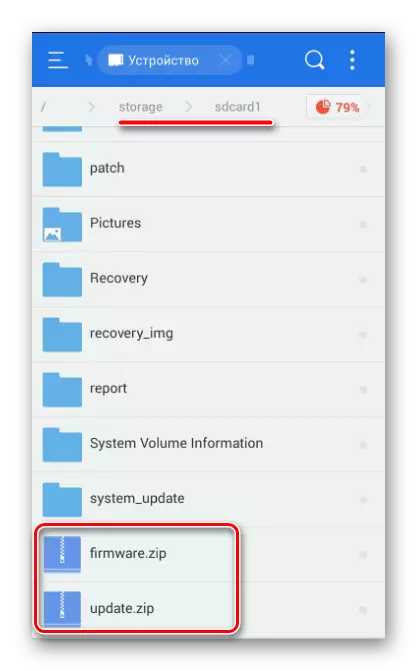
- For firmware, the installation zip package will be required. We download the desired file and copy it to the device's memory card, preferably at the root. You may also need to rename the file before manipulation. Almost in all cases the appropriate name - Update.zip.
- Loading to the factory recovery environment. Ways to access the recovery differ for different models of devices, but they all assume the use of combinations of hardware keys on the device. In most cases, the desired combination is "volume-" + "power."

Press the "Volume" and holding it on the device off the device, press the "Power" key. After the machine screen turns on, the "Power" button must be released, and "Volume-" continue to hold until the recovery environment screen appears.
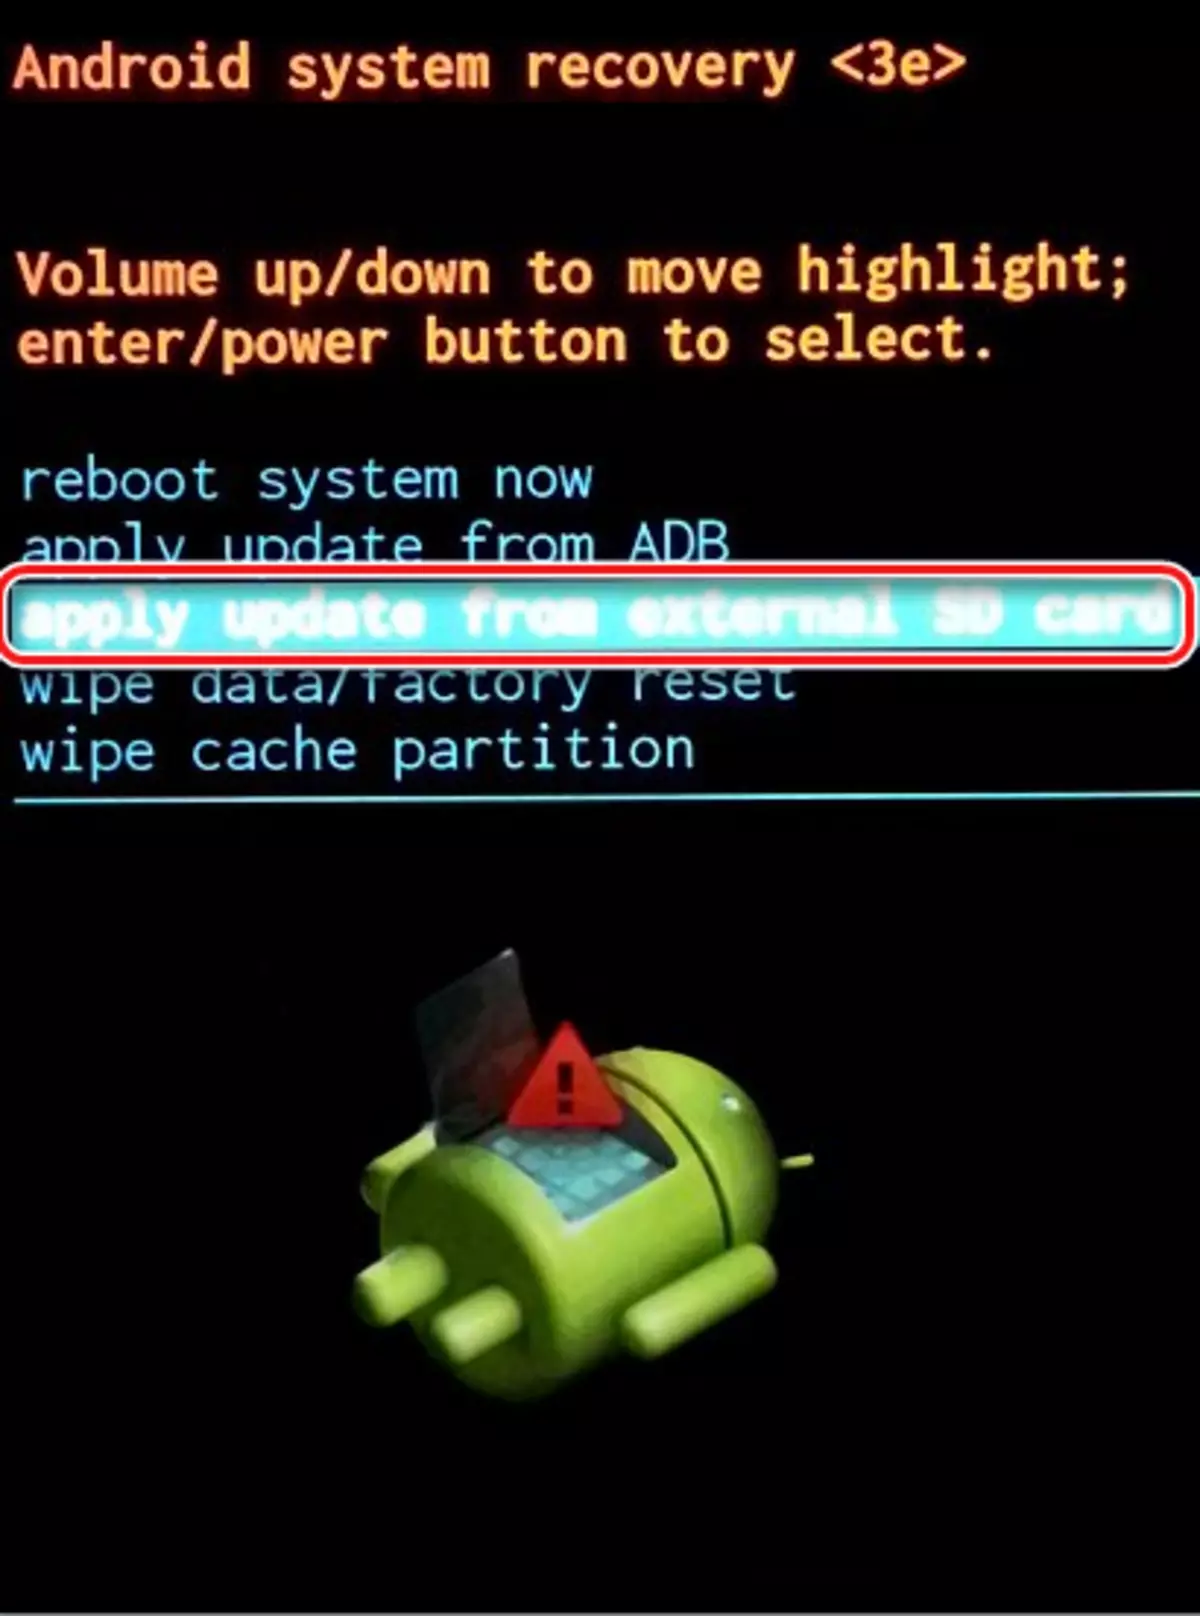
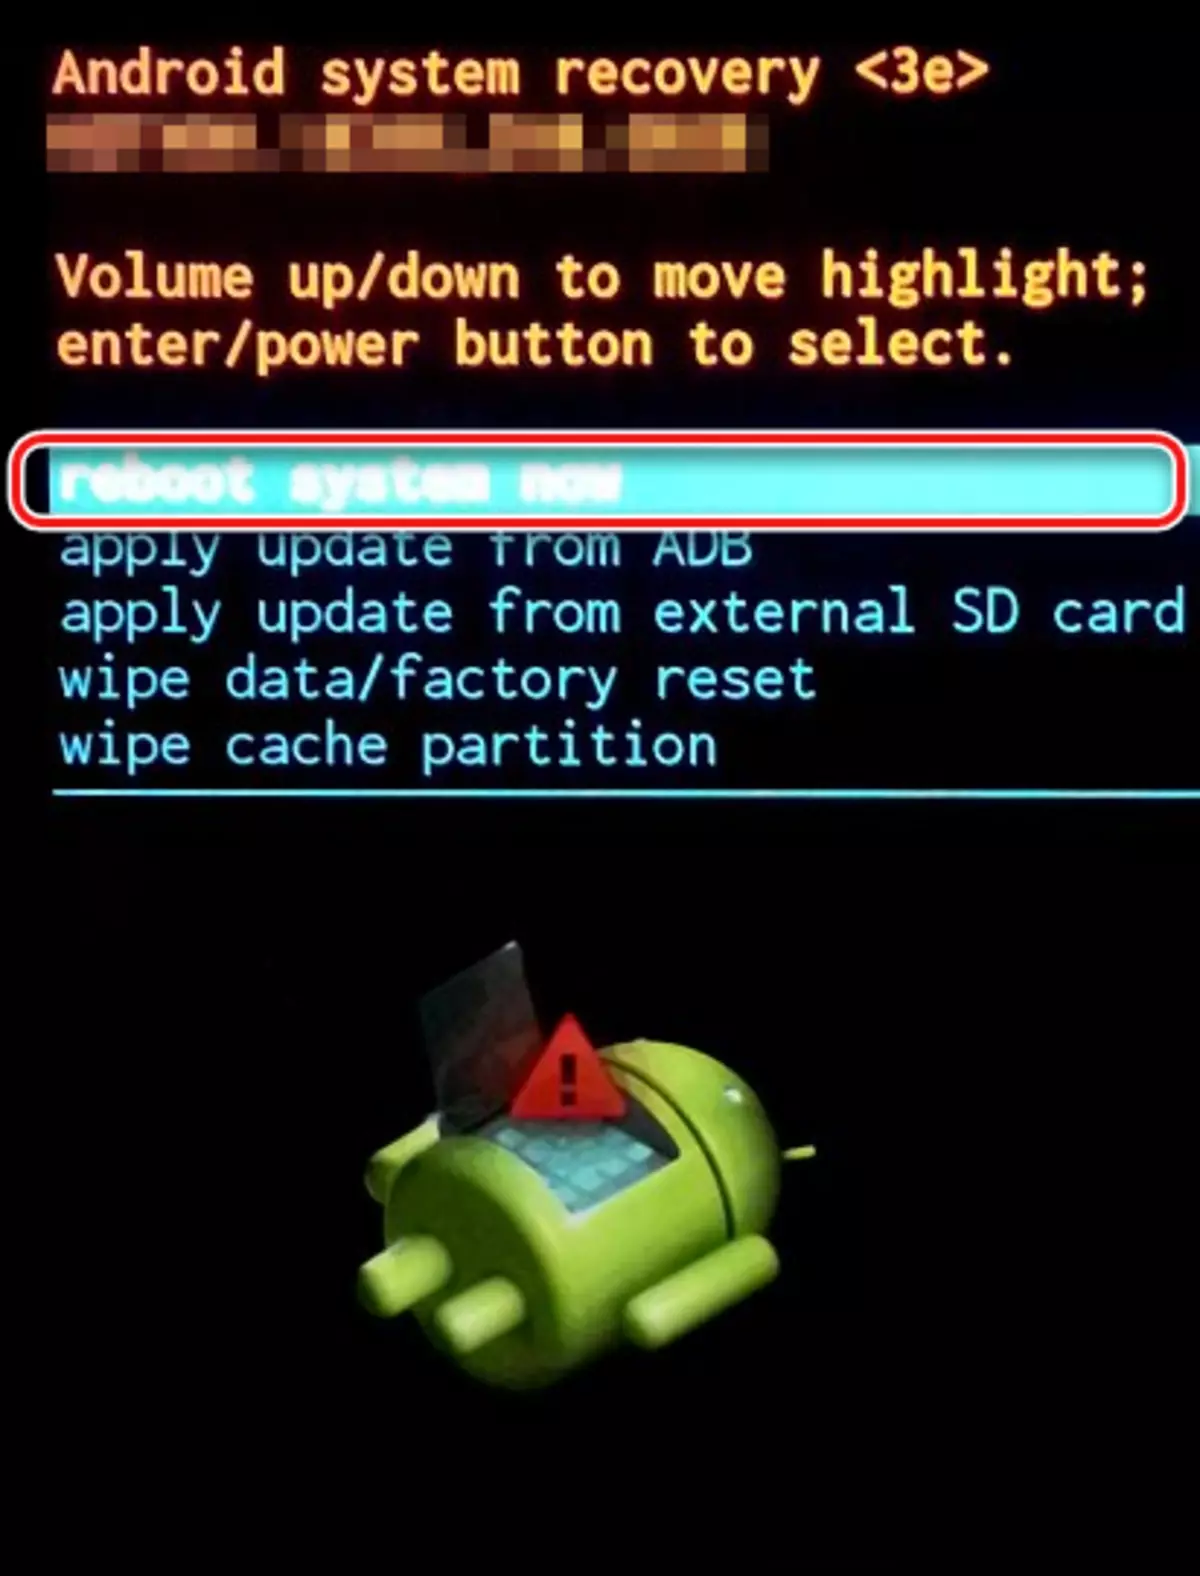
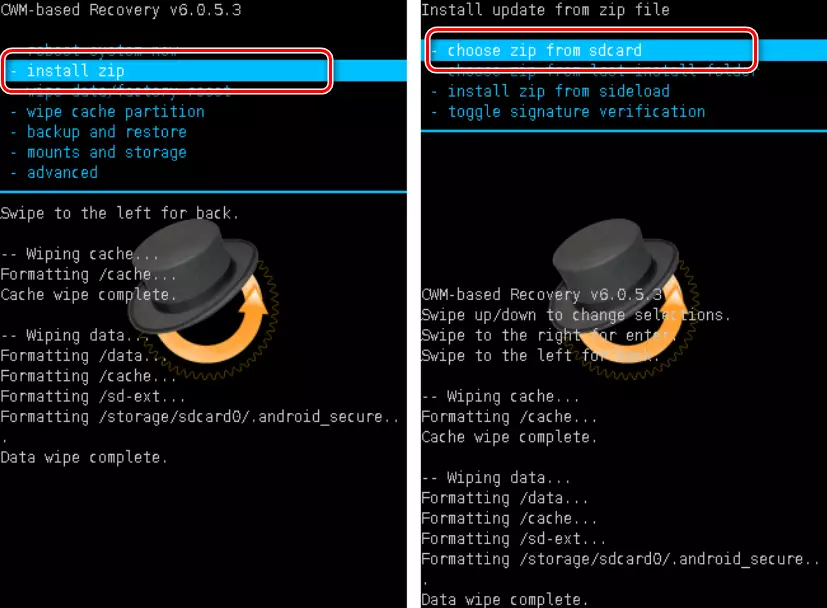
- To install on or its individual components, you need the Main menu item of the recovery - "Apply Update From External SD Card", choose it.
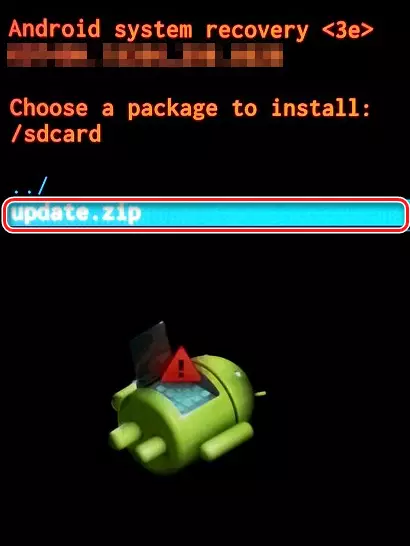
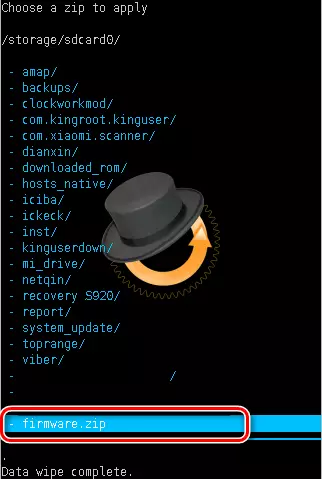
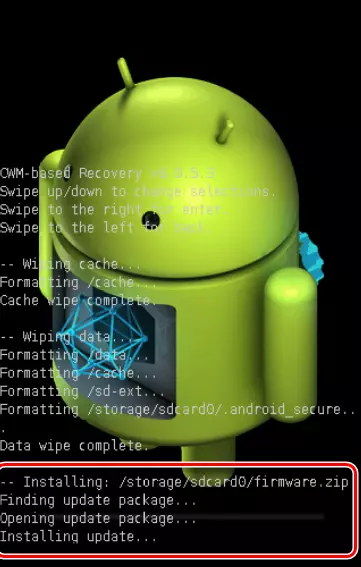
- In the discontinuing list of files and folders, we have previously copied to the memory card package Update.zip. and press the confirmation key of the selection. Installation will start automatically.
- Upon completion of file copying, reboot in Android by selecting the Reboot System Now in the recovery.
How to flash the device through a modified recovery
A much broader list of work with Android devices has modified (custom) recovery media. One of the first to appear, and today is a very common solution, is the recovery from the CLOCKWORKMOD - CWM Recovery command.Installing CWM Recovery.
Since CWM recovery is an unofficial solution, you will need to install a custom recovery environment to the device.
- The official method of installing the recovery from the CLOCKWORKMOD developers is the Android application Rom Manager. The use of the program requires the presence of root-rights on the device.
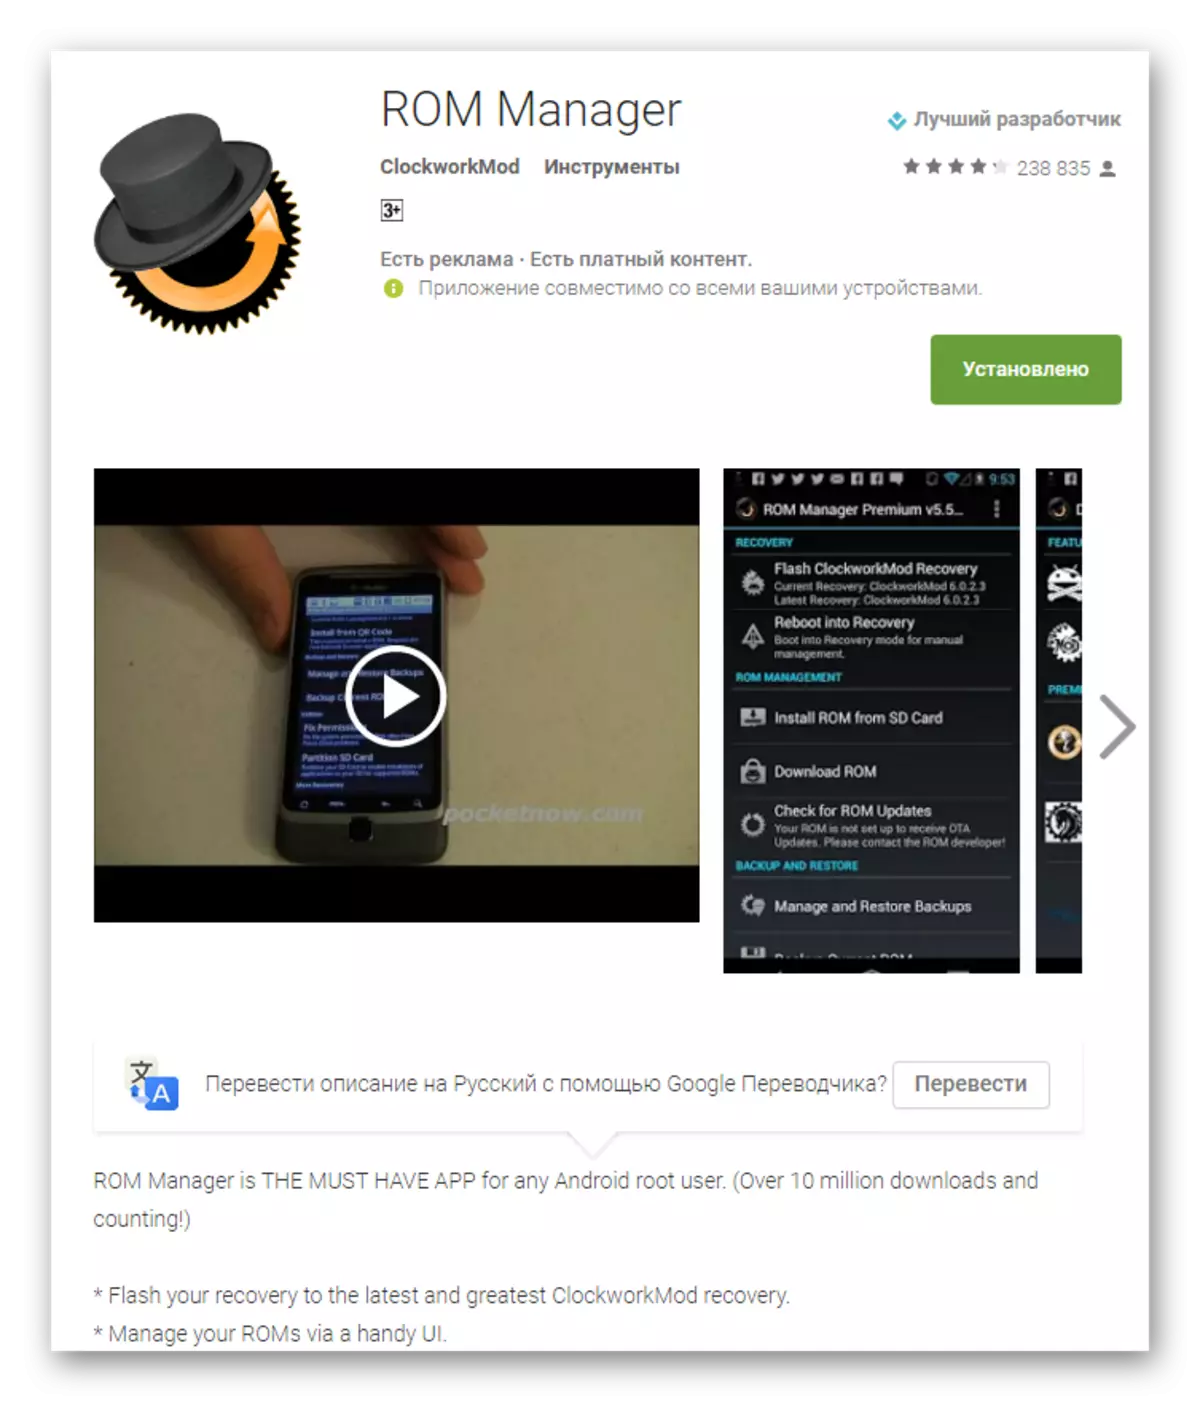
Download Rom Manager in Play Market
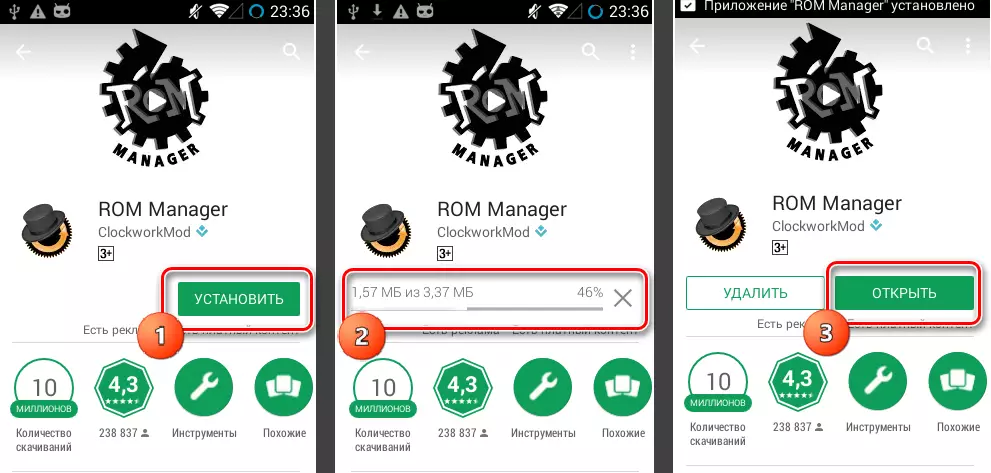
- We download, install, run ROM Manager.
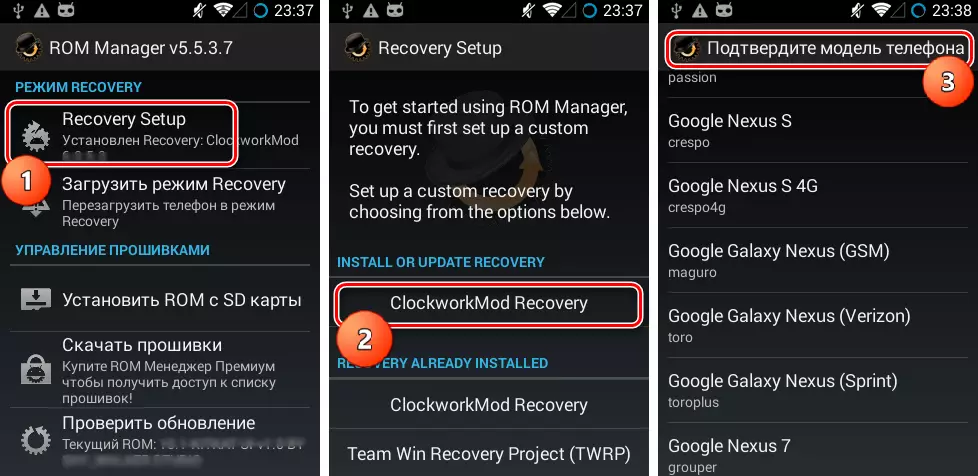
- On the main screen, the Recovery Setup item is taped, then under the inscription "Install or Update Recovery" - CLOCKWORKMOD RECOVERY item. Sheets opened list of devices models and find your device.
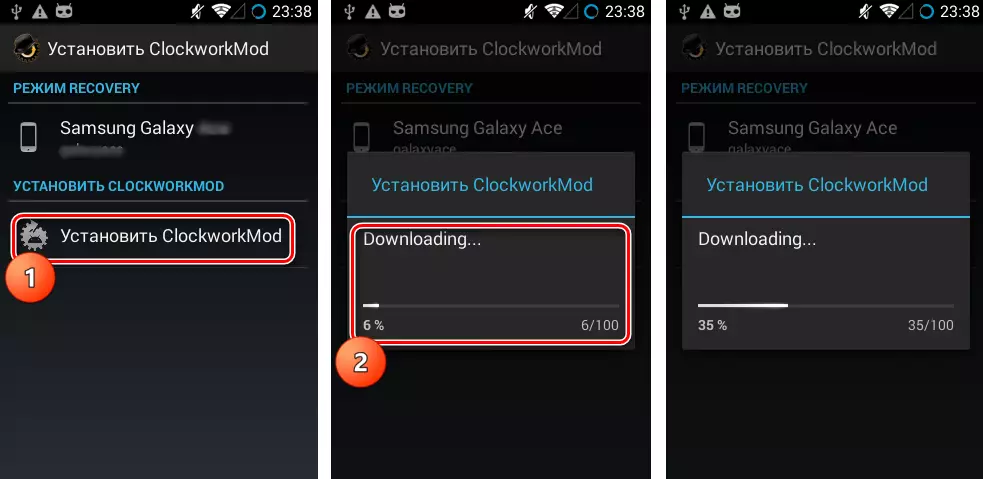
- The next screen after selecting the model is a screen with the "Install ClockworkMod" button. We are convinced that the device model is selected correctly and press this button. Starts the recovery environment from the ClockWorkMod servers.
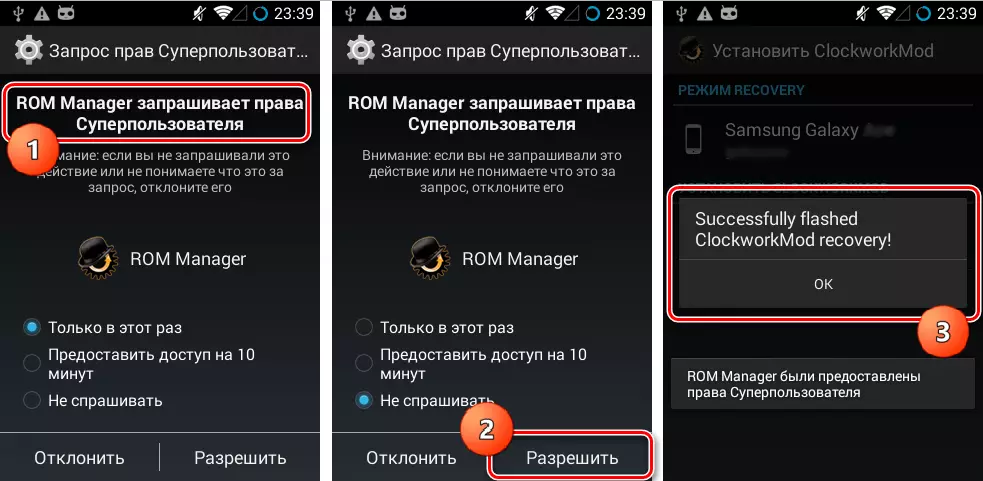
- After a short time, the required file will be loaded completely and the CWM Recovery installation process will begin. Before you start copying data to the device's memory section, the program will ask to provide her root law. After receiving the permission, the recovery recording process will continue, and upon completion, confirming the success of the procedure "SuccessFully Flashd ClockworkMod Recovery" will appear.
- The process of installing the modified recovery is completed, press the "OK" button and exit the program.
- For Samsung devices, in most cases, the ODIN application is used.
- For devices built on the MTC hardware platform, the SP Flash Tool application is applied.
Lesson: Firmware Android devices based on MTK via SP Flashtool
- The most versatile method, but at the same time the most dangerous and complex, is the firmware of the recovery through FastBoot. Details of action carried out to install the recovery in this way are described by reference:
Lesson: how to flash the phone or tablet via fastboot
Lesson: SAMSUNG Android Device Firmware through ODIN Program
Firmware via CWM.
With the help of a modified recovery environment, you can flash not only official updates, but also custom firmware, as well as various components of the system represented by cracks, additions, improvements, kernels, radio, etc.
It is worth noting the presence of a large number of CWM Recovery versions, so after entering various devices you can see a slightly different interface, - background, design, sensory control, etc. can be present. In addition, some menu items may be established or missing.
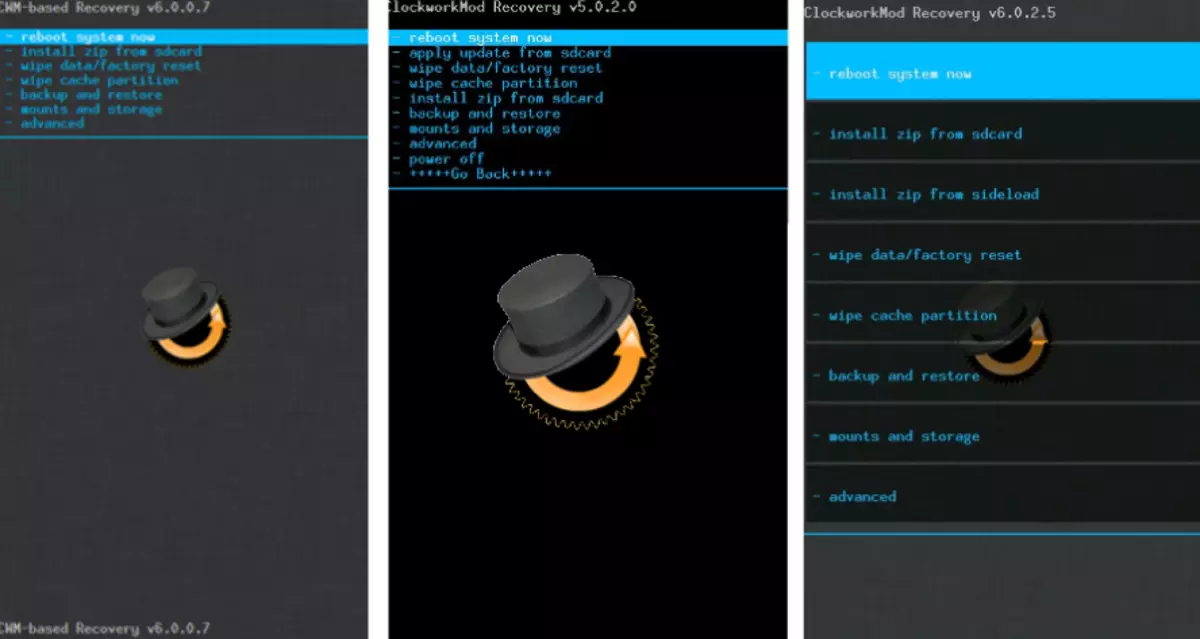
The examples below use the most standard version of the modified CWM recovery.
At the same time, in other modifications of the medium, when the firmware, items that have the same names are selected as in the instructions below, i.e. A somewhat different design should not cause fear of the user.
In addition to design, CWM actions in various devices differ. In most devices, the following scheme applies:
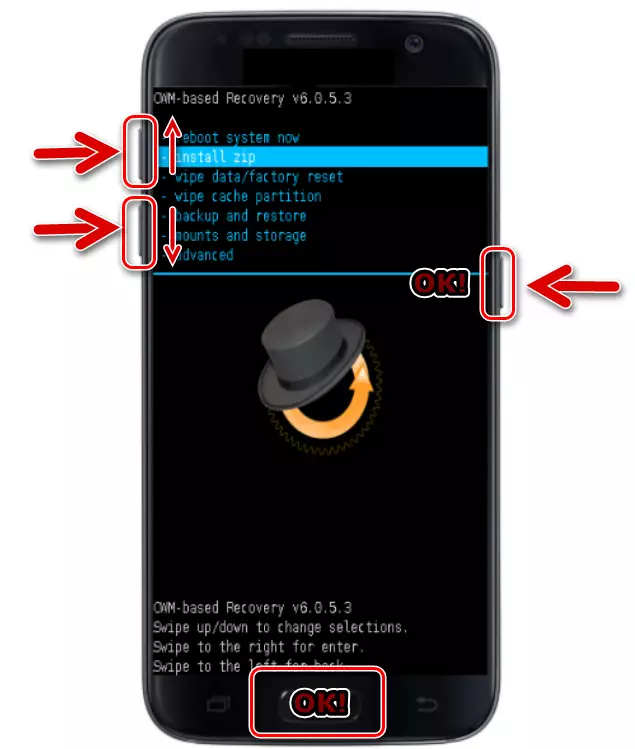
- Hardware "Volume +" - Move to one point Up;
- Hardware "Volume-" - Move to one item down;
- Hardware "Power" and / or Home "- confirmation of selection.
So firmware.
- We prepare the necessary ZIP packages required to install. We download them from the global network and copy to the memory card. In some versions of CWM, you can also use the internal memory of the device. In the perfect case, the files are placed in the root of the memory card and are renamed using short clear names.
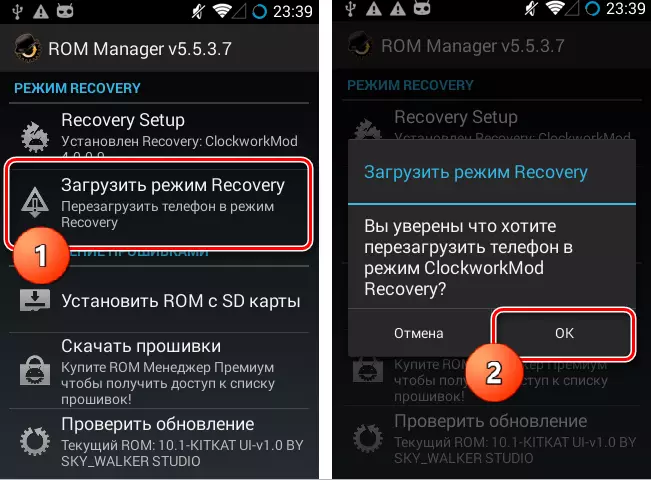
- We enter CWM Recovery. In most cases, the same scheme is used as to enter the factory recovery, pressing on the disabled device of the combination of hardware buttons. In addition, you can restart on the recovery environment from ROM Manager.
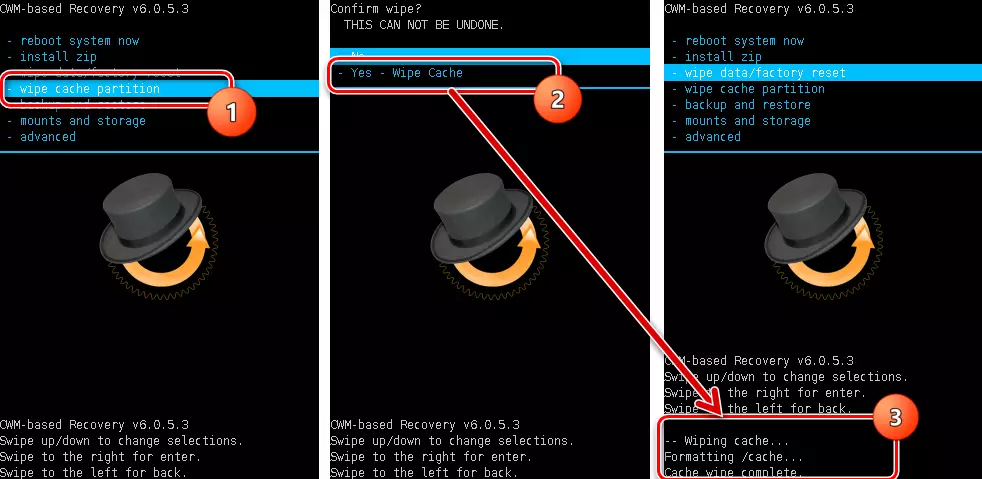
- Before us is the main screen of the recovery. Before starting the installation of packages, in most cases, you need to make the "Wipe" sections "Cache" and "Data" - it allows you to avoid many errors and problems in the future.
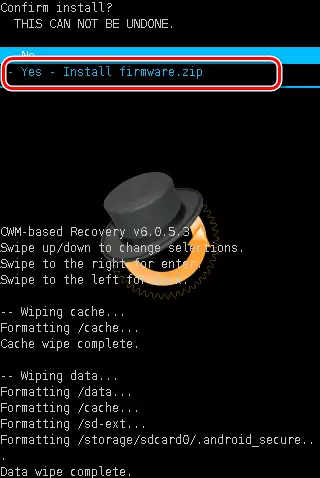
- If you plan to clear the "Cache" section, select the "Wipe Cache Partition" item, confirm the removal of the data - the item "YES - WIPE CACHE". We wait for the completion of the process - the inscription will appear at the bottom of the screen: "Cache Wipe Complete".
- Similarly, the "DATA" section is erased. Select the "WIPE DATA / Factory Reset" item, then confirmation "YES - WIPE ALL User Data". The following will follow the process of cleaning sections and confirming the inscription at the bottom of the screen: "Data Wipe Complete".


Firmware via TWRP Recovery
In addition to the solution from CLOCKWORKMOD developers, there are other modified recovery environments. One of the most functional solutions of this kind is Teamwin Recovery (TWRP). About how to flash devices using TWRP is told in the article:
Lesson: how to flash an Android device via TWRP
Thus, the firmware is made of android devices through the recovery environment. You must weigly approach the choice of recovery and the method of their installation, as well as align only the corresponding packages obtained from reliable sources. In this case, the process proceeds very quickly and does not cause any problems subsequently.