

If, after creating a home group (HomeGroup) You no longer need to use the functionality of the item or need to radically change the sharing settings, the most correct option - delete an existing group and re-configure the local network, if it is needed.
How do I delete a homegroup in windose 10
Below are the steps that will lead to the removal of the operating system element HomeGroup regular tools windose 10.The process of removing a homegroup
In Windows 10, to accomplish this task, just enough to get out of this group. This occurs as follows.
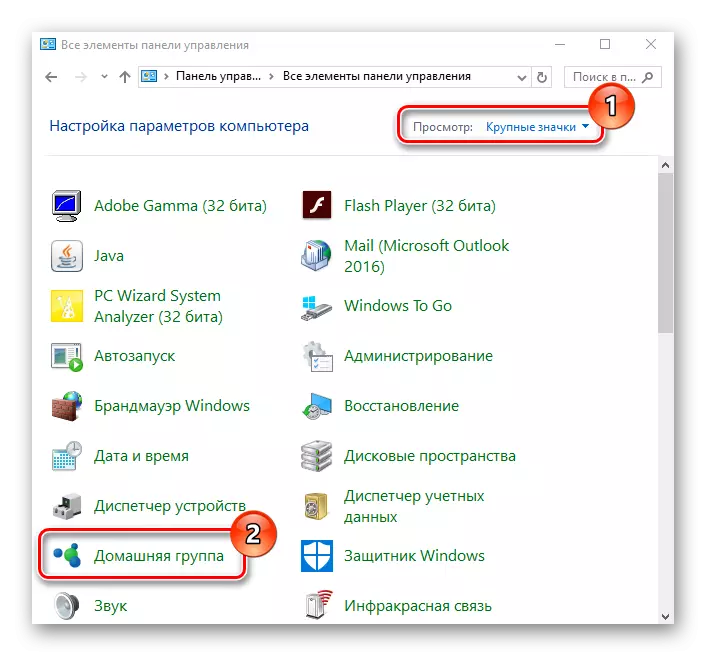
- Through the right-click on the "Start" menu, run the "Control Panel".
- Select the section "Home Group" (to be available is necessary to set the view "Large Icons").
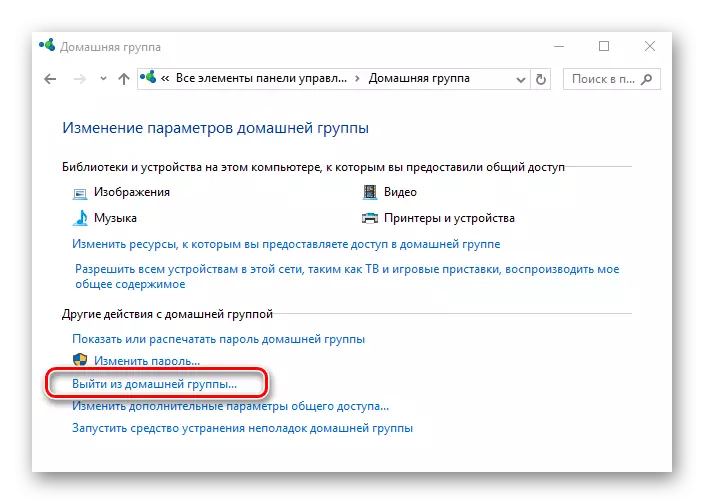
- Next, click "Exit group home ...".
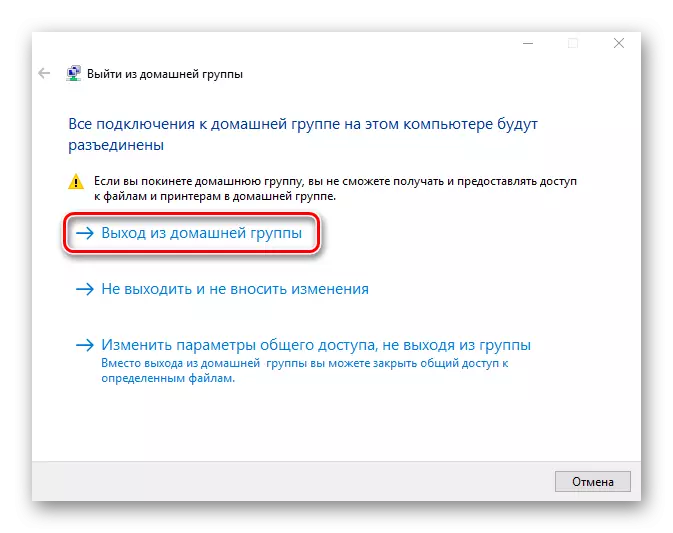
- Confirm your action by clicking on the item "Exit from the group home."
- Wait until the log out procedure, and then click "Finish".
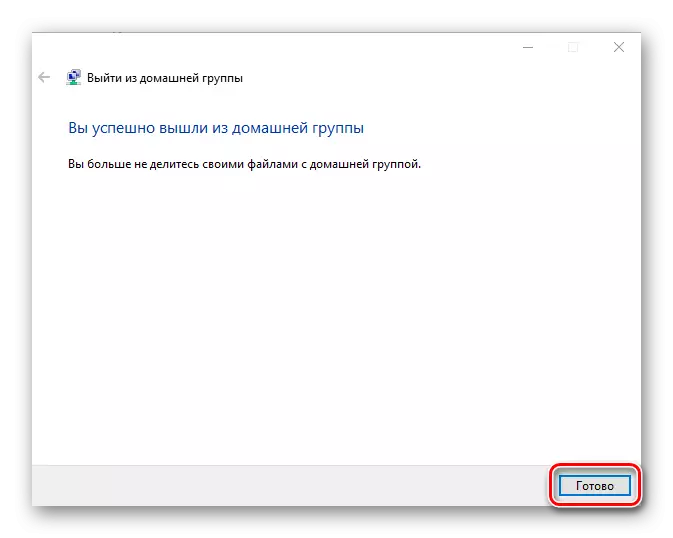
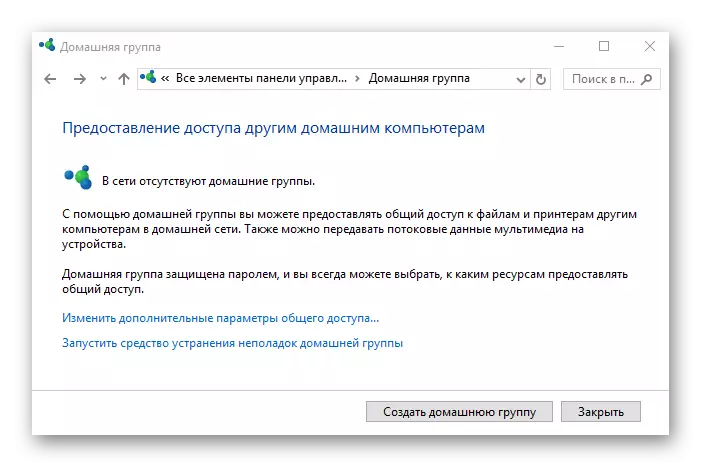
If all the steps were successful, you will see a box that says about the lack of HomeGroup.
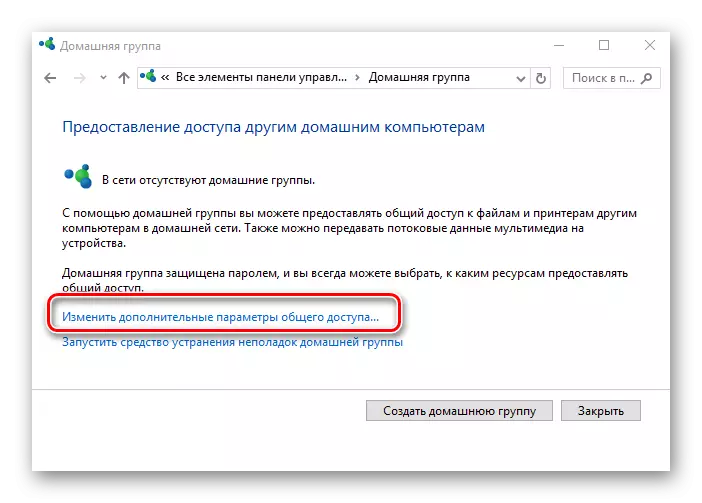
If necessary, completely close the PC from network discovery need to further modify the shared configuration.
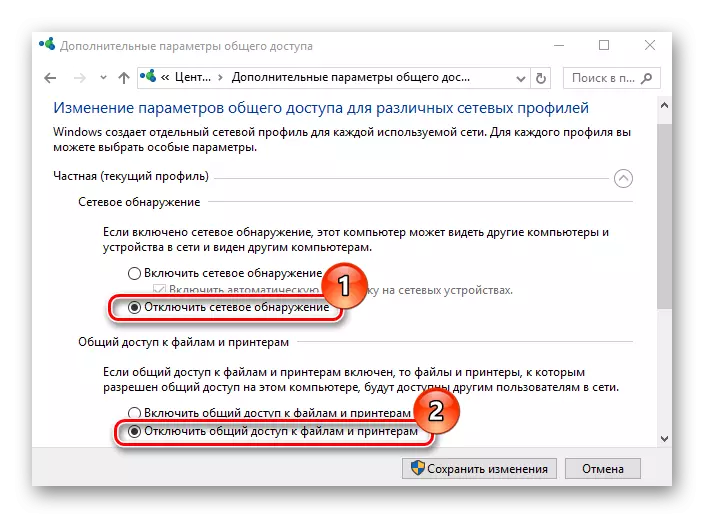
Mark the items that prohibit network discovery PCs, access to files and directories, then press the "Save Changes" (need administrator rights).
Thus it is possible to remove the HomeGroup and disable the PC detection in local area network. As you can see, it's simple enough to do, so if you do not want anyone to see your files, feel free to use the information obtained.