
Drivers for mobile video cards are just as needed as for full-fledged discrete counterparts. Today's material will be devoted to the NVIDIA GeForce 610m map. We will tell you in detail about how you can download software for this device and how to install it.
How to upload and install drivers for GeForce 610m
The device mentioned in the title is a mobile graphics adapter of NVIDIA. It is intended for use in laptops. Stripping from this information, we have prepared a number of methods for you, with which you can easily install software for NVIDIA GeForce 610m. The only requirement to use any of them is an active connection to the Internet.Method 1: NVIDIA official resource
How can I understand the name of the method, in this case we turn to the NVIDIA site to search for the necessary drivers. This is the first place where it is worth starting such searches. It is here, first of all, all new software for brand devices appear. That's what you need to execute to use this method:
- Come on the link to the official software download page for NVIDIA equipment.
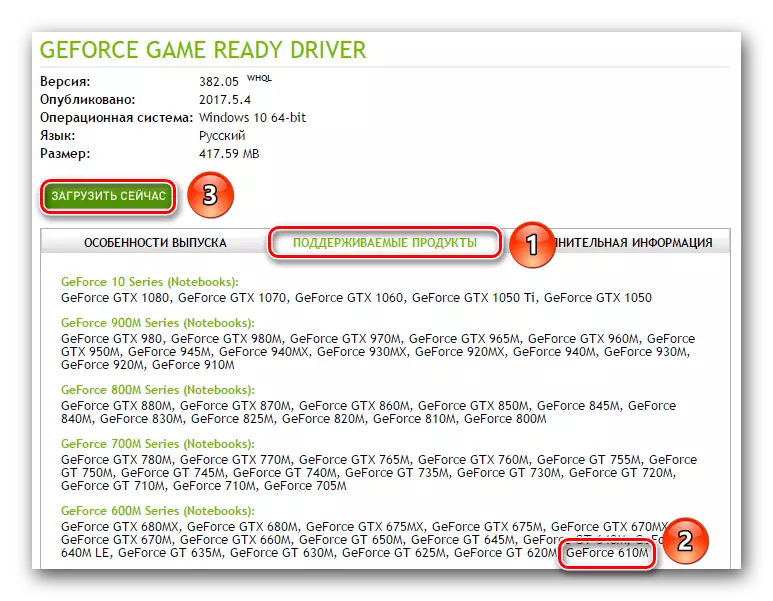
- First of all, you must fill out the information fields about the product for which the drivers are required. Since we are looking for software for the GeForce 610m video card, then all lines must be filled as follows:
- Product Type - GeForce
- Product Series - GeForce 600m Series (Notebooks)
- Product Family - GeForce 610m
- Operating system - Here we choose from the list of the OS, which is installed on the laptop
- Language - indicate the language on which all further information will be displayed.


Read more: problem solving options when installing the NVIDIA driver

This described method will be completed. As you can see it is very simple, if you follow all the instructions and prompts. In addition, it is one of the most reliable NVIDIA installation methods.
Method 2: Specialized Online Service from the manufacturer
This method is almost identical to the previous one. The only difference is that you do not have to specify the model of your adapter, as well as the version and the discharge of your operating system. All this will make online service.
Please note that the Google Chrome browser is not suitable for this. The fact is that in the process you will need to launch the Java script. And the mentioned Chrome has long ceased support for this technology.
To use this method you need to do the following:
- Come on the link to the official page of NVIDIA, where the mentioned service is located.
- We are waiting for a while until it determines all the necessary information and scans your system.
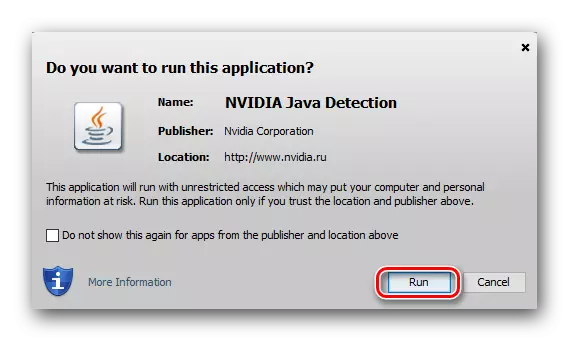
- During scanning, you can see the Java window. This script is required for correct verification. You only need to confirm its launch. To do this, click "RUN" in the window that appears.
- After a couple of minutes you will see the text appeared on the page. It will indicate the model of your video card, the current driver for it and the recommended software. You need to click on the "download" button.
- After that, you will fall on the page that we mentioned in the first way. On it you can see a list of supported devices and check all related information. We just advise you to return to the fifth paragraph of the first method and continue from there. All further actions will be absolutely identical.
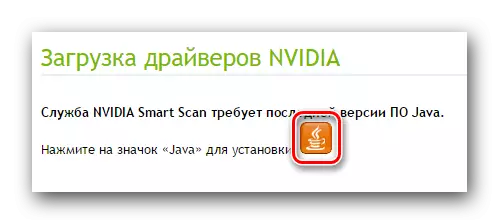
- If you do not have a Java software on a laptop, then in the process of scanning your system, you will see the appropriate notification on the online service page.
- As stated in the message text, you need to click on the orange button with the image of the Java logo to go to the download page.
- As a result, you will find yourself on the official Java website. The center will be a large red button with the text "Download Java for free". Click on it.
- Next, you will find yourself on the page where you will be offered to read the text of the license agreement. You can do this by clicking on the appropriate link on the page. However, it is not necessary to do it. To continue, it is enough to click on the "Accept and start free download" button.
- Immediately after that, the download of the Java installation file will begin. When it is downloaded, run it.
- Following the simple prompts of the installer, install software on your laptop.
- When Java is successfully installed, return to the first item of this method and repeat the scanning process again. This time you have to go smoothly.


Here is the actual and the entire process of searching and downloading drivers using the NVIDIA online service. If you do not want to install Java, or simply consider this method complex, you can use other options.
Method 3: GeForce Experience program
If you are installed on a laptop GeForce Experience program, you can use it to install the necessary drivers. This is the official software from NVIDIA, so this method, like both previous ones, is proven and reliable. The procedure in this case will be as follows:
- Open GeForce Experience software. By default, the program icon can be found in the tray. But sometimes he may be absent there. To do this, you need to go to one of the following paths:
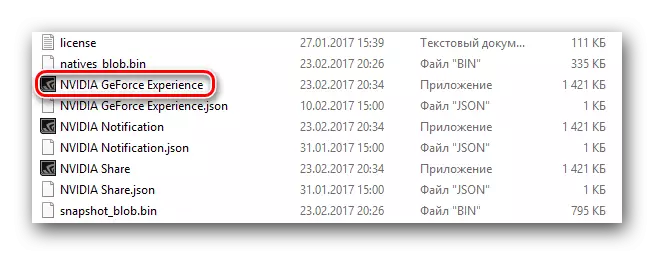
- If the program specified in the title you have installed, you will see a list of files on the specified path. Run a file called "NVIDIA GeForce Experience".
- As a result, the main program window will open. In the upper area you will see two tabs. We go to the section with the name "Drivers". On the listing page from above, you will see the name and version of the software that is available to you for download. On the right of such a row will be the corresponding "Download" button. You need to click on it.
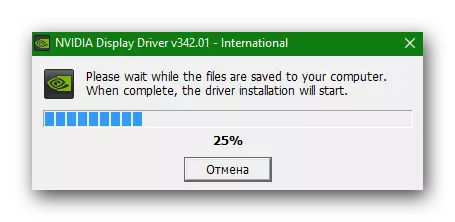
- After that, the download will begin to install files. Instead of the "Download" button, a string will appear in which the load progress will be displayed.
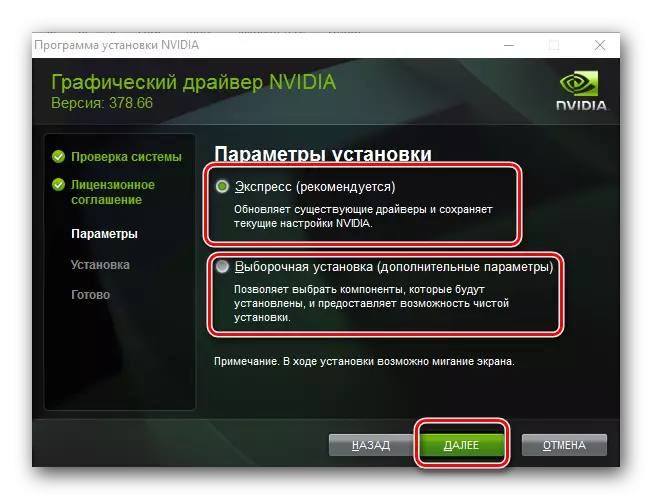
- Upon completion of the download, instead of the progress band, two buttons will appear - "Express installation" and "Selecting installation". We were told about distinguishing these types of installation in the first way, so we will not repeat.
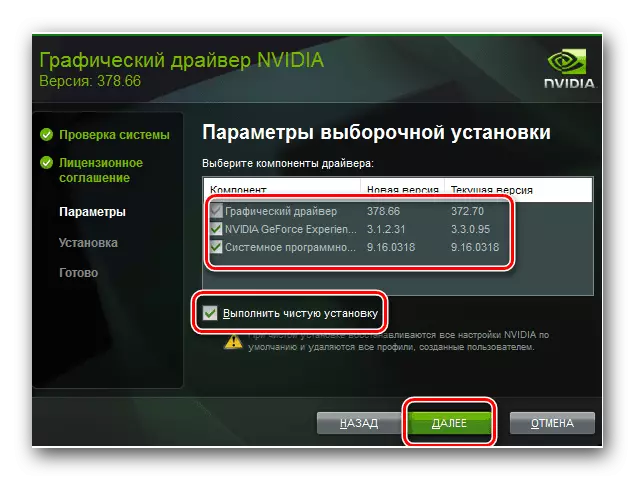
- In case you select "Selective Installation", in the next window you will need to mark those components that you want to install.
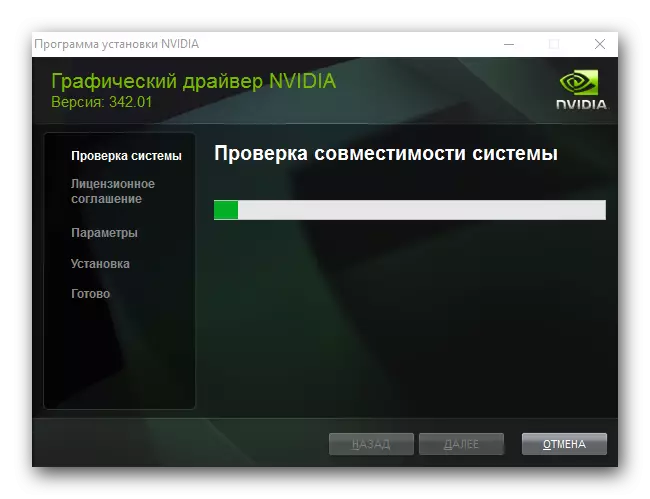
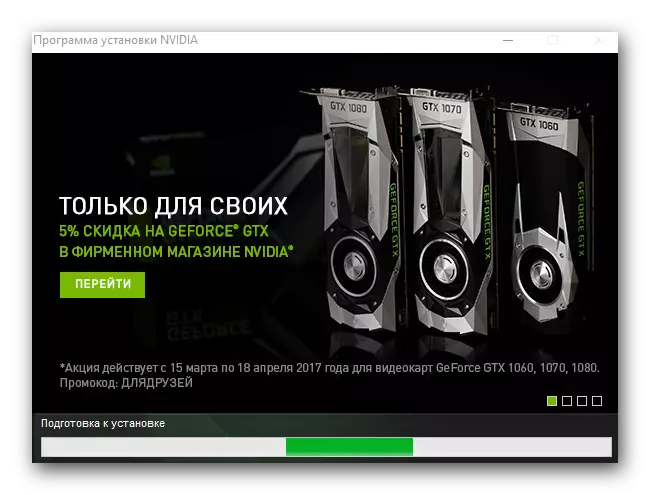
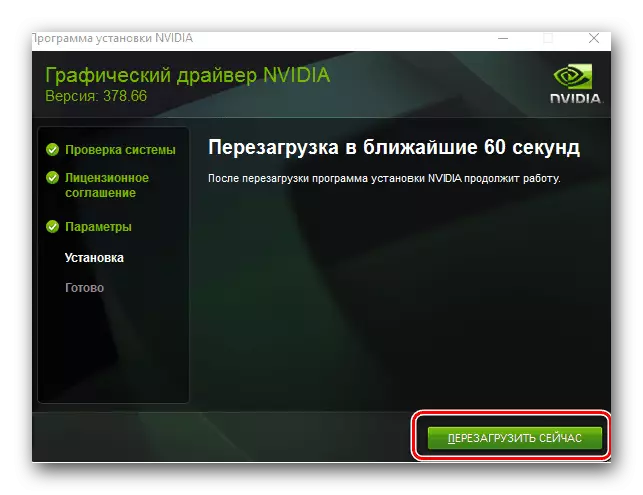
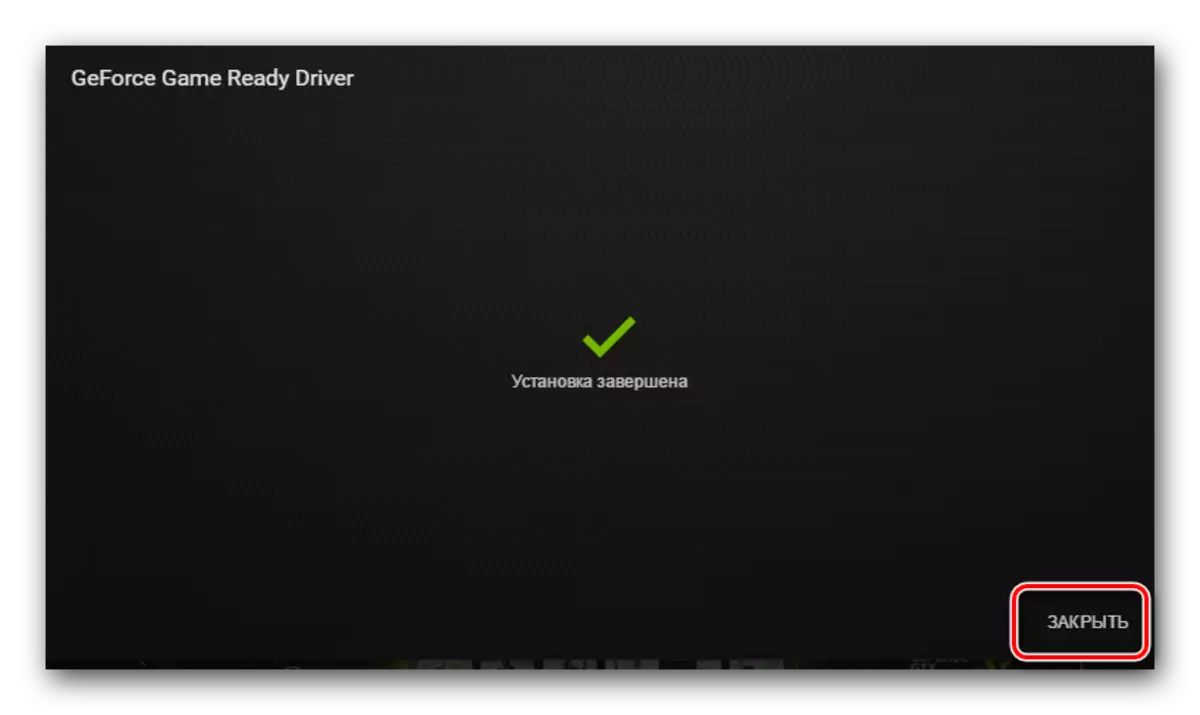
- After that, the driver installation process itself will start. It will last a few minutes. You only need to wait a bit.
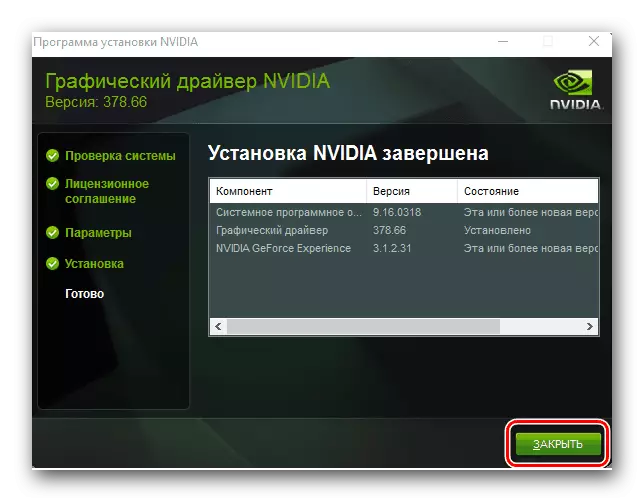
- At the end, you will see a message box with text. It will only have information about the result of installation. If everything goes without errors, you will see the message "Installation Completed". It remains only to close the current window by pressing the button with the same name.
C: \ Program Files \ Nvidia Corporation \ Nvidia GeForce Experience - for 32-bit operating systems
C: \ Program Files (x86) \ Nvidia Corporation \ Nvidia GeForce Experience - for x64


That's the whole method. Please note that in this case the restart system will not need. However, we strongly recommend reloading the OS at the end of the driver installation. This will fully apply all settings and changes that have been made during the installation process.
Method 4: Global Software for Drivers Search
The network has many programs that are created specifically to search for software. They automatically check the entire system and detect devices for which you want to update / install software. It is one of these programs that can use GeForce 610M video card drivers. All you need is to choose any such software. In order to facilitate the process of choice, we have published an article in which the best software for searching for drivers.Read more: The best programs for installing drivers
What kind of mentioned programs to choose is to solve only you. But we recommend using DRIVERPACK Solution. First, it regularly updates the database, which allows you to easily identify almost any device. And secondly, Driverpack Solution has not only an online version, but also offline application that will allow you to install software without connecting to the Internet. It is very convenient in situations when access to the network is missing for any reason. Since the said program is very popular, we made a guide to its use. We advise you to familiarize yourself with it if you still preferred Driverpack Solution.
Lesson: How to update drivers on a computer using DriverPack Solution
Method 5: Video Card Identifier
Like any equipment in the laptop, the video card has its own unique identifier. It is on it that the described method is based. First you need to know this very ID. The GEFORCE 610M graphics adapter can have the following values:
PCI \ Ven_10De & Dev_1058 & Subsys_367A17AA
PCI \ Ven_10de & Dev_0Dea & Subsys_22DB1019
PCI \ Ven_10de & Dev_0Dea & Subsys_00111BFD
PCI \ Ven_10de & Dev_105A & Subsys_05791028
Next, you need to copy one of the ID values and apply it to specialized sites. Such sites define devices and find software for them only by identifier. We do not stop in detail at each of the items, since this method we had a separate lesson. Therefore, we recommend passing at the specified link and read it. In it you will find answers to all questions that may occur during the search process using the identifier.
Lesson: Search for Drivers by Equipment ID
Method 6: Built-in Windows
In some situations, to install the video card drivers, you can resort to the help of a built-in Windows search tool. We advise you to use it only in extreme cases. For example, when the system is completely refused to determine the video card. The fact is that in this case only the basic drivers files will be installed. This means that auxiliary components, which are also necessary for stable adapter operation, will not be installed. Nevertheless, at least to know about the existence of this method will be very useful. That's what you will need:
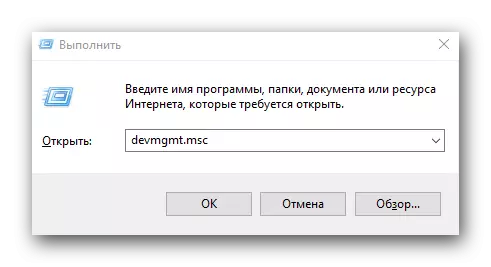
- On the keyboard, you need to press the "Windows" and "R" keys together.
- The "Run" utility window opens. You need to register the DevmGMT.msc parameter, and then press the Enter key.
- This will allow you to open the Device Manager. In principle, it is possible to make it absolutely any way convenient for you.
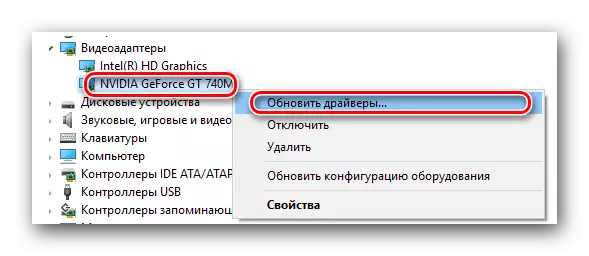
- In the list of groups of devices you need to open the "Video adapter" tab. Here you will see two video cards - an integrated Intel Chip and a GeForce 610M discrete adapter. Click on the last right mouse button and select the "Update Drivers" from the opened menu.
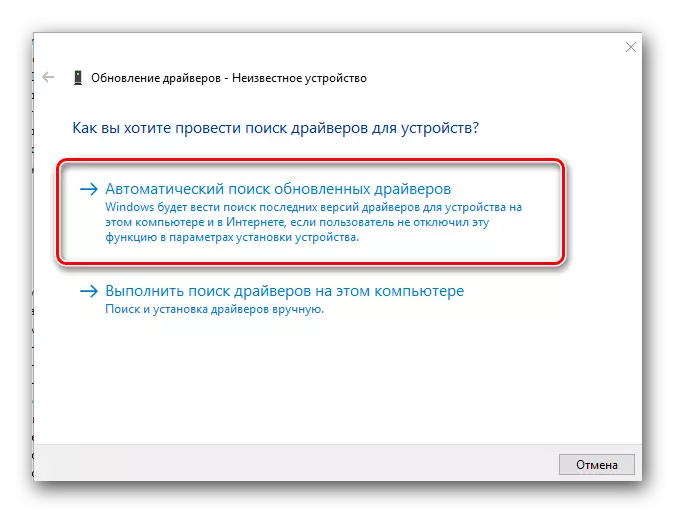
- Next you should choose the search type. We advise you to use the option with an "automatic" process. This will allow the system to independently find the software adapter software.
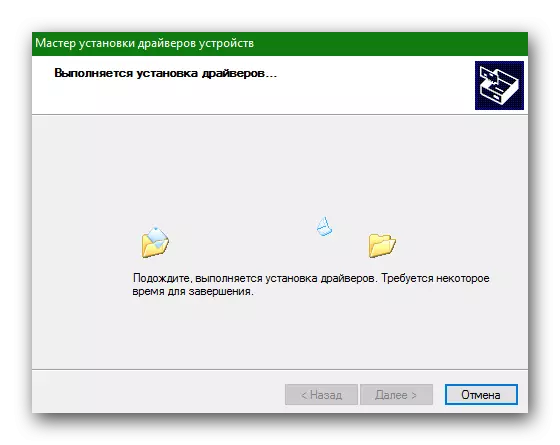
- If the search tool will be able to find the necessary files, it will immediately download them and apply all settings.
- At shutdown, you will see a message in which the result of the entire method will be indicated. Please note that it does not always turn out to be positive. In some cases, the system fails to independently find the drivers. In such situations, you will have to use one of the above methods.
- If the search was crowned with success, then simply closing the Windows Search Tools window to complete.
Read more: Open "Device Manager"
Here is actually all the ways to help you find and install the drivers for the NVIDIA GeForce 610m video card. We hope you all will pass without mistakes and problems. But if such arises - write about it in the comments. Let's try to identify the reason for their appearance and fix the current situation.