

Quite often, the situation occurs when when receiving the root right, it is not possible to choose a suitable tool for the implementation of the procedure. In this case, it can help not quite comfortable, but the main effective decisions, one of which is the Root Genius program.
ROOT GENIUS A sufficiently good tool for obtaining superuser rights applicable on a large number of android devices. The only factor that can prevent its use is the Chinese interface language. However, using the detailed instructions below, the application of the program should not cause difficulties.
Attention! Obtaining root rights on the device and their further use entails certain risks! The execution of the following manipulations is performed on its own risk. The site administration for possible negative consequences is not responsible!
Download program
Like the application itself, the official website of the developer does not have a localized version. In this regard, it may be difficult for not only the use of root genius, but also loading the program to a computer. For download, perform the following step by step.
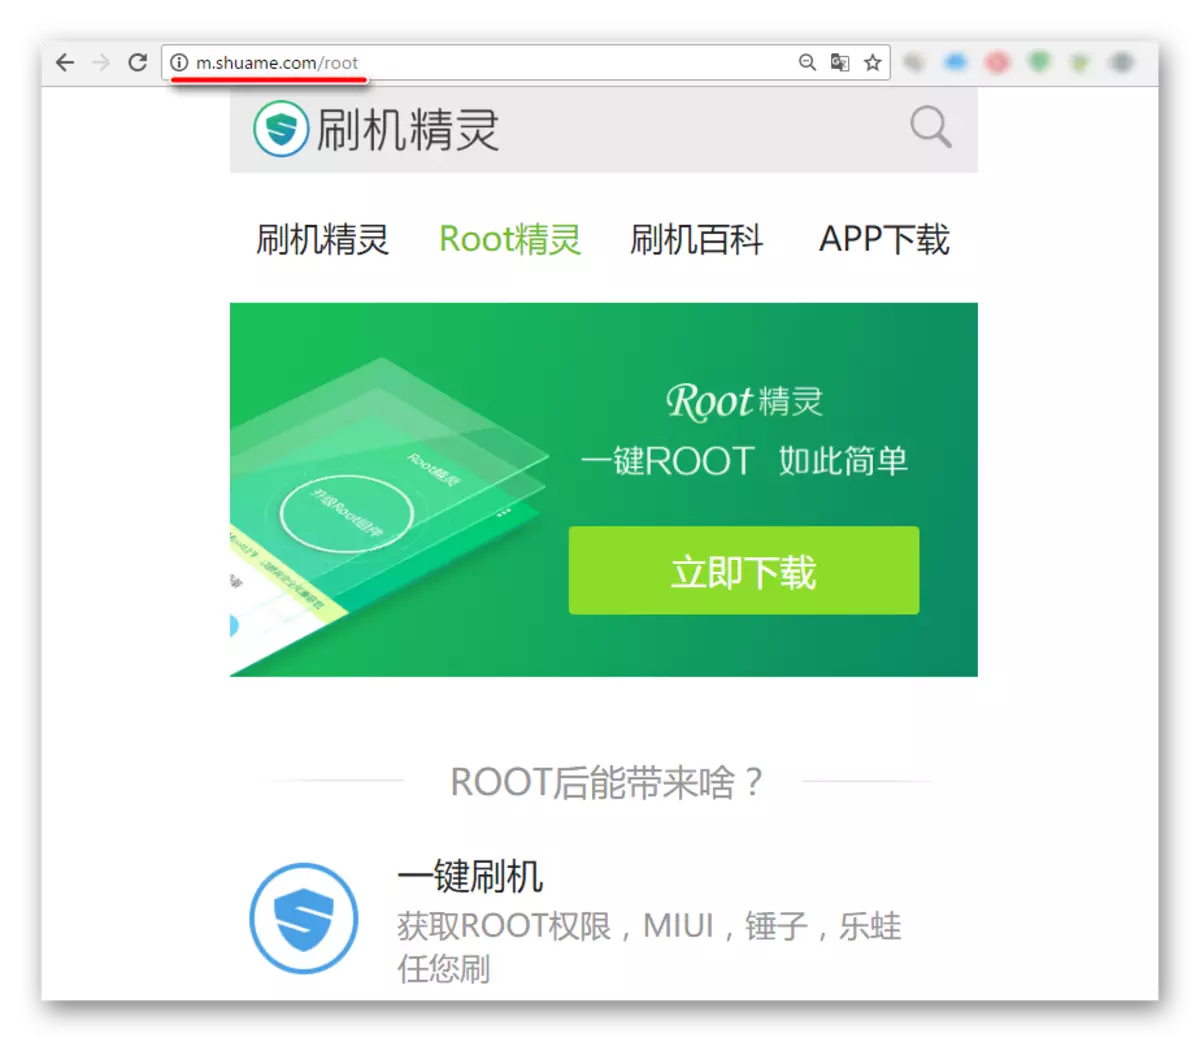
- Go to the official website.
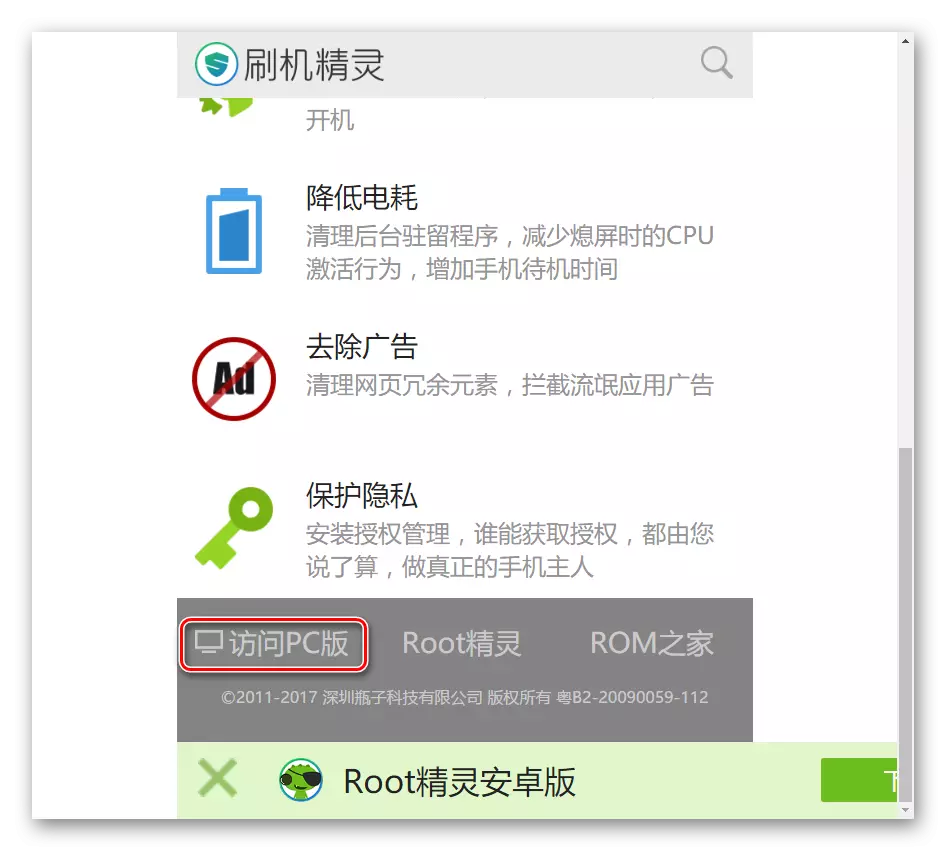
- Sheets at the bottom and find the area with the image of the monitor and located among the hieroglyphs of the inscription "PC". Click on this link.
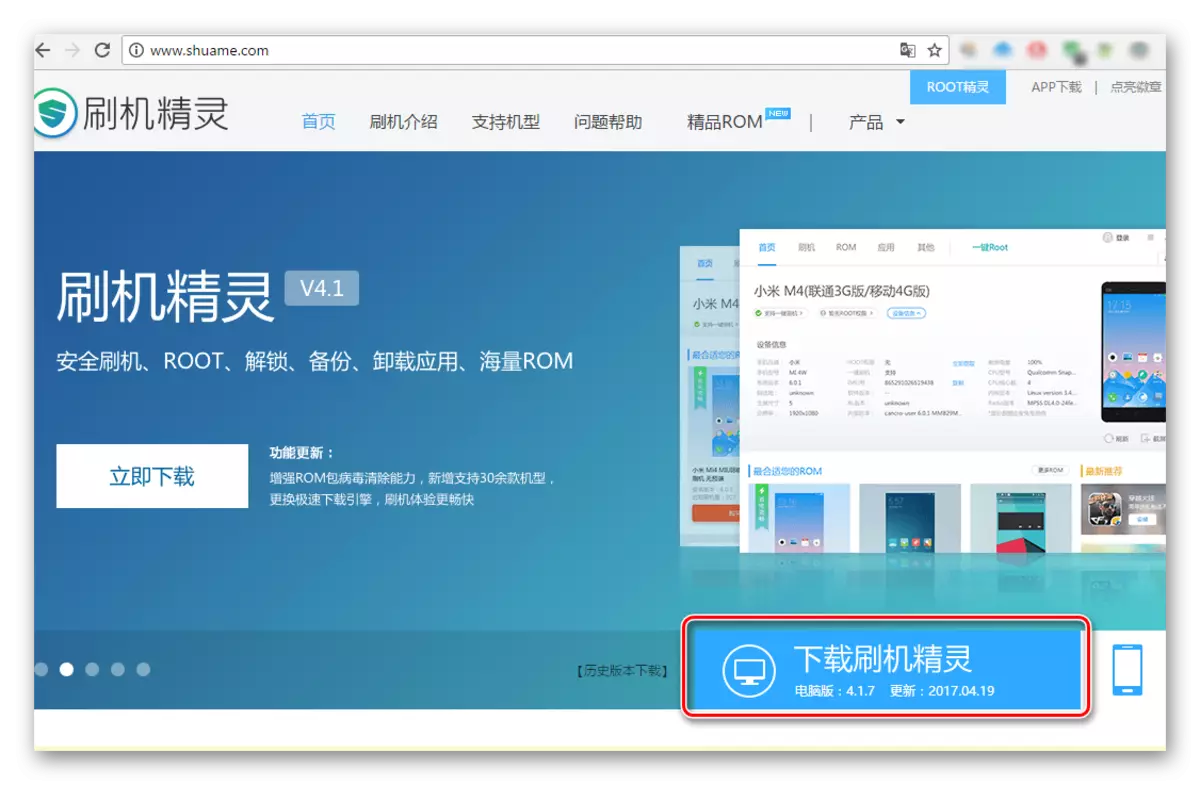
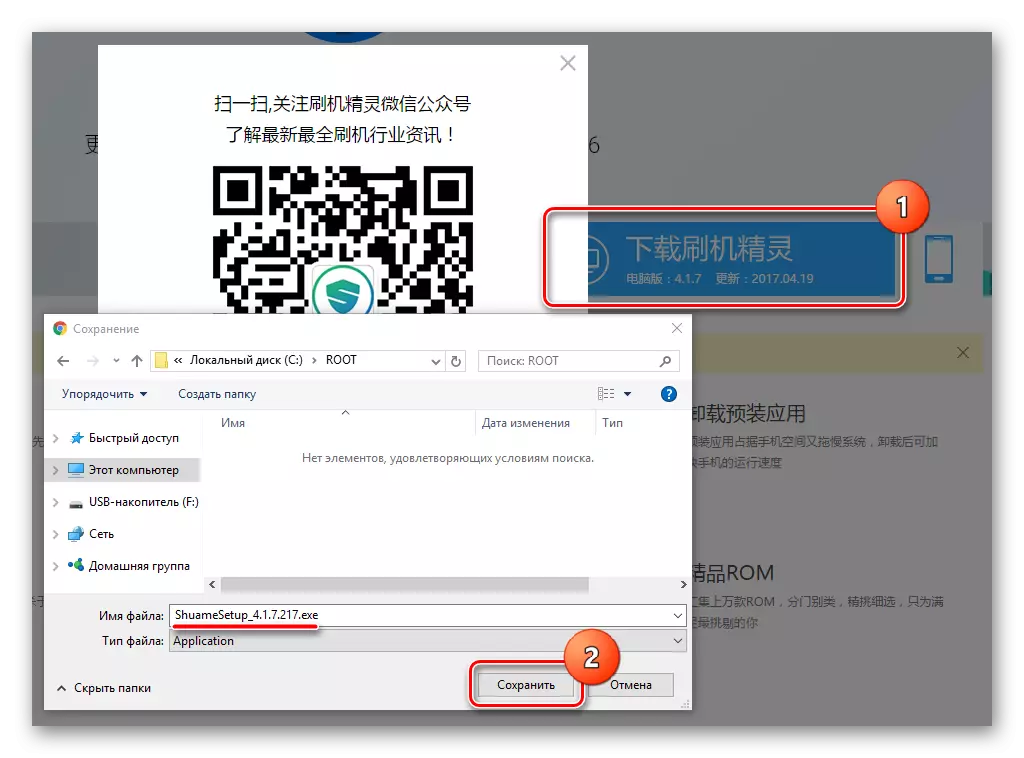
- After the transition over the previous link, a page opens where we need a blue button with a monitor image in a circle.
- Pressing this button will lead to the beginning of the Root Genius installer.
Installation
After downloading the installation file, we start it and perform the steps below.
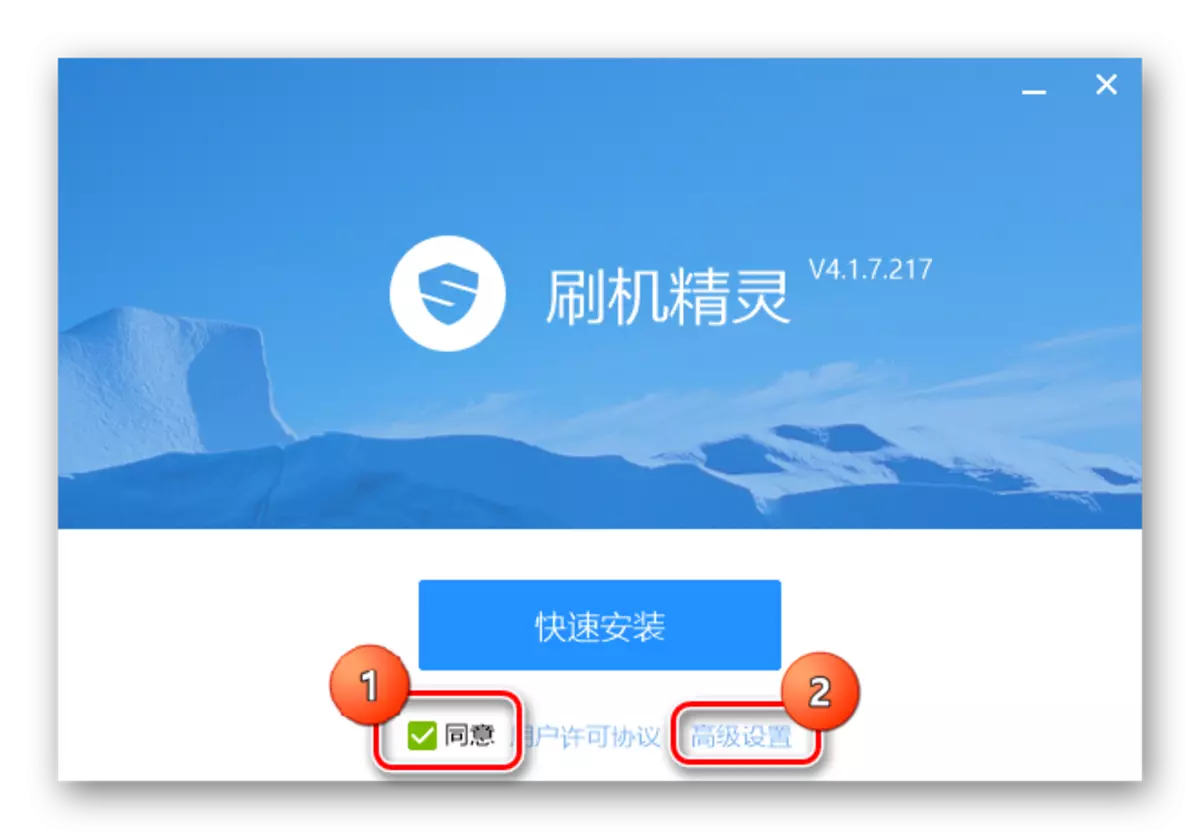
- The first after opening the installer program window contains a check box (1). The checkbox installed in it is a confirmation of consent with the license agreement.
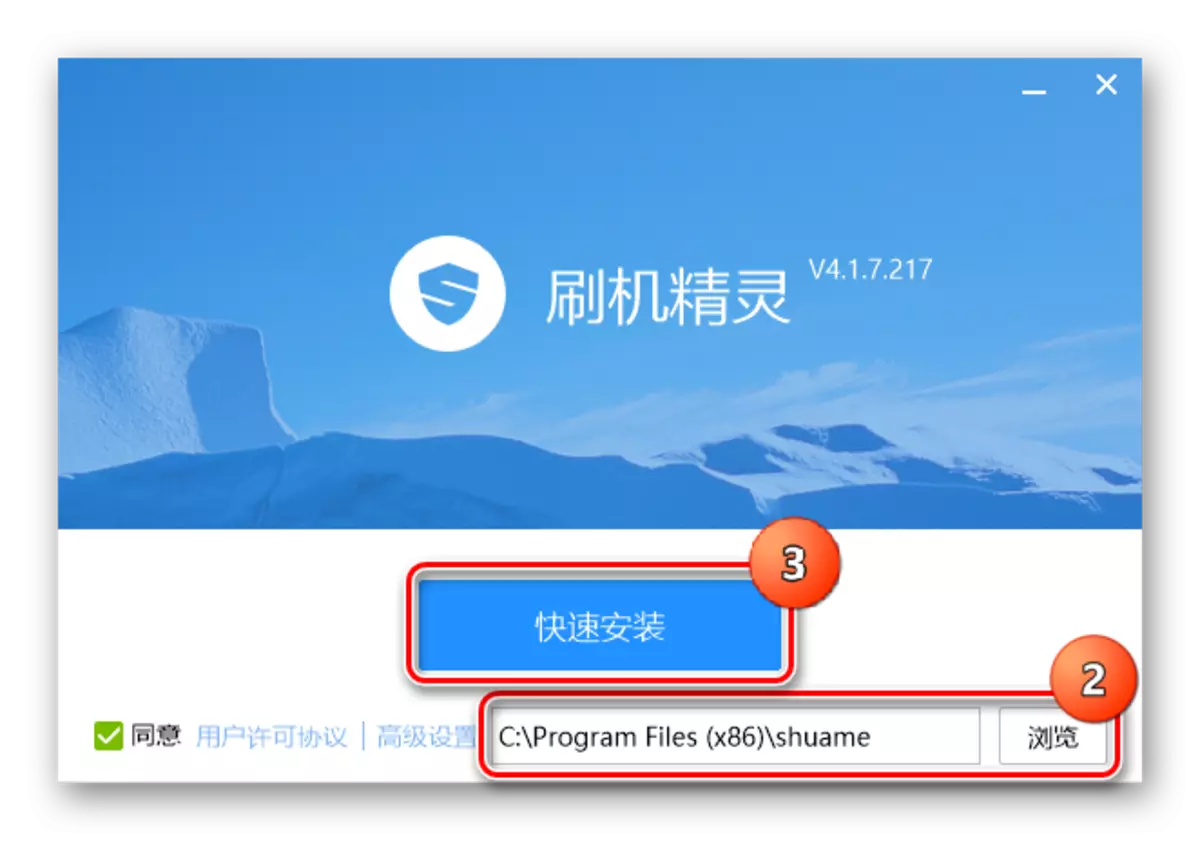
- The choice of the path to which the Root Genius program will be installed, is carried out by pressing the inscription (2). We determine the path and press the large blue button (3).
- We are waiting for a while. The installation process is accompanied by a display of animation.
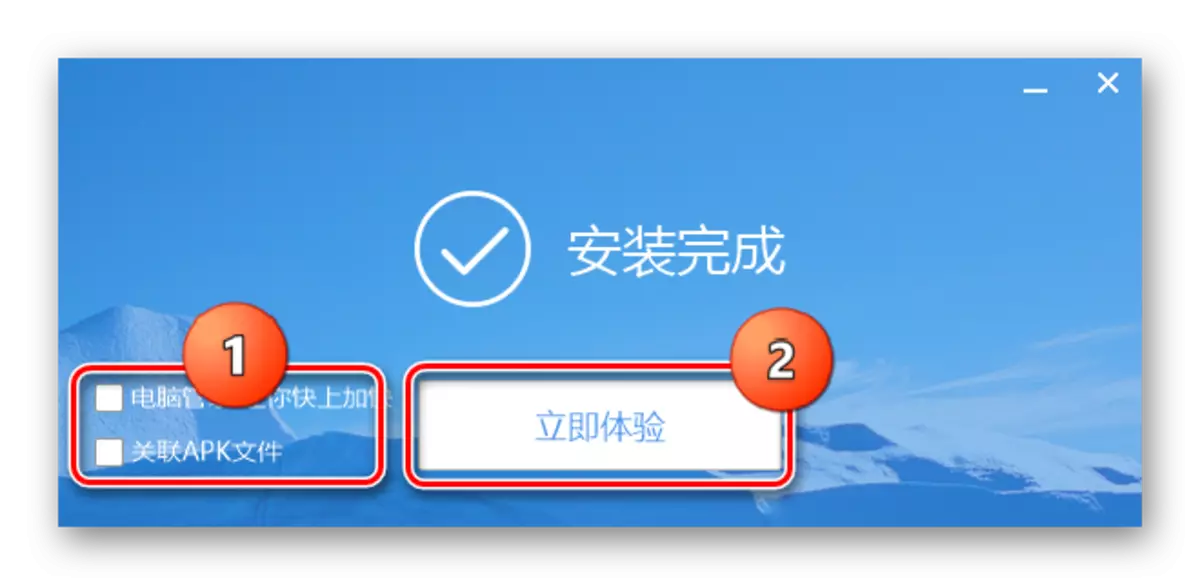
- In the window confirming the completion of the installation, you must remove two ticks (1) - this will allow you to abandon the installation of additional advertising software. Then press the button (2).
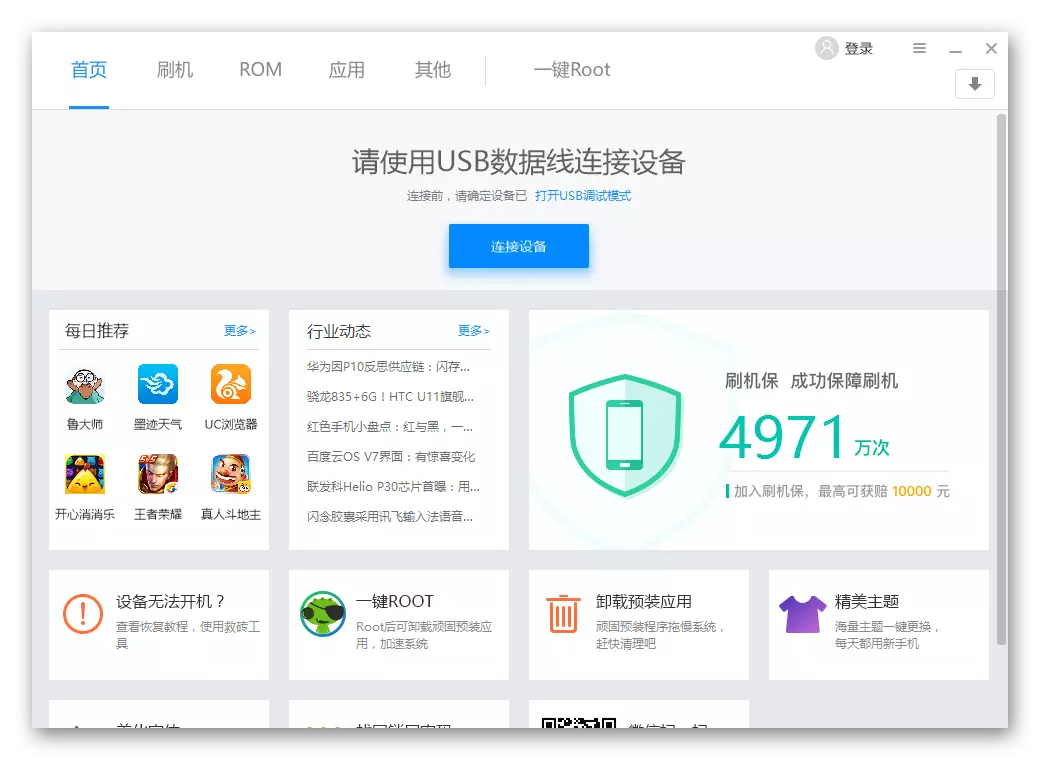
- The installation process is completed, Root Genius will start automatically and the main program window will appear before us.

Obtaining root-rights
After launching Ruth Genius, before starting the root procedure, you will need to connect the device to the USB port. It is desirable that the debugging on the USB is in advance on the device, and the ADB drivers are installed on the computer. About how to spend these manipulations told in the article:
Lesson: Installing Drivers for Android Firmware
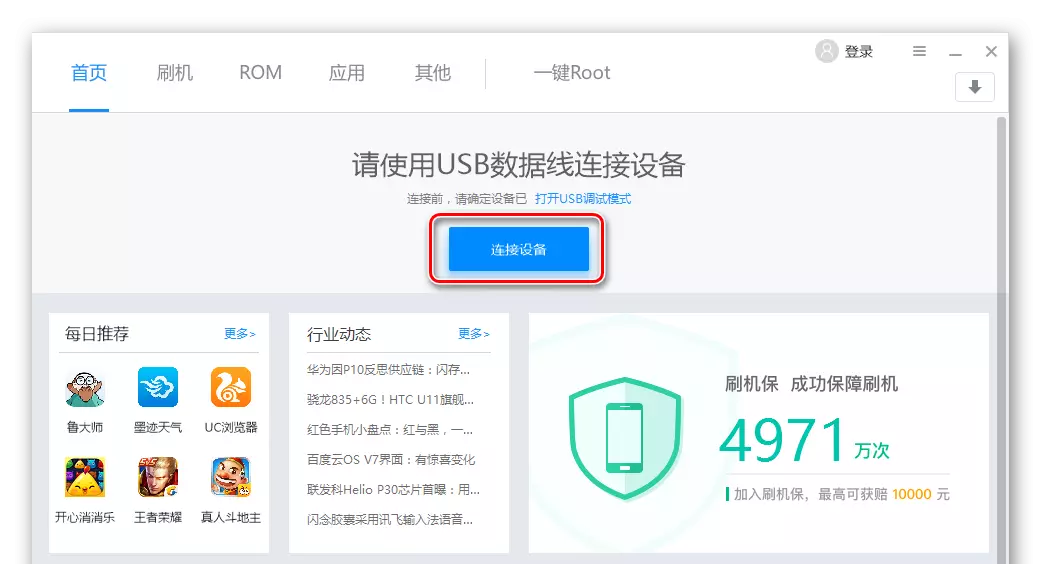
- Press the blue button (1) and connect the prepared device to the USB.
- The definition of the device will begin in the program that takes some time and is accompanied by the display of animation (2).
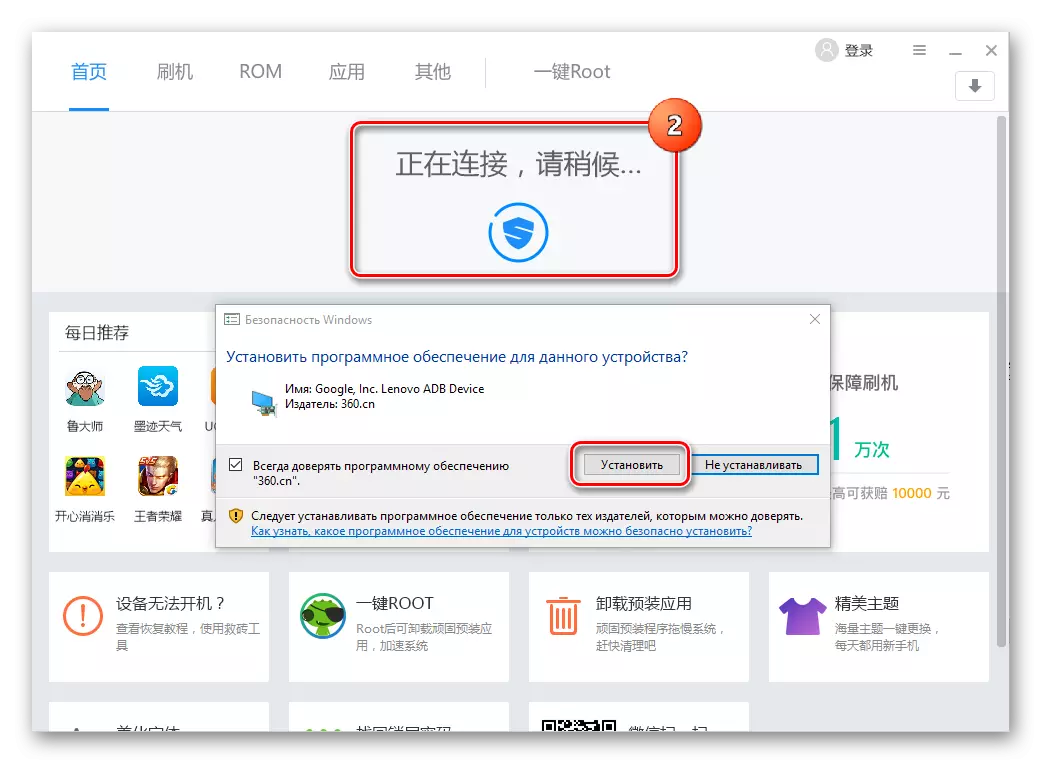
In the process, requests may appear about the need to install additional components. Confirm the consent by pressing the "Install" button in each of them.
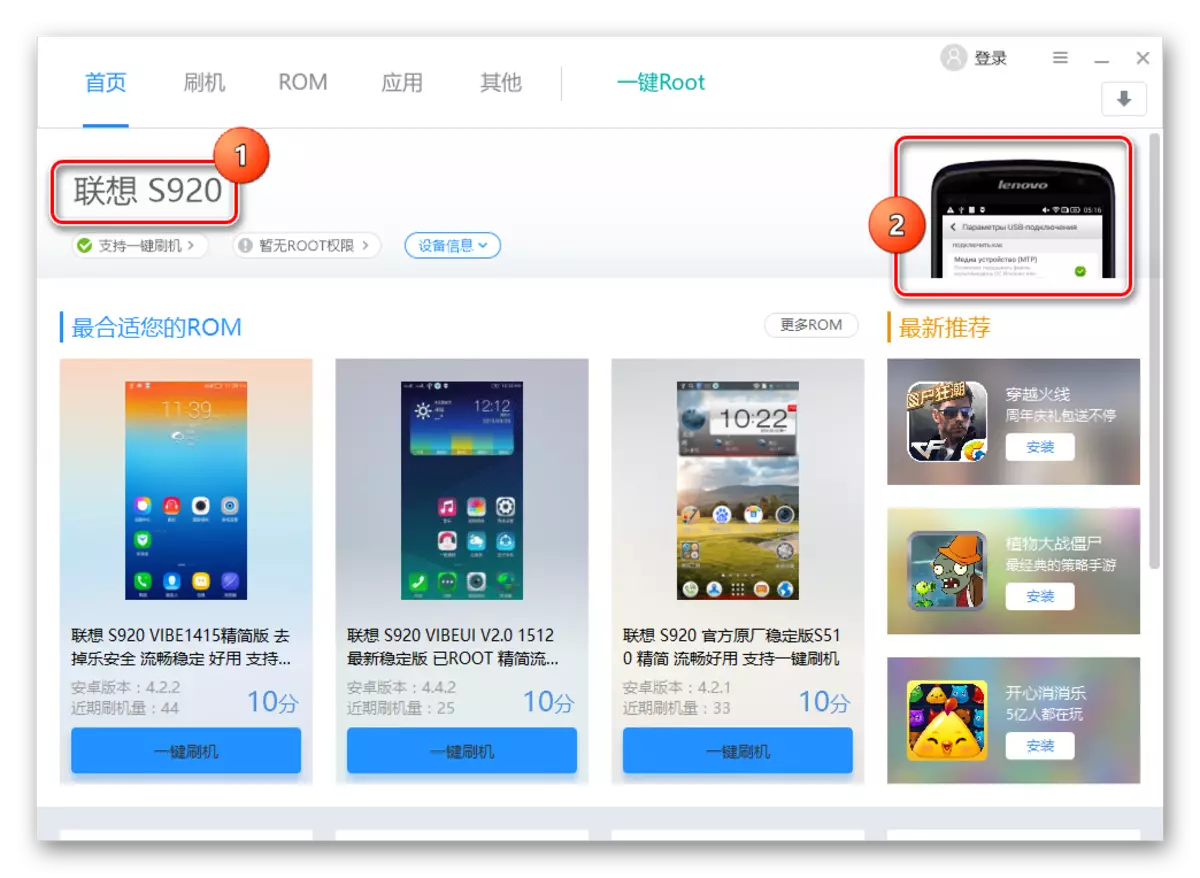
- After the device should be properly defined in the program, its model on the Latin (1) will appear, and the image of the device (2) will appear. Moreover, what is happening on the screen of the smartphone / tablet can be observed in the Root Genius window.
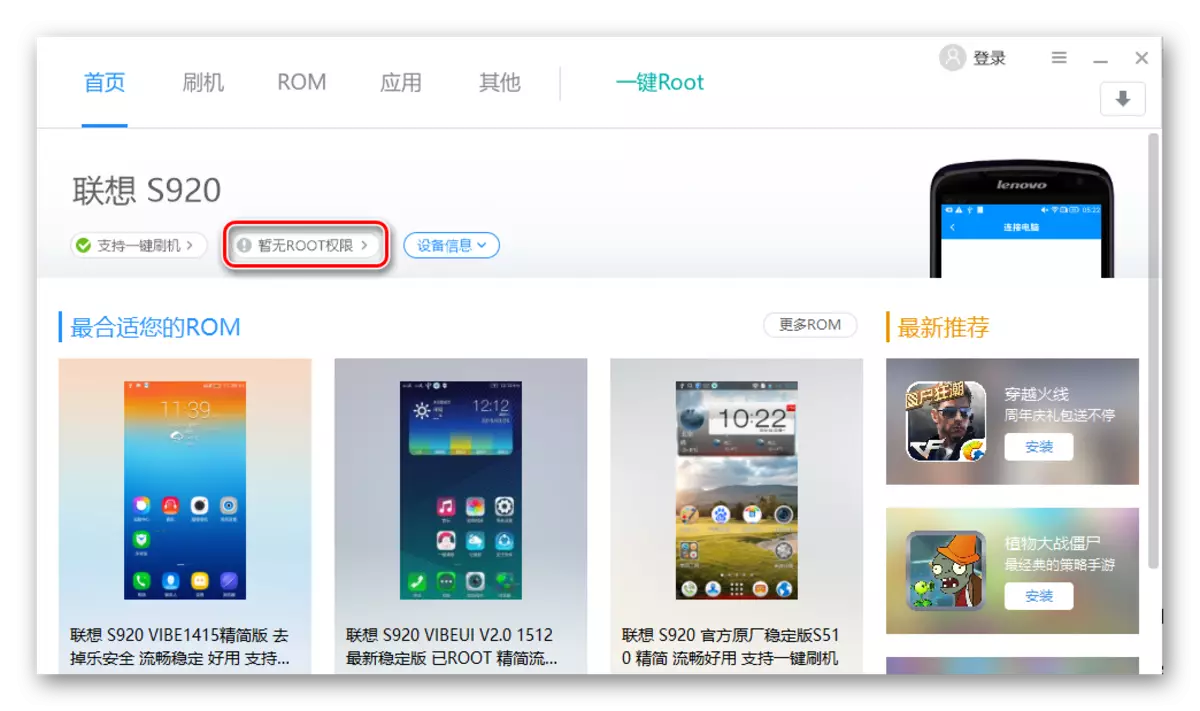
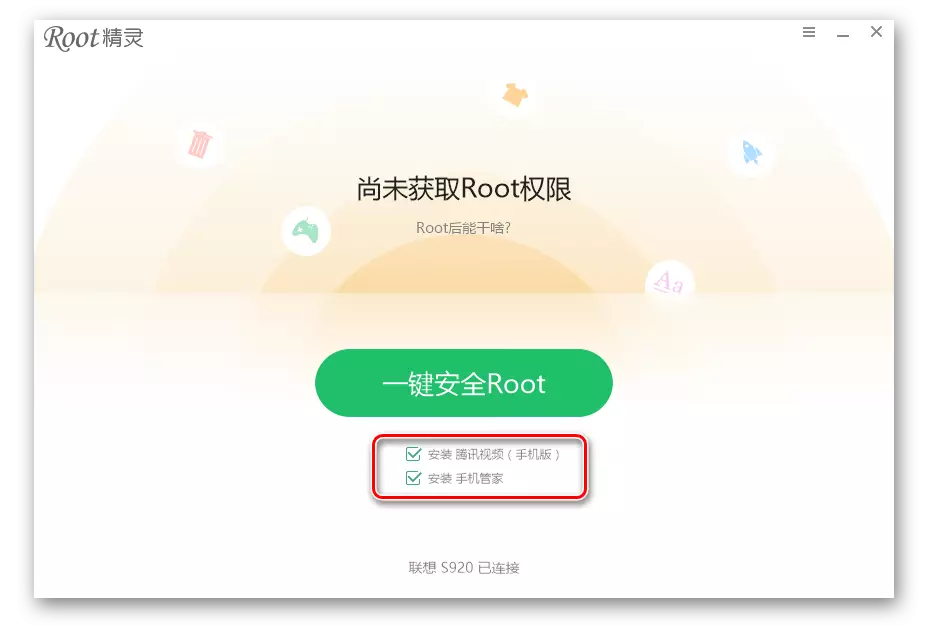
- You can move to the process of obtaining root-rights. To do this, select the ROOT tab.
- A window appears with a single button and two check boxes. Check boxes must be removed, otherwise after rutting in the device will appear, to put it mildly, not the most necessary Chinese applications.
- The process of obtaining root-rights is accompanied by the display of the execution indicator in percent. The device can spontaneously reboot.

We are waiting for the end of manipulations conducted by the program.
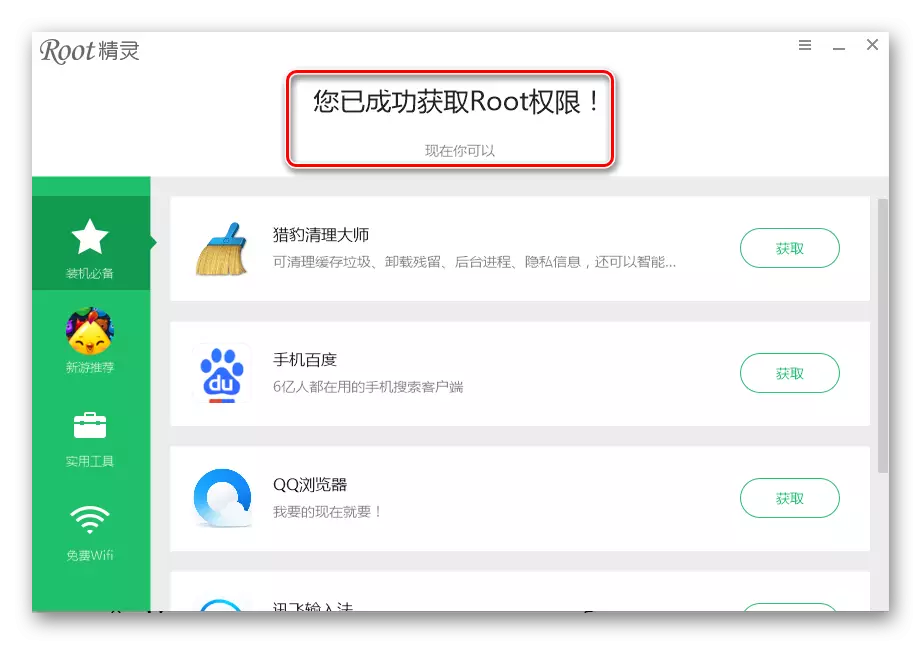
- Upon completion of the root, a window will appear with a confirmation of the success of an inscription operation.
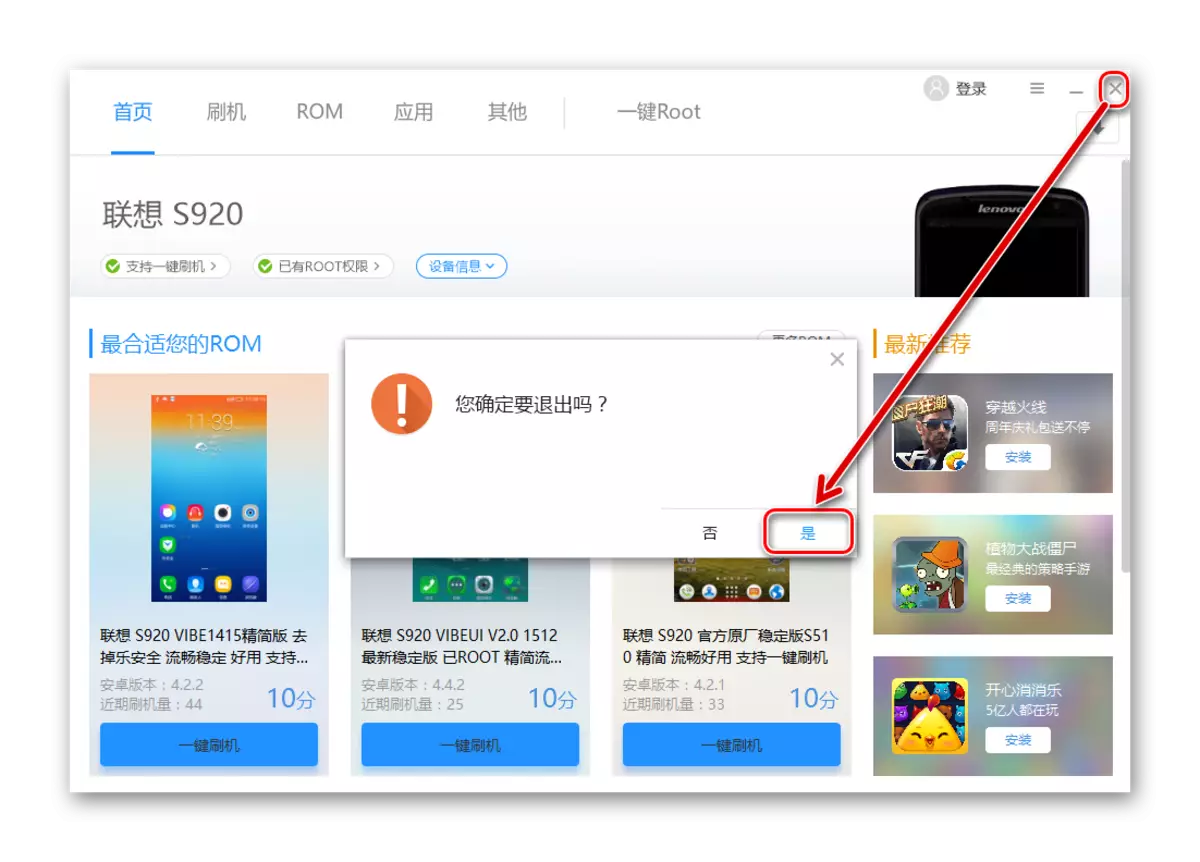
- Ruttle rights are obtained. Turn off the device from the USB port and close the program.
And we are waiting for a while.
Thus, the superuser is obtained through the Root Genius program. Calm, without fuss, performing the steps described above for many devices leads to success!