

The Windows 7 operating system is different from most other OS licensses Microsoft in what has small programs that are called gadgets in its arsenal. Gadgets perform a very limited range of tasks and, as a rule, consume relatively few system resources. One of the most popular species of such applications is the clock on the desktop. Let's find out how this gadget turns on and works.
Using Time Gadget
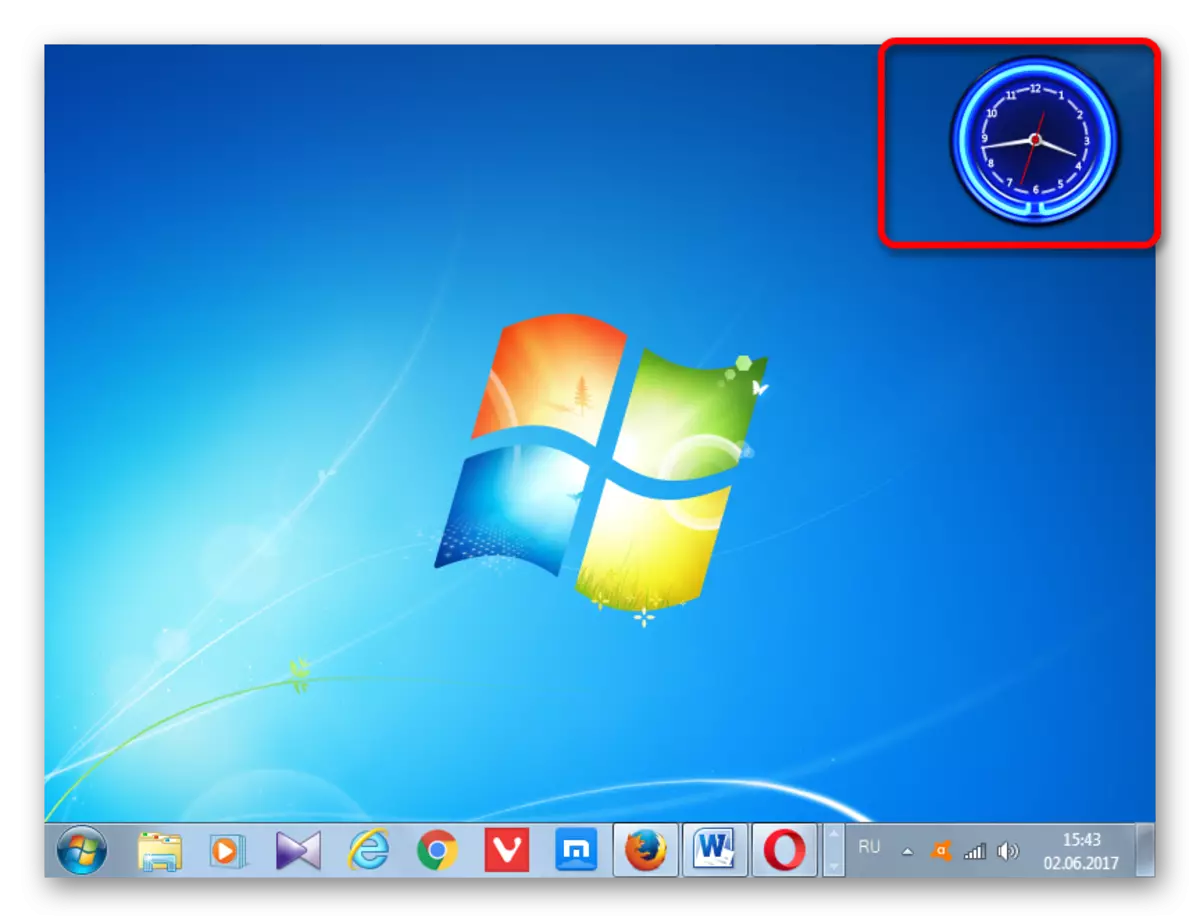
Despite the fact that by default in each instance of Windows 7, in the lower right corner of the screen, the clock is placed on the taskbar, a significant part of users want to move away from the standard interface and brought something new to the design desktop. It is such an element of the original design and can be considered a gadget of the clock. In addition, this option of hours is significantly larger than standard. It seems more convenient for many users. Especially for those who have vision problems.Turning on the gadget
First of all, let's figure it out how to run the standard time display gadget for the desktop in Windows 7.
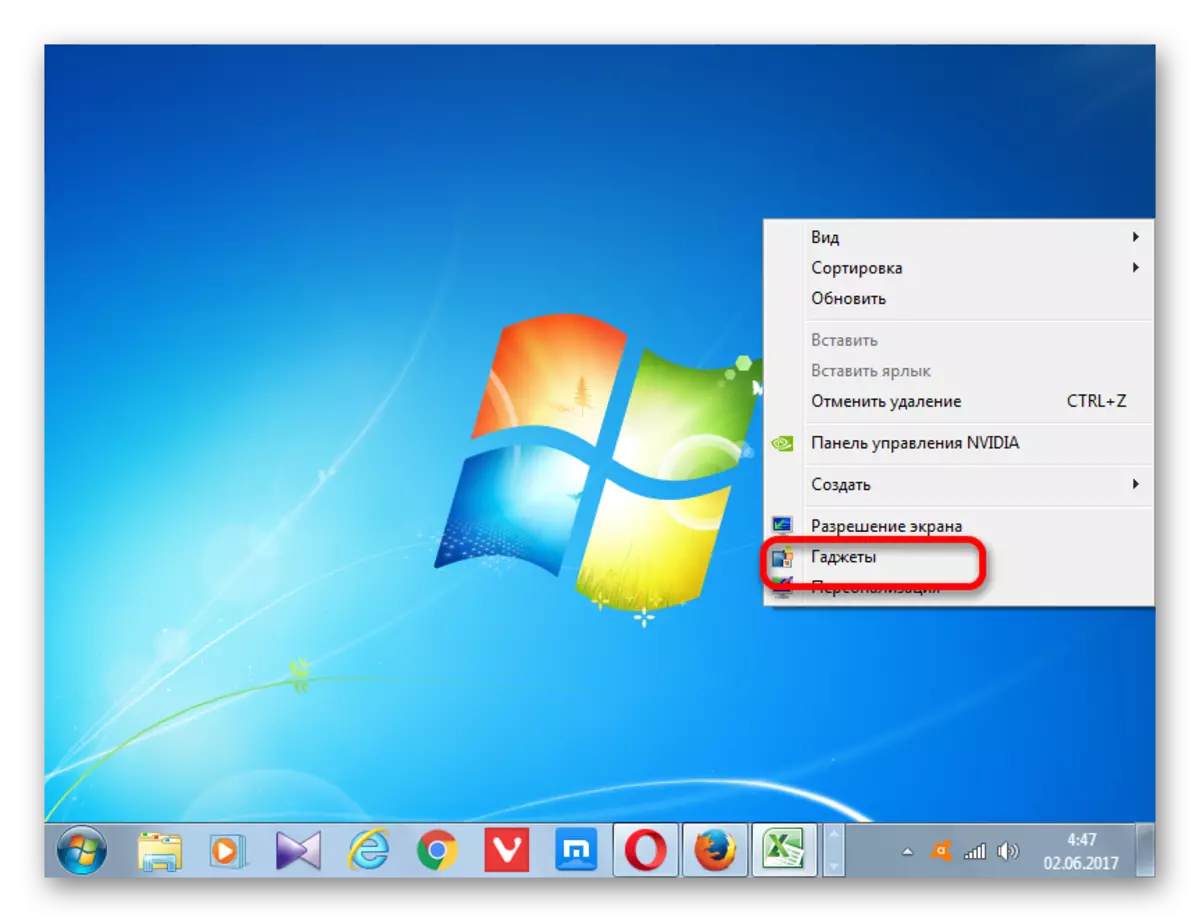
- Click right-click on the desktop. The context menu is launched. Choose the position "Gadgets" in it.
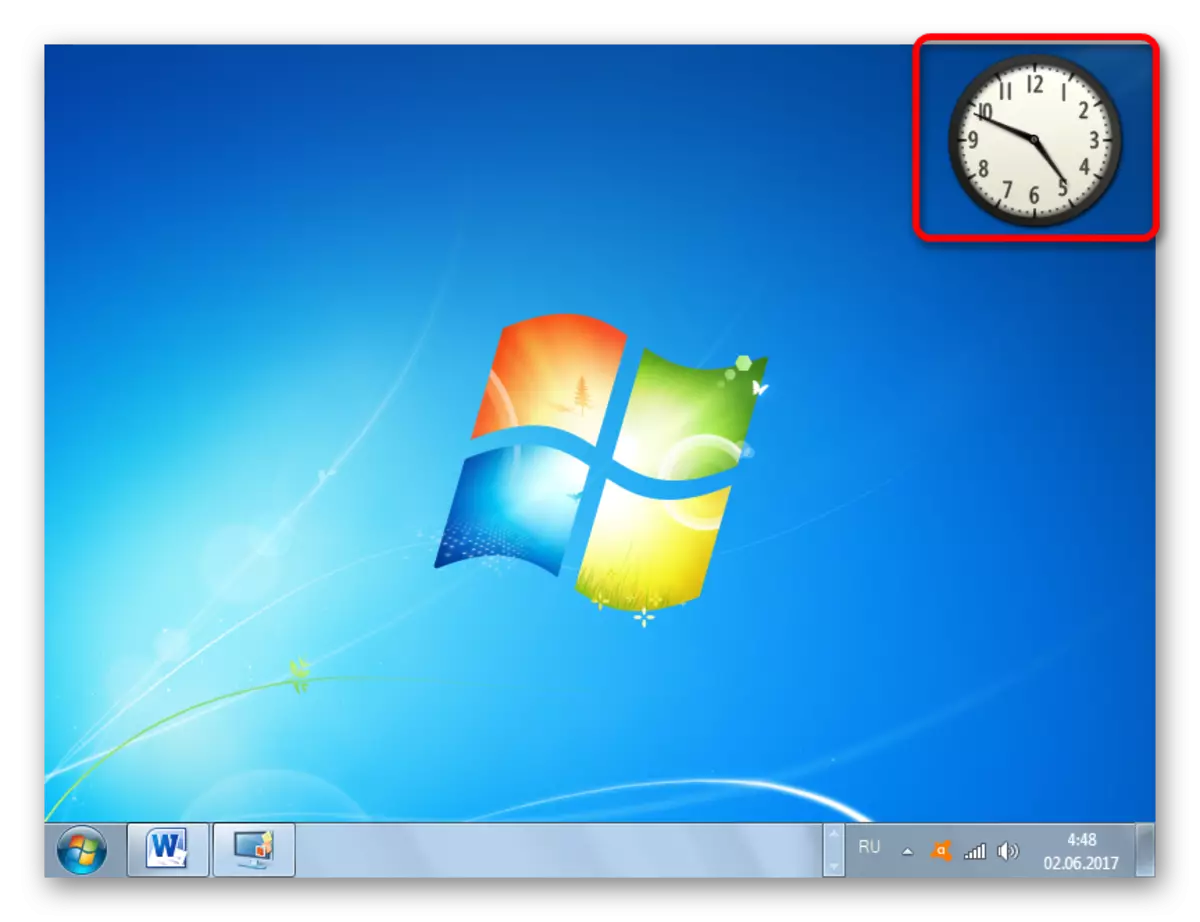
- Then the gadget window opens. It will feature a list of all applications installed in your operating system. Find in the list the name "Clock" and click on it.
- After this action, the clock gadget will appear on the desktop.

Setting the watch
In most cases, this application does not need this application. The time on the default clock is displayed according to the system time on the computer. But if desired, the user can make adjustments to the settings.
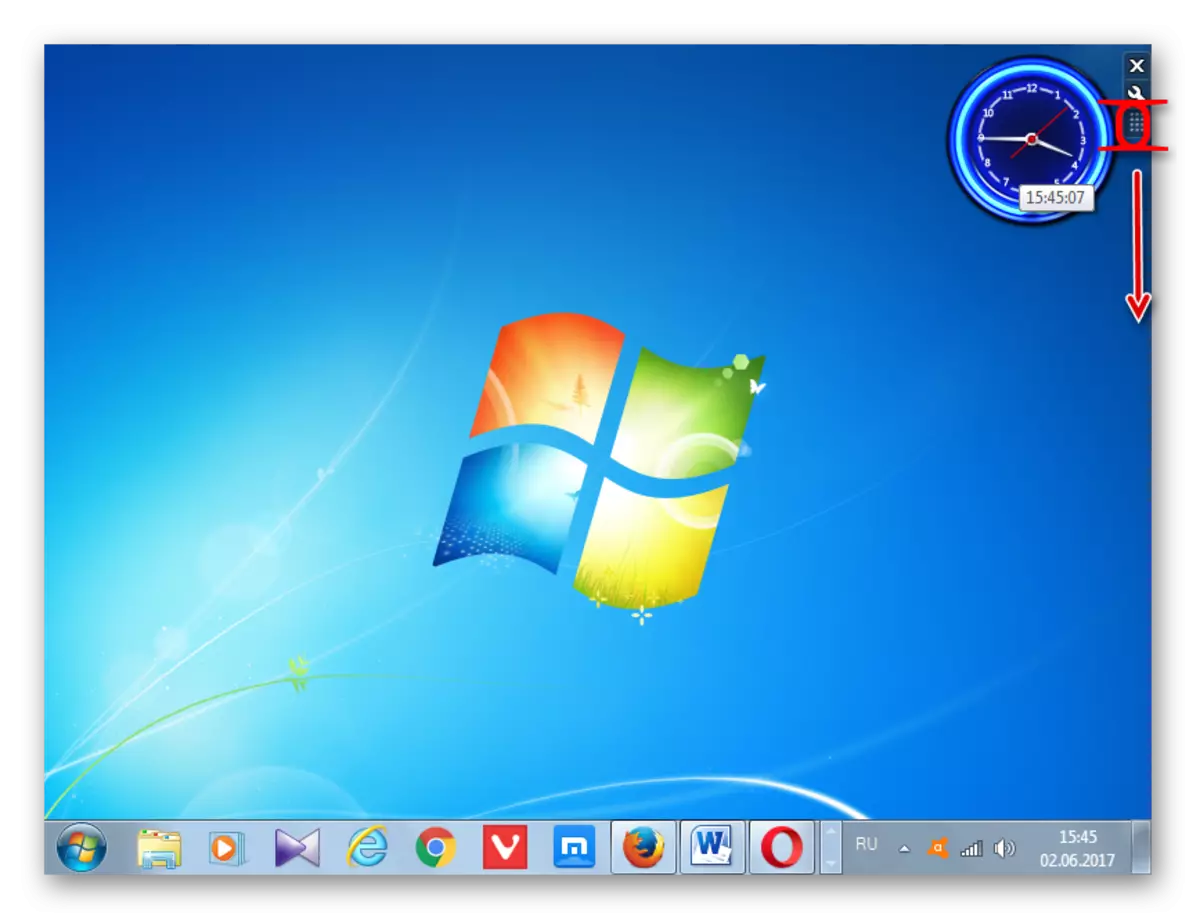
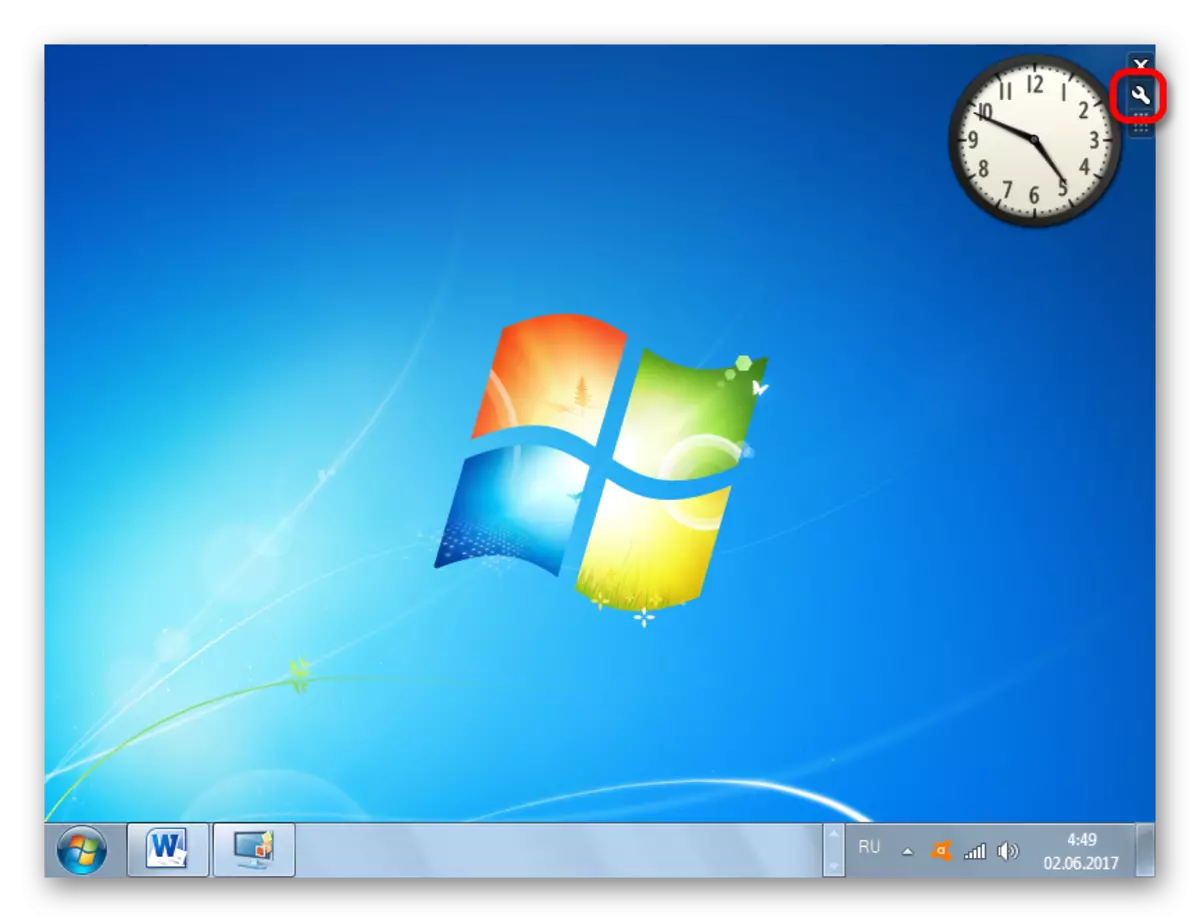
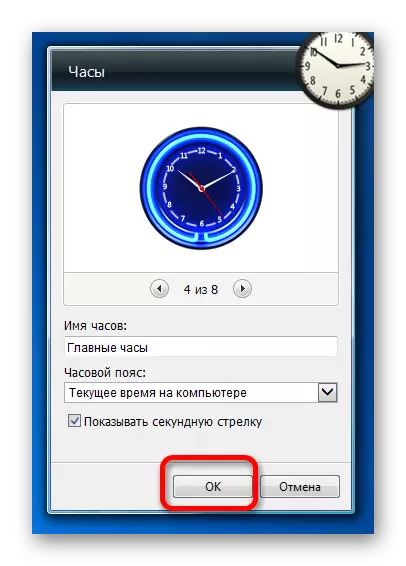
- In order to go to the settings, bring the cursor to the clock. To the right of them there is a small panel, represented by three tools in the form of pictograms. Click on the icon in the form of a key, which is called "Parameters".
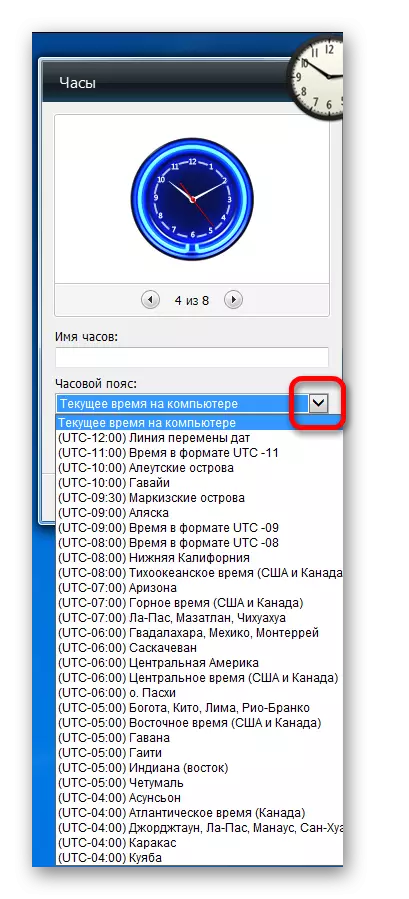
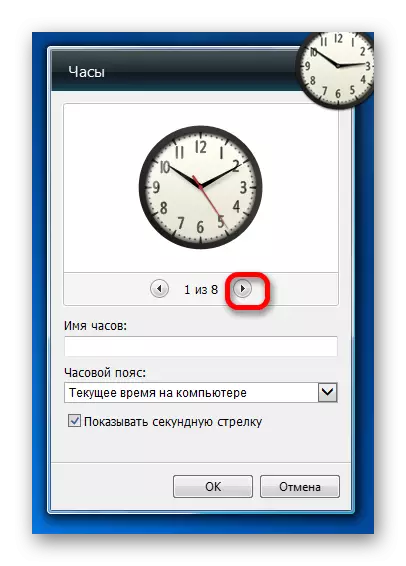
- The settings window of this gadget starts. If you do not like the application interface that is set by default, you can change it to another. Total available 8 options. Navigation between options should be carried out using the "Right" and "Left" arrows. When switching to the next option, the recording between these arrows will change: "1 out of 8", "2 out of 8", "3 of 8", etc.
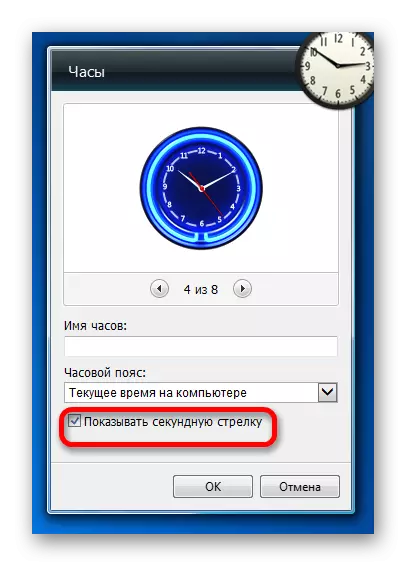
- By default, all clock options are displayed on the desktop without a second arrow. If you want to turn on its display, you should install a check mark near the "Show the Second Arrow" item.
- In the "Time Zone" field, you can set the encoding of the time zone. By default, the "Current Time on Computer" parameter is set to the settings. That is, the application displays the system time PC. To select the time zone, different from the one that is installed on the computer, click on the above field. A large list opens. Choose that time zone that is needed.
By the way, this feature can be one of the motivated reasons to establish the specified gadget. Some users need to constantly monitor the time in the other time zone (personal causes, business, etc.). Change the system time on your own computer for these purposes is not recommended, but the Gadget Installation will allow you to simultaneously monitor the time in the desired time zone, time in the area where you are actually being available (through the clock on the taskbar), but not to change the system time Devices.
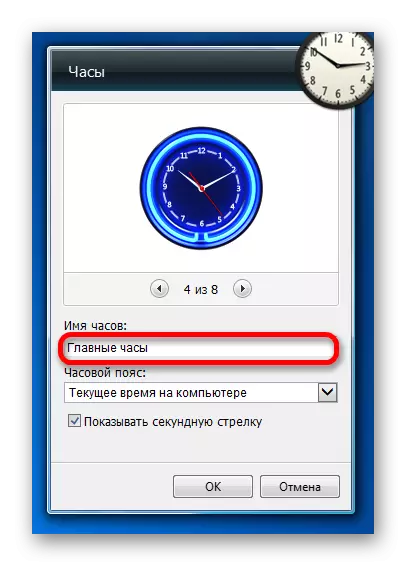
- In addition, in the "Clock name" field, you can assign the name that you consider fit.
- After all the desired settings are made, click on the "OK" button at the bottom of the window.
- As you can see, after this action, the time display object located on the desktop has been changed, according to the settings that we have entered earlier.
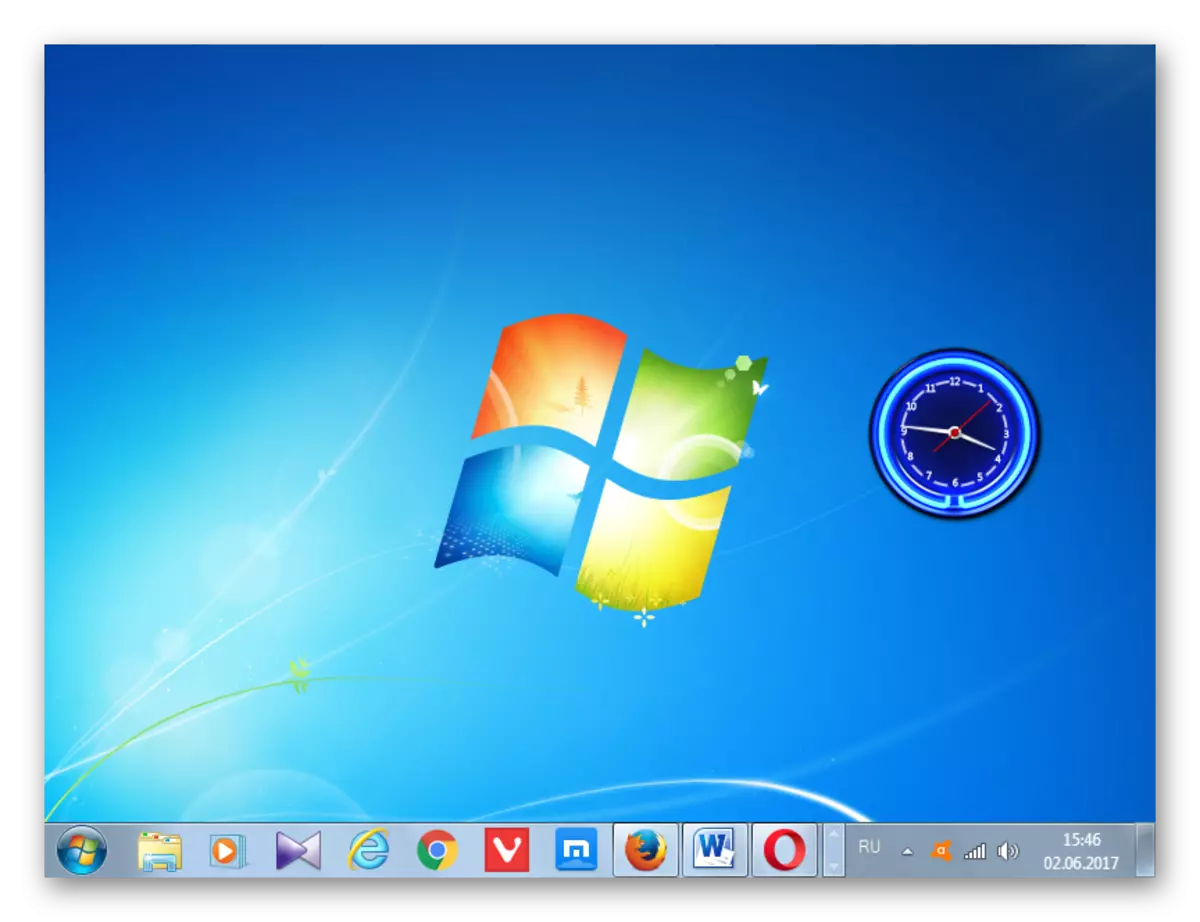
- If the clock needs to move, then you bring the mouse cursor. On the right again the toolbar appears. At this time with the left mouse button, click on the "Drag Gadget" icon, which is located below the parameter icons. Not releasing the mouse button, drag the object of displaying time to the place of the screen that we consider it necessary.
In principle, it is not necessary to clamp this icon for moving hours. With the same success, you can clamp the left mouse button on any area of the time display object and drag it. But, nevertheless, the developers made a special icon for dragging gadgets, which means they are still preferable to use it.
Removal of watch
If suddenly the user will be bored with a gadget of the time display, it will become unnecessary or for other reasons, it will decide to remove it from the desktop, then you need to follow the following actions.
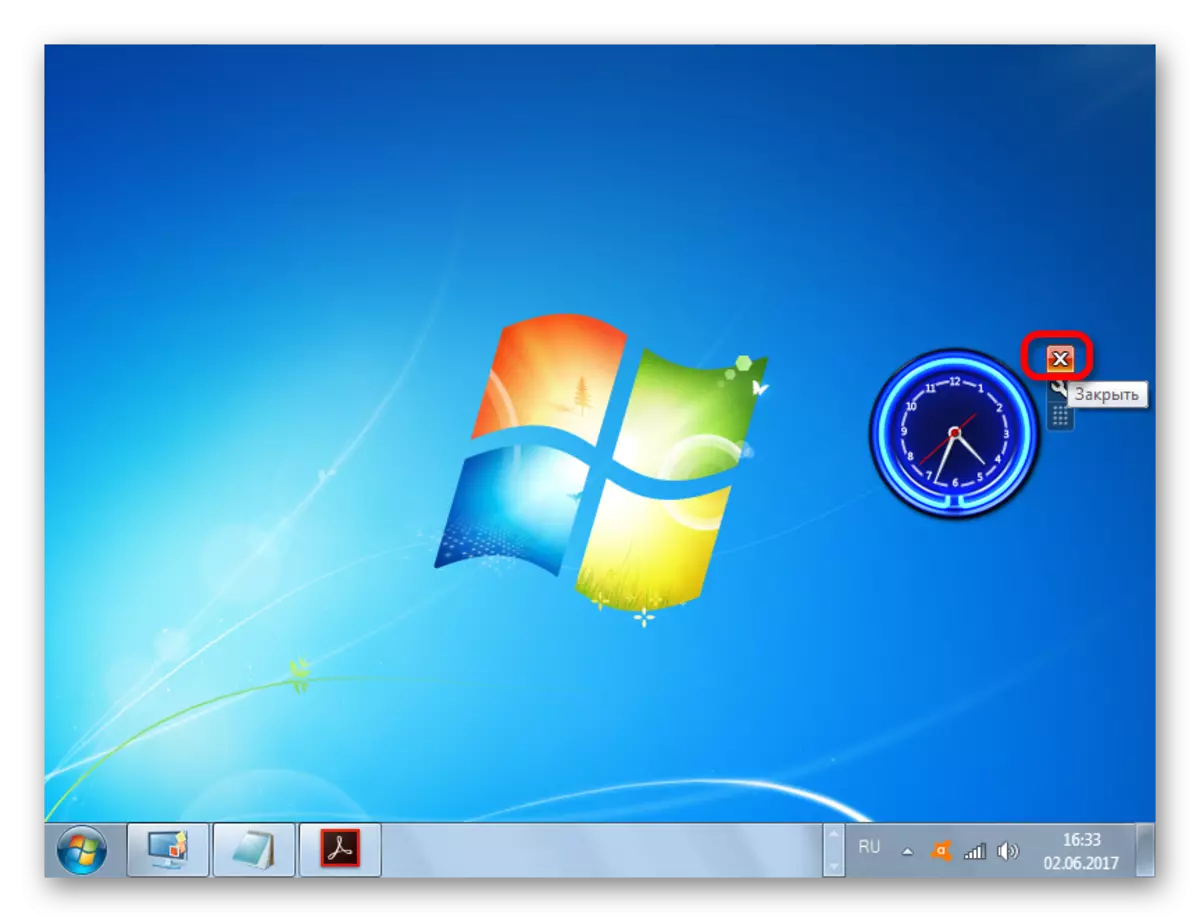
- We bring the cursor to the clock. In the tool block that appears to the right of them, click on the uppermost icon in the form of a cross, which has the name "Close".
- After that, without further confirmation of actions in any information or dialog boxes, the clock gadget will be removed from the desktop. If desired it can always be included again by the same method that we talked above.
If you even want to delete the specified application from the computer, then there is another action algorithm for this.
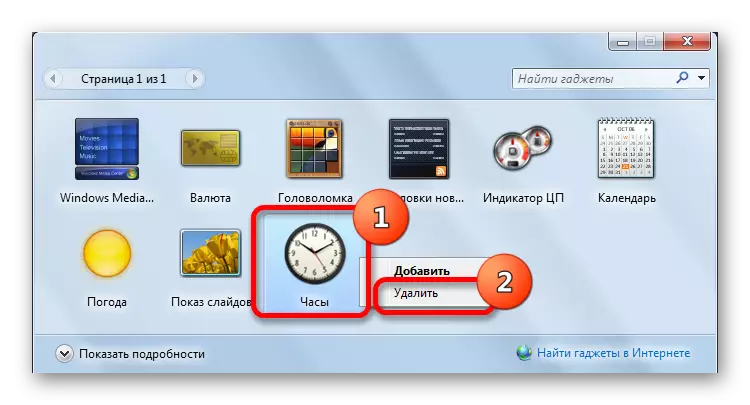
- Run the gadgets window through the context menu on the desktop in the same method that was already described above. On it with the right mouse click on the clock element. The context menu is activated, in which you want to select "Delete".
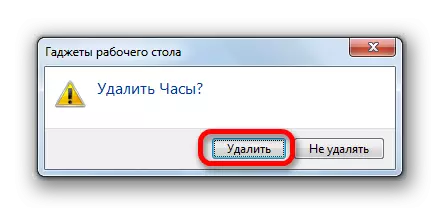
- After that, the dialog box is started in which you are asked if you are sure that you want to delete this item. If the user is confident in his actions, then he should click on the "Delete" button. In the opposite case, you need to click on the No Delete button or simply close the dialog box by clicking on the standard window closing button.
- If you have chosen all the same deletion, then after the above action, the clock object will be deleted from the list of available gadgets. If you wish to restore it, it will be quite problematic, since Microsoft has ceased support for gadgets due to vulnerabilities contained in them. If earlier on the website of this company, you could download as basic pre-installed gadgets if they are removed and other options for gadgets, including various clock variations, now this feature is not available on the official web resource. We'll have to look for hours on third-party sites, which is associated with a time loss, as well as with the risk to establish a malicious or vulnerable application.
As we can see, the installation of the clock gadget on the desktop can sometimes be chasing not only the purpose of giving the original and presentable type of computer interface, but also purely practical tasks (for people with poor eyesight or for those who need to control the time in two time zones at the same time). The installation procedure itself is quite simple. Setting the hours if such a need arises, is also extremely and intuitive. If necessary, they can be easily removed from the desktop, and then restore. But completely removing the watch from the list of gadgets is not recommended, since with restoration then significant problems may occur.