

Connectify is a special program that is capable of turning your computer or laptop into a virtual router. This means that you can distribute a Wi-Fi signal for other devices - tablets, smartphones and others. But in order to implement a similar plan, you must properly configure Connectify. It is about setting up this program that we will tell you today in all details.
Detailed Connectify Configuration Instructions
For a full configuration of the program you will need stable access to the Internet. It can be both a Wi-Fi signal and connection via wire. All information we divide for your convenience into two parts. In the first of them we will talk about the global parameters of the software, and in the second - we will show on the example how to create an access point. Let's proceed.Part 1: General Settings
We recommend first to do the actions outlined below. This will correct the application of the application most convenient for you. In other words, you can adjust it to your needs and preferences.
- Run Connectify. By default, the tray will be the corresponding icon. To call the program window, it is enough to click on it once the left mouse button. If there is no one, then you need to run the software from the folder where it was installed.
- After the application starts, you will see the following picture.
- As we have already spoken earlier, first set up the work of the software itself. This will help us with four tabs at the top of the window.
- Let's look at them in order. In the "Settings" section you will see the basic part of the program parameters.
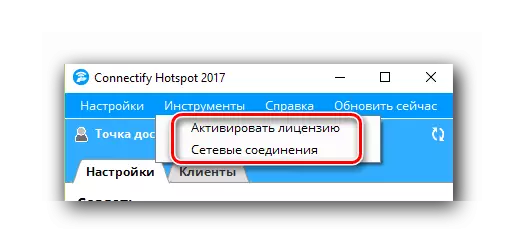
- The "Tools" section, the second of four, contains only two tabs - "activate the license" and "Network Connections". In fact, it can not even be attributed to the settings. In the first case, you will find yourself on the purchase page of paid versions of software, and in the second - a list of network adapters that are available on your computer or laptop will open.
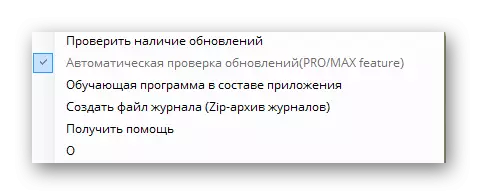
- Opening the Help section, you can find out the details about the application, see the instructions, create a work report and check the updates. Moreover, the automatic update of the program is available only for the paid versioners. The rest will have to do it manually. Therefore, if you are satisfied with free Connectify, we recommend periodically to look into this section and check.
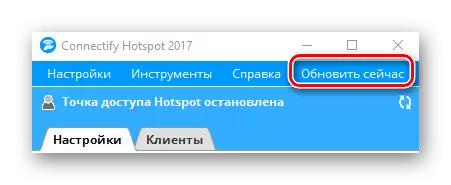
- The last button "Update Now" is designed for those who wish to purchase a paid product. Suddenly you have not seen earlier advertising and do not know how to do it. In this case, this item is for you.
C: \ Program Files \ Connectify


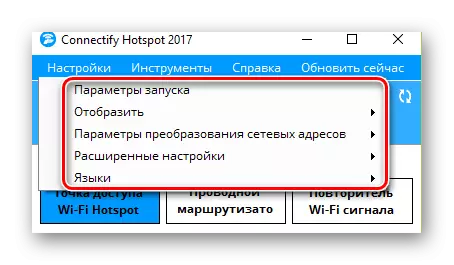
Launch parameters
By clicking on this string, you call a separate window. In it, you can specify whether the program should start immediately when the system is turned on or it is not necessary to take any action at all. To do this, put the ticks opposite those lines that you are preferable. Remember that the number of downloadable services and programs affects the start speed of your system.

Display
In this subparagraph, you can remove the appearance of pop-up messages and advertising. There are really enough notifications from software, so you should know about such a function. Disable advertising in the free version of the application will not be available. Therefore, you will have to either acquire a paid version of the program, or from time to time to close annoying advertising.

Network Address Translation Settings
In this tab, you can configure the network mechanism, a set of network protocols and so on. If you do not know what settings make these settings - it is better to leave everything unchanged. The default values and will allow you to fully use the software.

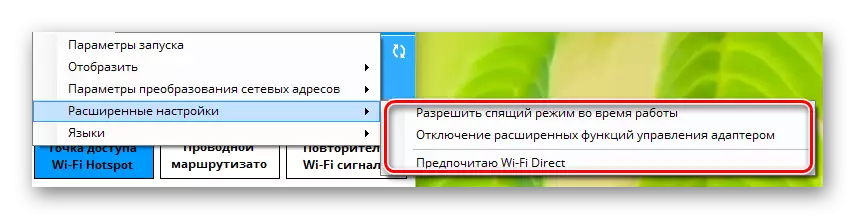
Advanced settings
There are parameters that are responsible for additional adapter settings and sleep computer / laptop. We advise you to remove both ticks from these items. The "Wi-Fi Direct" item is also better not to touch if you are not going to engage in setting protocols to connect two devices directly without router.
Languages
This is the most obvious and understandable section. In it, you can choose the language where you want to see all the information in the application.
This pre-configuration process will be completed. You can begin to the second stage.
Part 2: Configure the connection type
The application provides for the creation of three types of connection - "Wi-Fi Hotspot", "wired router" and "signal repeater".
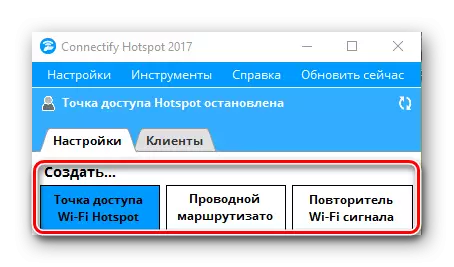
Moreover, for those who have a free version of Connectify, only the first option will be available. Fortunately, it is he who is necessary so that you can distribute the Internet through Wi-Fi the rest of your devices. This section will be opened automatically when the application is started. You can only specify the parameters to adjust the access point.
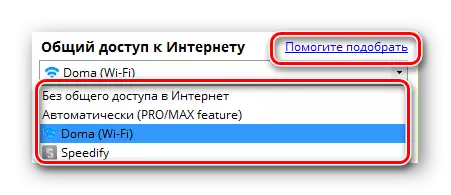
- In the first section "Sharing Internet" you need to select a connection with which your laptop or computer goes into a worldwide network. It can be both a Wi-Fi signal and an Ethernet connection. If you doubt the correctness of the choice, click the "Help pick up" button. These actions will allow the program to choose the most suitable option for you.
- In the section "Access to Network", you should leave the parameter "in router mode". It is necessary that other devices have access to the Internet.
- The next step is to select a name for your access point. In the free version you will not be able to delete the Connectify string. You can only finish your ending through a hyphen. But you can use in the name of emoticons. To do this, just click on the button with the image of one of them. Fully change the network name to arbitrary can be in paid software options.
- The last field in this window is the "password". As the name follows, here you need to register an access code, with which other devices will be able to connect to the Internet.
- The "Firewall" section remains. In this area, two of the three parameters will not be available in the free version of the application. These are the parameters that allow you to adjust user access to the local network and the Internet. But the last item "Blocking advertising" is very accessible. Enable this parameter. This will avoid obsessive manufacturer's advertising on all connected devices.
- When all settings are set, you can start the access point. To do this, click the appropriate button in the bottom area of the program window.
- If everything goes without errors, you will see a notification that hotspot has been successfully created. As a result, the upper window will change slightly. In it you can see the connection status, the number of devices using the network and password. Also, the Clients tab will also appear.
- In this tab, you can see the details about all devices that are connected to the point of access at the moment, or used it before. In addition, information about the protective parameters of your network will immediately be displayed.
- In essence, this is all you need to do to start using your own point of access. It remains only on other devices to launch the search for available networks and select the name of your access point from the list. To break all the connections, you can either turn off the computer / laptop, or simply by clicking on the "Stop Access Point Hotspot" button at the bottom of the window.
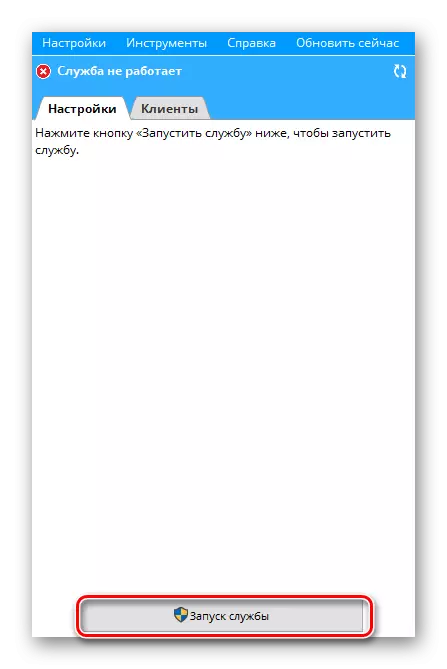
- Some users face the situation when after rebooting the computer and re-run Connectify disappears the ability to change the data. The running program window is as follows.
- In order to reiterate the ability to edit the title of the point, password and other parameters, you must click the "Start Service" button. After some time, the main window of the application will take the original view, and you can re-configure the network in a new way or run it with existing parameters.


Recall that you can learn about all programs that are an alternative to Connectify from our separate article. The information contained in it will be useful to you if for some reason the program mentioned here is not suitable for you.
Read more: Programs for distribution Wi-Fi from a laptop
We hope that the information will help you, without any problems, configure the access point for other devices. If in the process you will have comments or questions - write in the comments. We will be happy to answer each of them.