

Mastering the art of photography, you may encounter shots that can have small defects requiring retouching. Lightroom can perfectly cope with this task. This article will give advice on creating a good retouching portrait.
Lesson: Photo Processing Example in Lightroom
Apply Retouching to Portrait in Lightroom
Retouch apply to the portrait in order to remove wrinkles and other unpleasant flaws, improve skin view.
- Start Lightroom and select a photo portrait that requires retouching.
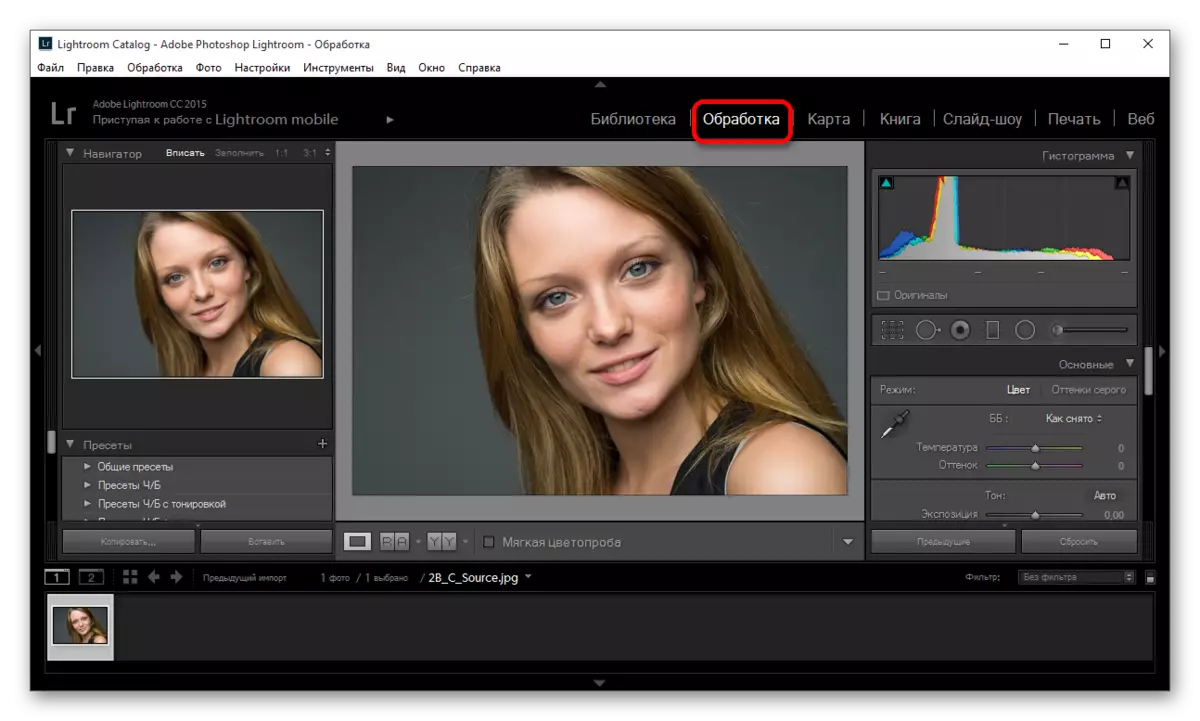
- Go to the "Processing" section.
- Rate an image: whether it needs in increasing or decreasing light, shadow. If so, then in the "Basic" section, select the optimal settings for these parameters. For example, light slider can help you remove unnecessary redness or lighten too dark areas. In addition, with a larger light parameter, pores and wrinkles will not be so noticeable.
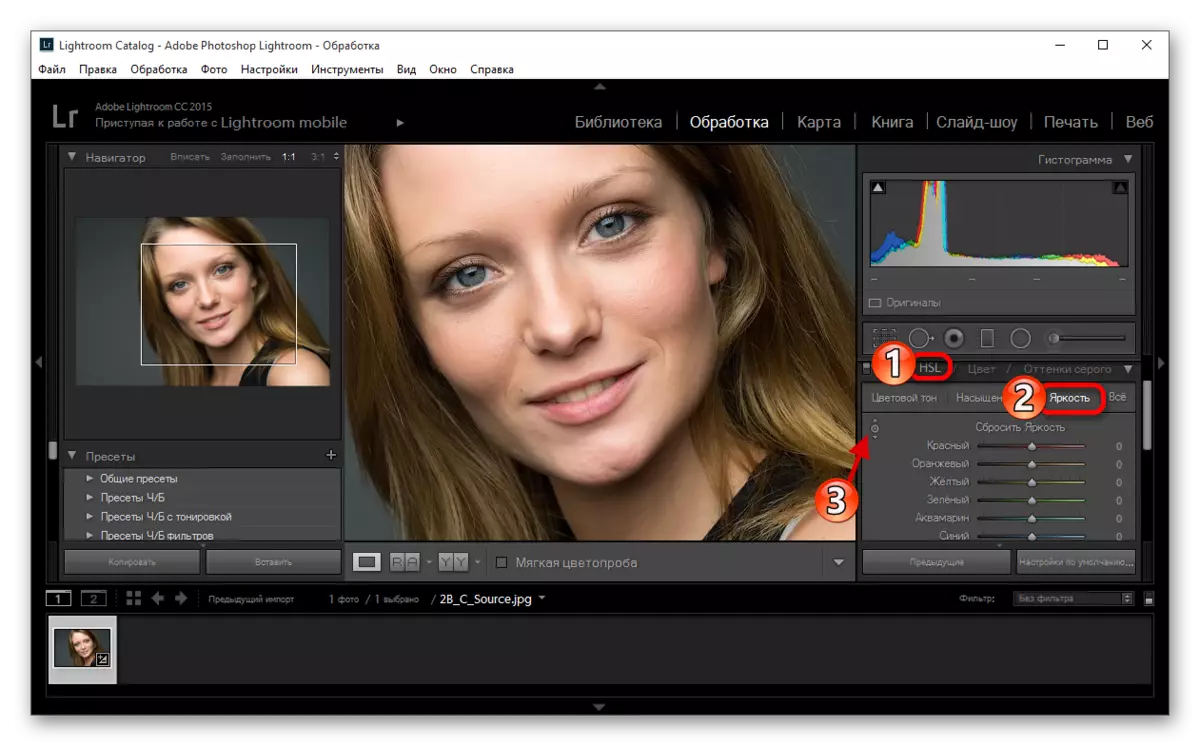
- Now, to correct the color of the face and give it a "naturalness", go along the path "HSL" - "brightness" ("LUMINANCE") and click on the circle in the upper left side. Hover over the changing site, hold down the left mouse button and move up or down with the cursor.
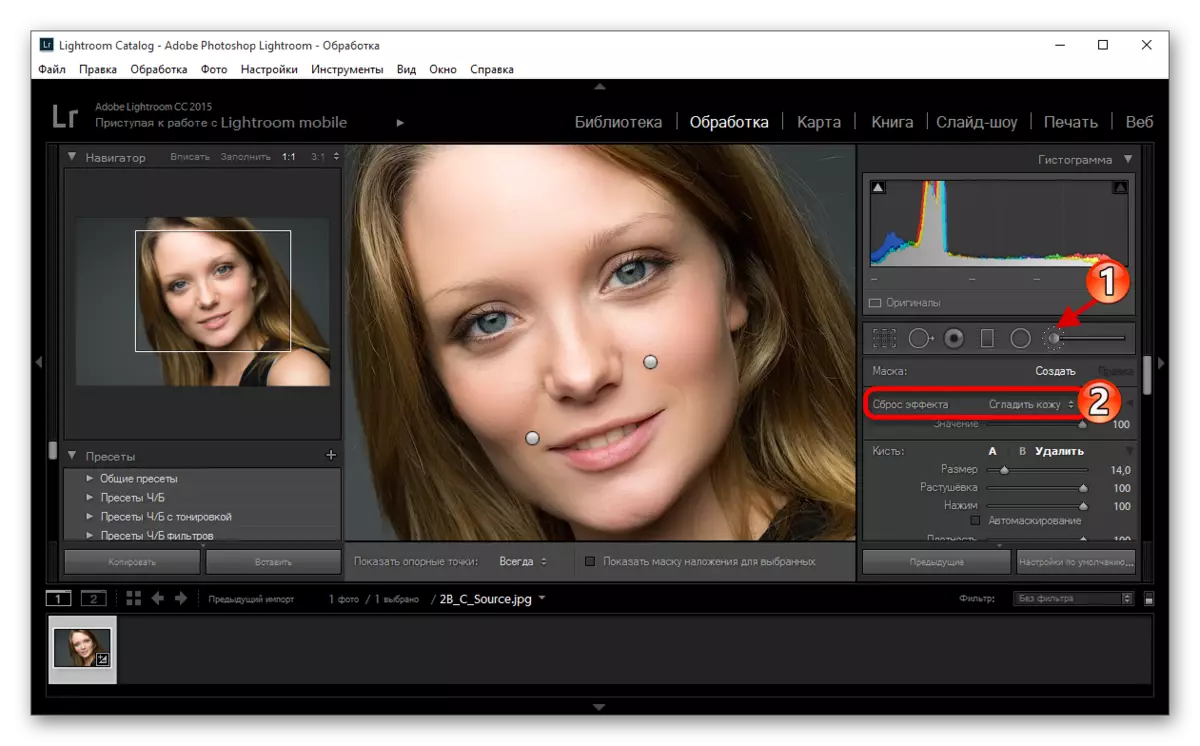
- Now proceed to the retouch itself. To do this, you can use a brush "smoothing of the skin" ("Soften Skin"). Click on the tool icon.
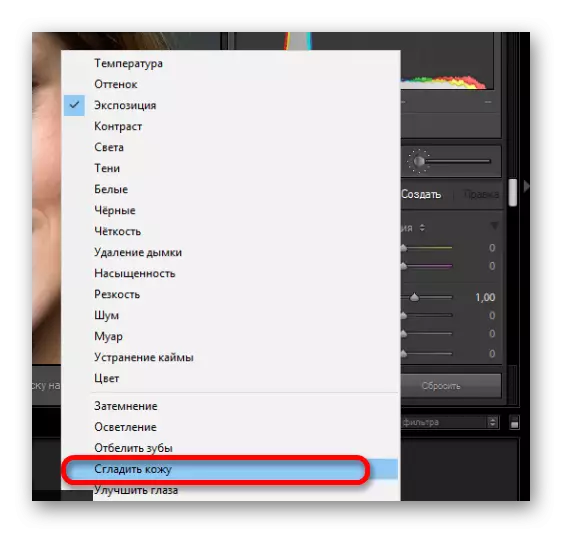
- In the drop-down menu, select "Smoothing Skin". This tool smoothes the specified places. Adjust the brush parameters on your own.
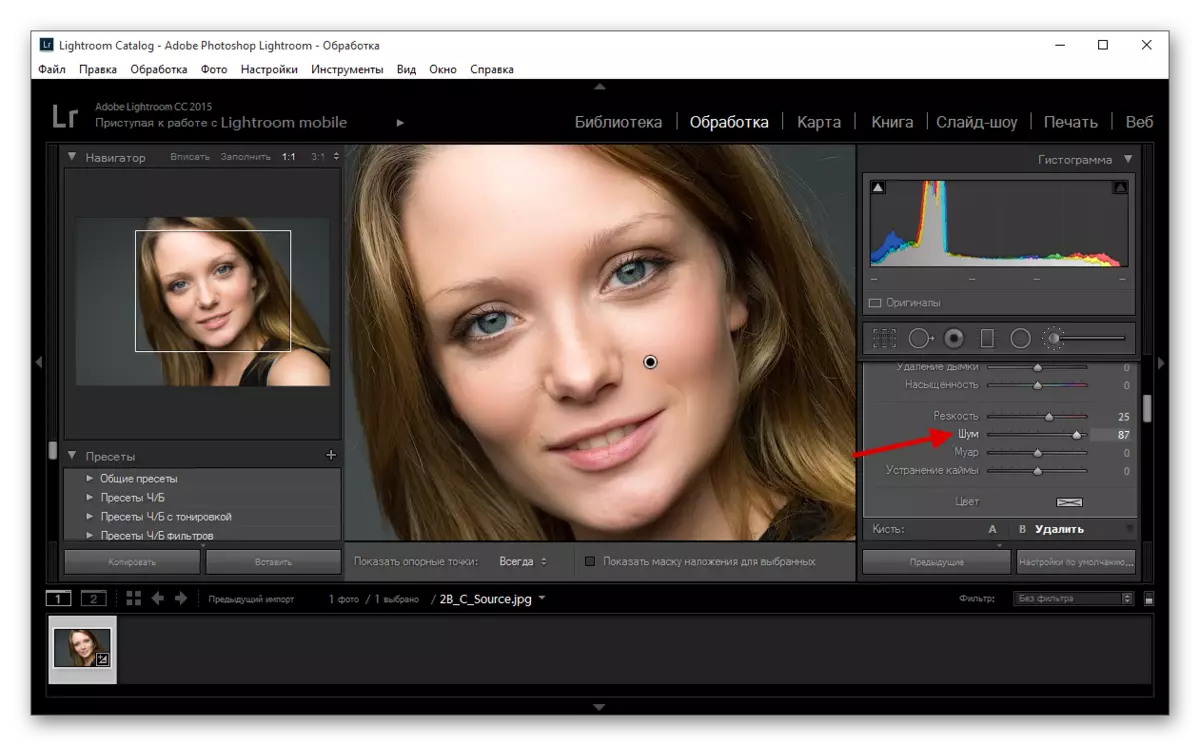
- You can also try to reduce the noise parameter for smoothing. But this setting applies to the whole image, so be careful not to spoil the image.
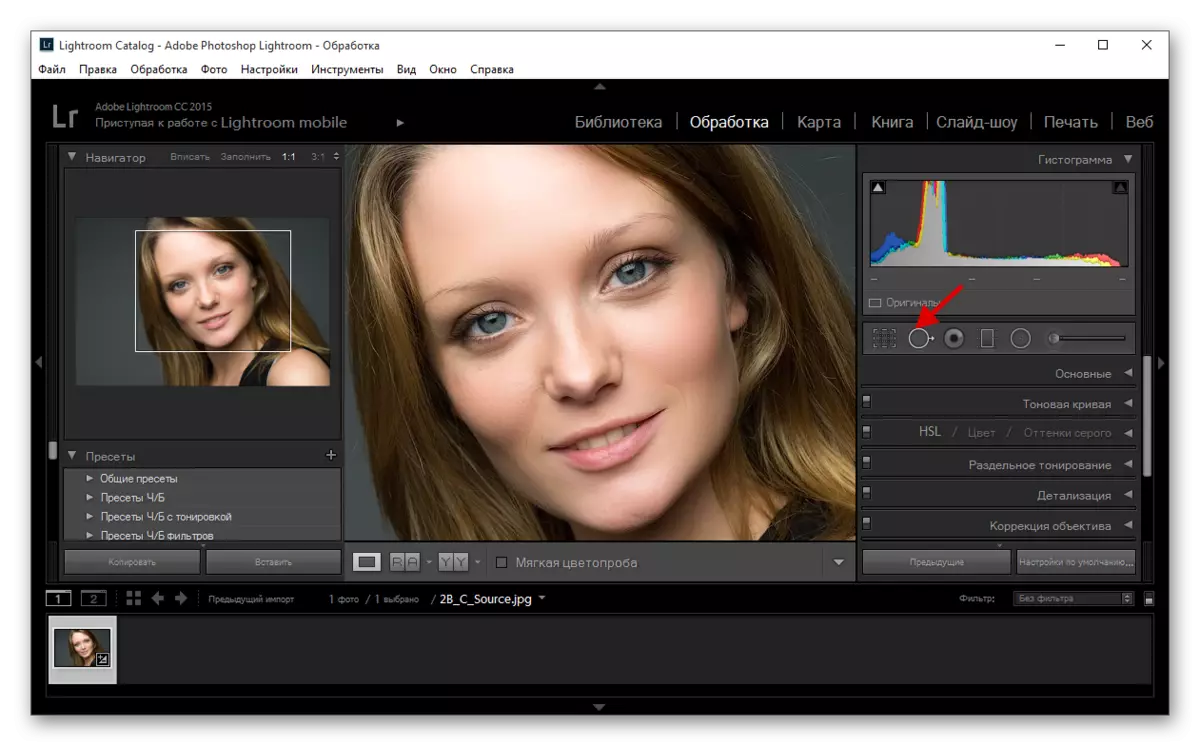
- To remove individual defects in the portrait, by type of acne, acne, etc., you can use the "Spot Removal Tool" tool), which can be called the "Q" key.
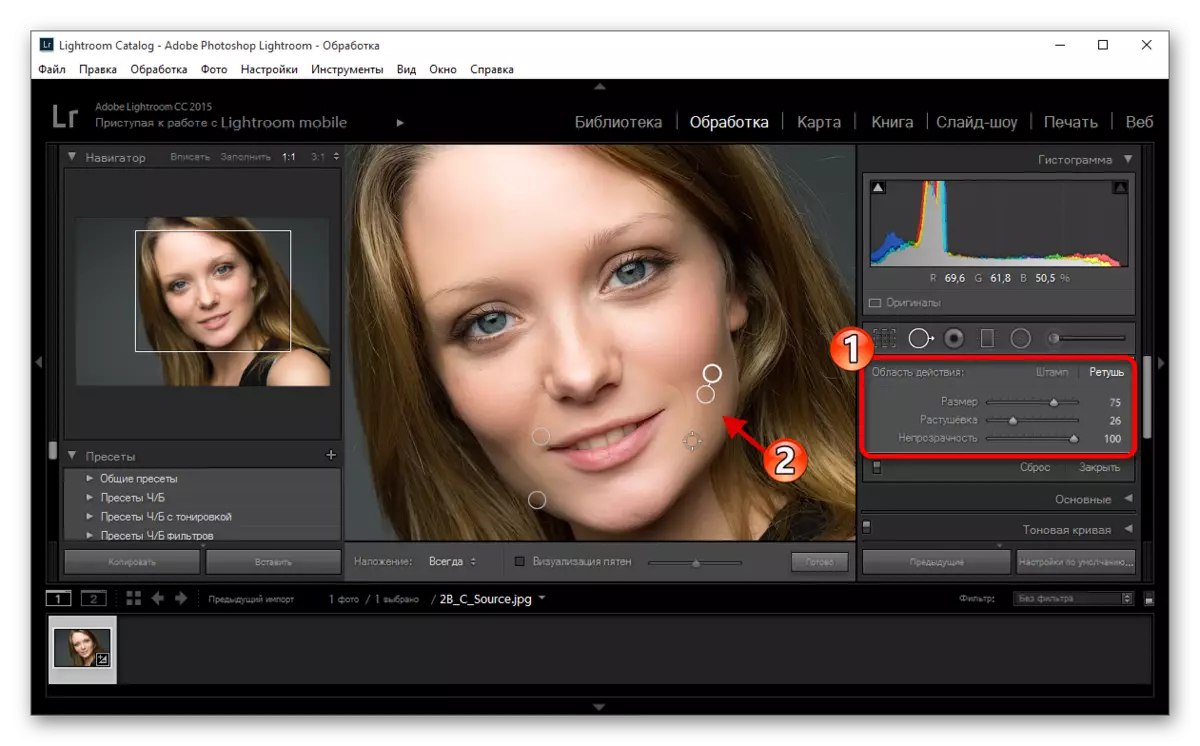
- Configure the tool parameters and put points where there are defects.

See also: How to save photos in Lightroom after processing
Here were key shows on retouching portrait in Lightroom, they are not as complicated if you understand everything.