
The free Paint.NET program does not have such wide opportunities as many other graphic editors. However, it is possible to make a transparent background in the picture with its help without much effort.
Ways to create a transparent background in Paint.Net
So, you need to have a certain object in the image there was a transparent background instead of an existing one. All methods have a similar principle: the field of pictures that must be transparent are simply removed. But taking into account the peculiarities of the original background will have to use different Paint.Net tools.Method 1: Isolation of the "magic wand"
The background that you will delete must be highlighted so that the main content is not covered. If we are talking about an image with a white or one-type background, deprived of a variety of elements, you can apply the "Magic Wand" tool.
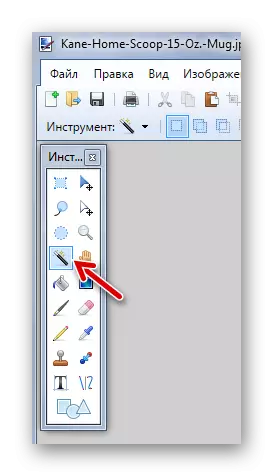
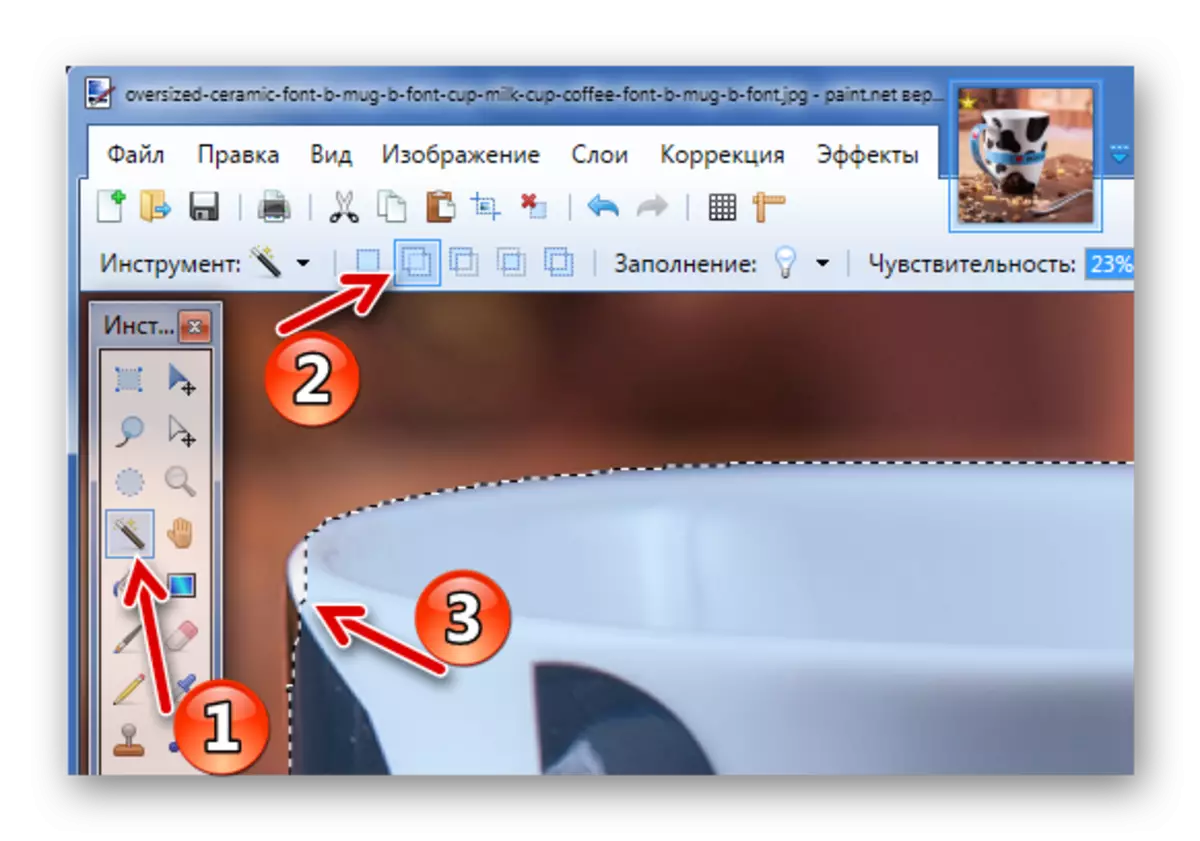
- Open the desired image and click "Magic Wand" in the toolbar.
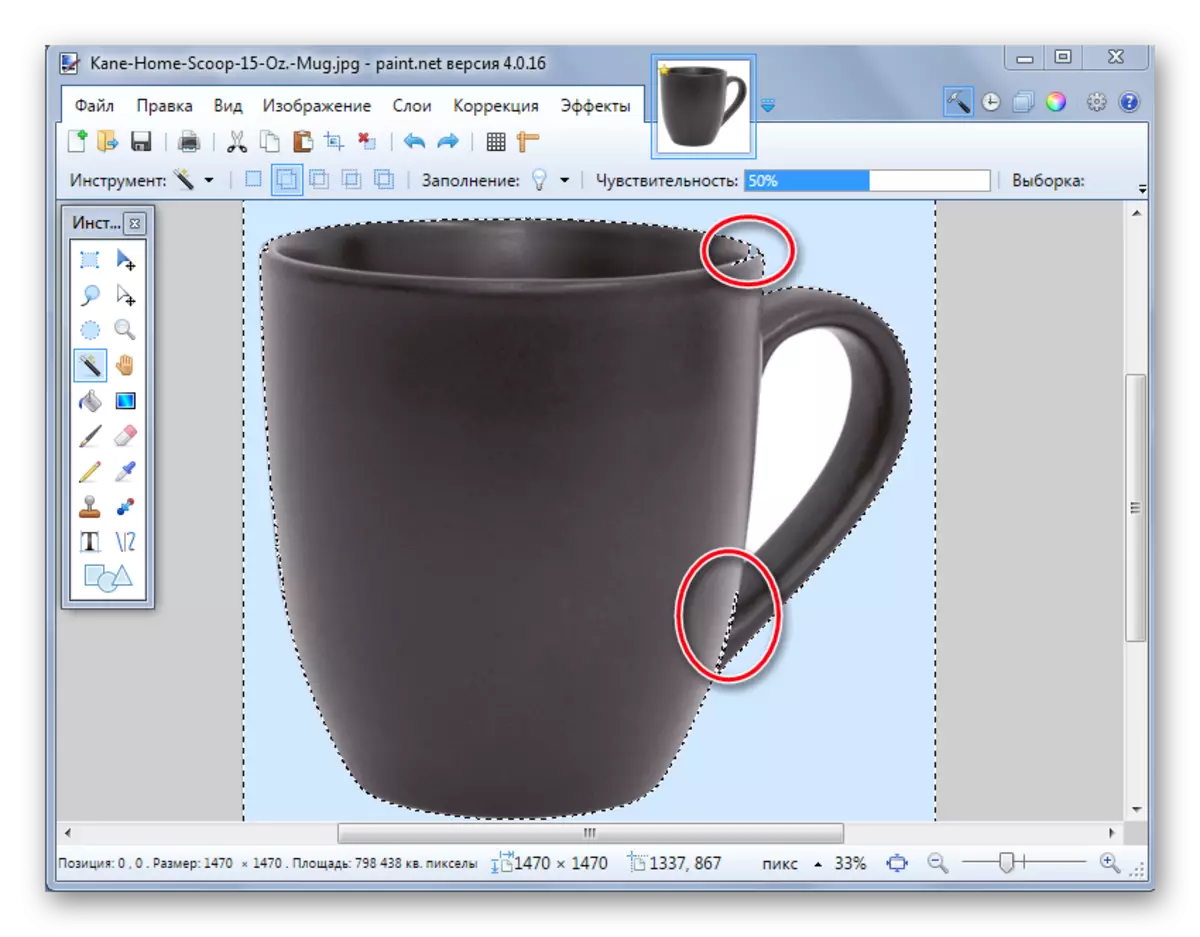
- To highlight the background, just click on it. You will see a characteristic stencil around the edges of the main object. Carefully examine the selected area. For example, in our case, the "magic wand" captured several places on the circle.
- On some pictures, the background can be viewed inside the main content and immediately does not stand out. This happened with a white background inside the handle of our mug. To add it to the selection area, click the "Combine" button and click on the desired area.
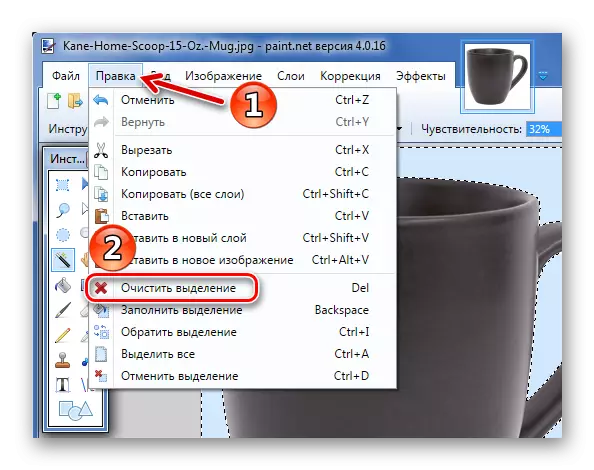
- When everything that should be transparent is allocated, click "Edit" and "Clear Selection", and you can simply press the DEL button.
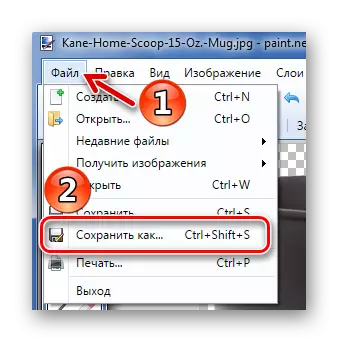
- It remains to maintain the result of your works. Click "File" and "Save As".
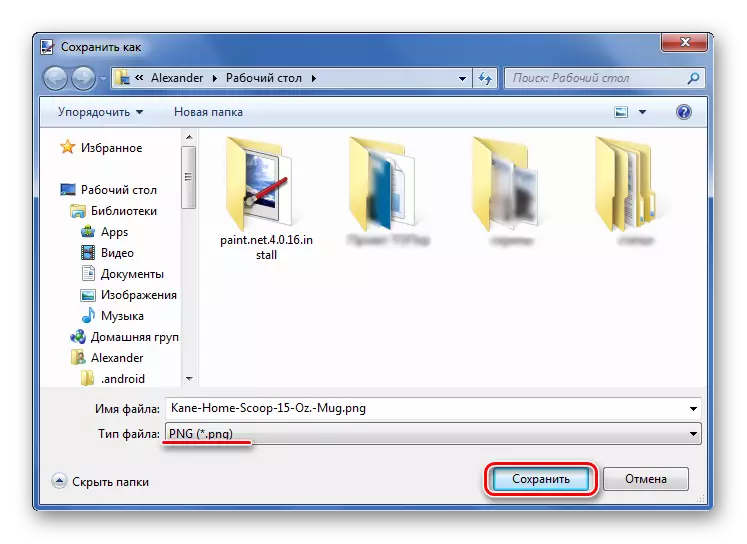
- So that transparency is preserved, it is important to maintain a picture in the format "GIF" or "PNG", and the latter is preferable.
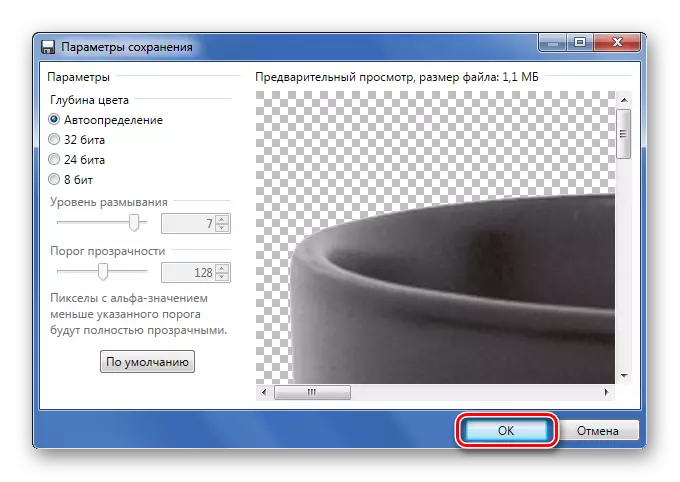
- All values can be left by default. Click OK.
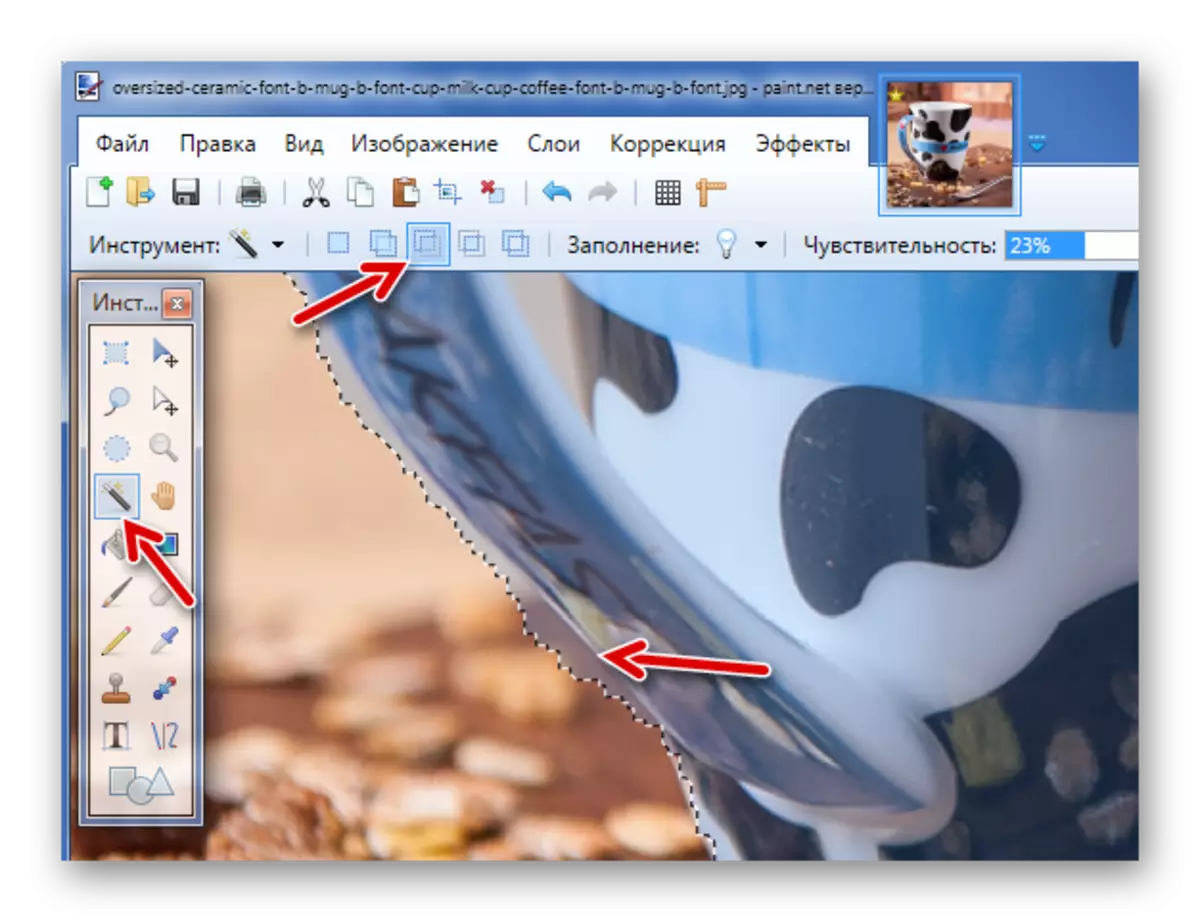
In this case, you need to slightly reduce the sensitivity until the situation is corrected.
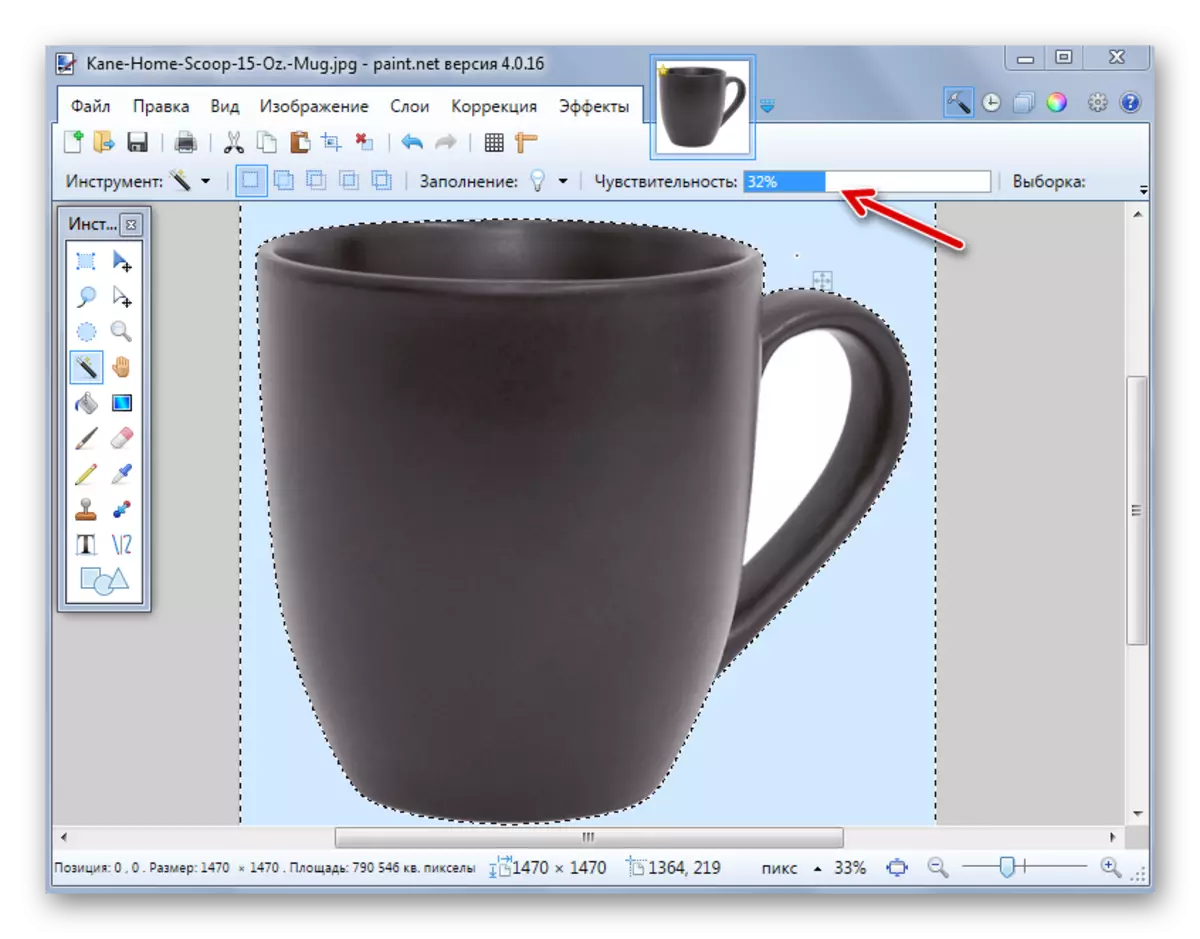
As you can see, now the stencil passes exactly around the edges of the mug. If the "magic wand" on the contrary left pieces of background around the main object, then sensitivity can be attempting to increase.

As a result, you will receive a background in the form of a chessboard - so visually depicts transparency. If you notice that somewhere it turned out uneven, you can always cancel the action by pressing the appropriate button, and eliminate the shortcomings.

Method 2: Pruning for the selection
If we are talking about a picture with a variety of background, which "magic wand" will not master, but at the same time the main object is more or less homogeneous, then it is possible to highlight it and cut everything else.

If necessary, configure sensitivity. When everything you need is highlighted, simply click the "Trim to highlight" button.

As a result, everything that was not included in the selected area will be removed and replaced by a transparent background. It will only save the image in the "PNG" format.
Method 3: Selection with Lasso
This option is convenient if you are dealing with an inhomogeneous background and the same main object that fails to capture the "magic wand".
- Select the Lasso tool. Move the cursor to the edge of the desired item, clamp the left mouse button and how can you circle it as much as possible.
- Uneven edges can be corrected with a "magic wand". If the desired piece is not highlighted, then use the Association mode.
- Click "Trim by highlight" by analogy with the previous method.
- If somewhere they are irregularities, you can increase them with a "magic wand" and delete, or simply use the "eraser".
- Save in "PNG".

Or subtraction mode for the background, which was captured by Lasso.
Do not forget that for such small edits, it is better to put a small sensitivity of the "magic wand".
These are uncomplicated methods for creating a transparent background in the picture can be used in the Paint.NET program. All you need is the ability to switch between different tools and attentiveness when selecting the edge of the desired object.