
Paint.Net is a simple graphics editor in all respects. His toolkit albeit is limited, but allows you to solve a number of tasks when working with images.
How to use paint.net
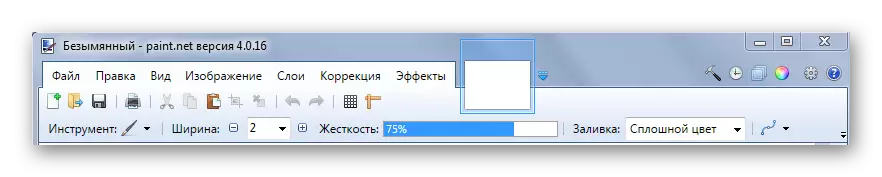
The Paint.NET window, except the main workspace, has a panel comprising:
- tabs with basic functions of a graphic editor;
- Frequently used actions (Create, Save, Cut, Copy, etc.);
- Parameters of the selected tool.
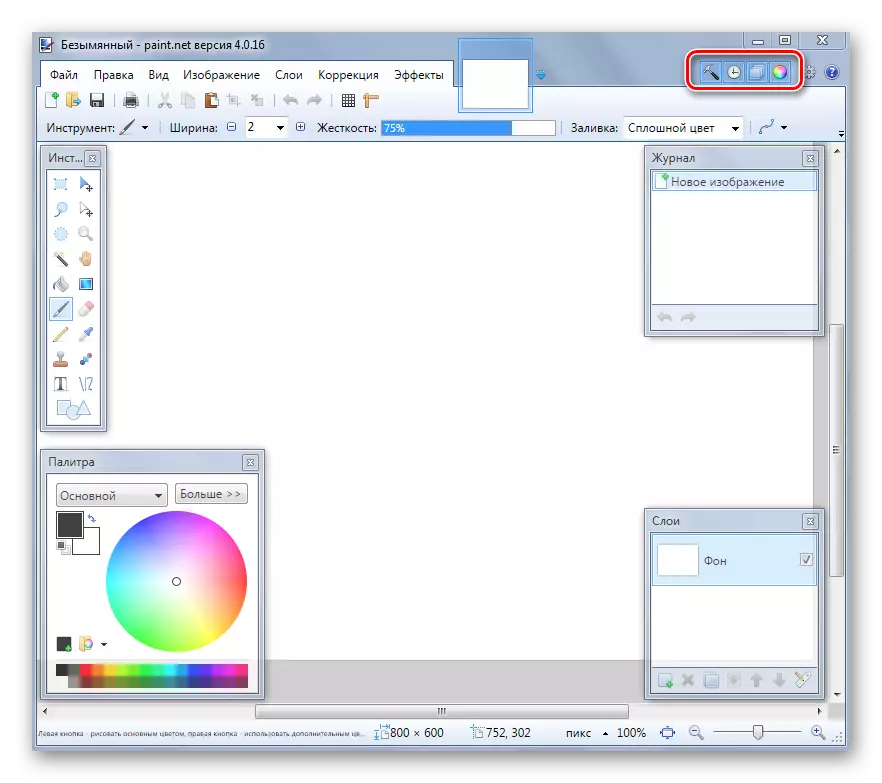
You can also enable the display of auxiliary panels:
- instruments;
- magazine;
- layers;
- palette.
To do this, make the relevant icons active.
Now consider the main actions that can be performed in the Paint.Net program.
Creating and opening images
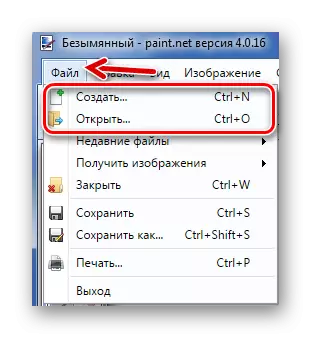
Open the File tab and click on the desired option.
Similar buttons are located on the working panel:

When you open, select the image on the hard disk, and the window will appear when you create, where you need to specify the parameters of the new picture and click "OK".
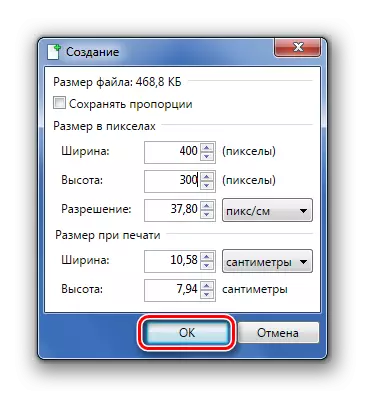
Please note that the size of the image can be changed at any time.
Basic manipulations with the image
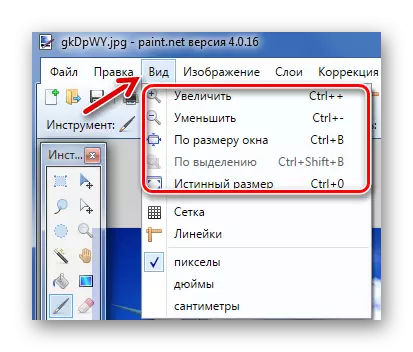
In the process of editing, the picture can be visually increasing, reduce, align in the size of the window or return the real size. This is done through the "View" tab.
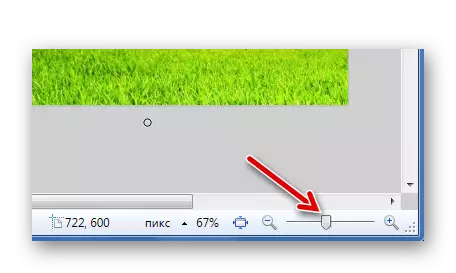
Or using a slider at the bottom of the window.
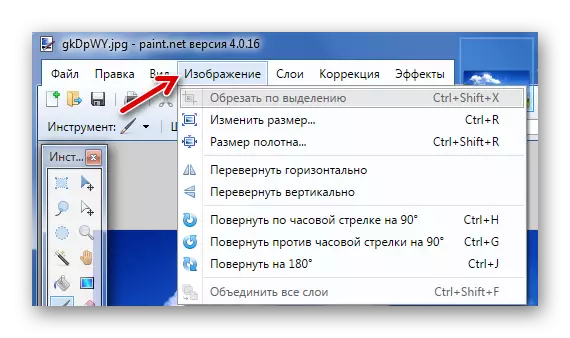
In the "Image" tab, there is everything you need to change the size of the picture and the canvas, as well as make it a coup or turn.
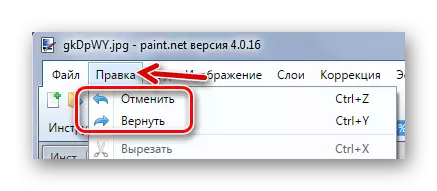
Any actions can be canceled and returning through "Edit".
Or through the buttons on the panel:
Selection and cropping
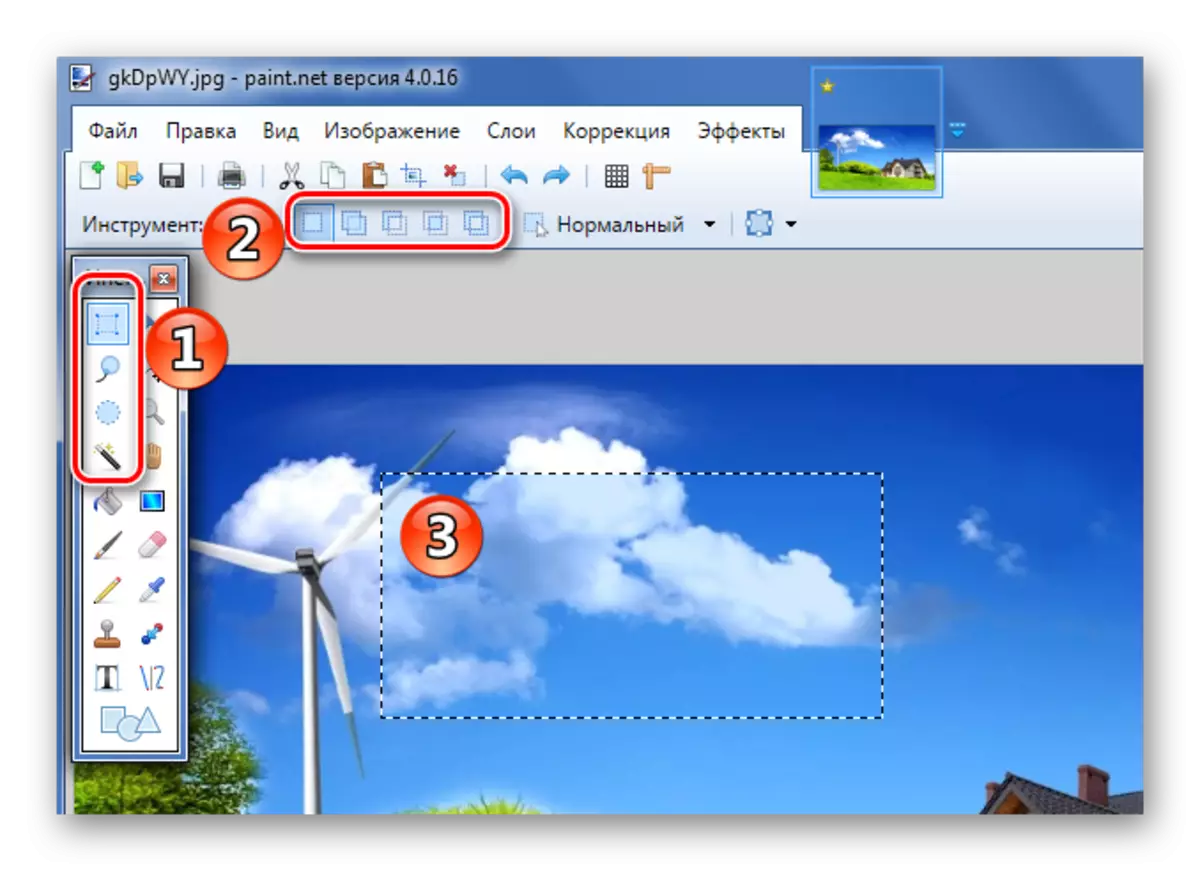
To highlight a specific area of the picture, 4 instruments are provided:
- "Selection of a rectangular area";
- "Choosing an oval (round) form area";
- "Lasso" - allows you to capture an arbitrary area by jumping it along the contour;
- "Magic wand" - automatically allocates individual objects in the image.
Each variant of the selection works in different modes, for example, adding or subtracting the selected area.
To highlight the entire image, press Ctrl + A.
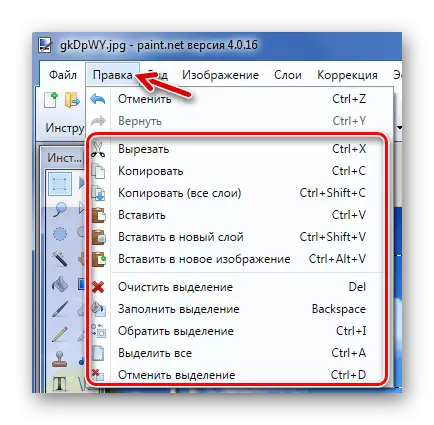
Further actions will be performed directly in relation to the dedicated area. Through the Edit tab, you can cut, copy and paste dedicated. Here you can completely remove this area, perform the fill, invert the selection or cancel it.
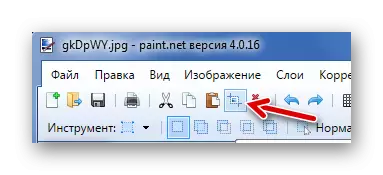
Some of these tools are deposited on the panel. This includes the "Pruning to highlight" button, after clicking on which only the selected area remains in the image.
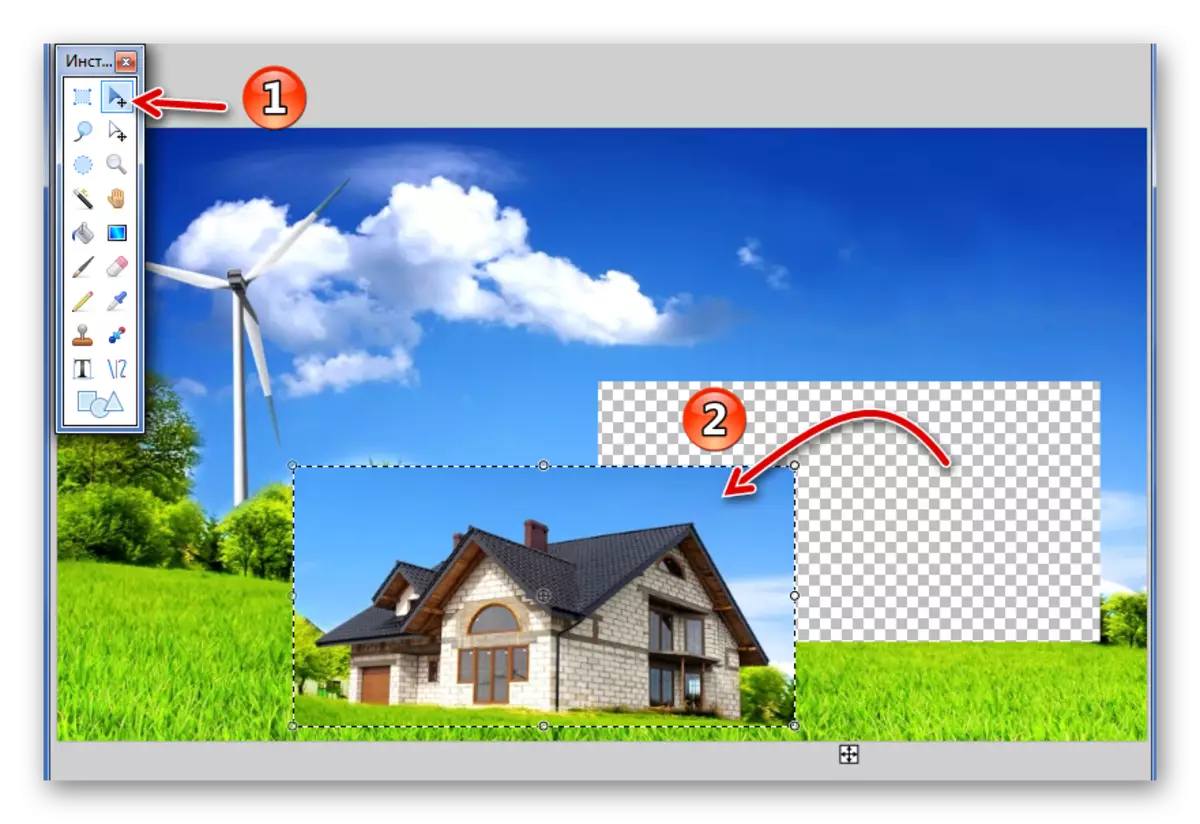
In order to move the selected area, there is a special tool in Paint.NET.
Competently using the isolation and trimming tools, you can make a transparent background in pictures.
Read more: How to make transparent background in paint.net
Drawing and fill
For drawing, the tools "brush", "pencil" and "cloning brush" are intended.
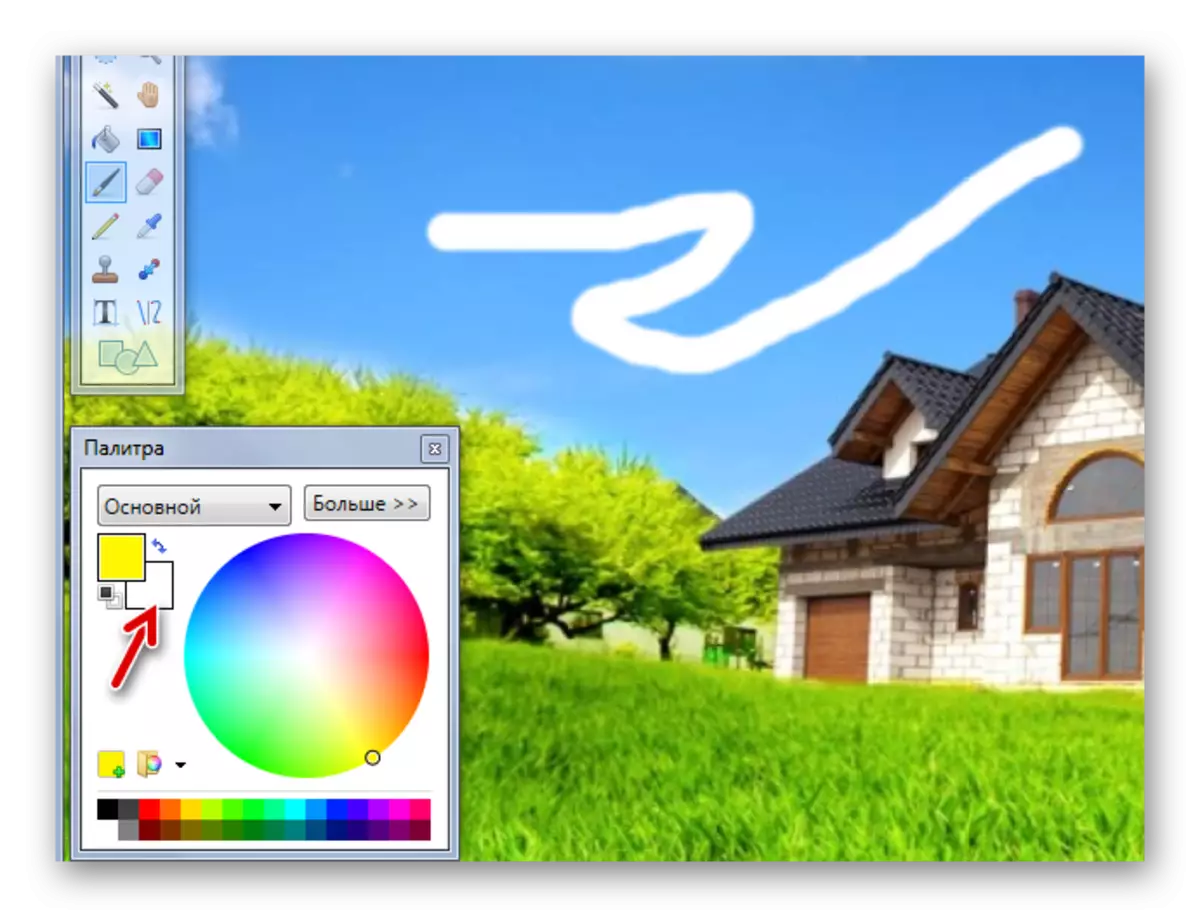
Working with the "brush", you can change its width, rigidity and fill type. To select a color, use the panel "Palette". To apply the drawing, press the left mouse button and move the "brush" by the web.

Pulling the right button, you will draw an additional color "palette".
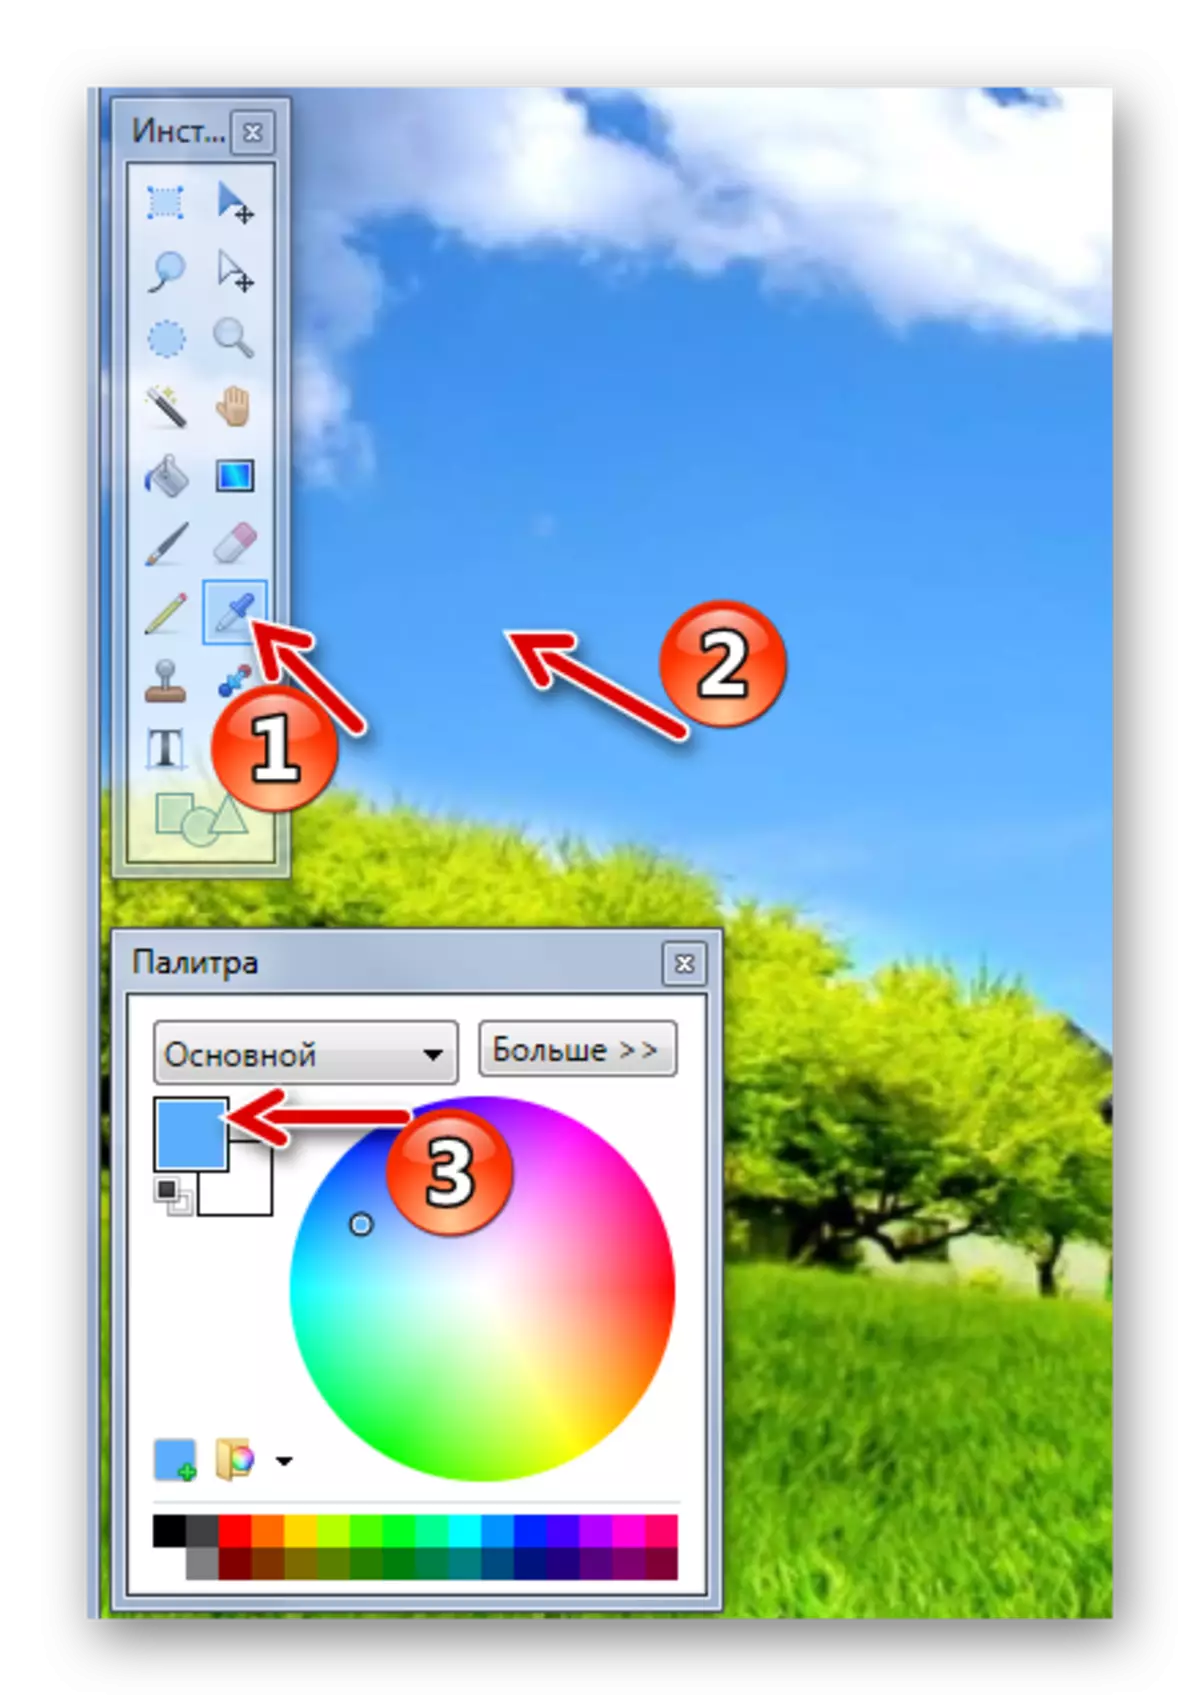
By the way, the main color of the "palette" can be similar color of any point of the current pattern. To do this, simply select the Pipette tool and click on the place where you need to copy the color.
The "pencil" has a fixed size of 1 px and the ability to adjust the "overlay mode". Otherwise, its use is similar to "brushes".

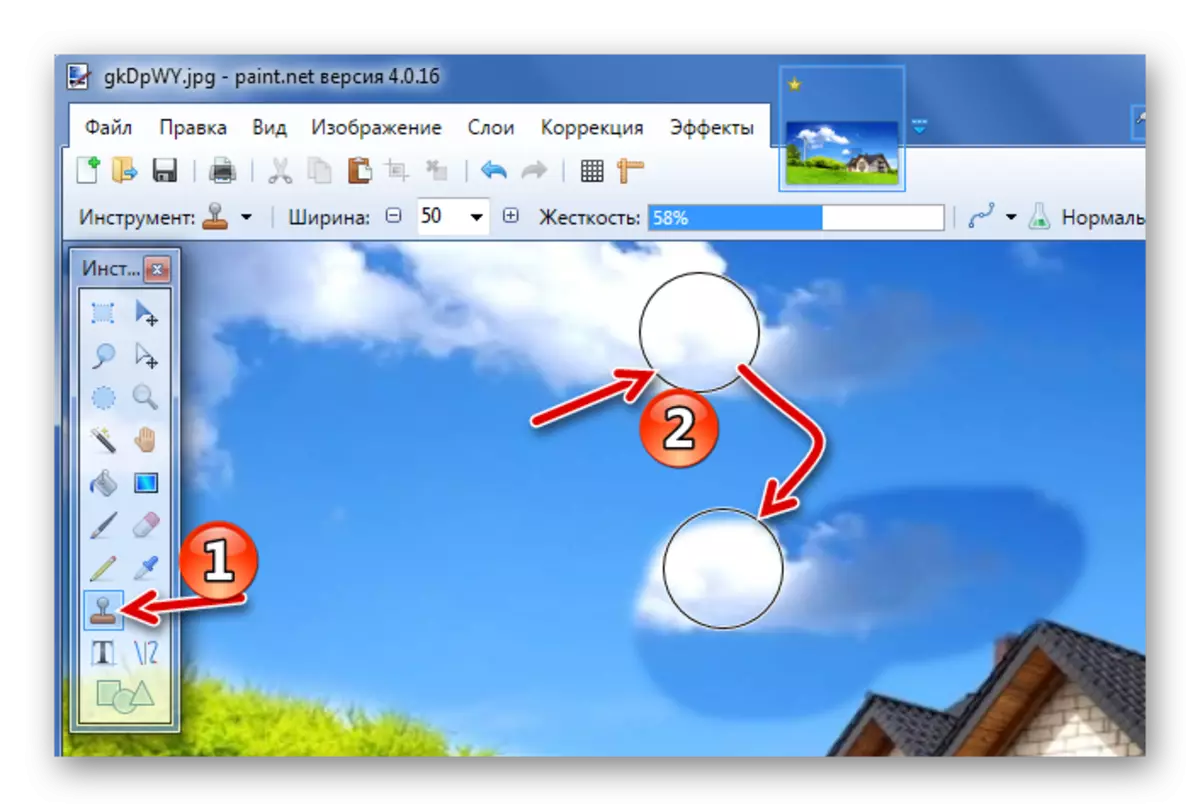
The "cloning brush" allows you to select a point in the picture (Ctrl + LKM) and use it as the source code for drawing in another area.
With the help of "Fill" you can quickly paint the individual elements of the image in the specified color. Besides the type of "fill", it is important to correctly adjust its sensitivity so that the unnecessary areas are not captured.
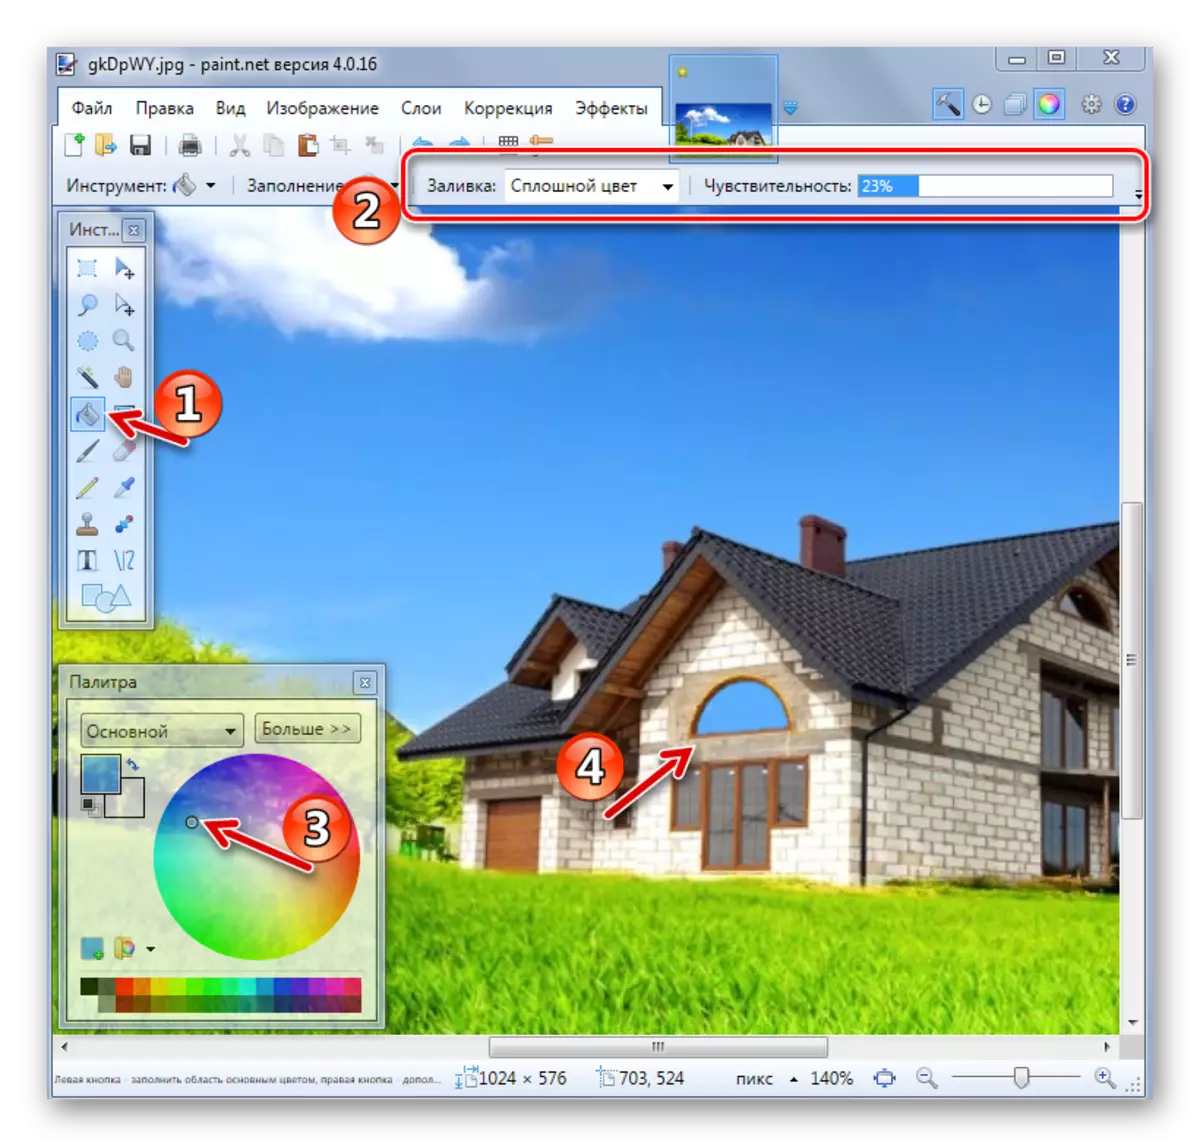
For convenience, the necessary objects are usually isolated and then poured.
Text and figures
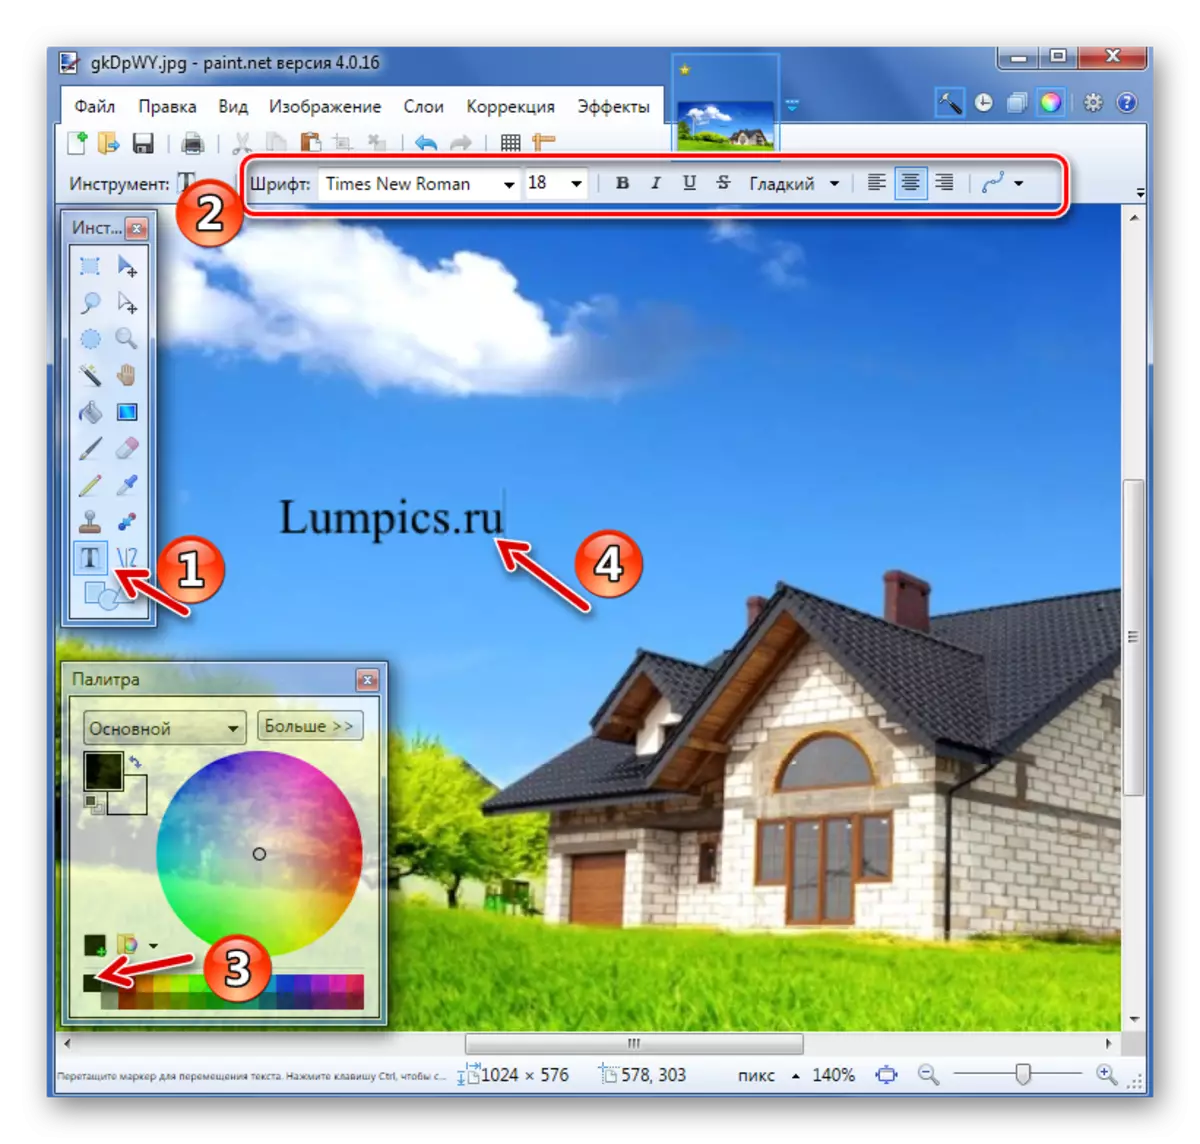
To apply an inscription to the image, select the appropriate tool, specify the font parameters and color in the "palette". After that, click on the right place and start entering.
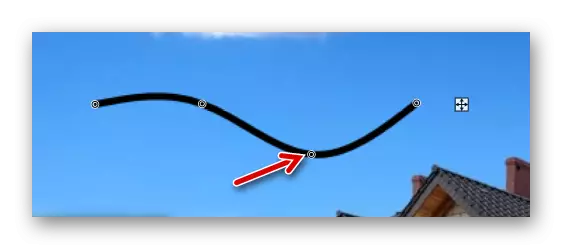
When applying a straight line, you can define its width, style (arrow, dotted line, bar, etc.), as well as the type of fill. Color, as usual, is chosen in the "palette".
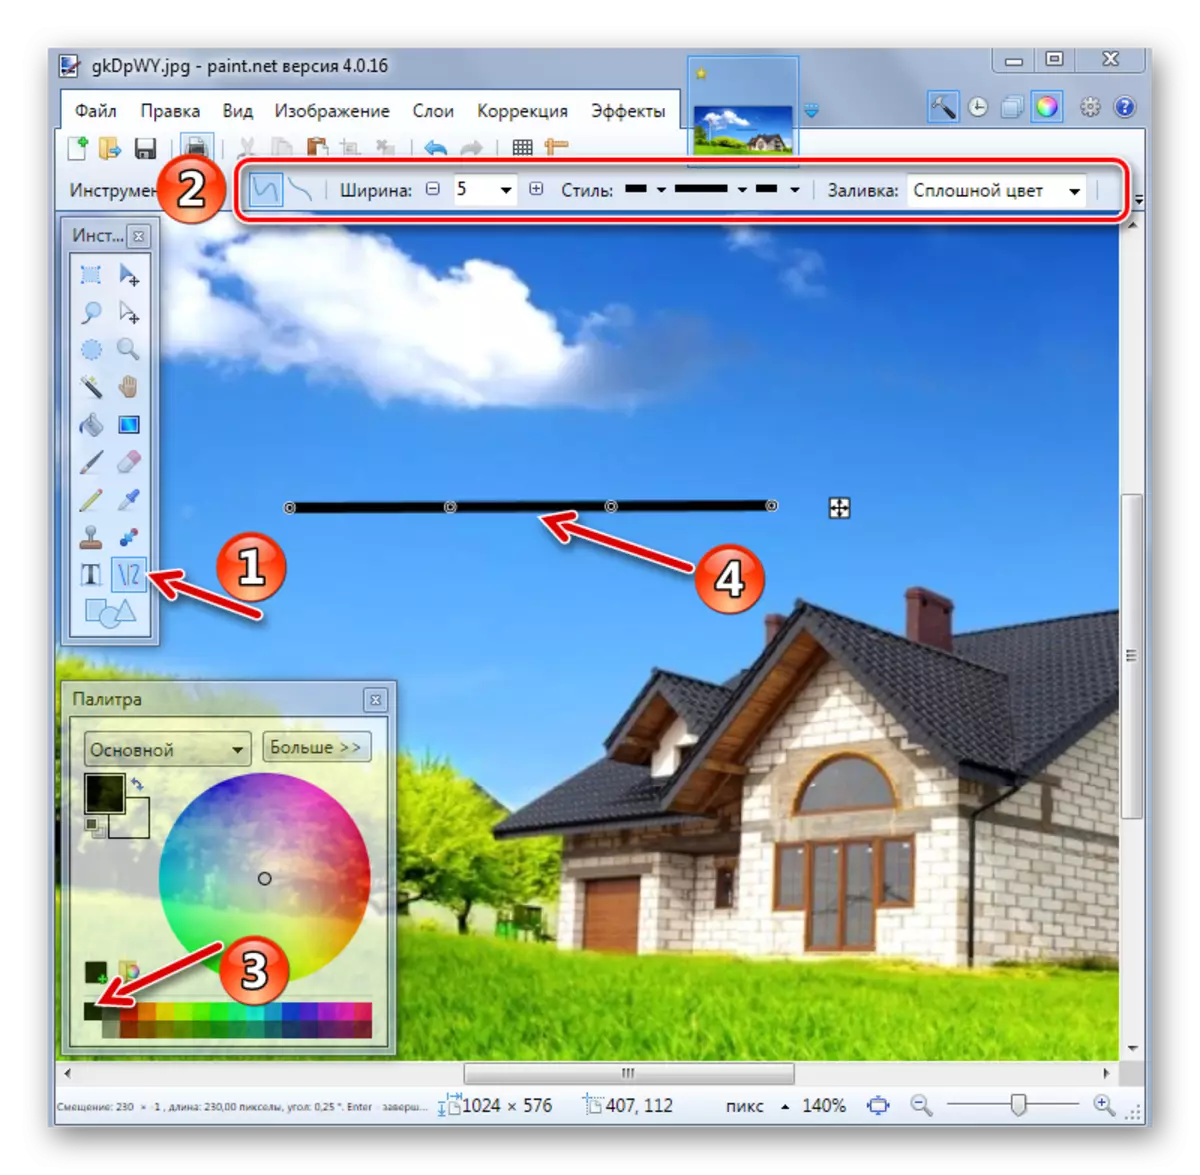
If you pull the flashing points on the line, then it will bend.
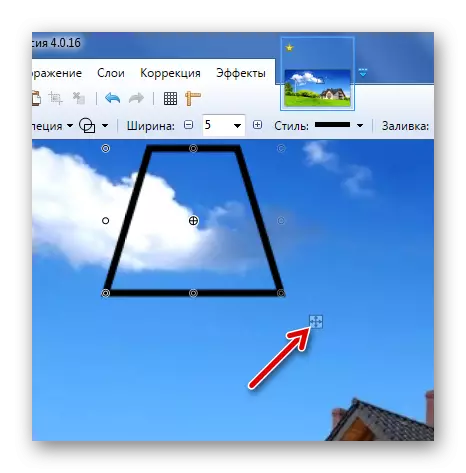
Similarly, figures are inserted into Paint.NET. Type is selected on the toolbar. With the help of markers along the edges of the figure, its size and proportions are changing.
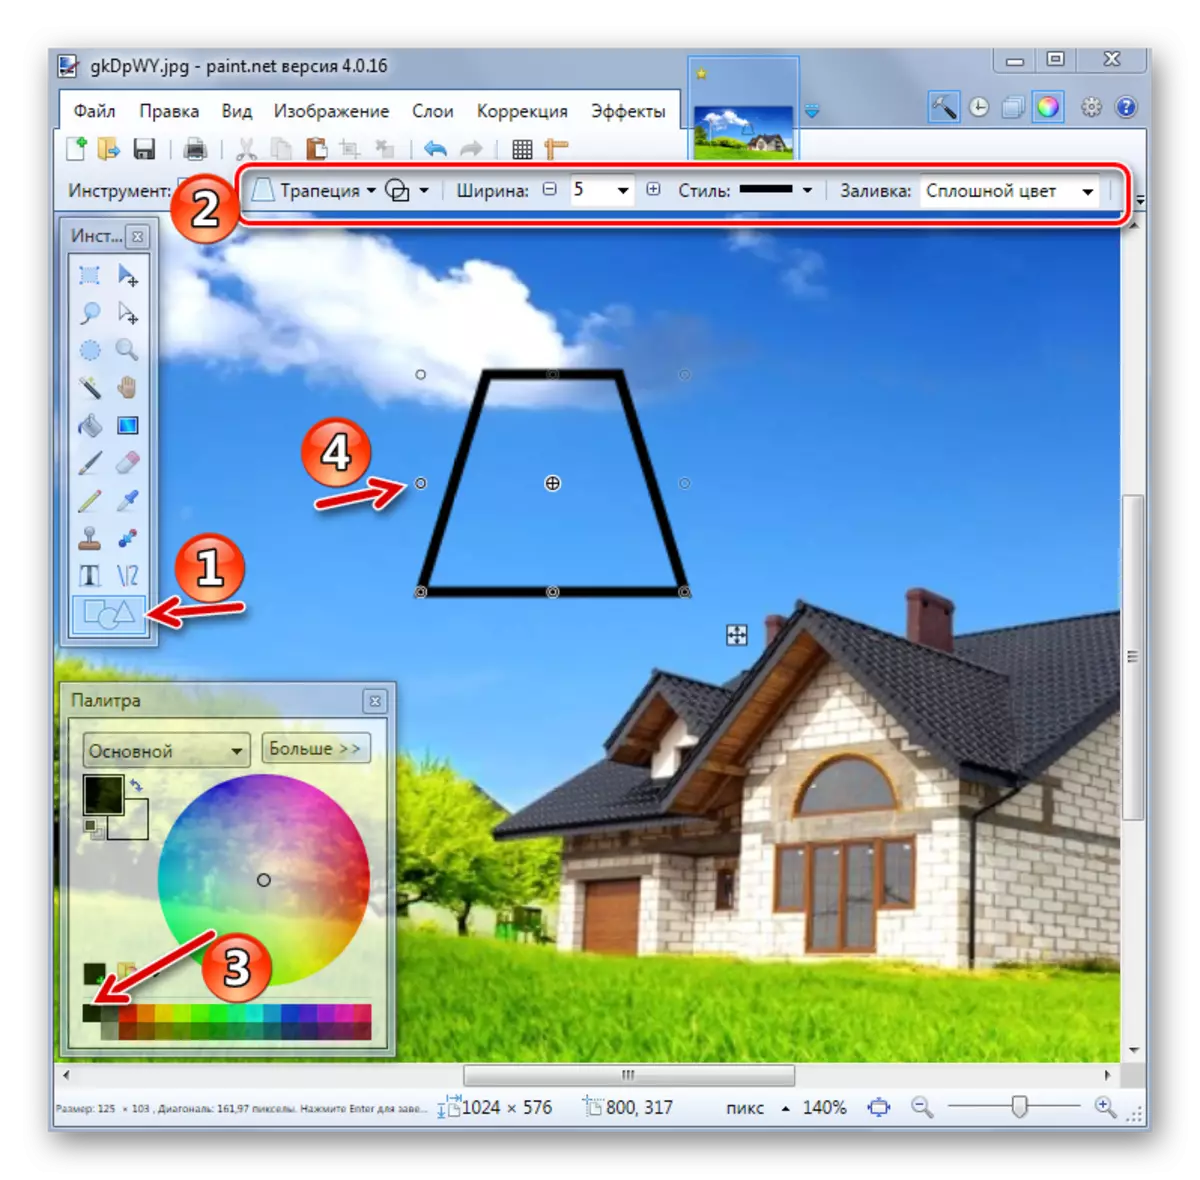
Pay attention to the cross next to the figure. With it, you can drag the inserted objects throughout the figure. The same applies to text and lines.
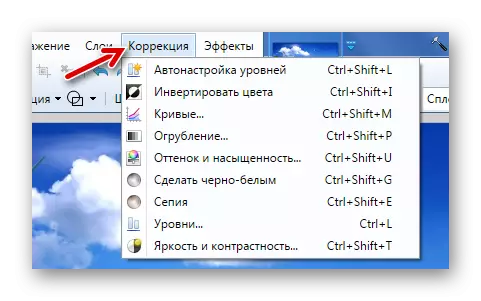
Correction and effects
The "Correction" tab contains all the necessary tools to change the color tone, brightness, contrast, etc.
Accordingly, in the "Effects" tab, you can select and apply one of the filters for your image, which are found in most other graphic editors.

Saving an image
When you finished work in Paint.Net, the edited picture must not be forgotten to save. To do this, open the File tab and click "Save".
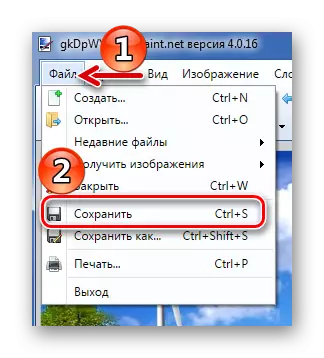
Or use the icon on the working panel.
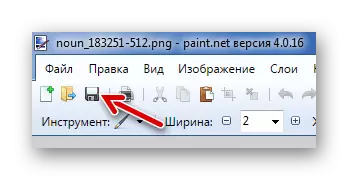
The image will be preserved in the place where it was opened. And the old option will be deleted.
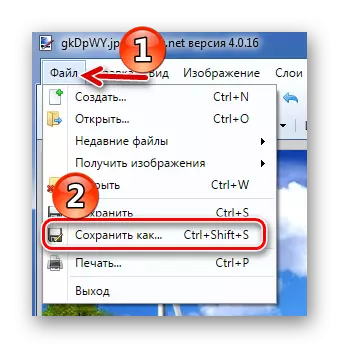
In order to set the file settings yourself and not to replace the source, use "Save As".
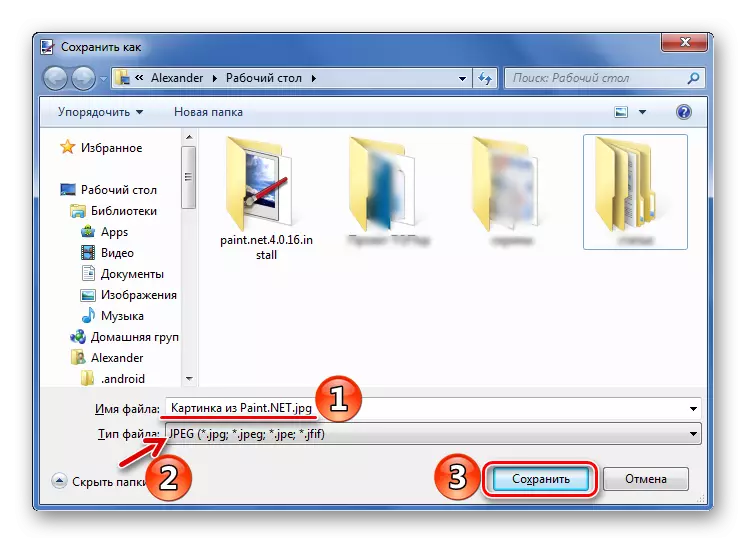
You can choose the save space, specify the image format and its name.
The principle of operation in Paint.Net is similar to more advanced graphic editors, but there is no such abundance of tools and deal with everything much easier. Therefore, Paint.Net is a good option for beginners.