

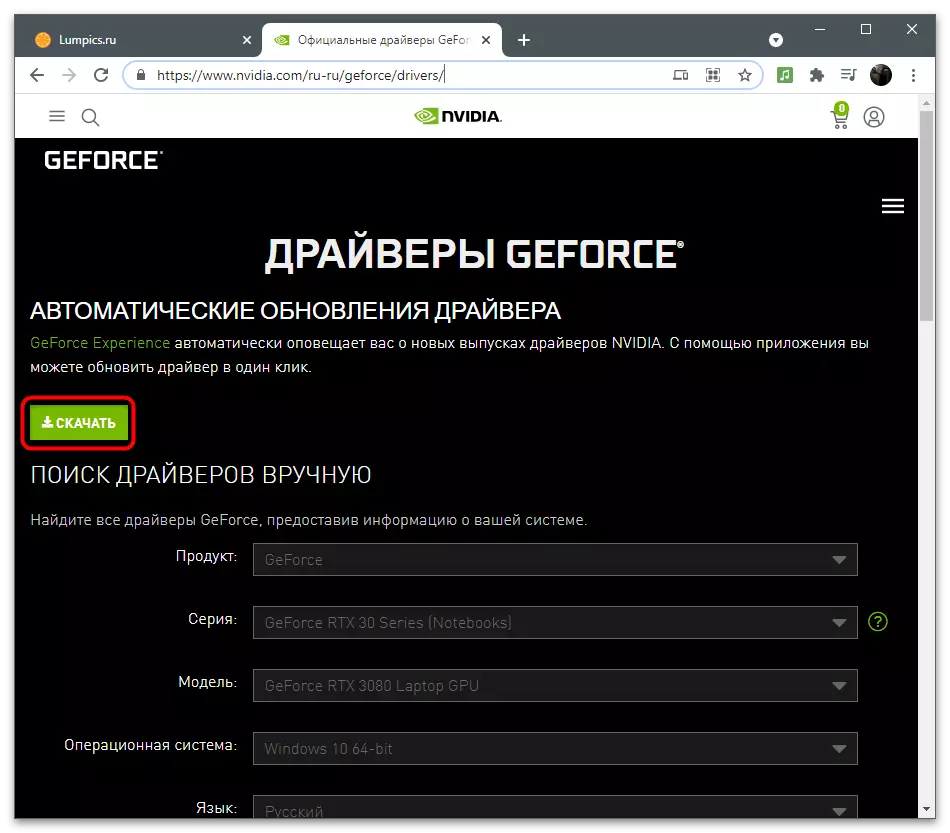
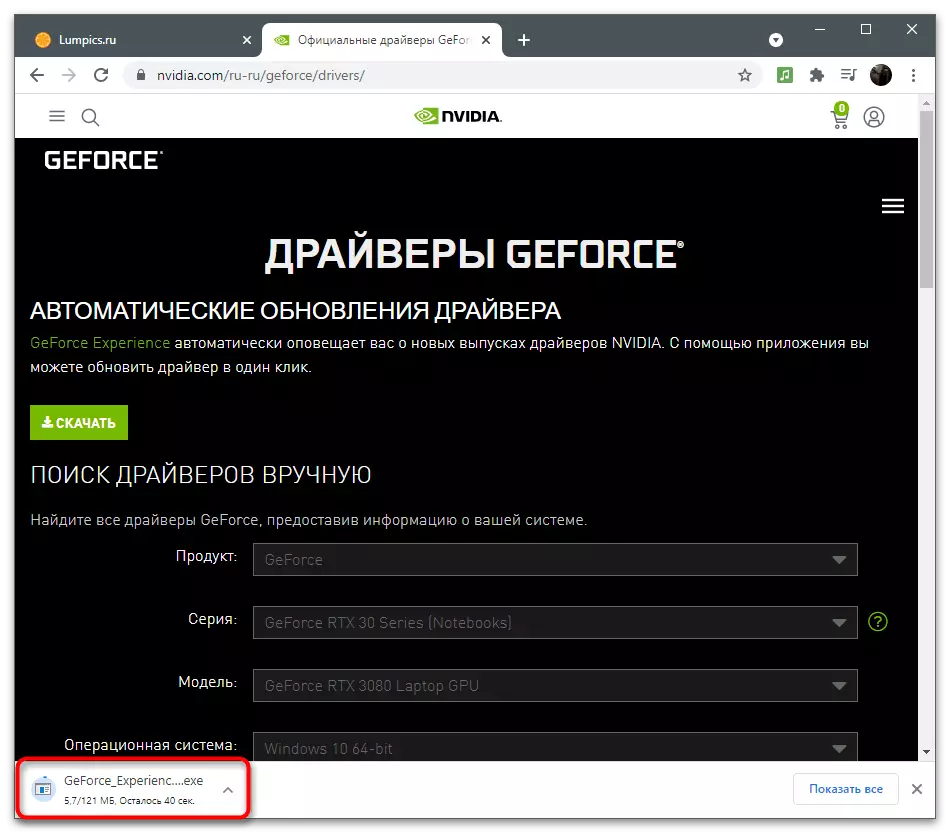
Before starting, it should be mentioned that the ShadowPlay technology from NVIDIA has long moved from separate software into a component of in-game overlay available when using GeForce Experience. Accordingly, to enable this feature you will need a mentioned application. If it is not yet set, click on the following link for downloading and installing this component to your PC.
Step 1: Enabling Technology
The developers allocated a number of experimental functions supported by drivers and auxiliary programs. By default, they are disabled, so in-game overlay along with ShadowPlay is not available without prior to change settings in GeForce Experience. It will take to activate one of the parameters, which is happening as:
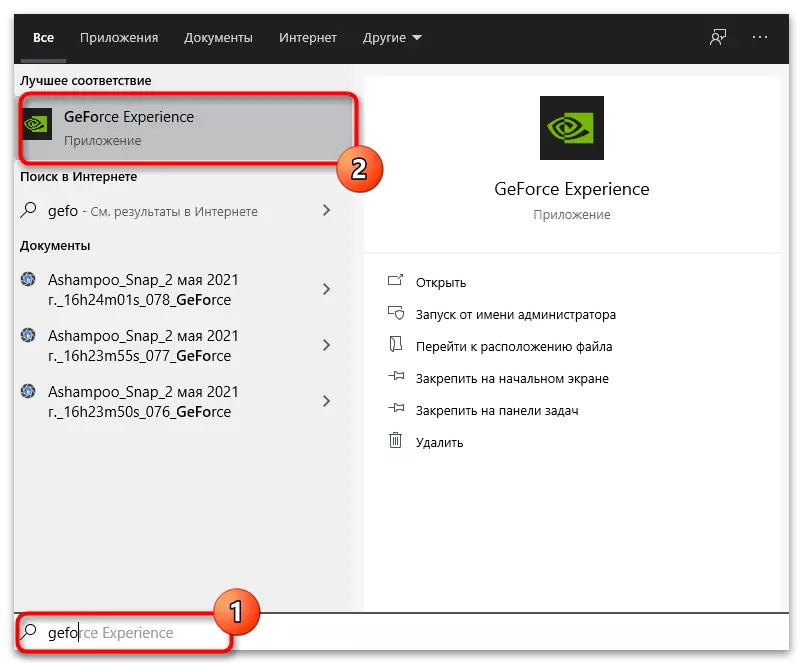
- Open the Start menu, find it through the search for GeForce Experience and start this application.
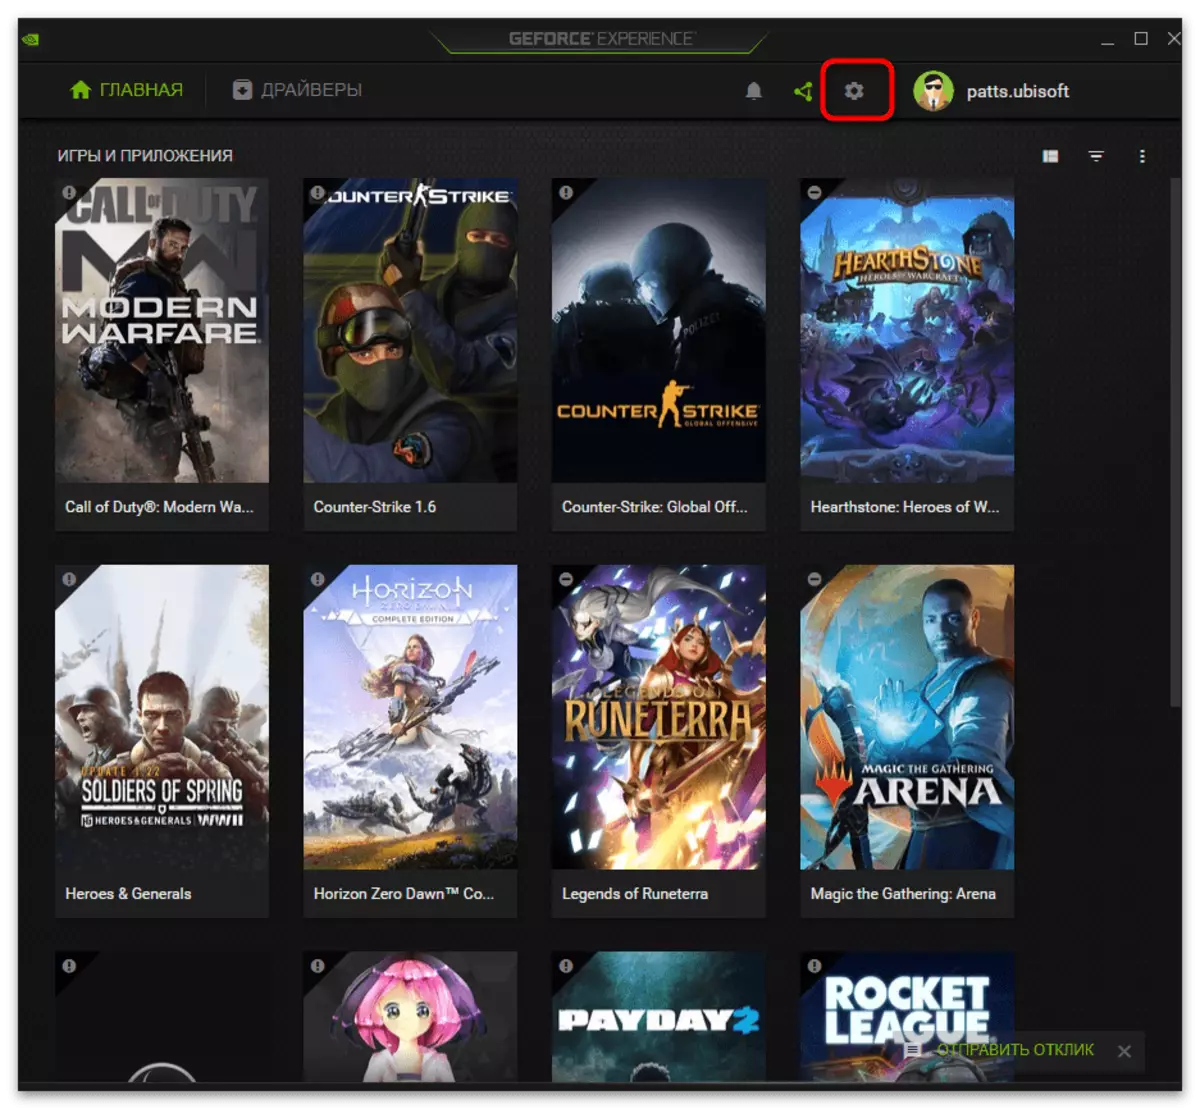
- When you first start, perform authorization in the account via Google, if this has not been done earlier, then go to the settings by clicking the icon in the form of a gear.
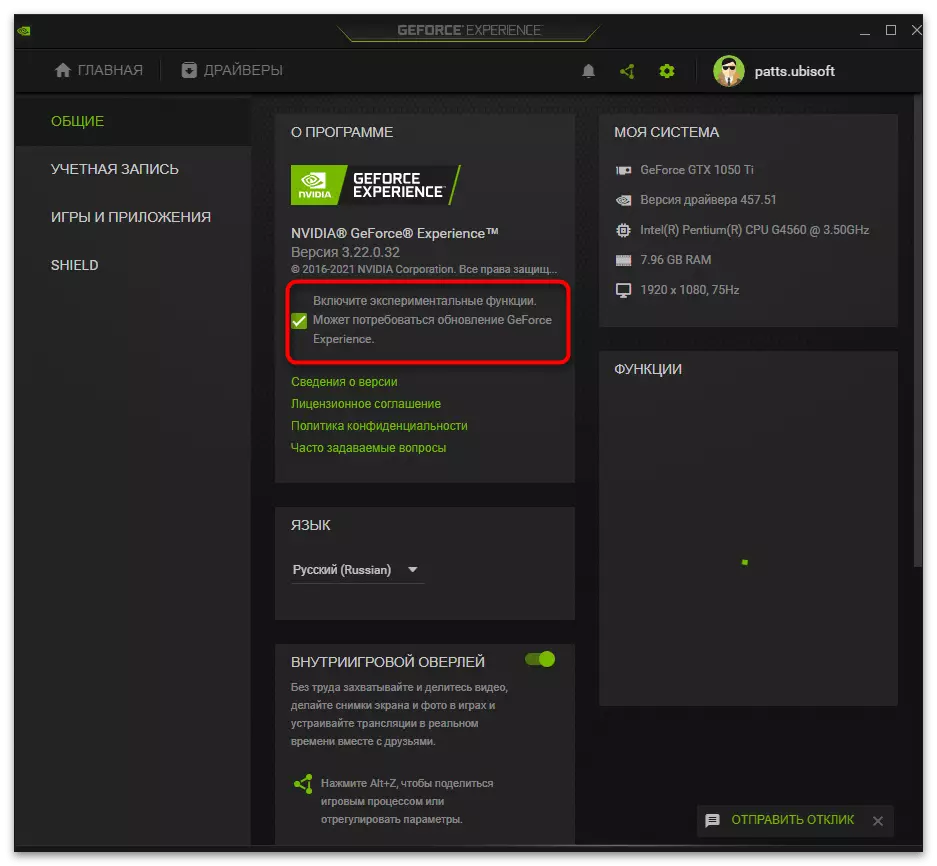
- Put a tick near the "Enable Experimental Functions" item. If after that there is a notification about the need to update the software, do it, restart the software and open the same menus again to check the parameter status.
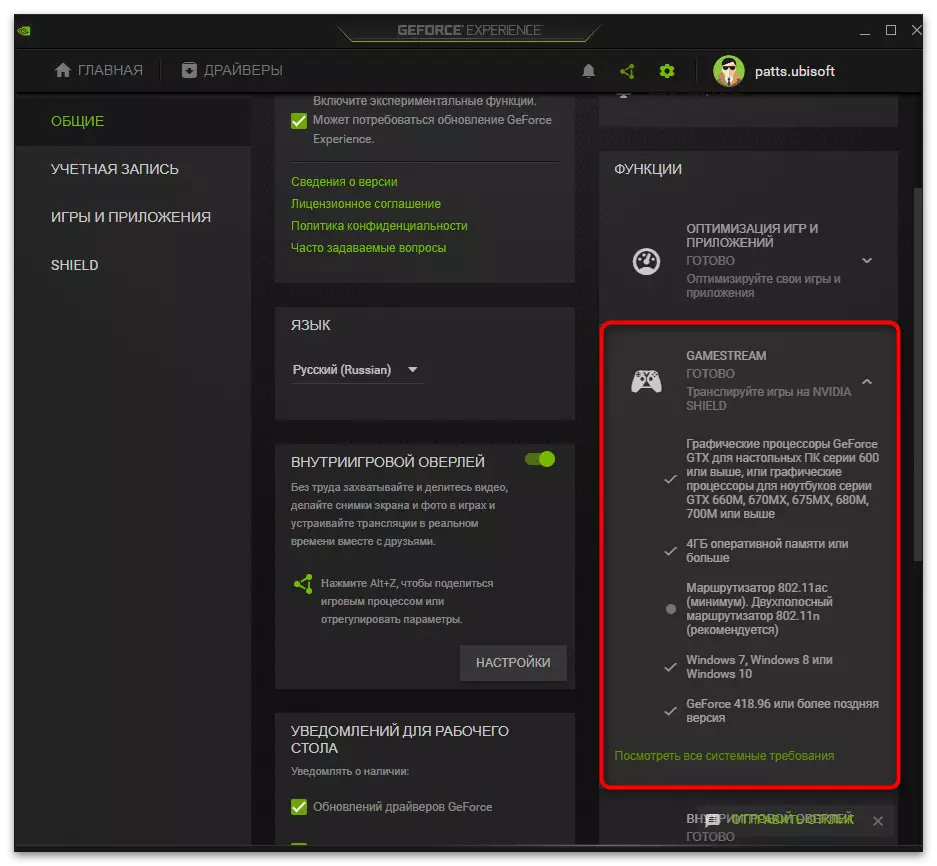
- You can immediately make sure that the SHADOWPLAY-related functions are supported by the video card used. To do this, expand the block with the GameStream function and make sure that the checkboxes are in front of all the characteristics.
Step 2: Enable and configure in-game overlay
The start of the recording or direct broadcast using ShadowPlay is carried out via in-game overlay, where appropriate settings and buttons are present to start the screen capture or window with the application. Before starting the creation of records, they must be edited.
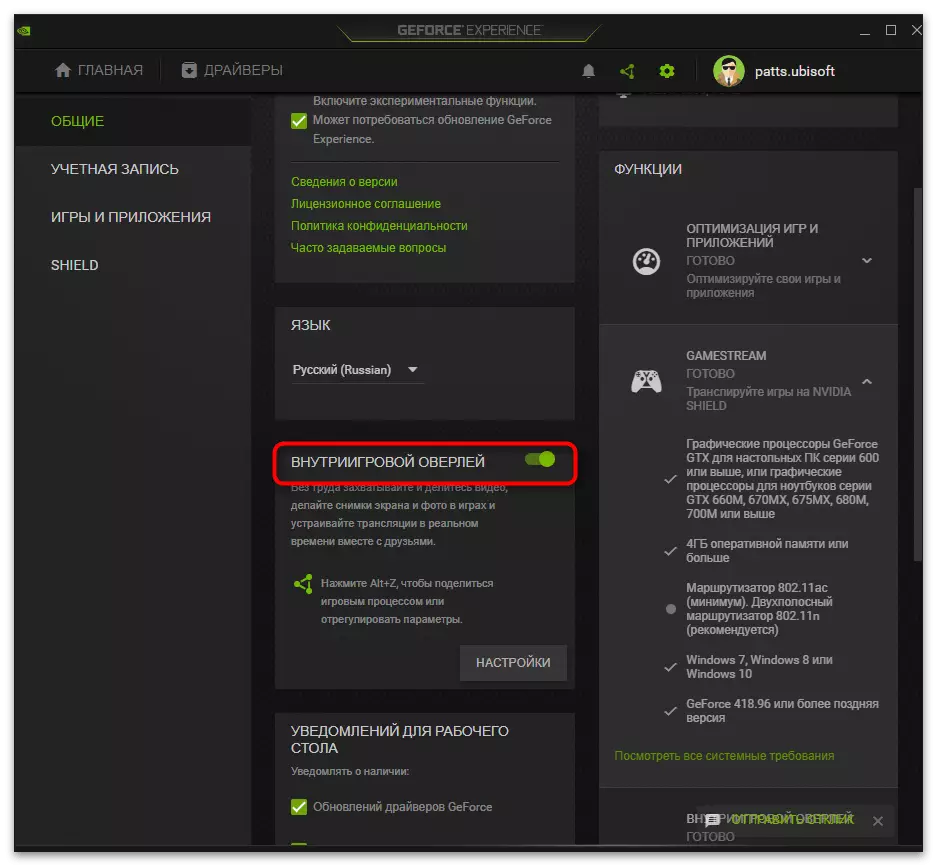
- In the same window with settings, change the status of the "In-Mark Overlay" switch to the active one.
- After that, press the "Settings" button to display the list of available parameters of the in-game overlay. This can be done in its interface using the Alt + Z keys set to call.
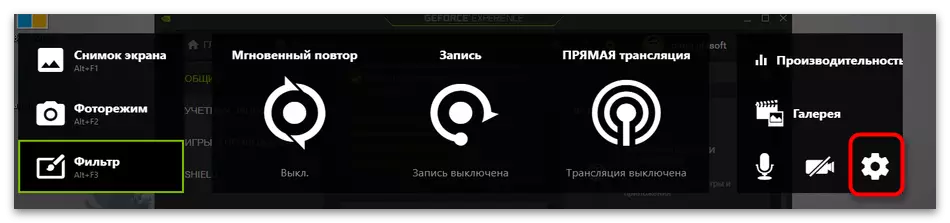
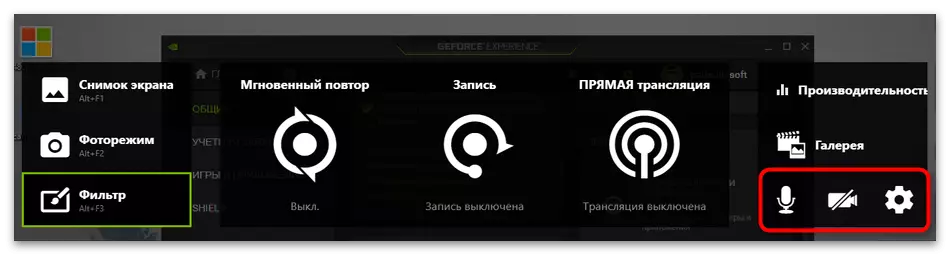
- If you press the keyboard shortcut, on the on the right panel, click the icon in the form of a gear to go to the settings.
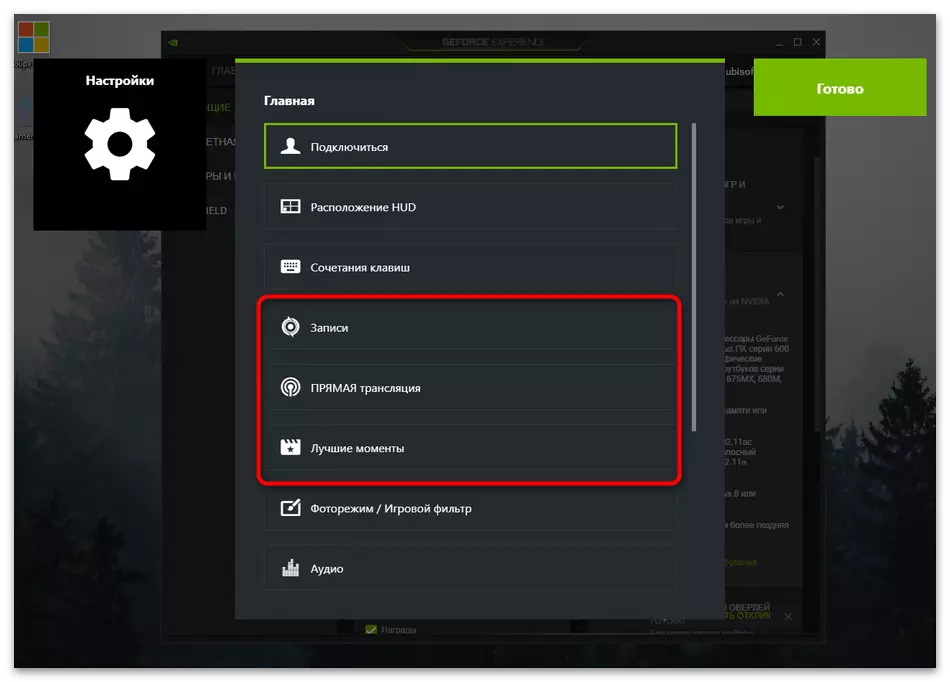
- Choose the option of the record that suits you. GeForce Experience supports both the creation of the usual screen capture and live ether or cutting with the best moments.
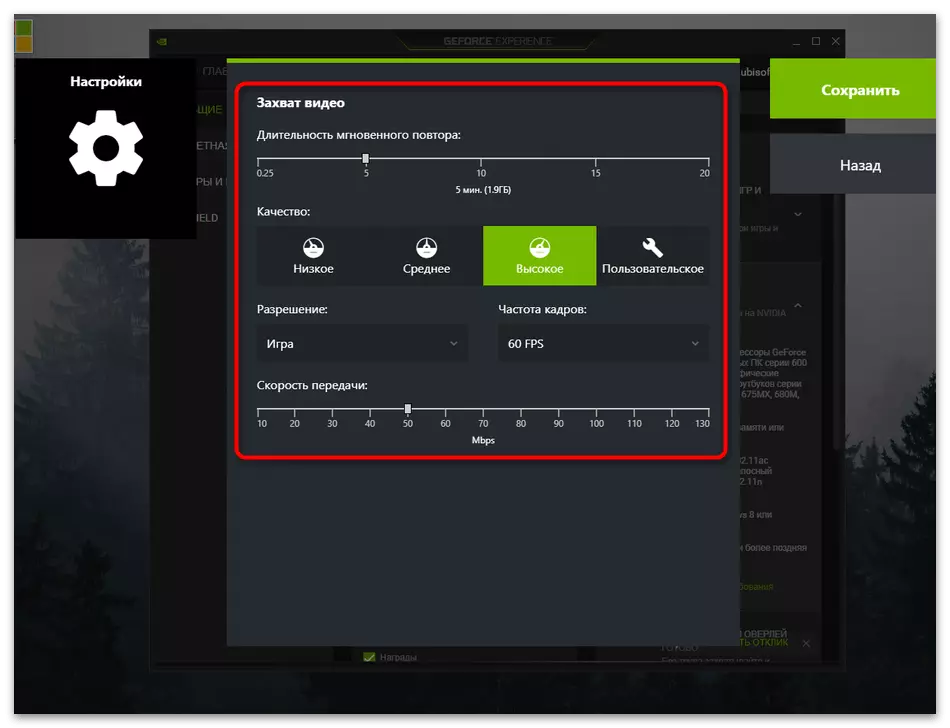
- In the window with the parameters of the selected mode, change them according to personal needs. Set the instant repeat duration, recording quality, resolution, frame rate and transmission rate.
- Save the settings and return to the previous window. In it, you can manage the state of a webcam and microphone. If something from this does not work during the recording, turn off the capture of the device by clicking the button specifically allocated for this.

Step 3: Start recording
If you record video for further distribution on the network or spend a straight broadcast, it is advisable to make a trial capture to make sure that the technology is correctly functioning. It is easy to make such an inspection and it will not be necessary for it, except for an overlay and launch of the application supported by the GeForce Experience.
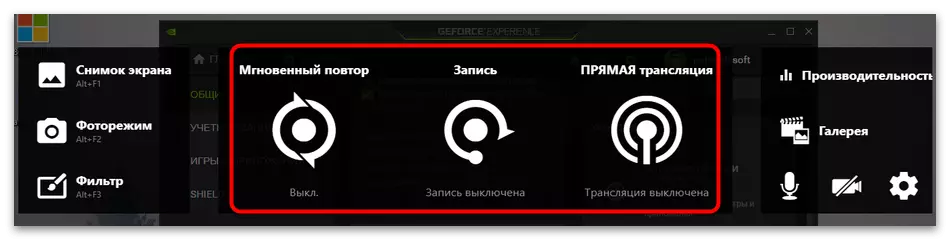
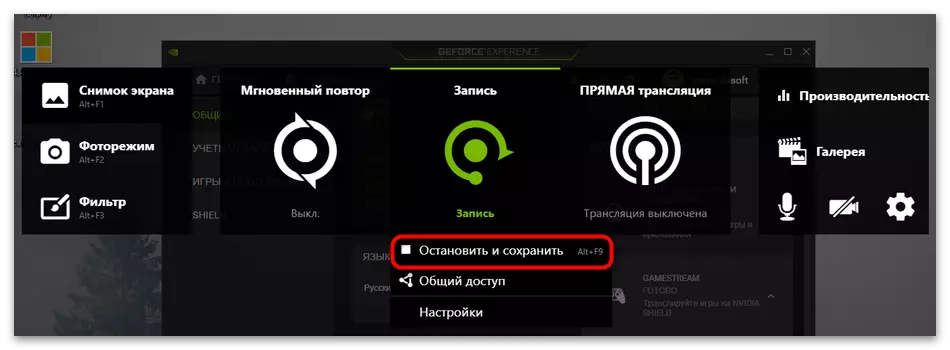
- After transitioning in the intra-level overlay when the application is running (this is done by the Alt + Z keys), select the appropriate content creation option: Instant Repeat, Recording or Direct Broadcast.
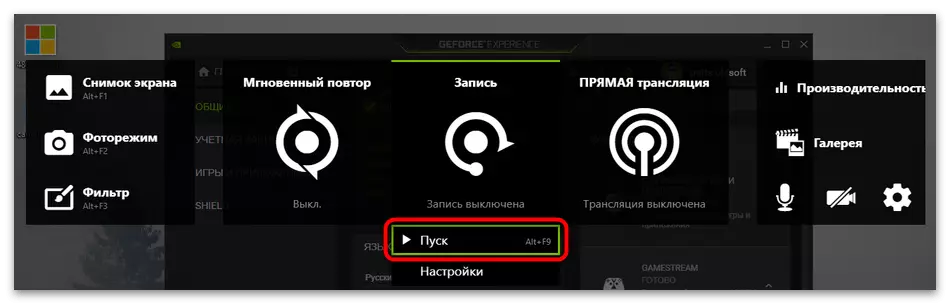
- A list of actions will appear where you need to select "Start". For this, the Alt + F9 hot key is applicable.
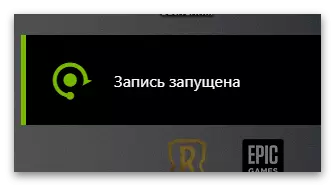
- On the screen at the top, the notification will be displayed that the entry was successfully launched, which means that it is possible to return to the passage of the game.
- If you need to stop recording and save it, use the Alt + F9 key combination or select "Stop and Save" in Overlee.
Through this overlay, you can go to the "Gallery" to familiarize yourself with the results of the recording. If the video happened as needed, proceed to creating rollers and their further processing.
Solving frequent problems
Some users face problems when trying to activate ShadowPlay. Most often, the problem occurs at the record stage, the video is simply not saved or its capture begins. There are several different ways to find the cause of the error and correct it.Method 1: restart NVIDIA service
For the work of Overleece from NVIDIA in the operating system, the service is responsible automatically. If for some reason it stopped working or failed, there is a chance of problems with the launch of ShadowPlay. To verify the service, it needs to be restarted, which is done like this:
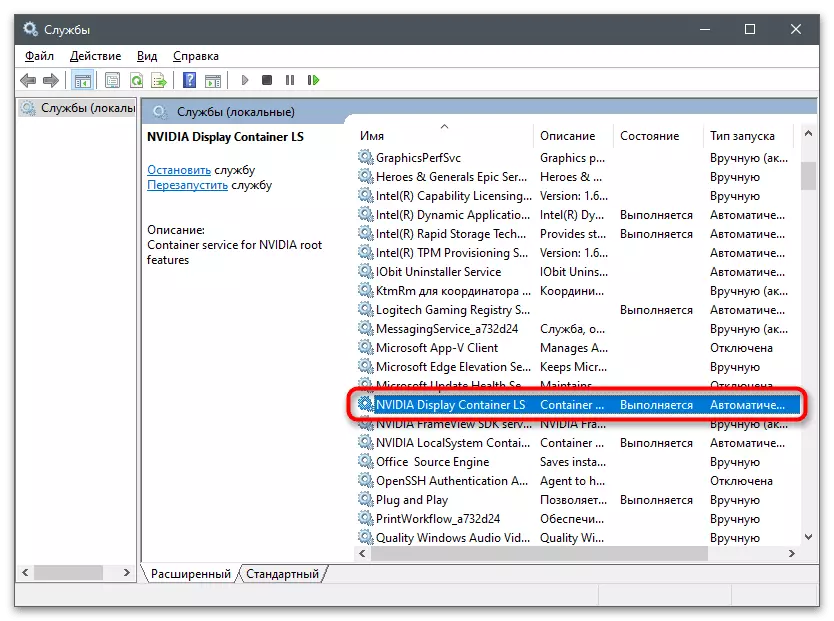
- Open the "Start", through the search for Lay "Services" and go to this application.
- In the list you are interested in the NVidia Display Container LS parameter, which should be right-clicking.
- From the context menu that appears, select the "Restart" option.
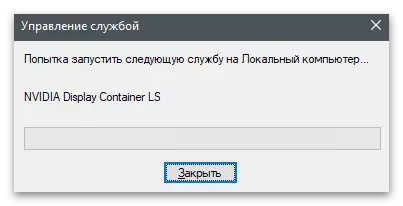
- A service management window appears in which the restart process is shown. Wait for it closing and recording video.


Method 2: Installing updates for Windows Media Player
The non-obvious method of solving the resulting problem is to install updates for Windows Media Player in Windows 10. The fact is that, together with the new version of the player, the associated components are downloaded, including codecs that allow you to play video and audio different formats on your computer. The lack of data codecs sometimes leads to problems with the start of recording or viewing it in the GeForce Experience.
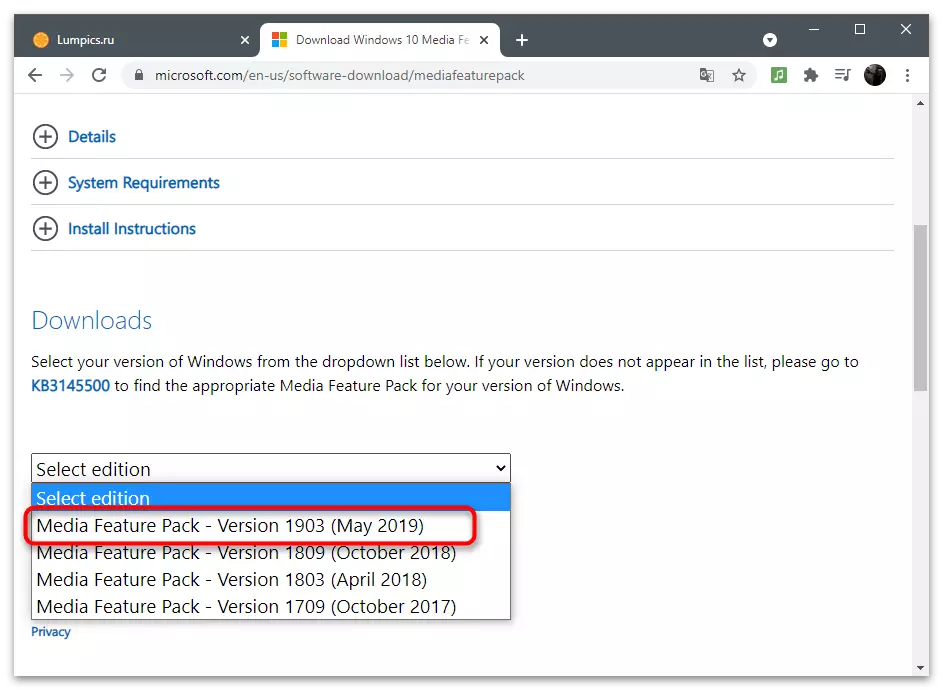
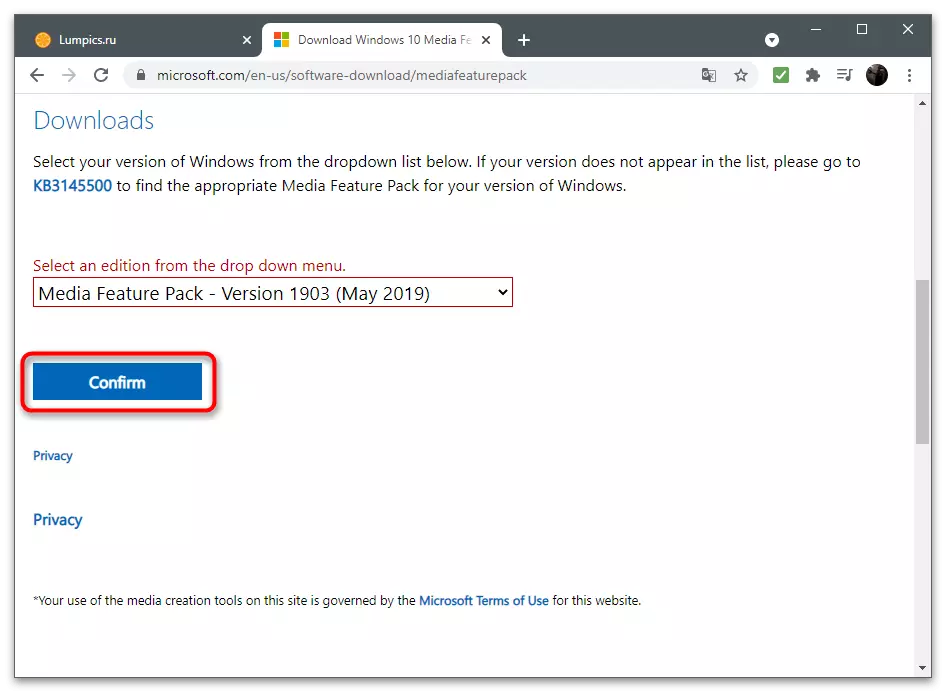
- Follow the link above and expand the list with update versions.
- Specify the latest.
- Click "Confirm" to display the component load buttons.
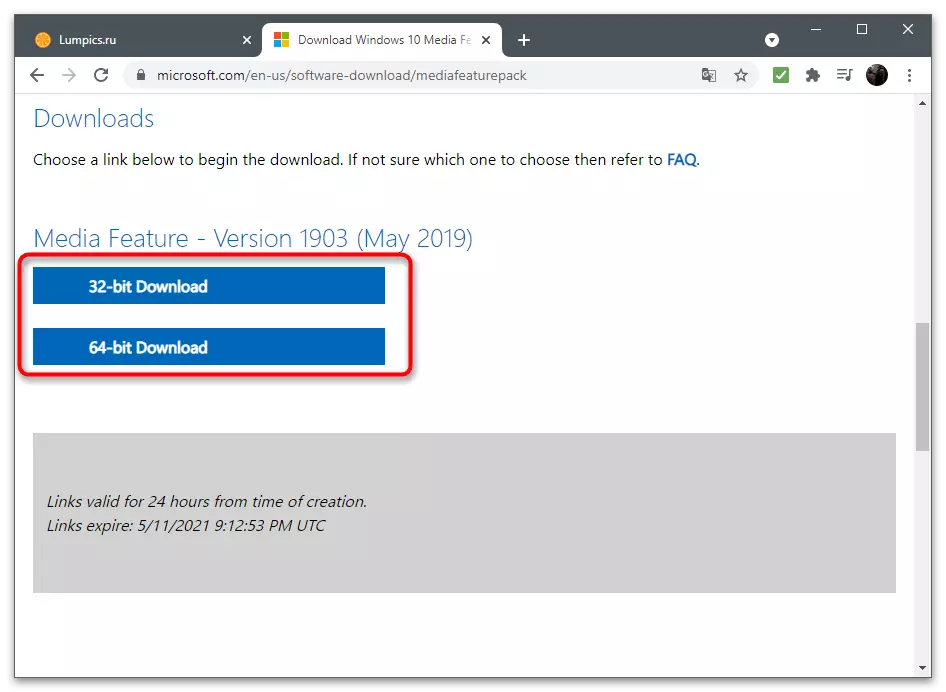
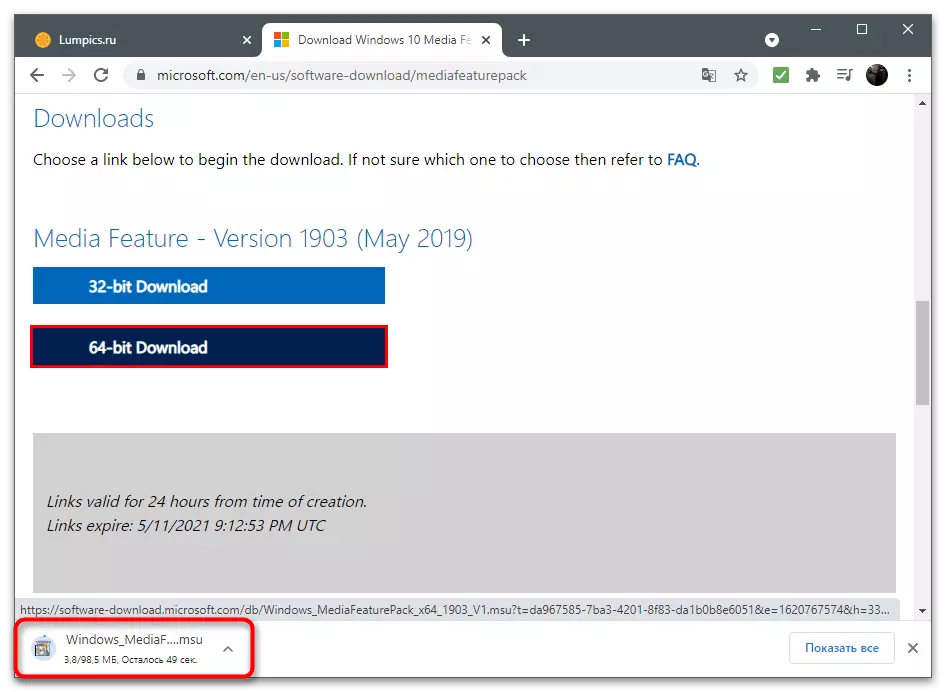
- Select a version for your discharge of the operating system.
- After saving, run the resulting MSU file.
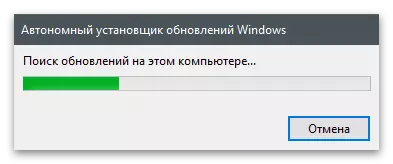
- The search for updates and their installation will begin if it is needed.

Method 3: Checking updates in GeForce Experience
GeForce Experience is designed not only to interact with games - the program tracks updates for the video card driver and offers to install them automatically. We recommend checking the availability of a new version, since just after installing it, the problem may disappear by itself.
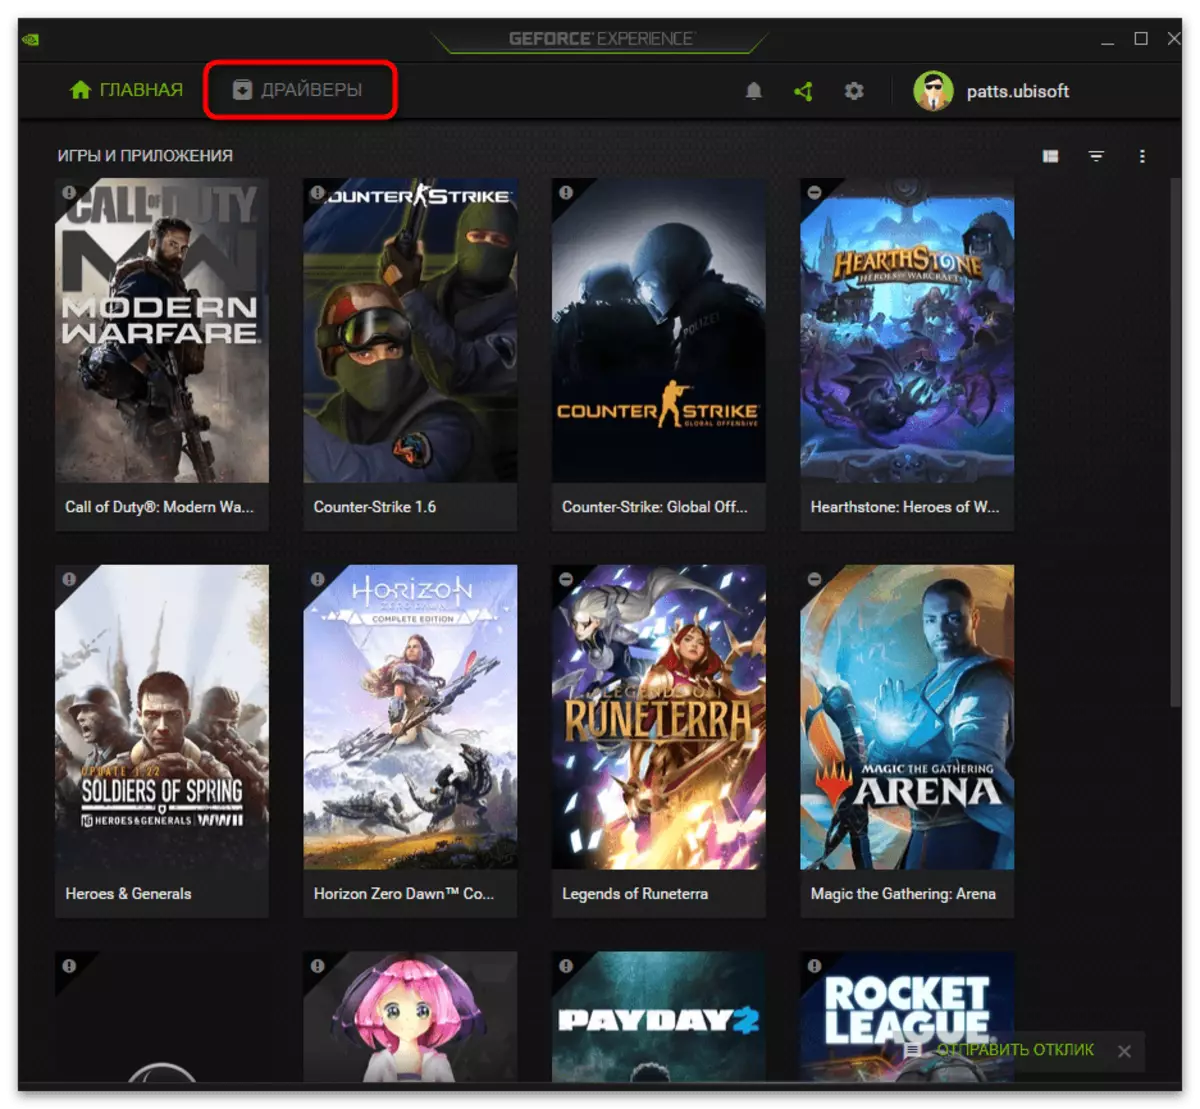
- To do this, run the application and go to the "Drivers" section.
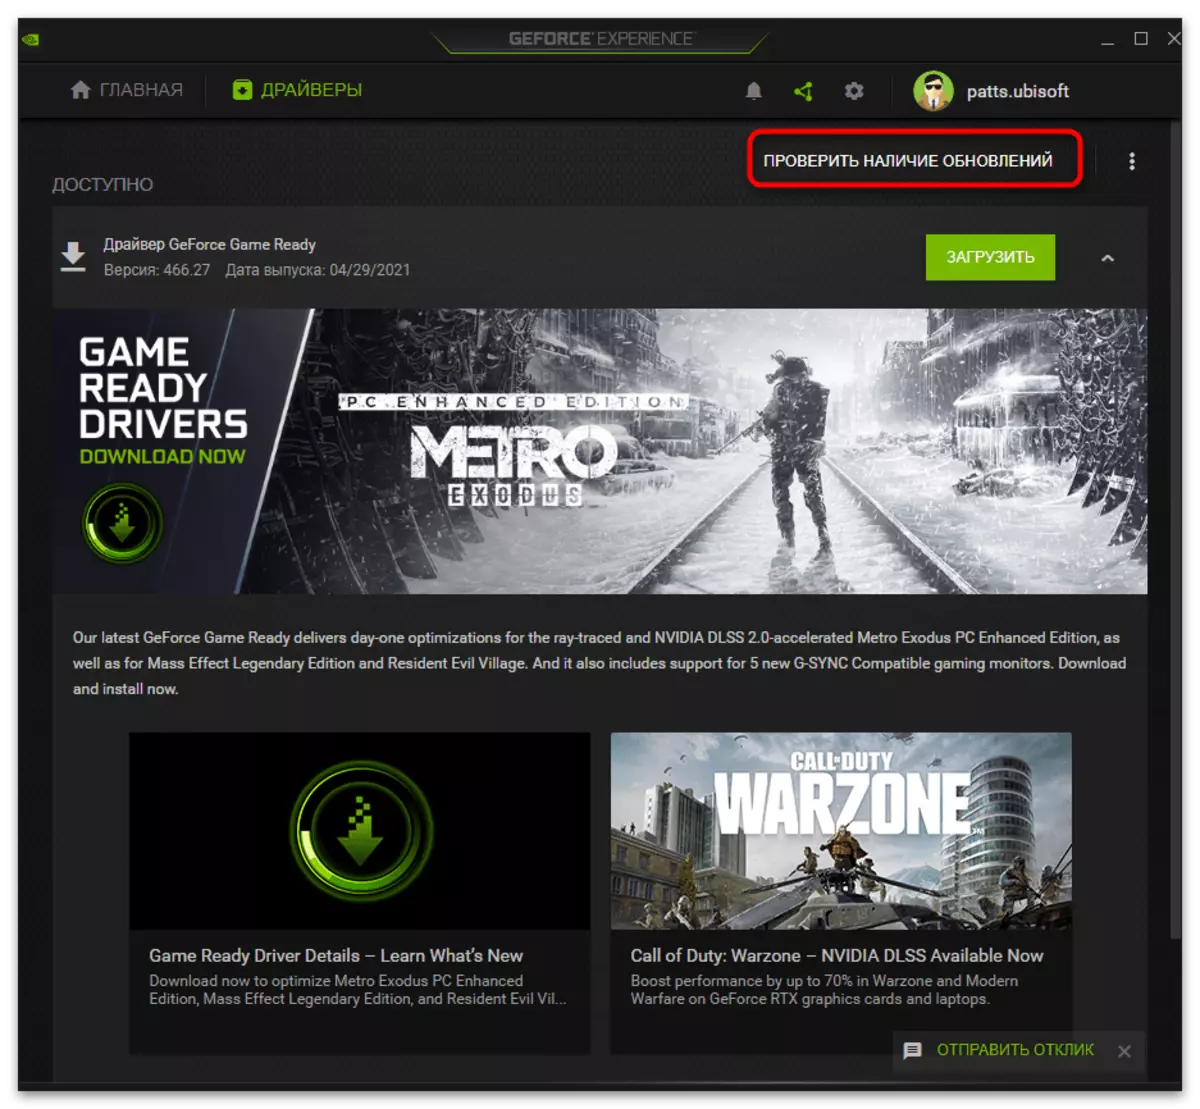
- Click "Check availability Updates" button.
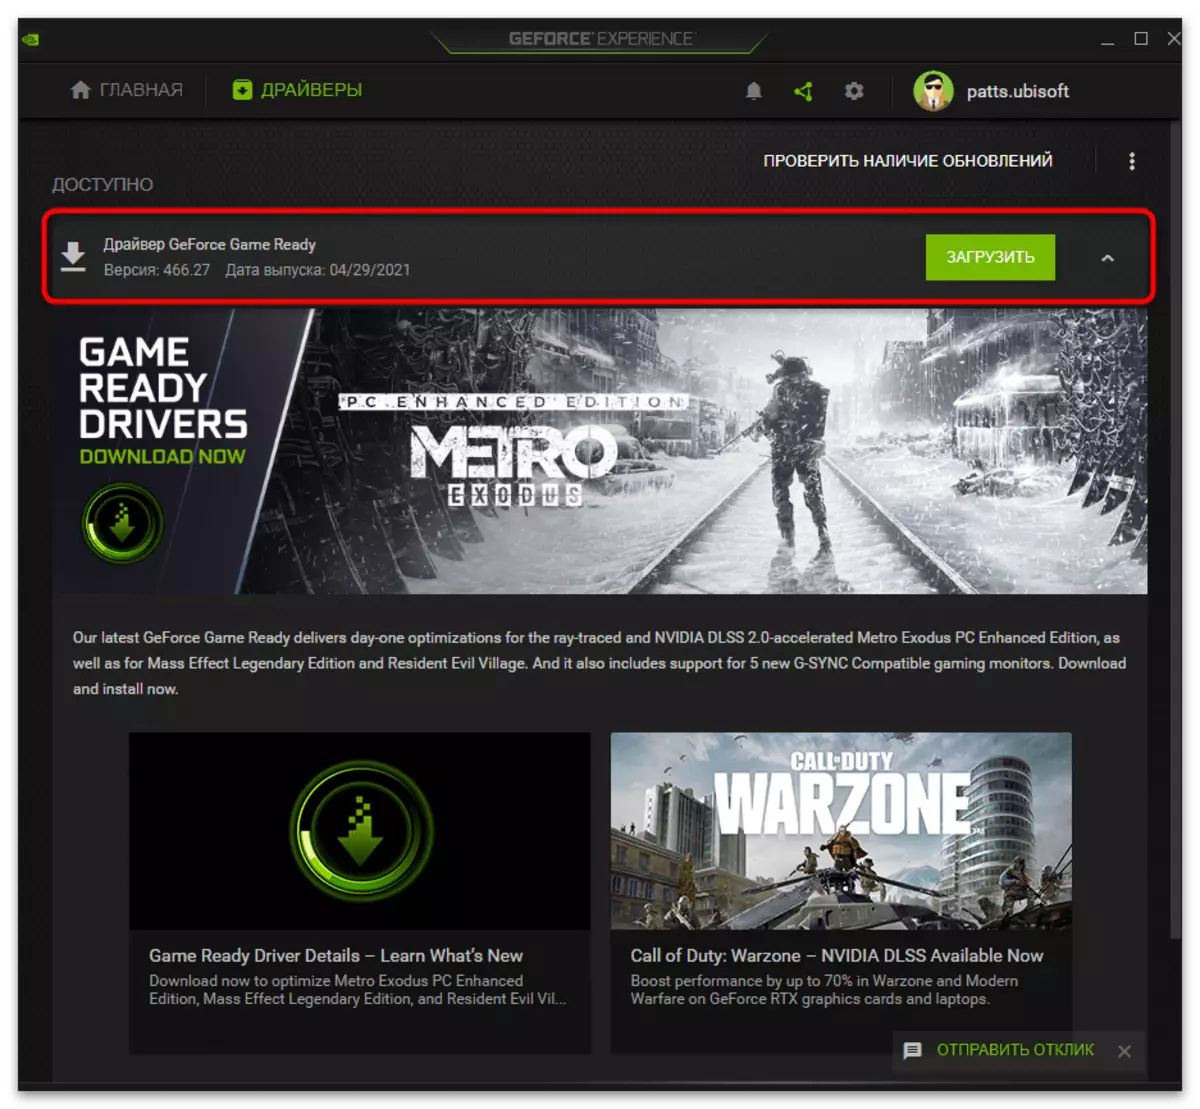
- After searching the drivers, click on "Download" if the updates were found.
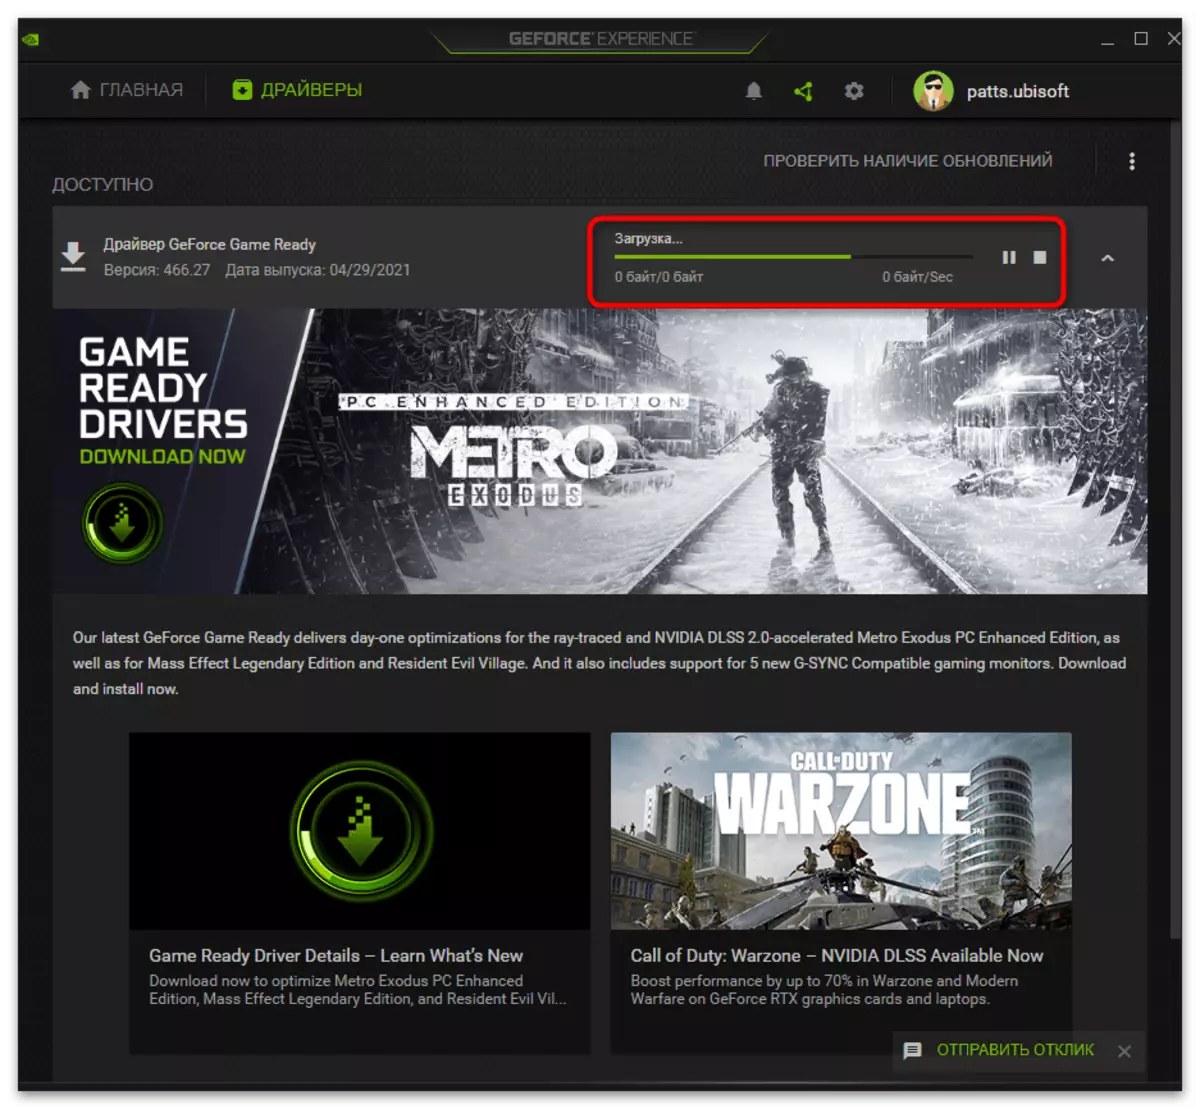
- Loading takes a few minutes, but as long as you can do other things by turning the application.
Method 4: Check updates for video card
Another method associated with the driver's updates for the video card is to search for other methods. It is best to use the automatic update tool by clicking on the official website.
- Click the button above and download the automatic driver update tool after downloading.
- Run the received executable file.
- Expect display notifications about the found updates. If they are missing, close the window and go to the next method.
There are other methods that allow you to find driver updates for a graphics adapter. They imply interaction with built-in tools of the operating system or third-party programs. Familiarize yourself with them in another article on the link below, if the considered option is not suitable for you.
Read more: Update NVIDIA Video Card Drivers
Method 5: Reinstalling Driver
The latest method is the most radical, since it implies a complete reinstalling of the graphics adapter driver. This is suitable for both standard Windows functions and solutions from other developers. Select the optimal method, reinstall the driver and check the actions performed by running video recording via GeForce Experience.
Read more: Reinstalling drivers NVIDIA video cards
