

In this instruction on what to do if you encountered Smart error messages when loading and whether it is possible to correct the situation.
First actions in case of errors Smart Failure, Smart Status Bad and similar
Many instructions on the topic under consideration are offered to perform a disc check using CHKDSK, Victoria and using other hard drives and SSD test tools, however, it cannot be called the most reasonable action option, if there are important data on the disk.
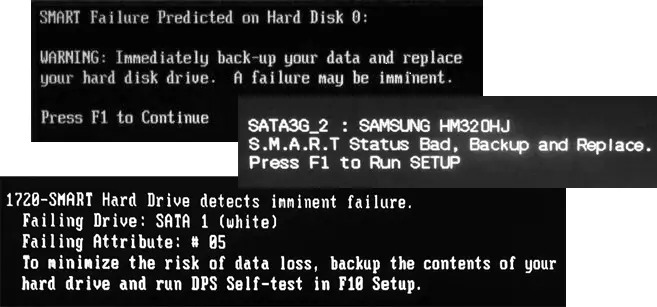
All given messages suggest that self-diagnostics (Smart) HDD or SSD reports soon the output of the drive. Moreover, the message is usually proposed to create a backup of the data and replace the drive (Backup and Replace). And this is exactly what should be done first. - Create a backup copy of important data on the disk, the state of which is in order, in the cloud or on the external drive.
If before copying important data to start scanning the Victoria disk, there is a chance to be without access to the data on the disk: if its condition is really critical, additional operations on the drive performed by the verification programs may lead to the fact that the "Smart Failure Predicted" state ( Predicted failure) The disk will switch to the actual failure.
What to do after saving important data with HDD or SSD
After important files have been saved, you can try to do something, although this is not always possible for the situation under consideration. In most cases, the optimal solution is to replace the disk.
- Rarely, but for some SSD, an error may be caused by an error of the firmware operation: Check if there is a new firmware for your disk on the manufacturer's website (and better - in the company's brand program for SSD disc) and whether it changes its installation.
- Check which SMART attributes are above thresholds (for example, in CrystalDiskInfo) and read what they respond. In the case of SSD, you can also use the analysis of the disk status in the branded utility (official utilities can give a more accurate forecast), more - programs for SSD disks.
- Sometimes in the BIOS / UEFI, you can disable SMART SELF Test - in this case, you will not receive SMART error messages when the computer is turned on, but the problem itself will not disappear from this anywhere and with a high probability sooner or later the disc will fail.
- For HDD, you can try to check / correct in Victoria, but there is no warranty that it will not make the situation worse. For SSD, you should not perform such scanning.
- According to some messages, cleaning the contact pads of the disc can help, correcting nutritional problems if there is any, checking the disk operation on another computer.