
These instructions detail how to disable the Windows reserved 10 store by using the Registry Editor. However, if you have no shortage of free disk space, I recommend not to disable him, reserved storage can be useful and help avoid some of the problems that sometimes occur, for example, when you install updates on the disk is almost full.
Disabling the reserved storage by using Registry Editor
Before we begin, I recommend to check, and if you have reserved the repository: by default it is included in all systems. For this:
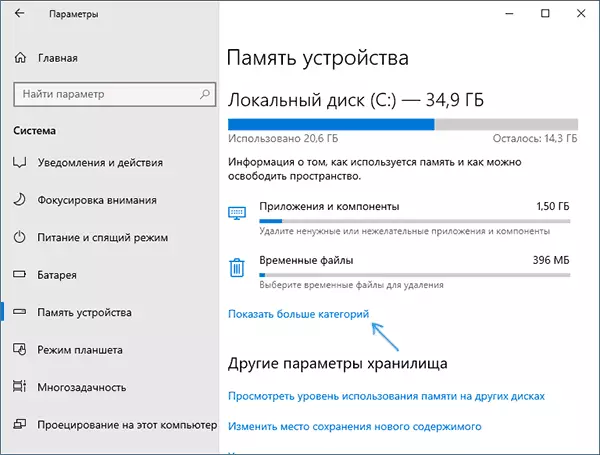
- Go to "Settings" - "System" - "Device memory" and click on the "Show more categories."
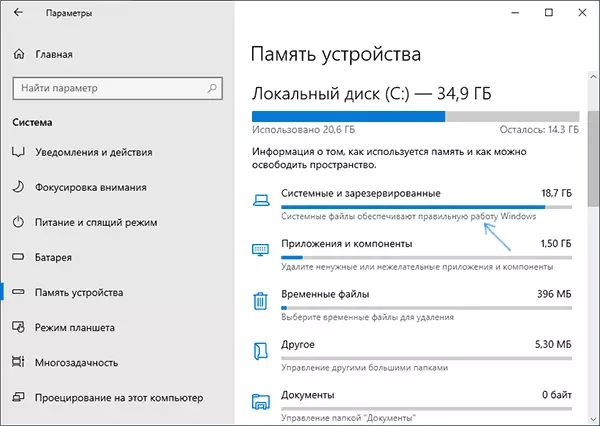
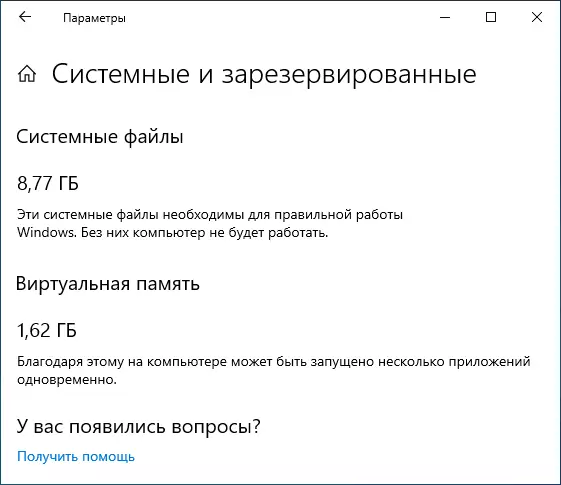
- click on the item "System and reserved" in the next window.
- See if the section "Reserved Storage" in the list.
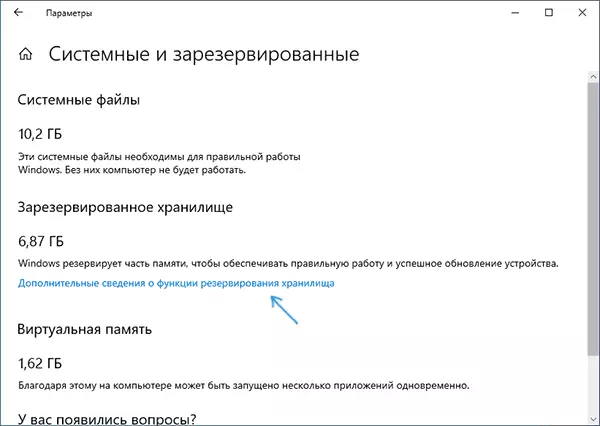
If a point is present, there you will see the size of the reserved storage: usually about 7 GB, but it is possible that over time, the size may be increased.
To disable the reserved storage, follow these steps:
- Press the Win + R keys on the keyboard, enter the REGEDIT and press ENTER.
- In the Registry Editor, navigate to razdeluHKEY_LOCAL_MACHINE \ SOFTWARE \ Microsoft \ Windows \ CurrentVersion \ ReserveManager
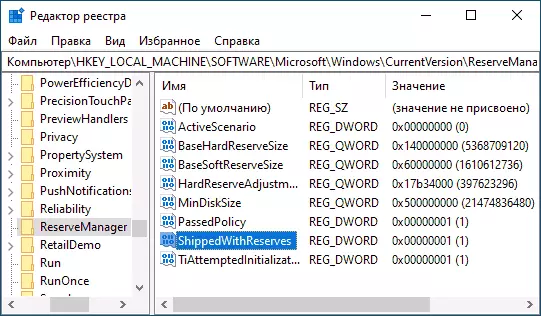
- Double-click the parameter named ShippedWithReserves and change its value to 0.
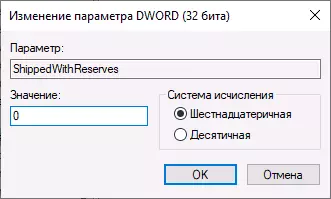
- Click OK, close the Registry Editor and restart your computer.
After following these steps, perform the steps of the first guide section to view options Windows 10 if the option "reserved storage" disappeared.
If all reserved storage as is, wait for any update Windows (or initialize it to download settings - Update and security - the Windows Update - Check for Updates). In my test, the modified parameter is started to operate, and a reserved storage disappears only after you install the regular updates and OS reboot.