
Why can it be needed? For example, you have a pair of stationary computers and one SMART TV that supports only a wired connection. It is not quite convenient to stretch the network cables from a wireless router because of its location, but at the same time d-link DIR-300 died at home. In this case, you can configure it as a client, to place where you need, and connect computers and devices (there is no need to buy for each Wi-Fi adapter). This is just one of the examples.
Configuring the D-Link DIR-300 router in Wi-Fi client mode
In this manual, an example of setting up the client to the DIR-300 is provided on the device pre-reset to the factory settings. In addition, all actions are performed on a wireless router connected by a wired connection with a computer from which the setting is made (one of the LAN ports to the computer connector of the computer or laptop, I recommend to do the same).
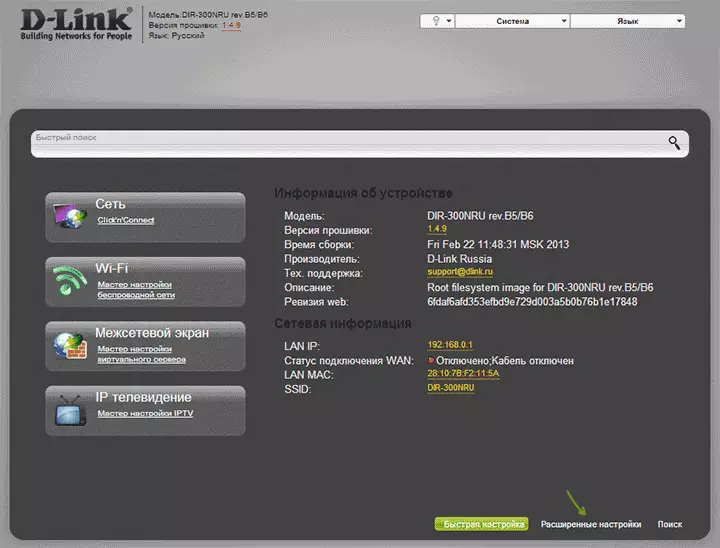
So, let's start: Run the browser, enter the address 192.168.0.1 in the address bar, and then the ADMIN login and password to enter the D-Link DIR-300 web interface, I hope you know it. At first entrance you will be asked to replace the standard administrator password on your own.
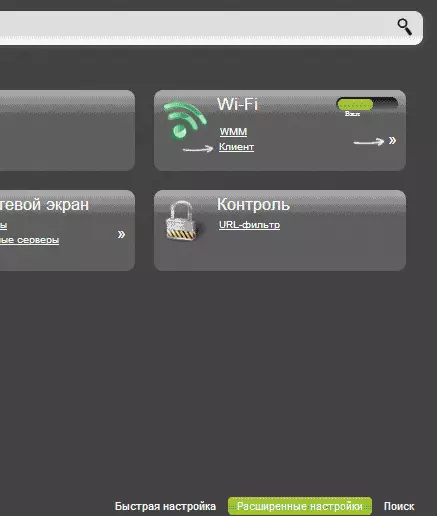
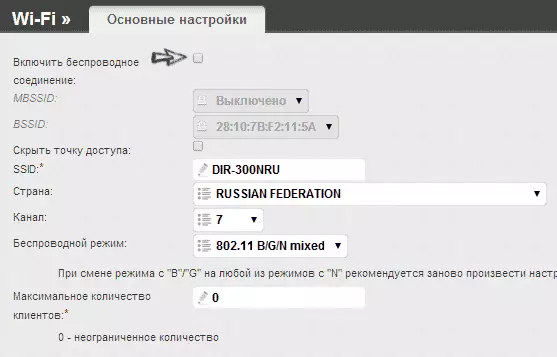
Go to the Advanced Routher Settings page and in the "Wi-Fi" Press the double arrow to the right until you see the "Client" item, click on it.
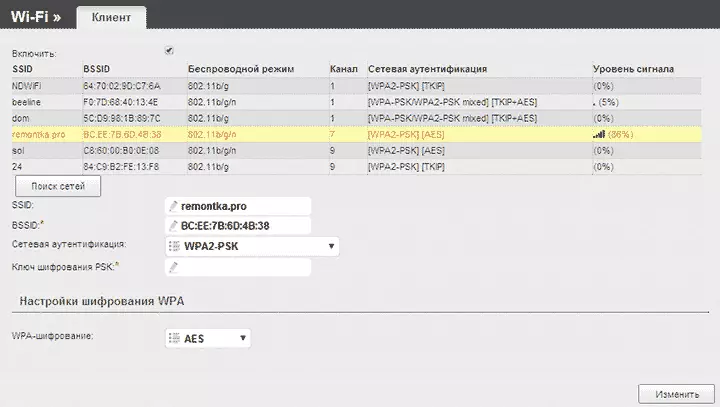
On the next page, check the "Enable" item - this will turn on the client Wi-Fi mode on your DIR-300. Note: I sometimes cannot be put this mark at this point, the page is helping to restart (not the first time). After that you will see a list of available Wi-Fi networks. Select the desired, enter the password to Wi-Fi, click the Edit button. Save the changes made.
The following task is to make the D-Link DIR-300 distributing this connection to other devices (at the moment it is not so). To do this, return to the Advanced Routher Settings page and select "WAN" in the Network item. Click on the "Dynamic IP" connection in the list, and then click "Delete", and then returning to the list - "Add".

In the properties of the new connection, specify the following parameters:
- Connection Type - Dynamic IP (for most configurations. If you do not like, then you most likely know about it).
- Port - WIFICLIENT.
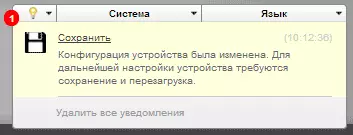
The remaining parameters can be left unchanged. Save the settings (click the "Save" button below, and then - near the light bulb above.
After a short time, if you refresh a list of connections, you will see that your new Wi-Fi client is connected.
If you are planning to connect to other devices in the client mode, you only make sense to enter the basic Wi-Fi settings and disable the "distribution" of the wireless network: it may have a positive effect on the stability of work. If the wireless network is also needed - do not forget to put a wi-fi password in the security parameters.
Note: If for some reason the client mode does not work, make sure that the LAN address on the two routers used is different (or change on one of them), i.e. If on both devices 192.168.0.1, then change on one of them 192.168.1.1, otherwise conflicts are possible.