

The meaning of what is happening is that many system files and folders in Windows 7, 8 and Windows 10 "belong to" built-in TrustedInstaller system account and only this account has full access to the folder you want to delete or change otherwise. Accordingly, to remove the requirement to request permission, you need to make the current user by the owner and provide it with the necessary rights, which will be shown below (including in the video instructions at the end of the article).
Also show how to install TrustedInstaller again as the owner of the folder or file, as it is necessary, but for some reason it is not disclosed in any manual.
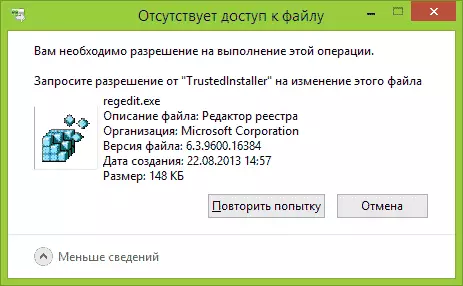
How to delete a folder that does not allow to remove trustedinstaller
The actions described below will not differ for Windows 7, 8.1 or Windows 10 - the same steps required to perform in all these OS, if you need to delete a folder, and it does not work out because of the message you need to request a resolution from TrustedInstaller.
As already mentioned, it is required to become the owner of a problem folder (or file). Standard path for this:
- Right-click on the folder or file and select "Properties".
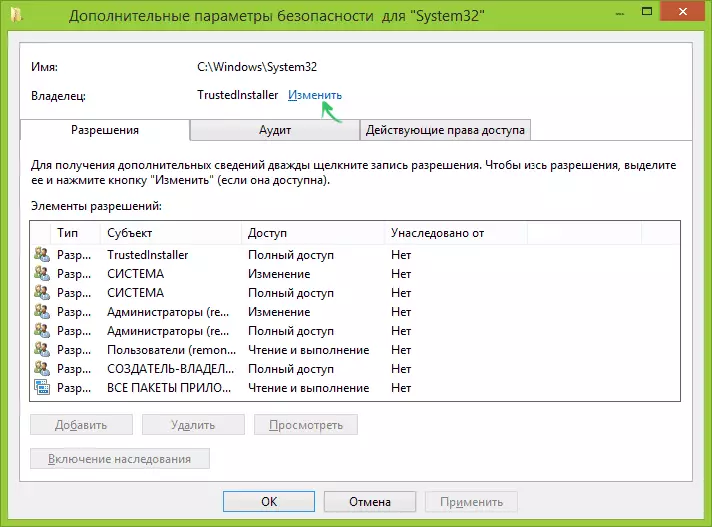
- Open the Safety tab and click the "Advanced" button.

- Opposite the "Owner" item, click "Edit", and in the next window, click the "Advanced" button.
- In the next window, click "Search", and then in the list, select the user (yourself).
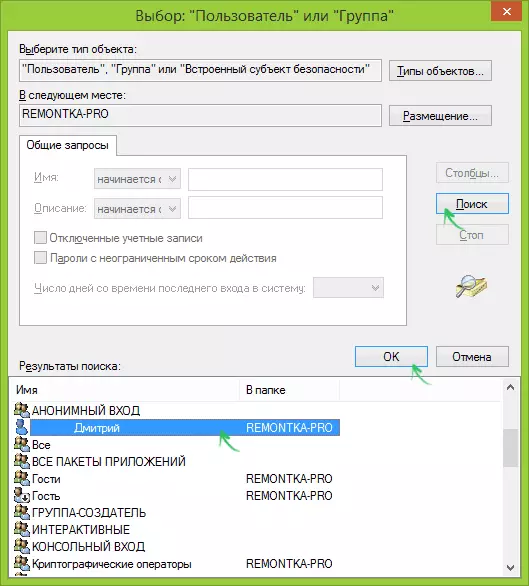
- Click OK, and then - OK again.
- If you change the owner of the folder, then the "Replace the owner of subcontounties and objects" will appear in the "Replace the owner of subspeters and objects" in the window, mark it.

- Last time, click OK.
There are other ways, some of which may seem easier to you, see the instruction how to become the owner of the folder in Windows.
However, the actions made are usually not enough to delete or change the folder, although the message that you need to request a trustedinstaller permission should disappear (instead it will write that you need to request permission from yourself).
Installation of permits
So that you get the ability to delete the folder, you will also need to give yourself the necessary permissions or rights for this. To do this, go back to the folder properties or file to the Safety tab and click "Advanced".
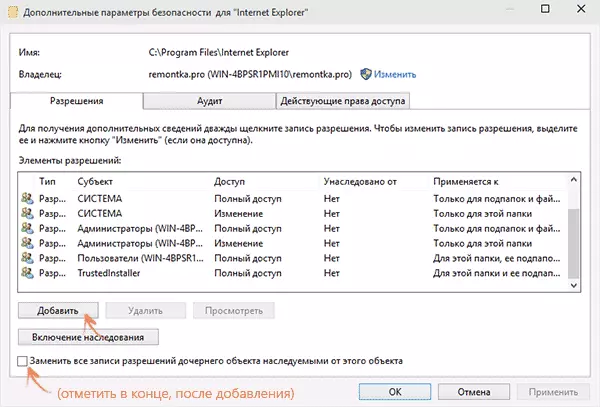
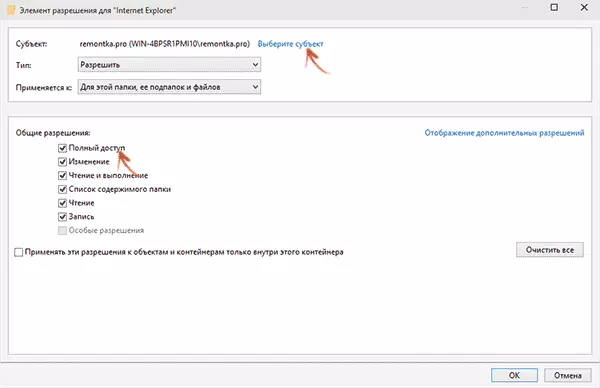
Look, whether your username is present in the "Permissions" list. If not - click the "Add" button (you may first need to click the "Change" button with the administrator's right icon).
In the next window, click "Select Subject" and find your username in the same way as in the first stage in the 4th point. Install the full access rights for this user and click OK.
Returning to the "Advanced Security Settings" window, check the same item "Replace all records of the daughter object permissions inherited from this object." Click OK.
Ready, now an attempt to delete or rename the folder will not call any problems and the message about the refusal of access. In rare cases, it is also required to go to the folder properties and remove the read-only mark.
How to request permission from TrustedInstaller - Video Instructions
Below is a video guide in which all the actions that have been described in steps are shown. Perhaps someone will be more convenient to perceive information.How to make trustedinstaller owner folder
After changing the owner of the folder if you needed to return everything "as it was" in the same way that was described above, you will see that the TrustedInstaller is not in the list of users.
In order to set this system account as the owner, do the following:
- From the previous procedure, run the first two steps.
- Click "Edit" opposite the "Owner" item.
- In the field "Enter the names of the selected objects" enter NT Service \ trustedinstaller
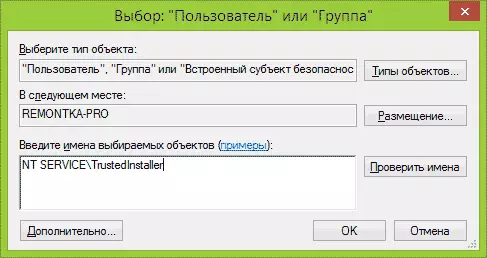
- Click OK, check "Replace the owner of subspeteners and objects" and click OK button again.
Ready, now TrustedInstaller is again the owner of the folder and just do not delete it and you will not change, the message will again appear that there is no access to the folder or file.