

Using the VERACRYPT free program, the user can perform reliable encryption in real time on the disks (including encrypt the system disk or the contents of the flash drive) or in file containers. In this manual on Veracrypt - in detail about the basic aspects of the use of the program for various encryption purposes. Note: For the Windows system disk, it is possible to better use the built-in BitLocker encryption.
Note: All actions you perform under your responsibility, the author of the article does not guarantee the safety of data. If you are a novice user, then I recommend not to use the program for encrypting a computer's system disk or a separate partition with important data (if you are not ready to accidentally lose access to all data), the safest option in your case - creating encrypted file containers, which is described later in the manual .
Installing Veracrypt on a computer or laptop
Next, the version of VeraCrypt for Windows 10, 8 and Windows 7 will be considered (although the use itself will be almost the same for other OS).
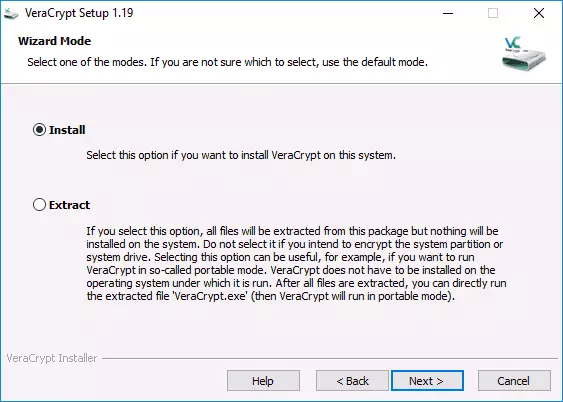
After starting the program installer (you can download Veracrypt from the official site https://veracrypt.codeplex.com/) you will be selected - Install or Extract. In the first case, the program will be installed on a computer and integrated with the system (for example, to quickly connect encrypted containers, the possibility of encrypting the system partition), in the second - simply unpacked with the ability to use as a portable program.
Next installation step (If you selected Install), it usually does not require any actions from the user (the default parameters are set to install for all users, add labels to start and on the desktop, associate files with the .hc extension with veracrypt) .
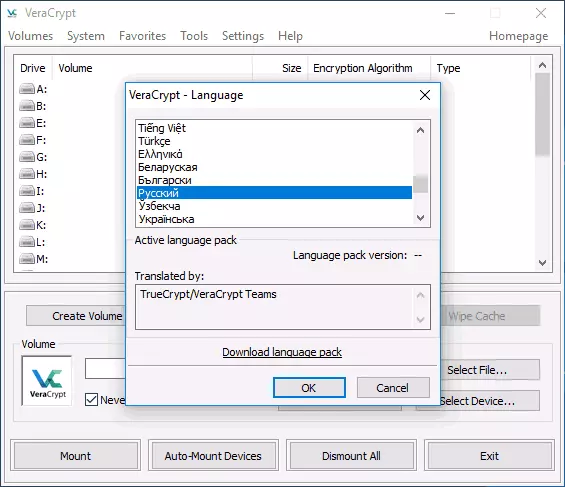
Immediately after installation, I recommend running the program, go to the Settings menu - Language and choose the Russian language interface there (in any case, it did not turn on it automatically).
Instructions for using Veracrypt
As already mentioned, Veracrypt can be used for creating encrypted file containers (a separate .hc extension file containing the necessary files in an encrypted form and, if necessary, mounted in the system as a separate disk), encryption of system and conventional disks.The first encryption option is used for the storage of confidential data, start with it.
Creating an encrypted file container
The procedure for creating an encrypted file container will be as follows:
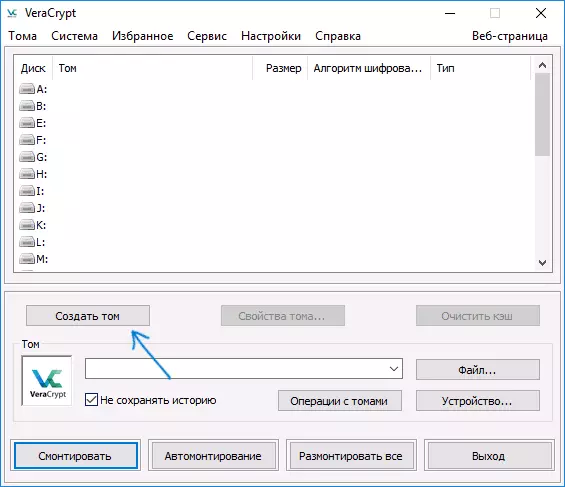
- Click the "Create Tom" button.
- Select "Create an Encrypted File Container" item and click Next.
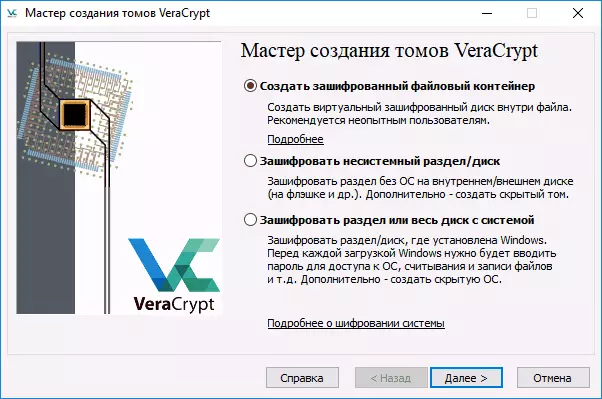
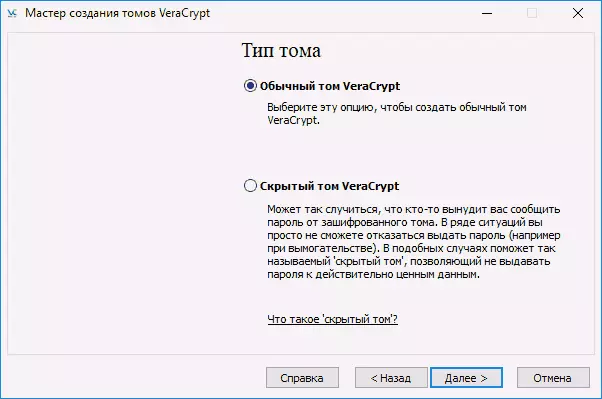
- Select "Normal" or "hidden" veracrypt. The hidden volume is a special area inside the usual volume of VeraCrypt, while two passwords are installed, one on the external volume, the second - on the inner. In the event that you are forced to tell the password to external volume, the data in the internal volume will be unavailable and at the same time cannot be determined that there is also a hidden volume. The following is a variant of creating a simple volume.
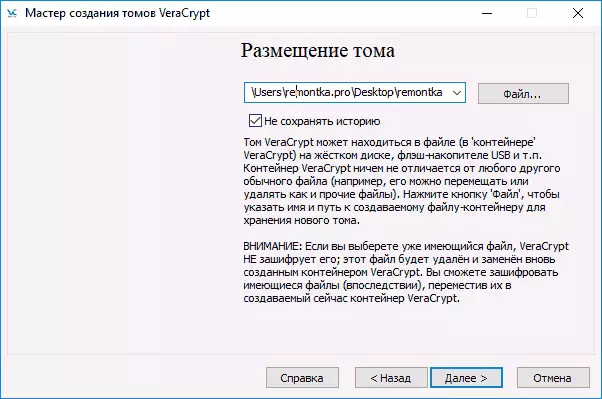
- Specify the path where the VERACRYPT container file will be stored (on a computer, external drive, network disk). You can specify any permission for the file or do not specify it at all, but the "correct" extension, which is associated with VeraCrypt - .hc
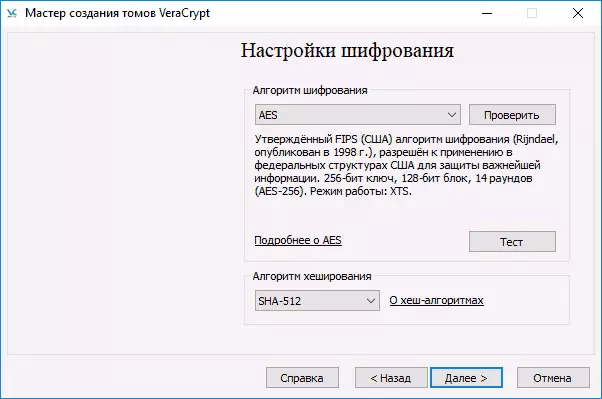
- Select the encryption and hashing algorithm. The main here is an encryption algorithm. In most cases, enough AES (and this will be noticeably faster than other options if the processor supports the Hardware AES encryption), but several algorithms can also be used at the same time (consistent encryption by several algorithms), the descriptions of which can be found in Wikipedia (in Russian).
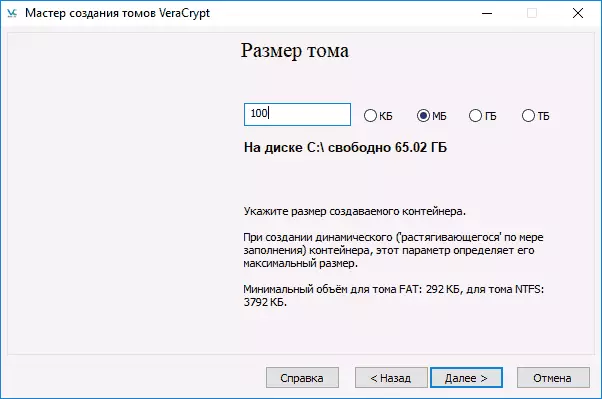
- Set the size of the created encrypted container.
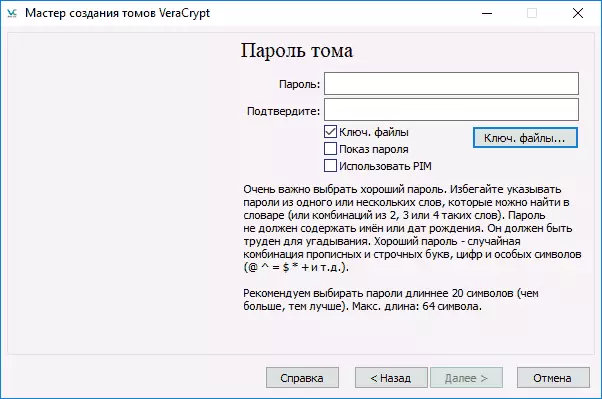
- Specify the password by following the recommendations that are presented in the password task window. If you wish, you can set any file instead of a password (the key "key. Files" will be used as a key, smart cards can be used), however, if you lose or damage this file, you cannot access data. The "Use PIM" item allows you to set a "personal iteration multiplier" that affects the reliability of encryption directly and indirectly (when specifying PIM, it will be necessary to enter it in addition to the password of the volume, i.e. hacking the brute force complicated).
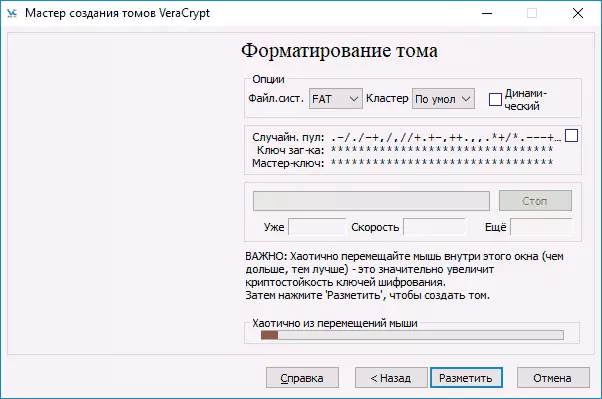
- In the next window, set the volume system system and simply move the mouse pointer over the window until the progress line is filled at the bottom of the window (or it will not be green). Finally, click "Place".
- Upon completion of the operation, you will see a message that VERACRYPT has been successfully created, in the next window it is enough to click "Exit".
The next step is to mount the created volume for use, for this:
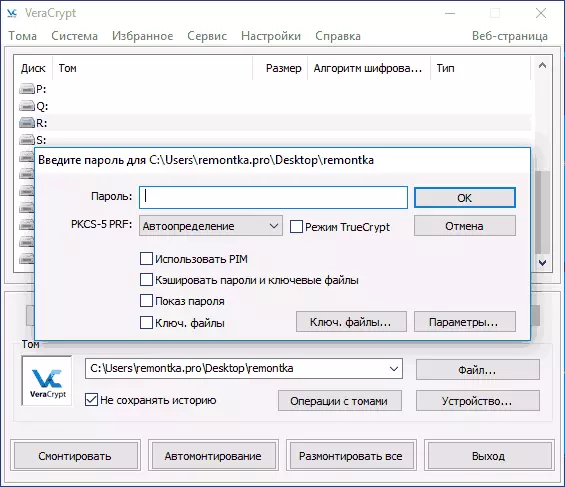
- In the "Tom" section, specify the path to the created file container (by clicking the "File" button), select from the list the letter of the disk for the volume and click the "Mount" button.
- Specify the password (provide key files if necessary).
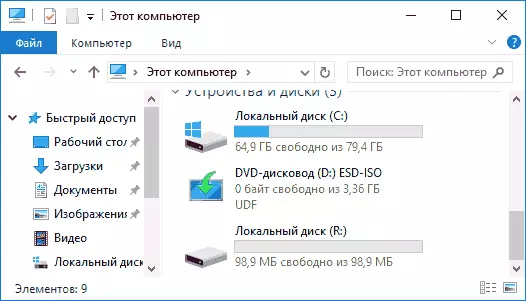
- Wait for the end of the volume mount, after which it will be displayed in VERACRYPT and in the form of a local disk in the conductor.
When copying files to a new disk, they will be encrypted "on the fly", as well as decipher when accessing them. At the end of the work, select Tom (Drive Letter) in Veracrypt and click "Unmount".
Note: If you wish, instead of "mount" you can click "Automotion", in order for the encrypted volume in the future automatically connected.
Disk encryption (disc partition) or flash drive
Steps when encrypting a disc, flash drive, or other drive (not system) will be the same, but in the second step, you will need to select the "Encryption Unisendable Section" item, after selecting the device - specify, format the disk or encrypt with the available data (will take more time).The next different point is at the final stage of encryption in the case of selecting disk, you will need to specify whether the files of more than 4 GB will be used on the resulting volume.
After the volume is encrypted, you will receive instructions for further use of the disk. There will be no access for the same letter to it, you will need to configure the auto-configuration (at the same time, it is enough to simply press "AUTOMONTING", the program itself will find them) or to mount the same way as described for file containers, but click the "button" Device "instead of" File ".
How to encrypt the system disk in veracrypt
When encrypting a system partition or disk, the password will be required before the operating system is loaded. Be very careful using this feature - in theory, you can get a system that cannot be downloaded and the only output will be reinstalling Windows.
Note: If you start encrypting the system partition, you will see the message "Looks like Windows is not installed on the disk from which it is loaded" (and in fact it is not so), most likely the case is in the "special" installed Windows 10 or 8 with the encrypted EFI section and encrypt the VERACRYPT system disk will not work (at the beginning of the article already recommended BitLocker for this purpose), although for some EFI systems, encryption works successfully.
The encryption of the system disk is in the same way as the simple disk or partition, except for the following points:
- When the system partition is selected, the selection will be offered at the third stage - encrypt the entire disk (physical HDD or SSD) or only the system partition on this disk.
- Selecting a single load (if only one OS) is installed) or multiple loads (if there are several of them).
- Before encryption, you will be prompted to create a recovery disk to damage the VeraCrypt bootloader, as well as with Windows loading problems after encryption (you can boot from the recovery disk and fully decrypt the section, bringing it to the initial state).
- It will be prompted to select the cleaning mode. In most cases, if you do not keep very terrible secrets, it is enough to choose the "no" item, it will significantly save you time (time hours).
- Before encryption, a test will be performed that allows VERACRYPT to "make sure" that everything will work correctly.
- Important: After pressing the "Test" button, you will get very detailed information on what will happen on. I recommend it very carefully to read everything.
- After pressing "OK" and after rebooting, you will need to enter a given password and, if everything has passed successfully, after logging in Windows, you will see a message that the encryption test passed and everything that remains to be done - click the "Encryption" button and wait Completion of the encryption process.
If you need to fully decrypt the system disk or partition, in the Veracrypt menu, select System - "permanently decrypt the system partition / disk."
Additional Information
- If you use multiple operating systems on your computer, you can create a hidden operating system (Menu - System - Create a hidden OS), similar to the hidden volume, which was written above.
- If the volumes or discs are mounted very slowly, you can try to speed up the process by setting a long password (20 or more characters) and small PIM (in the range of 5-20).
- If, when encrypting a system partition, something happens unusually (for example, with several installed systems, the program offers only a single load or you see a message that Windows is on on that disk where the bootloader) - I recommend not experimenting (in the absence of readiness to lose everything The contents of the disk without the possibility of recovery).
That's all, successful encryption.