

In fact, by asking such a question, the user, as a rule, is interested in the ability to format the disk (for example, a C drive C) without loading a Windows or other operating system - since "from the inside of the OS" disk is not formatted with a message that it is impossible to format this volume. Therefore, just about formatting without loading OS and will be discussed - this is quite possible; In BIOS, by the way, along the way, you will also have to go.
Why require BIOS and how to format a hard disk, without entering Windows
In order to format the disk without using the installed operating system (including that hard disk to which this OS is installed), we will need to boot from a bootable drive. And for this it will take itself - the loading flash drive or disk, in particular, can be used:
- Distribution Windows 7 or Windows 8 (can and XP, but not so convenient) on a USB drive or DVD. You can find instructions for creating here.
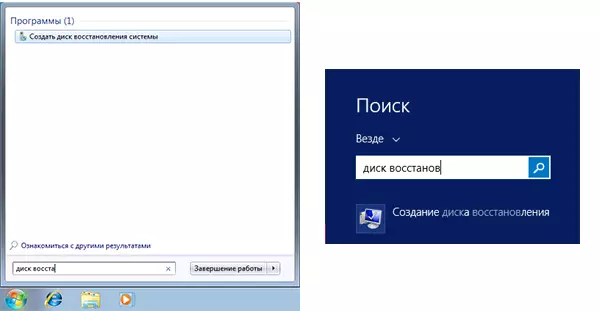
- Windows recovery disk that can be created in the operating system itself. In Windows 7, it can only be an ordinary CD, in Windows 8 and 8.1 also supports the creation of a USB drive to restore the system. To make such a drive, enter in the search for the recovery disk, as in the pictures below.
- Almost any LiveCD based on Win PE or Linux will also format the hard drive.
After you have one of the specified drives, simply check the download from it and save the settings. Example: How to download from a flash drive in the BIOS (opens in a new tab, for a CD-Disk Actions are similar.
Formatting a hard disk using the Windows 7 and 8 distribution or recovery disk
Note: If you want to format the C disc before installing Windows, the following text is not exactly what you need. It will be much easier to do this in the process. To do this, you need to select "Full" to select the installation type, and in the window where you want to specify the section to install, click "Configure" and format the desired disk. Read more: How to split the disk when installing Windows 7.
In this example, I will use the distribution (boot disk) of Windows 7. Actions when using a disk and flash drives with Windows 8 and 8.1, as well as recovery discs created inside the system, will be almost similar.
After downloading the Windows installation program, press the SHIFT + F10 keys on the language selection screen, it will open the command prompt. When using Windows 8 recovery disk, select Language - Diagnostics - Additional Features - Command Line. When using Windows 7 recovery disk - select "Command Line".
Taking into account the fact that when loading from the specified drives, the letters of the disks may not match the one to which you are used to the system, use the command
WMIC Logicaldisk Get Deviceid, Volumename, Size, DescriptionIn order to define the disk to format. After that, for formatting, use the command (X - the letter of the disk)
Format / FS: NTFS X: / Q - Fast formatting in the NTFS file system; Format / FS: FAT32 X: / Q - Fast formatting in FAT32.
After entering the command, you may be offered to enter a disc label, as well as confirm the execution of disk formatting.
That's all, after these simple actions, the disk is formatted. When using a LiveCD, it is still easier - set the download from the desired drive to the BIOS, boot into the graphical environment (as a rule, Windows XP), select the disk in the conductor, click on it with the right mouse button and select "Format" in the context menu.