
In this instruction details what to do if the monitor writes out of range or Out of Range in various situations. A similar topic: The monitor writes no signal, no Signal or Check Signal Cable.
- Outside the range, the input is not supported when the game starts
- The monitor writes "out of range" or "Out of Range" when launching a computer and Windows
What to do if when you start the game the monitor shows "out of range" or "Out of Range"
The problem with the black screen and the inscription "Outside range" or "Login is not supported" (on some monitors the image may be, despite the message), when the games start, it most often occurs either after the incorrectly set graphics parameters in the game, or when using games in the form " Repacks ", where graphics are already configured by another person, but not suitable for your monitor.
Possible solutions to the problem of the allowed range on the monitor in the games:
- Try pressing the Alt + Enter keys - in some games it translates them from the full screen mode into the window mode. As a result, the image will appear again, and you can change the graphics parameters in the game to be supported by your monitor.
- If among the executable game files there is a separate file to run the graphics settings (look in the .exe folder of the game file or in the game folder in the Start menu), start it and set the permissions supported by your monitor.
- Search (you can use the online search), where your game configuration file is located and remove it (and better - try first to move to another location, without deleting), or open in the text editor and find the lines responsible for the screen resolution in the text editor. The file usually has an extension .cfg or .ini (but there is an exception, for example, in Stalker - user.ltx), may have the word "config" in the title. The location can also be different: in the folder with executable game files, in user folders, for example: Documents \ Rockstar Games \ Red Dead Redemption 2 \ Settings \ or C: \ Users \ Name \ Saved Games \ ID Software \ Doom \ Base
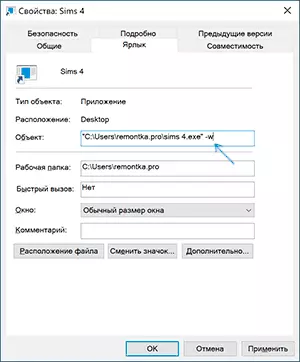
- Also specify whether there is the possibility of running a specific game with some parameters specifying graphics parameters or window mode, for example, Sims 4 can be started in the window mode using the "-W" parameter, as you can (without quotes) as in the label properties For example, both in the properties of the game in Origin. Other games often also have similar parameters.
Outside the range or input is not supported when the computer is turned on or running Windows 10, 8.1 and Windows 7
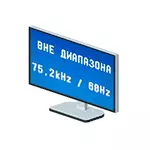
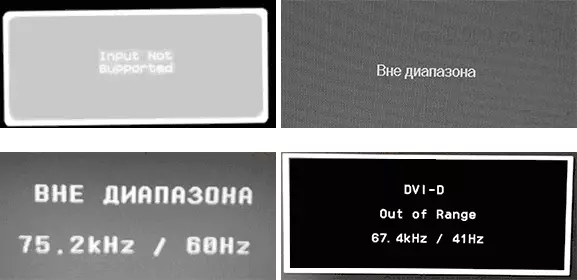
When the "Outside range" is reported, the "input is not supported" and the English-speaking analogues of this inscription on the monitor when the computer is turned on, the reason is likely to be incorrectly displayed graphics parameters that do not correspond to the supported modes of your monitor. Especially if recently you changed the frequency of the screen update or permission.
Note: Sometimes it happens that the monitor, according to the characteristics, must maintain a certain update frequency, but when you install it, you see a message that the signal is out of range or similar. In this case, I recommend reading the instructions carefully: it happens that the high frequency of the update is supported only when connected through certain inputs, without any adapters and adapters.
The described situation has several simple solutions that can work:
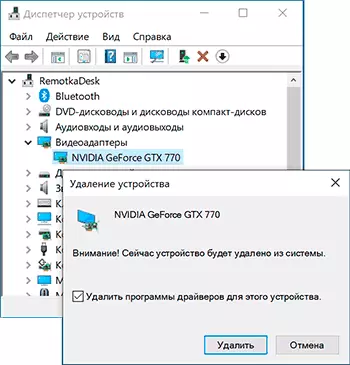
- If in addition to the discrete video card, there is an integrated (output on the motherboard), you can turn off the computer, connect the monitor to the integrated video card and turn on again. Most likely, the image will appear. After that, using the Device Manager, delete the drivers of the discrete video card (this is including resetting the graphics settings), turn off the computer, connect the monitor again to the discrete video card, turn on the computer - most likely, the Out of Range, Input Not Supported messages and the same you will no longer see : It will only be left to install drivers again.
- If you have Windows 7, then most likely the message appears immediately before going to the desktop, and before that you see the download process. If so, then immediately after starting the download, start pressing F8 (or Fn + F8), and then in the menu, select Low Resolution Mode. In this mode, you can delete-install video card drivers (this will reset the graphics parameters), and if you have a system recovery point (control panel - system recovery), then use them.
- In the case of Windows 10, after two incorrect computer shutdens, the system restore environment must automatically start (with secure graphics parameters), where you can try to use the recovery points or special download options to start the system in safe mode or with low resolution.
Another option for Windows 10 and 8.1, which will require the use of the boot flash drive (may have to make it on another computer or laptop) with the system with the same bit that is installed on your computer:
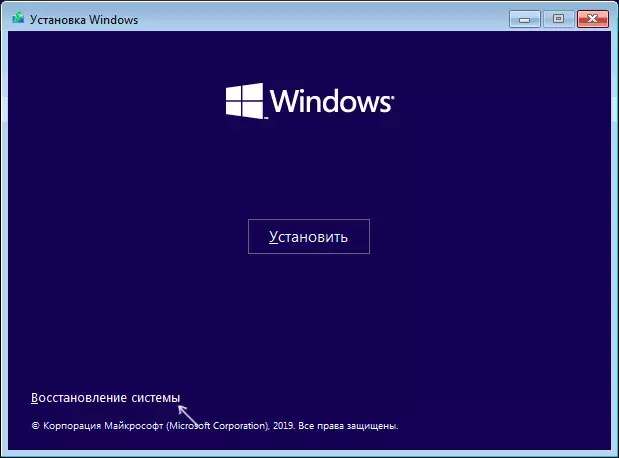
- Load a computer from the loading flash drive. On the screen after selecting a language at the bottom of the left, click "Restore System".
- In the recovery environment, go to "Troubleshooting", then "System Restore" and try using the recovery points if available.
- If it did not work, then again go to the recovery environment, open "Troubleshooting" - "Command Line".
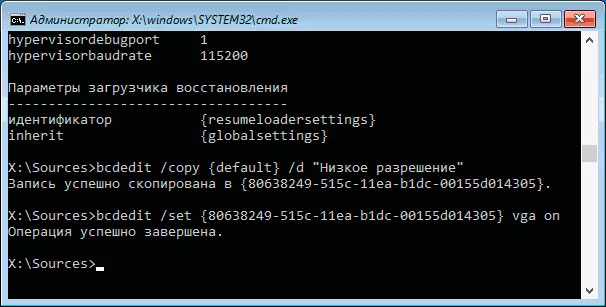
- In the command prompt, enter the commandBCedit / copy {default} / d "Low Resolution"
- After executing this command, you will see a message that the record is successfully copied and the unique Identifier GUID in curly brackets. It will be required in the following team:
- BCDEDIT / SET {Displayed Guid} VGA ON
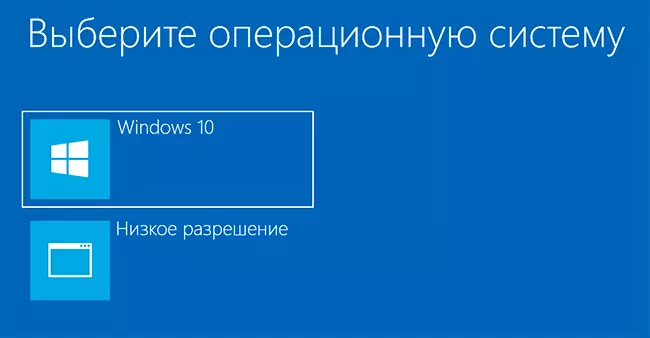
- Close the command prompt and restart the computer, you will display the menu with two items, select "Low Resolution".
- After downloading in low-resolution mode, you can make action with drivers and parameters. The fastest solution is to completely remove the video card drivers and re-set.
- Restart the computer and select a simple system loading menu. To delete the menu item created by us, press the Win + R keys, enter msconfig and delete it on the Download tab.
If no method helped, but the problem occurs when the computer is turned on - try connecting the monitor to another cable, and even better - with the help of other outputs on the video card and inputs on the monitor if available.