

In this manual, it is detailed how to disable Hyper-V in Windows 10 in two ways: the first assumes disabling the corresponding system components, the second is to turn off the hypervisor without deleting the HYPER-V components themselves.
- Disable HYPER-V by removing in components
- How to disable Hyper-V without removal
- Video instruction
- Additional ways to remove Hyper-V
Disable Hyper-V in Windows 10 components
The first way to disable Hyper-V involves the use of the appropriate section "Programs and Components" in the control panel, steps will be as follows:
- Open the control panel, you can use the search in the taskbar, or click Win + R. on the keyboard, enter Control And press ENTER.
- In the Control Panel, go to the "Programs and Components" section or "Delete Program" section.
- On the left, click on the "Enable or Disable Windows Components" item.

- Remove the mark from the "Hyper-V" item and apply settings.

- When a reboot query appears, restart Windows 10 to enter into force changes.
Typically, these actions are sufficient to eliminate the problems that can sometimes be caused by the presence of Hyper-V in the system.
If the specified steps did not help, try in the same components to disable the Windows sandbox item and also restart the computer if necessary.
How to disable Hyper-V without removing components
The previous method of disconnecting Hyper-V assumes the removal of the corresponding components from the system, but it is possible to do without it:
- Run the command prompt on behalf of the administrator, for this you can use the search in the taskbar, and then select the "Run on the administrator" item. Other ways to run the command line on behalf of the administrator.
- Enter the commandBDEDIT / SET HypervisorlaunchType Off. Press ENTER.
- Restart the computer.
After rebooting the Hyper-V (hypervisor) will be turned off and will not affect the launch of any other virtual machines, while the component itself will remain on.
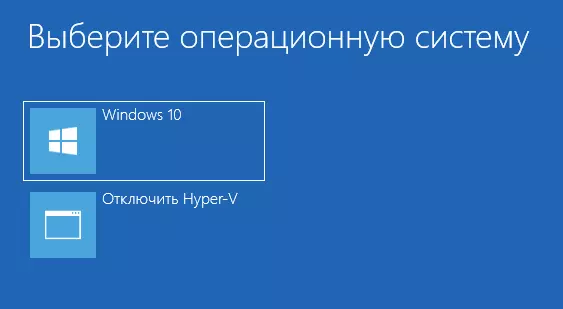
To enable Hyper-V again, use the same command, but change off on AUTO. And restart the computer. It is also possible to create a download menu to select a mode in which the system will be launched - with the on or disabled Hyper-V, about it in the instructions how to run virtual machines of Hyper-V and VirtualBox on one computer.
Video
Additional ways to remove Hyper-V
In addition to the described methods, you can delete Hyper-V components in PowerShell using the command.
Disable-WindowsOptionalFeature -Online -featurename Microsoft-Hyper-V-HypervisorOr, when using the command line, using the command:
DISM / Online / Disable-Feature: Microsoft-Hyper-VI hope the material helped figure out. If the questions remain - ask in the comments. Also remember that hardware virtualization should be enabled for the operation of virtual machines and emulators.