

An option is also possible that you simply see the system reserved by the system in your explorer and want to remove it from there (hide so that it is not displayed) - I will immediately say, it can be very easy to do. So, let's in order. See also: How to remove the disk is reserved by the system in Windows 10, how to hide the hard disk section in Windows (including the disk "Reserved System").
What is needed reserved by the System Tom on the disk
The section reserved for the first time began to be automatically created in Windows 7, there is no earlier versions. It serves to store the service data required for Windows, namely:- Download options (Windows Loader) - By default, the bootloader is not on the system section, namely in the volume "reserved by the system", and the OS itself is already on the system section of the disk. Accordingly, manipulation with a reserved volume can lead to a bootmgr is missing bootloader error. Although you can do so that the bootloader and the system are on the same section.
- Also on this section can be stored for encrypting a hard disk using BitLocker if you use it.
The disk is reserved by the system created when creating partitions at the installation of Windows 7 or 8 (8.1), while it can take from 100 MB to 350 MB, depending on the version of the OS and the partition structure on the HDD. After installing Windows, this disc (volume) is not displayed in the explorer, but in some cases it may appear there.
And now about how to delete this section. In order, I will consider the following options:
- How to hide the section Reserved by the system from the conductor
- How to make this partition on the disk appeared when installing OS
I do not specify the point how to completely delete this section, because this action requires special skills (transferring and configuring the bootloader, Windows itself, changing the partition structure) and may end the need to reinstall Windows.
How to remove the disk "Reserved by the system" from the conductor
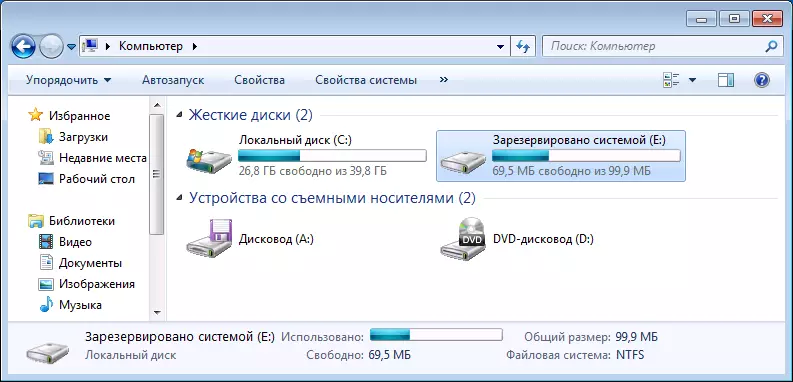
In the event that you have a separate disk with the specified label in the explorer, it can simply hide it from there without making any hard disk operations. To do this, follow the following steps:
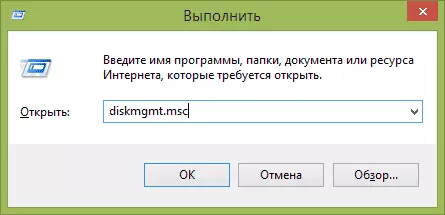
- Run Windows Drive Management, for this you can press the Win + R keys and enter the DiskMGMT.msc command
- In the disk management utility, right-click on the reserved system section and select "Change the drive letter or path to the disk."
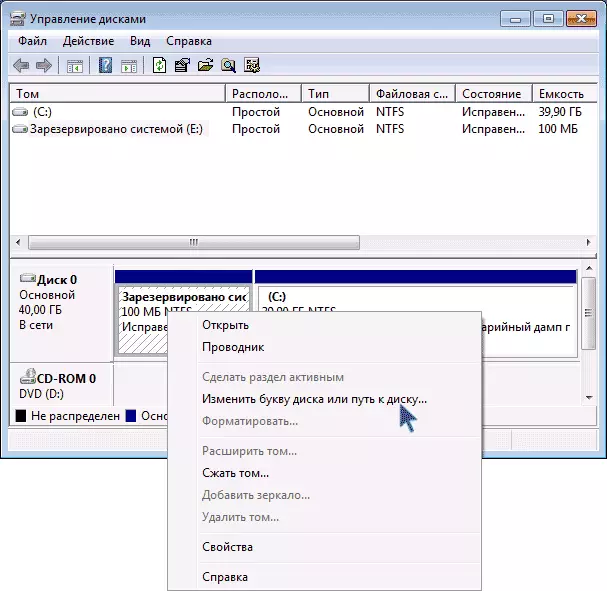
- In the window that opens, select the letter under which this disk appears and click "Delete". You will have to confirm the deletion of this letter twice (you will receive a message that the section is used).

After these steps and, possibly, rebooting the computer, this disk will no longer be shown in the conductor.
Note: If you see such a partition, but it is not located on the systemic physical hard disk, but on the second hard drive (i.e. you really have two), then this means that Windows previously installed on it and, if there is no Important files, with the help of the same disk management, you can delete all sections from this HDD, and then create a new one, which occupies the entire size, format and assign it the letter - i.e. Fully remove the reserved volume system.
How to make this partition does not appear when installing Windows
In addition to the above-described feature, you can also make the disk reserved by the system at all create Windows 7 or 8 when installing on a computer.
Important: If you have a hard disk divided into several logical partitions (C and D disc), do not use this method, you will lose everything on D. D.
For this, the following steps will be required:
- When installing, even before the selection selection screen, press the SHIFT + F10 keys, the command line will open.
- Enter the DiskPart command and press ENTER. After that, enter Select Disk 0 and also confirm the input.
- Enter the Create Partition Primary command and after you see that the main partition was successfully created, close the command line.
Then continue the installation and when you offer to select a section to install, select the only partition that is on this HDD and continue the installation - the disk is reserved by the system will not appear.
In general, I recommend not to touch this section and leave as it is conceived - it seems to me that 100 or 300 megabytes are not what you should dig in the system and, moreover, they are not available for use just like that.