
In this short instruction detailed how to change the photo shooting format on JPG on your iPhone, as well as some additional nuances that can be in the context of photo formats on this phone. It can also be useful: how to throw a photo from the iPhone to a computer via cable and Wi-Fi.
How to enable photo shooting in JPG by default on the iPhone
In order for the iPhone camera always removed the photo in JPG format, do the following steps:
- Open the "Settings" and select "Camera".
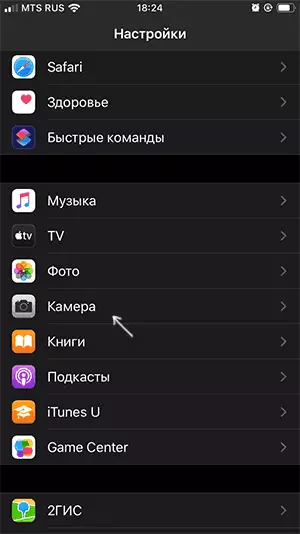
- Click on "Formats".

- Select the item "Most compatible".
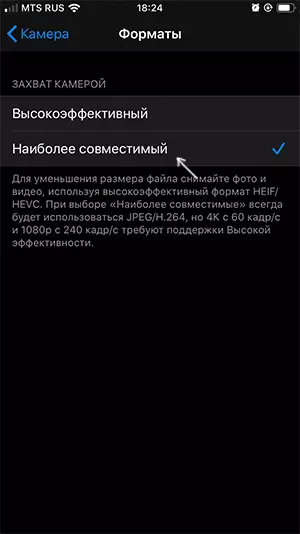
On this, everything: you did so that all photos will be JPG, and video - MP4 (with H.264 codec) and you can open almost on any device. Please note that after switching this parameter, it will be impossible to record video in 4K 60 FPS format, as well as Full HD 240 FPS.
An additional nuance, which is worth noting: If you are in the same way, you will enter the iPhone application to the "Photo" application, in the "Mac or PC" section, you can set two options to "transfer originals" or "automatically".
If you select "Automatically" if the operating system on which you transfer files does not support the photo HEIC, they will be converted to the JPG by the phone itself (however, I did not always work).
By the way, when you share the photo from the iPhone through the messenger or mail, as a rule, the conversion also occurs automatically.